Stair Master: How To Safely Teach Your Tiny Puppy To Go Up And Down Stairs
Welcome to the big world of little paws! If you have recently brought home a tiny bundle of fur, you have likely realized that your house is full of obstacles that look like mountains to a puppy. Among the most daunting of these are the stairs. For a human, they are just a way to get to the bedroom; for a puppy, they are a physical and psychological challenge that requires coordination, strength, and a whole lot of courage.
As a savvy dog owner, you know that training isn’t just about ‘sit’ and ‘stay.’ It is about navigating the world safely. Teaching your puppy to handle stairs is a critical milestone, but it is one that must be approached with caution. Their little bodies are still developing, and their growth plates are fragile. Pushing them too hard or too soon can lead to long-term joint issues. In this guide, we are going to break down the ‘Stair Master’ curriculum into bite-sized, safe, and fun steps to ensure your pup becomes a confident climber without any tumbles along the way.
The Biology of the Climb: When Is Your Puppy Ready?
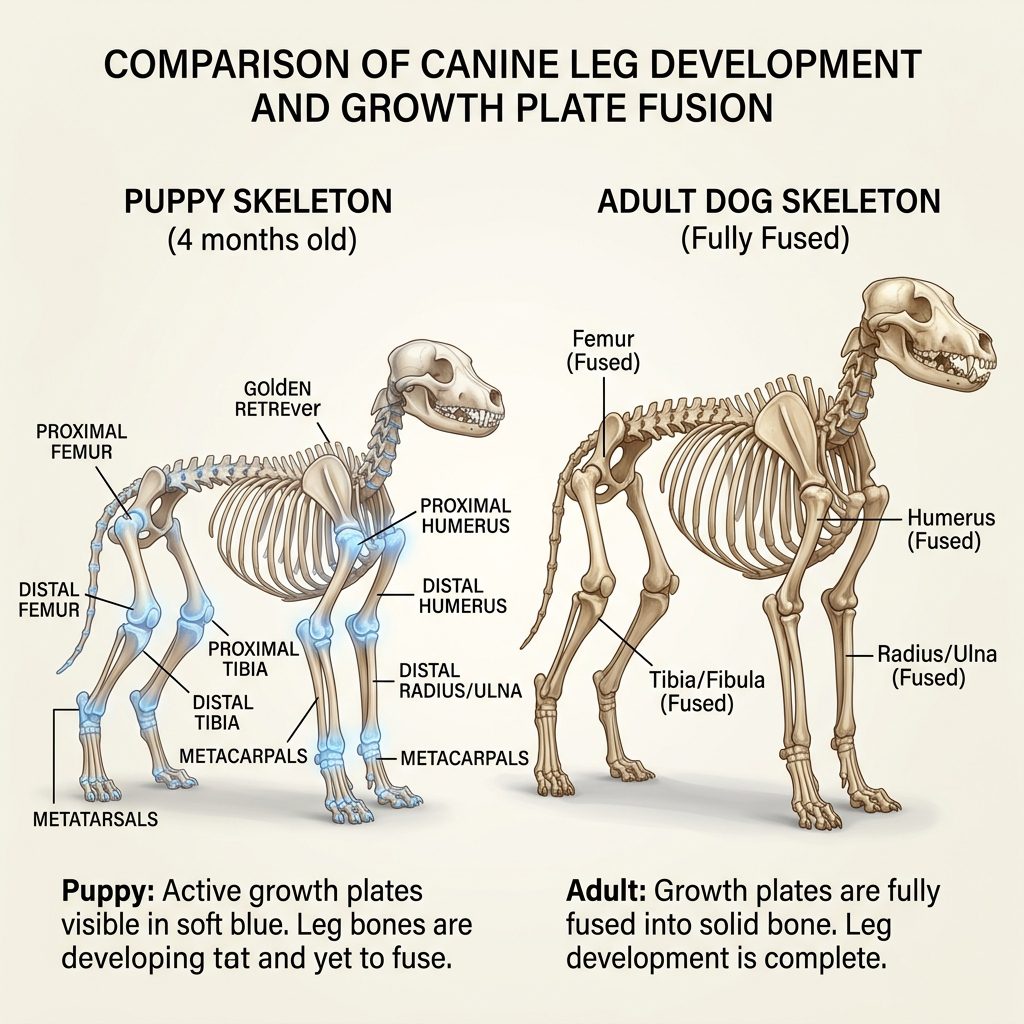
Before we even look at a staircase, we need to talk about anatomy. Puppies are not just small dogs; they are developing organisms whose bones haven’t fully fused yet. The growth plates—the areas of developing cartilage at the ends of their long bones—are particularly vulnerable to repetitive impact and strain.
Understanding Growth Plates
Growth plates are soft and flexible during puppyhood. If a puppy suffers a trauma or excessive repetitive stress on these areas, it can lead to permanent deformities or joint issues like hip and elbow dysplasia later in life. This is why many veterinarians suggest limiting stair use until a puppy is at least 4 to 6 months old, depending on the breed.
Breed-Specific Timelines
Not all puppies are created equal when it comes to stairs. A Great Dane puppy will reach the height required to step up much faster than a Miniature Dachshund, but the Great Dane’s joints are also carrying significantly more weight. Conversely, long-backed breeds face unique spinal risks.
| Breed Size | Typical Start Age (Supervised) | Primary Risk Factor |
|---|---|---|
| Small/Toy Breeds | 16-20 Weeks | Physical height of the step vs. leg length |
| Medium Breeds | 14-16 Weeks | Coordination and clumsiness |
| Large/Giant Breeds | 20-24 Weeks | Excessive weight on soft growth plates |
| Chondrodysplastic (Long backs) | 6 Months+ | Intervertebral Disc Disease (IVDD) |
Expert Tip: If your puppy is still in the ‘clumsy’ phase where they trip over their own paws on flat ground, they are definitely not ready for the stairs. Wait for better proprioception (awareness of their body in space) to develop.
Tools of the Trade: Preparing Your Training Environment
You wouldn’t learn to rock climb without a harness, and your puppy shouldn’t learn stairs without the right setup. Safety is paramount to prevent a negative experience that could lead to a lifelong fear of stairs.
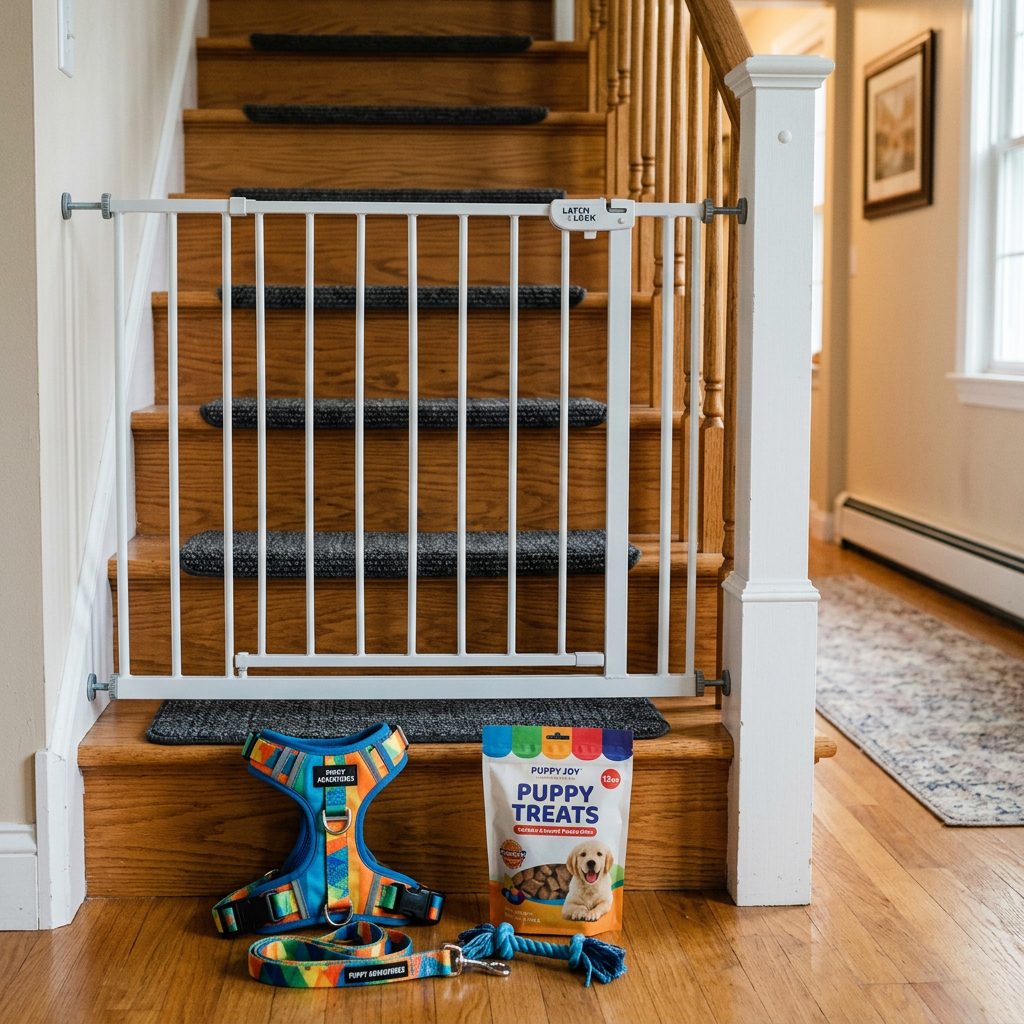
The Essential Gear List
- High-Value Treats: We aren’t talking about dry kibble. Think small pieces of boiled chicken, freeze-dried liver, or tiny bits of cheese. This needs to be a ‘jackpot’ reward.
- A Well-Fitting Harness: Never use a collar when training on stairs. If the puppy slips, a collar can cause neck injury. A harness allows you to provide a gentle ‘safety net’ with your hand.
- Non-Slip Surfaces: If your stairs are hardwood or tile, they are a ‘no-go’ zone for training. Puppies have no traction on these surfaces. Use carpet runners or temporary adhesive stair treads.
- Baby Gates: Essential for preventing unsupervised ‘practice’ sessions that could end in a fall.
Environmental Assessment
Take a look at your stairs from your puppy’s perspective. Are they ‘open-backed’? Puppies often find the sight of the floor through the back of the step terrifying. If your stairs are open, consider temporary backing or starting your training on a different, solid set of steps (like the ones leading to your porch).
Phase 1: Conquering the Ascent (Going Up)
Going up is generally easier for puppies than going down. It requires rear-end strength and forward momentum, which is more natural for them. However, it still requires a step-by-step approach—literally.
Step 1: The Single Step Strategy
Start at the very bottom. Place your puppy on the floor facing the first step. Place a treat on the first step, just out of reach. Encourage them with a happy voice. Most puppies will put their front paws up, then ‘bunny hop’ their back legs up. When they make it, throw a mini-party!
Step 2: Building Momentum
Once they are comfortable with one step, place a treat on the second step. The key here is not to let them stop. You want them to find a rhythm. However, do not let them climb a full flight on day one. Two or three steps are plenty for the first few sessions.
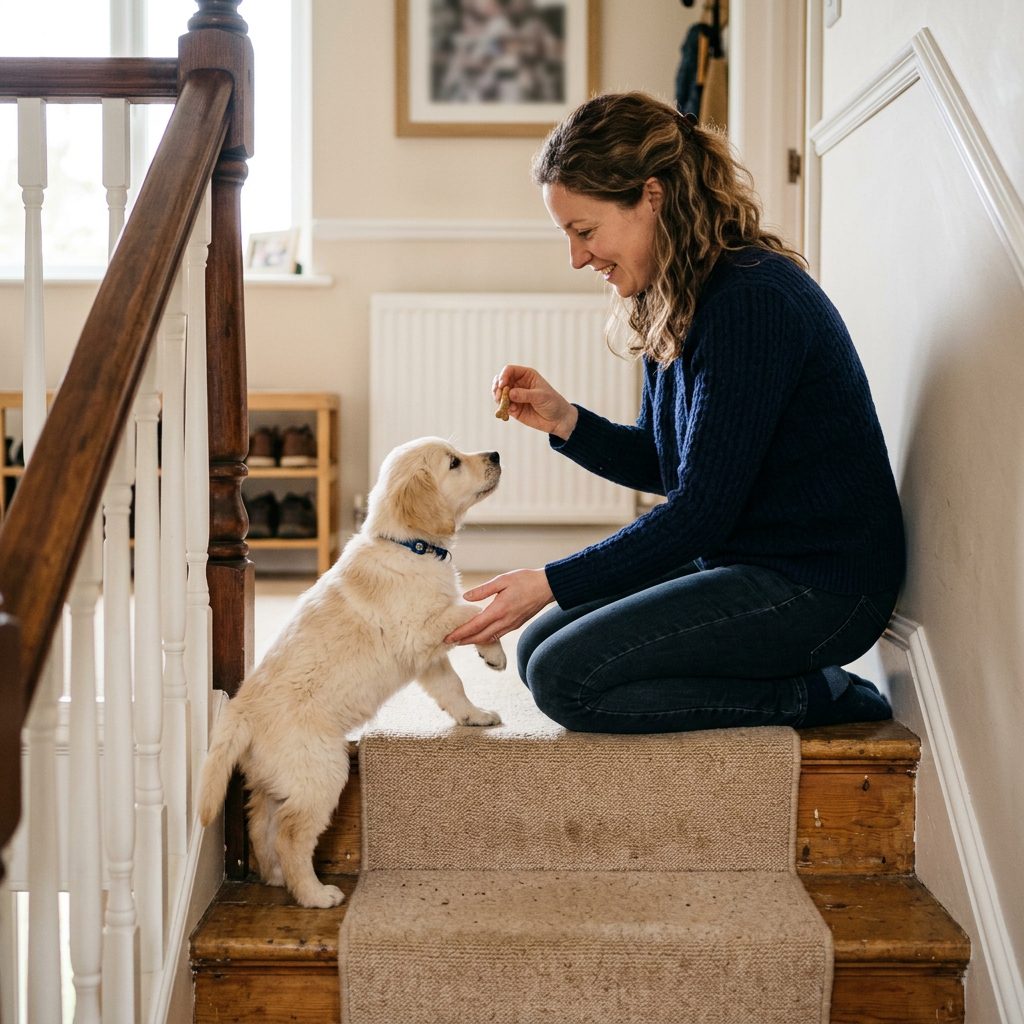
Step 3: The ‘Follow Me’ Method
Instead of placing treats on every step, start walking up slowly yourself, holding a treat in your hand at their nose level. This keeps their head up and their weight distributed correctly. If they stop, don’t pull them. Wait for them to decide to move.
Takeaway: Always stay behind your puppy when they are going up. If they lose their balance and tumble backward, your body acts as a soft safety net.
Phase 2: The Scary Descent (Going Down)

If going up is like climbing a hill, going down is like looking over a cliff. For a puppy, the sight of the floor far below is intimidating. Furthermore, going down requires much more coordination and ‘braking’ power from their front shoulders.
The Psychology of Descent
Many puppies will ‘pancake’ (lay flat) at the top of the stairs. This is a fear response. Never scold them for this. We want to build confidence, not compliance through fear.
Step-by-Step Downward Training
- Start from the Bottom: This sounds counterintuitive, but place your puppy on the first step from the bottom. They only have to move down a few inches to reach the safety of the floor.
- The Lure: Hold a treat low, near the floor. You want them to reach down with their front paws. As soon as their front paws touch the floor, they will usually ‘scoot’ their back legs down.
- The ‘Support’ Hand: Place one hand under their chest/belly (if they are small enough) or keep a firm grip on their harness handle. You aren’t lifting them; you are just providing a sense of stability.
- Gradual Elevation: Only when they are 100% confident coming off the first step should you move them to the second step.
| Training Stage | Focus Area | Success Indicator |
|---|
Troubleshooting Common Stair Challenges
Even the best-laid plans can hit a snag. Puppies are individuals, and some will find stairs much harder than others. Here is how to handle common roadblocks.
The ‘Freezer’
If your puppy freezes and refuses to move, they are overwhelmed. The ‘threshold’ has been crossed. Solution: Pick them up, take them away from the stairs, and play a game. Try again later at an easier level (e.g., a smaller step or even just a curb outside).
The ‘Bolter’
Some puppies get excited and try to fly down the stairs at Mach 10. This is how accidents happen. Solution: Use a leash and harness to strictly control their speed. Practice ‘Step-Wait-Treat’ where they must sit on a landing or a step before being allowed to proceed to the next one.
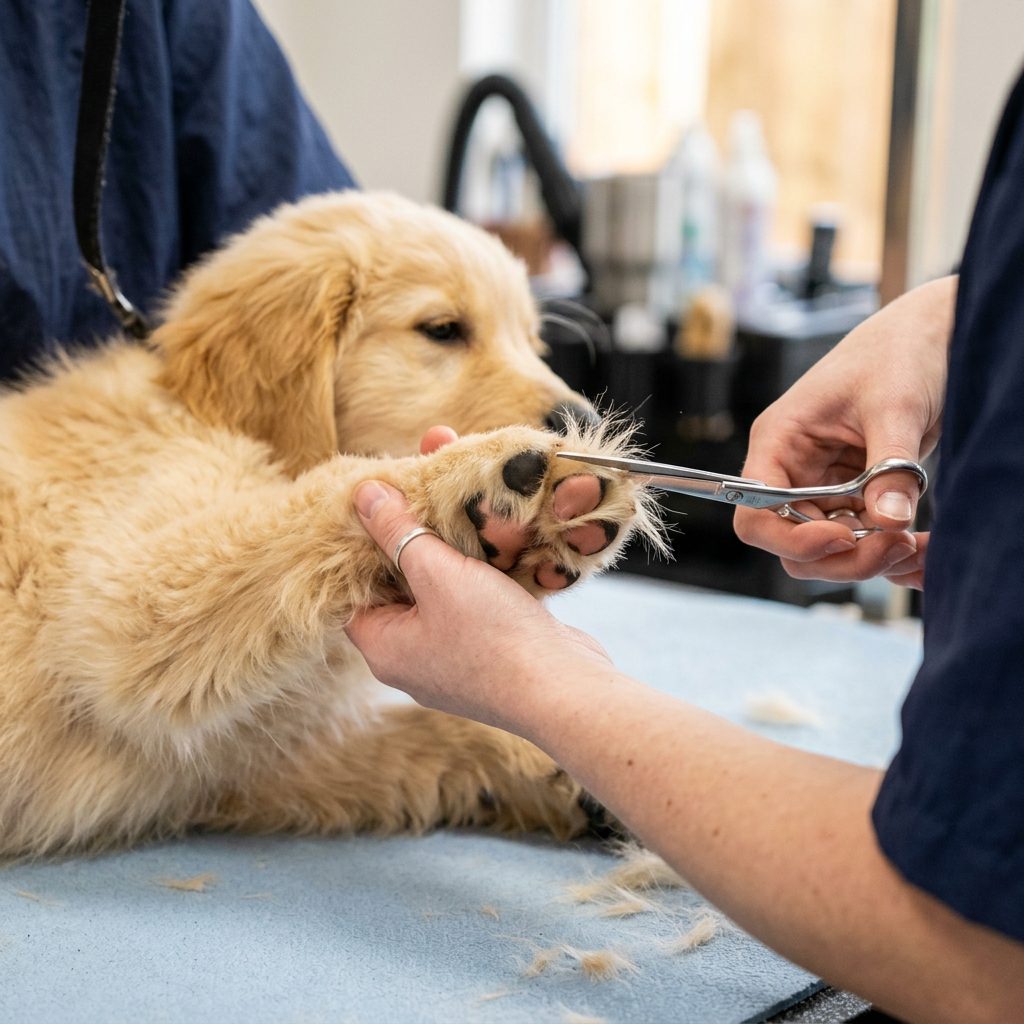
The ‘Slipping’ Puppy
If your puppy slips once, they may develop a ‘stair phobia.’ Solution: Check their paw pads. Long hair between the pads can act like skis on wood. Trim the hair flush with the pads to give them maximum ‘grip’ and ensure the stairs have traction.
Expert Tip: Proprioception exercises on flat ground—like walking over ‘cavaletti’ poles (small hurdles on the ground)—can help a puppy learn where their feet are, making stair training much easier.
Safety First: Long-Term Management
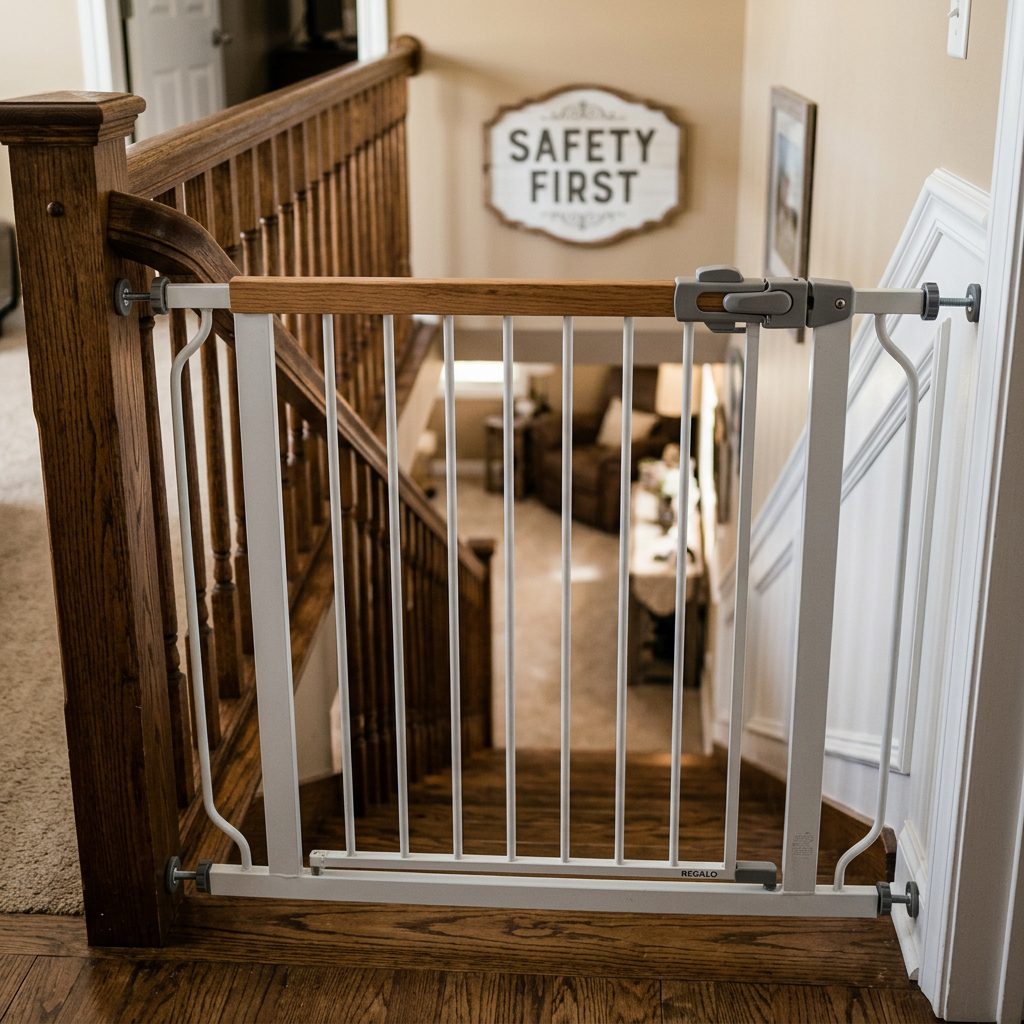
Even after your puppy has ‘mastered’ the stairs, your job isn’t quite done. Until they reach physical maturity (usually 12-18 months), you should still manage their stair usage to protect their joints.
The ‘No-Fly’ Zone
Do not allow your puppy to play on the stairs. Stairs are for transit, not for wrestling or chasing toys. The erratic movements of play significantly increase the risk of a misstep and joint jarring.
Managing Multiple Dogs
If you have an older dog, they can be great teachers, but they can also be hazards. An older dog rushing past a puppy on the stairs can knock them over. Always lead the puppy up or down separately until they are large and sturdy enough to hold their own.
When to Call the Vet
If at any point during training your puppy begins to limp, ‘bunny hop’ with both back legs simultaneously on flat ground, or shows reluctance to move after a stair session, consult your veterinarian. These can be early signs of joint stress or injury.
Conclusion
Teaching your tiny puppy to navigate stairs is a journey that requires patience, treats, and a keen eye for safety. Remember that every puppy develops at their own pace. What takes one puppy two days might take another two weeks—and that is perfectly okay! By focusing on positive reinforcement and protecting their developing joints, you are setting your dog up for a lifetime of mobility and confidence. Keep the sessions short, keep the treats high-value, and always be there to catch them. Before you know it, your little ‘Stair Master’ will be navigating the house with ease. Happy training!