Socialize Puppy To Wheelchairs And Crutches: 6 Easy Steps For Fear-Free Training
Hey there, savvy dog owners! If you are raising a puppy, you already know that the world is a big, fascinating, and sometimes overwhelming place for your new best friend. We spend so much time making sure our pups are comfortable with other dogs, loud noises, and car rides, but there is one crucial area that often gets overlooked: mobility aids. Learning how to socialize puppy to wheelchairs and crutches is an essential part of raising a confident, well-adjusted adult dog.
Think about it from your puppy’s perspective. They are used to humans walking on two legs. Suddenly, they see a human rolling on large, shiny wheels, or walking with tall metal sticks that make rhythmic clicking sounds on the pavement. To a puppy, this completely changes the human silhouette and alters the way a person moves. Without proper, fear-free socialization, these everyday mobility aids can trigger fear, barking, or even defensive lunging.
But do not worry! As a canine specialist, I am here to tell you that introducing your puppy to wheelchairs, crutches, walkers, and canes does not have to be stressful. In fact, it can be an incredibly fun bonding experience for both of you. By using positive reinforcement and moving at your puppy’s pace, you can build a positive association that will last a lifetime.
“Early socialization isn’t just about exposure; it is about creating positive, safe experiences that teach your puppy the world is a wonderful place, no matter what shape or form it takes.”
In this comprehensive guide, we are going to dive deep into the psychology behind your puppy’s reactions and walk you through 6 easy steps for fear-free training. Whether you have a family member who uses a mobility aid, or you just want to ensure your dog is a polite and confident canine citizen in public, this guide is tailor-made for you. Let’s get started on building that bomb-proof confidence!
Why Socializing Your Puppy to Mobility Aids Matters
Before we jump into the steps, let’s talk about the why. Puppies go through a critical socialization window that typically starts around 3 weeks of age and begins to close around 14 to 16 weeks. During this brief period, their brains are like little sponges, soaking up information about what is safe and what is dangerous in their environment. Experiences had during this window heavily dictate their adult temperament.
The Canine Perspective on Mobility Aids
Dogs are incredibly visual and auditory creatures. They recognize humans by our bipedal shape and our predictable gait. When a person is using a wheelchair, their silhouette is instantly transformed. They are suddenly lower to the ground, moving at varying speeds, and accompanied by the mechanical hum of an electric motor or the swish of manual wheels. Similarly, crutches extend a person’s “limbs” outward and create sharp, metallic tapping noises that can startle a sensitive pup.
If a puppy is not introduced to these sights and sounds early on, they may categorize them as “threats.” This can lead to fear-based reactivity later in life. Reactivity might look like barking frantically at a person in a wheelchair, trying to bolt away from someone on crutches, or growling at a walker. Not only is this stressful for your dog, but it can also be intimidating and disrespectful to the person using the mobility aid.
Building a Confident Canine Citizen
Savvy dog owners understand that true socialization is about building confidence, not just forcing exposure. The goal is classical conditioning—pairing the sight and sound of mobility aids with incredibly positive things, like high-value treats and praise. We want your puppy’s emotional response to shift from “What on earth is that scary rolling monster?” to “Oh boy! A wheelchair! That means I get my favorite chicken treats!”
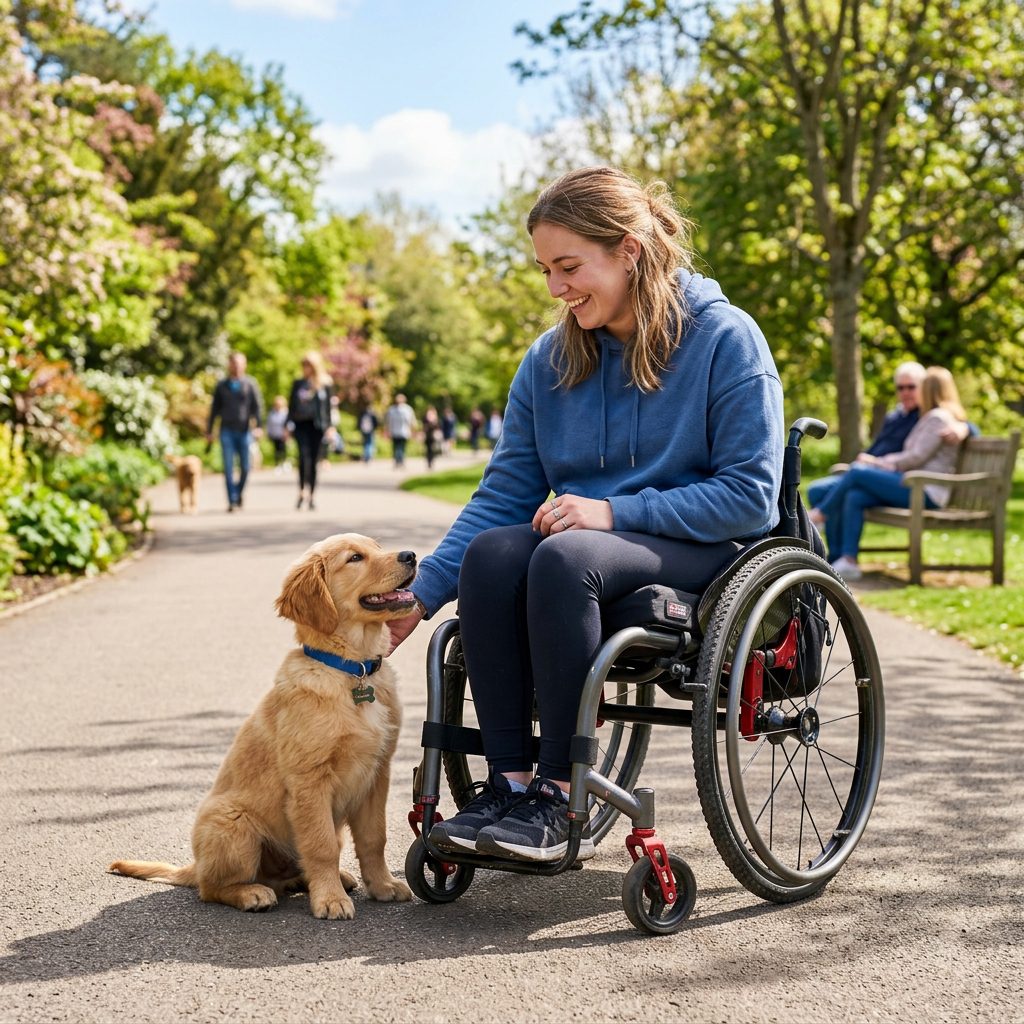
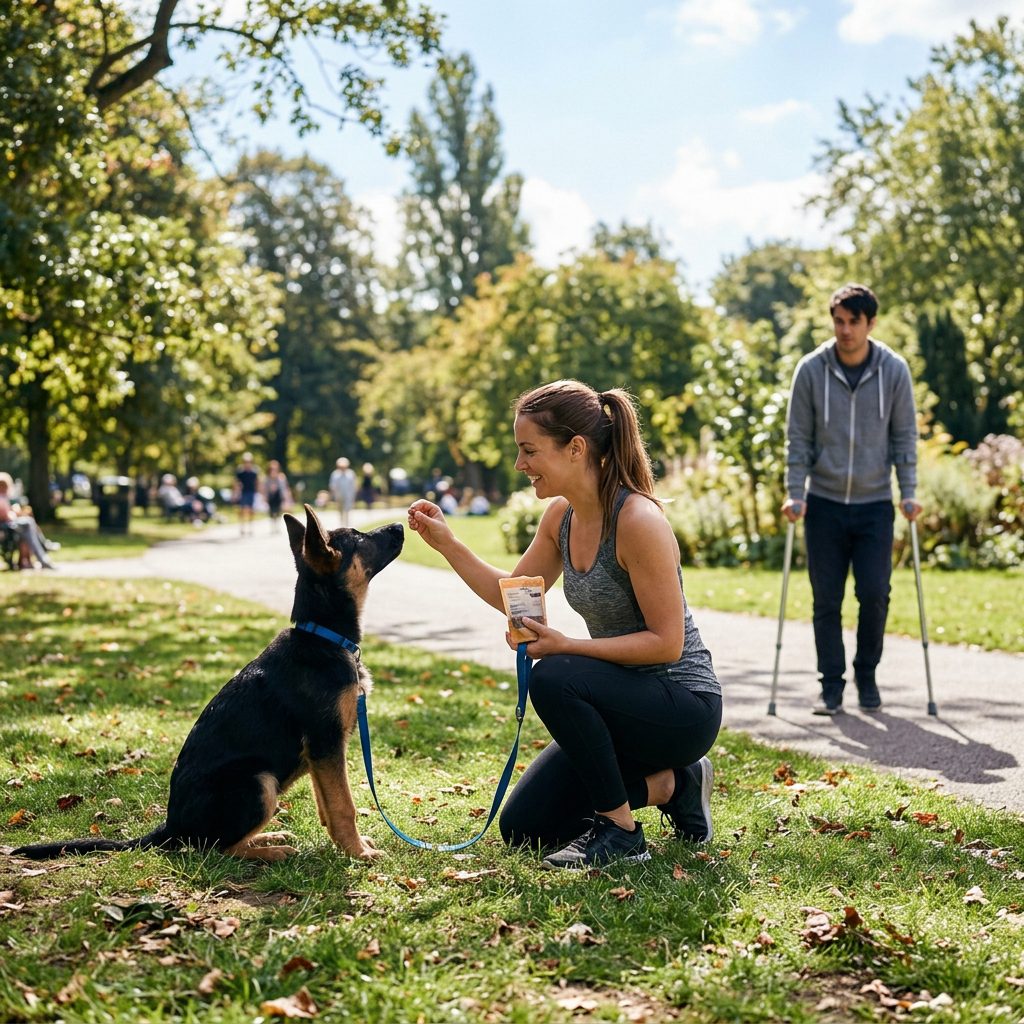
By taking the time to socialize your puppy to wheelchairs and crutches, you are ensuring they can accompany you to busy parks, outdoor cafes, and family gatherings without experiencing unnecessary stress. You are laying the foundation for a resilient, adaptable, and emotionally healthy dog.
Essential Tools for Fear-Free Socialization
To set your puppy up for success, you need to gather the right tools before you begin training. Fear-free training relies heavily on managing the environment and highly rewarding desired behaviors. You do not need a lot of complicated equipment, but having the right essentials will make the process smooth and enjoyable.
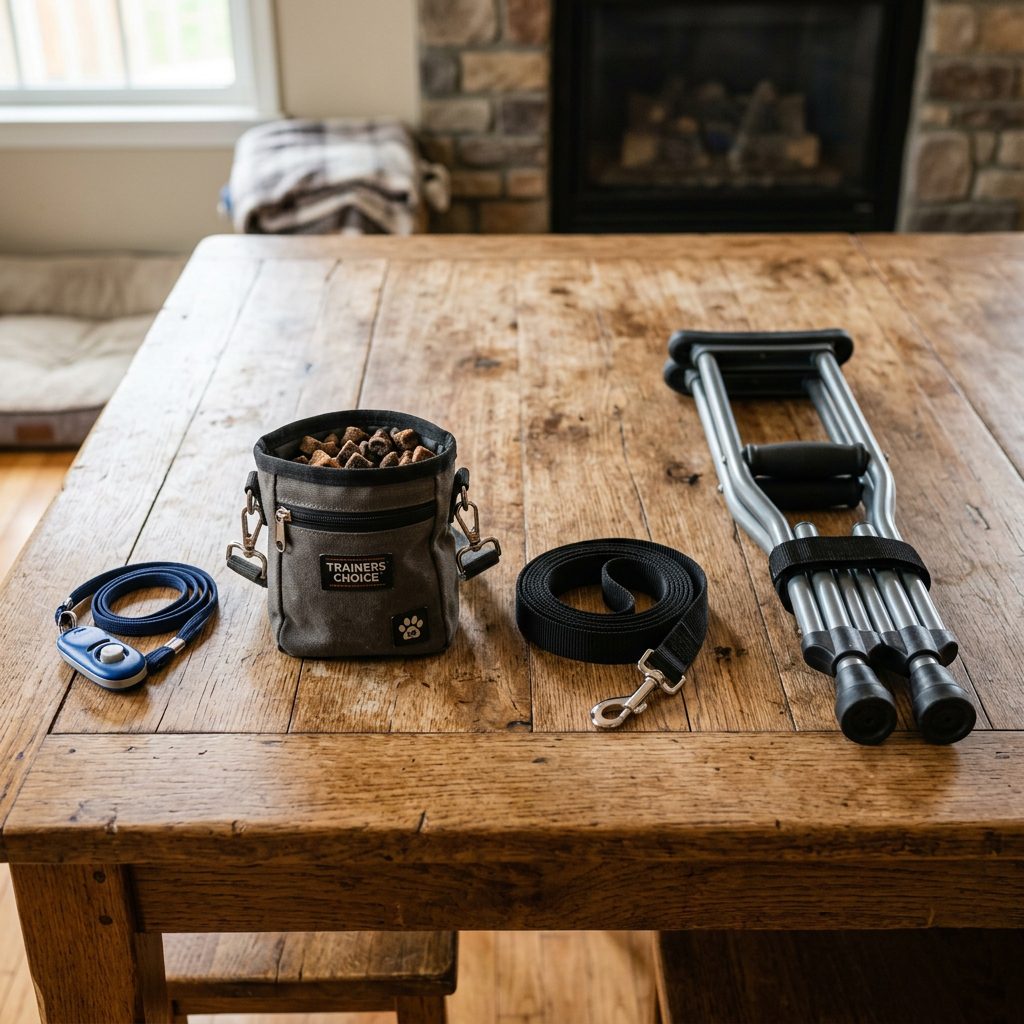
Your Training Toolkit
- A Standard 6-Foot Leash: Avoid retractable leashes. A standard flat leash gives you better communication and control, allowing you to manage the distance between your puppy and the mobility aid safely.
- A Clicker (or Marker Word): A clicker is a fantastic tool for pinpointing the exact moment your puppy looks calmly at the mobility aid. If you do not have a clicker, a sharp, happy “Yes!” works perfectly as a verbal marker.
- Mobility Aids: If you don’t own a wheelchair or crutches, consider borrowing them from a friend, purchasing inexpensive used ones from a thrift store, or planning training sessions near a hospital or rehabilitation center (keeping a very respectful distance).
- A Treat Pouch: Timing is everything. A treat pouch worn around your waist ensures you can deliver rewards within seconds of the desired behavior.
The Hierarchy of Treats
When introducing something potentially scary, your standard dry kibble probably won’t cut it. You need to use treats that are so delicious, your puppy cannot possibly ignore them. This is what trainers call “high-value” treats. Below is a breakdown of how to categorize your rewards based on the difficulty of the training step.
| Treat Value | Examples | When to Use During Training |
|---|---|---|
| Low Value | Dry kibble, hard biscuits, carrots | When the mobility aid is stationary and far away. |
| Medium Value | Commercial soft treats, training treats | When the mobility aid begins to move or make noise. |
| High Value | Boiled chicken, hot dogs, string cheese | When the puppy is close to the aid, or if the puppy is showing mild hesitation. |
Always remember to adjust your puppy’s daily meal portions to account for the calories they are consuming during these training sessions. We want a confident pup, not a chubby one!
6 Easy Steps for Fear-Free Training
Now that we understand the psychology and have our tools ready, it is time to dive into the core of the training. This step-by-step guide is designed to keep your puppy strictly under threshold. Being “under threshold” means your puppy is aware of the mobility aid but is still relaxed enough to take treats and listen to you. If your puppy refuses a treat, they are over threshold, and you need to increase the distance.
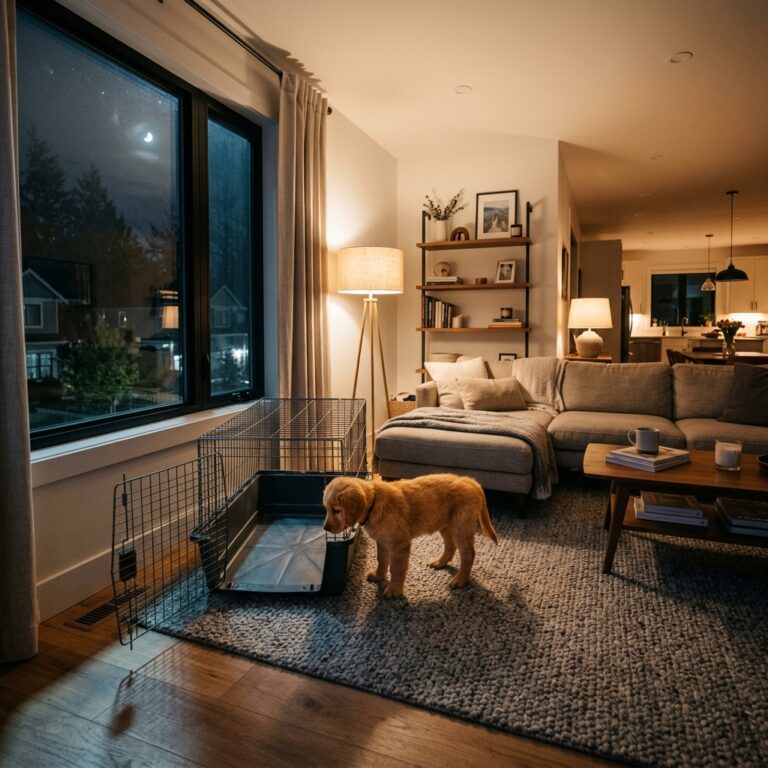
Step 1: The Stationary Introduction (Sight)
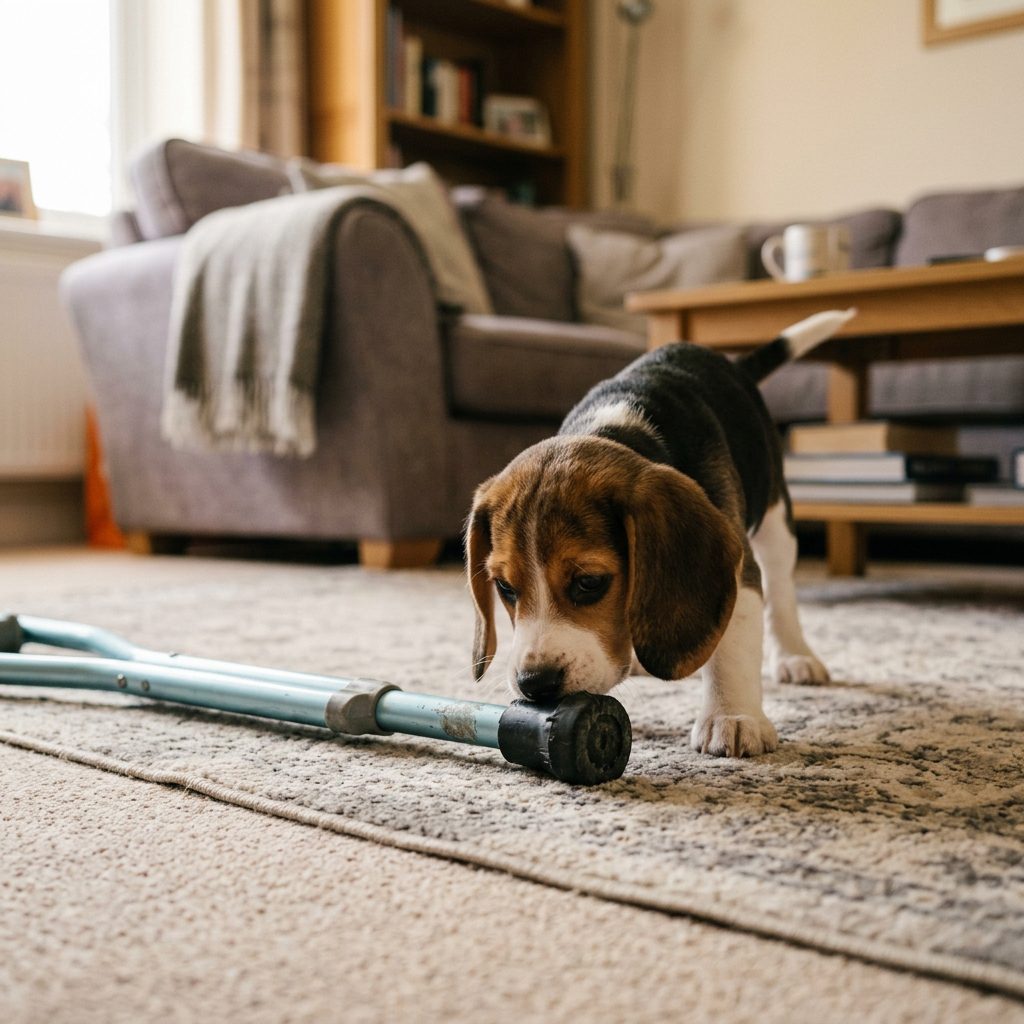
Start in a quiet, familiar environment like your living room or backyard. Place the wheelchair or crutches in the middle of the room. Do not touch them or move them. Allow your puppy to discover the object on their own terms. Stand a few feet away with your puppy on a loose leash. The moment your puppy looks at the object, Click (or say “Yes!”) and treat. If they take a step toward it to sniff, jackpot them with a handful of treats! Do not force them to approach; let their natural curiosity take the lead.
Step 2: Adding Gentle Movement and Sound
Once your puppy is completely ignoring the stationary object, it is time to add life to it. Have a helper gently move the wheelchair back and forth by a few inches, or tap the crutch lightly on the ground. You should be standing at a safe distance with your pup. As soon as the noise happens, Click and treat. You are teaching the puppy that the mechanical whir or the metallic click is actually a dinner bell predicting tasty chicken.
Step 3: Human Interaction with the Aid
Now, have your helper sit in the wheelchair or hold the crutches properly. The change in the human silhouette is often the trickiest part for dogs. Start at a distance of about 15 to 20 feet. As your puppy observes the person using the aid, feed a continuous stream of high-value treats. If your puppy remains calm, slowly decrease the distance over several short sessions. Remember to keep sessions brief—no more than 5 to 10 minutes at a time to prevent mental fatigue.
Step 4: Approaching the Moving Aid
In this step, the helper will begin to move slowly around the room or yard using the mobility aid. You and your puppy will stand still. Every time the helper moves past you, shower your puppy with praise and treats. We want the puppy to learn that a person rolling or crutching past them is completely harmless and highly rewarding.
Step 5: Walking Alongside (Parallel Walking)
Once your puppy is comfortable watching the mobility aid move, it is time to move together. Start by walking parallel to the person using the wheelchair or crutches, keeping a distance of about 6 to 8 feet between you. As you walk, reward your puppy for checking in with you and maintaining a loose leash. Gradually close the gap until your puppy is walking happily beside the mobility aid without showing any signs of stress or hyper-fixation.
Step 6: Generalization in the Real World
Dogs are notoriously bad at generalizing. Just because your puppy is fine with your spouse’s wheelchair in the living room doesn’t mean they won’t bark at a stranger’s wheelchair in the park. Take your training on the road! Visit hardware stores, parks, and pet-friendly cafes. Sit on a bench and practice “Look at That” training. When a person with a mobility aid passes by, mark and reward. Over time, your dog will view all mobility aids as just another boring, everyday part of the background.
Your Puppy Socialization Schedule
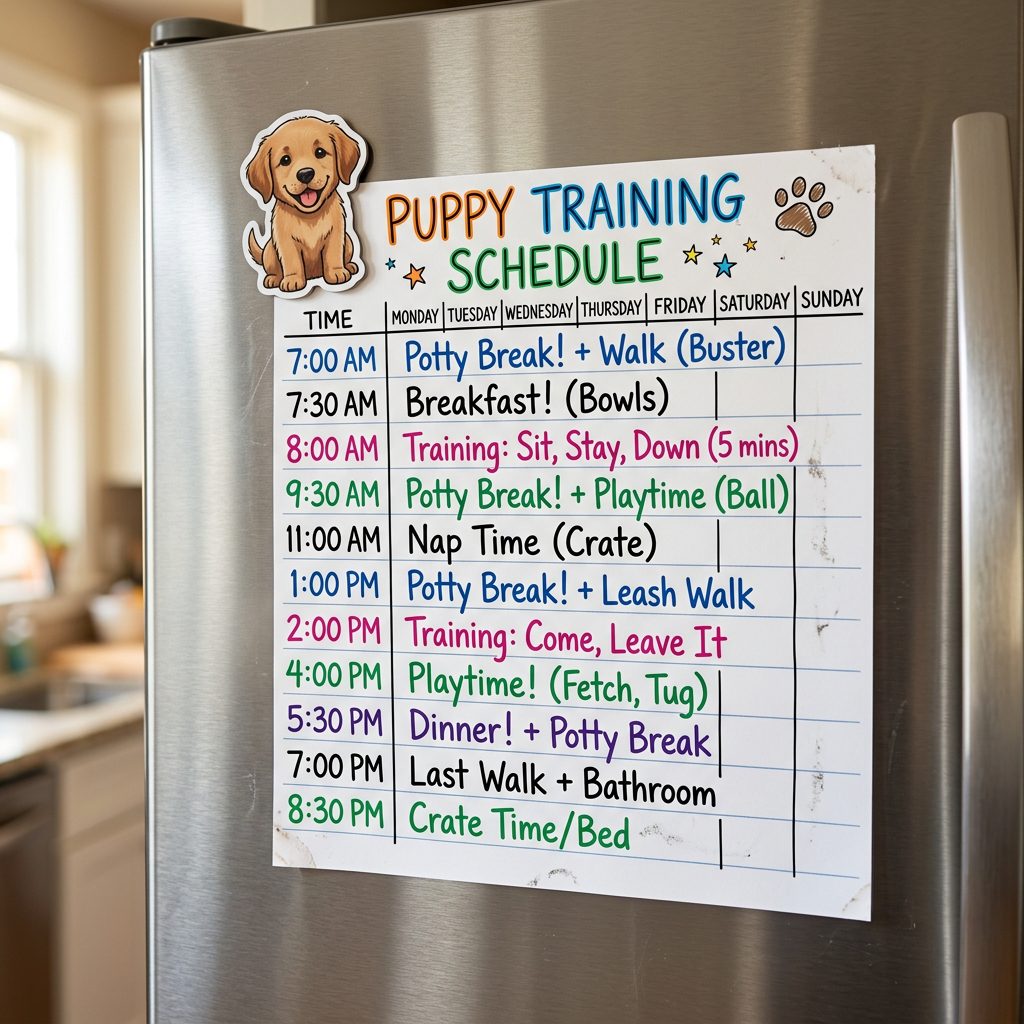
Consistency is the secret sauce to any successful dog training endeavor. You cannot do all six steps in a single Saturday afternoon and expect lasting results. To help you stay on track, I have created a sample 14-day training schedule. Keep in mind that every puppy is unique; some may breeze through this in a week, while others might need a month. Always move at the speed of the dog.
| Training Phase | Timeline | Primary Goal | Session Duration |
|---|---|---|---|
| Phase 1: Stationary Object | Days 1 – 3 | Puppy can sniff and ignore the stationary wheelchair/crutches without hesitation. | 3-5 minutes, twice daily |
| Phase 2: Sound & Movement | Days 4 – 6 | Puppy remains calm and takes treats while the aid makes noise or moves slightly. | 5 minutes, twice daily |
| Phase 3: Human Integration | Days 7 – 9 | Puppy comfortably watches a person actively using the aid from a 10-foot distance. | 5-10 minutes, once daily |
| Phase 4: Parallel Walking | Days 10 – 12 | Puppy walks calmly on a loose leash alongside the moving mobility aid. | 10 minutes, once daily |
| Phase 5: Real World Practice | Days 13 – 14+ | Puppy can observe strangers using mobility aids in public without reacting. | 15 minutes during regular walks |
If at any point your puppy regresses or shows fear, simply drop back to the previous phase for a few days. Training is rarely a perfectly straight line, and taking a step backward is often the fastest way forward.
Troubleshooting Common Socialization Mistakes
Even the most savvy dog owners can run into hiccups during training. Socialization is a nuanced process, and it is easy to accidentally push your puppy too far, too fast. Let’s look at some of the most common mistakes people make when socializing their dogs to mobility aids, and how you can fix them.
Mistake 1: Flooding Instead of Desensitization
One of the biggest mistakes is “flooding.” This happens when an owner forces a terrified puppy up to a wheelchair, thinking, “If I just show him it won’t hurt him, he’ll get over it.” Do not do this. Flooding causes massive spikes in cortisol (the stress hormone) and can permanently traumatize your dog, making their fear infinitely worse.
“Desensitization is about giving the dog the choice to interact while keeping them feeling safe. If you have to drag your dog toward an object, you are doing it wrong.”
Mistake 2: Ignoring Canine Body Language
Dogs speak volumes before they ever bark or growl. If you are waiting for your puppy to bark before you realize they are scared, you have missed all the early warning signs. Watch for subtle signs of stress, such as:
- Whale Eye: Showing the whites of their eyes.
- Lip Licking or Yawning: When they are not tired or hungry, this is a sign of anxiety.
- Tucked Tail or Pinned Ears: Trying to make themselves look smaller.
- Refusing High-Value Treats: If your chow-hound suddenly won’t eat a piece of chicken, they are way over their stress threshold.
If you see any of these signs, immediately create more distance between your puppy and the mobility aid until they relax and can take a treat again.
Mistake 3: Accidental Reinforcement of Fear
If your puppy barks or lunges at a wheelchair, your instinct might be to coddle them and say, “It’s okay, baby, don’t be scared.” While you cannot technically reinforce an emotion, petting a lunging dog can sometimes validate their panic. Instead of coddling, calmly and quietly turn around and walk away to create distance. Once the puppy is quiet and focused back on you, reward them heavily. You want to teach them that calm behavior earns rewards, while barking just results in walking away.
Conclusion
Learning how to socialize puppy to wheelchairs and crutches is one of the most responsible and rewarding things you can do as a savvy dog owner. By breaking the process down into these 6 easy steps, you are taking the mystery and fear out of mobility aids, replacing anxiety with joyful anticipation. Remember, the key to fear-free training is patience, keen observation of your dog’s body language, and a whole lot of high-value treats!
Every minute you invest now in positive socialization will pay off tenfold when you have a calm, adaptable adult dog who can comfortably navigate the diverse world around them. Keep your training sessions short, always end on a positive note, and celebrate the small victories. You and your puppy have got this!