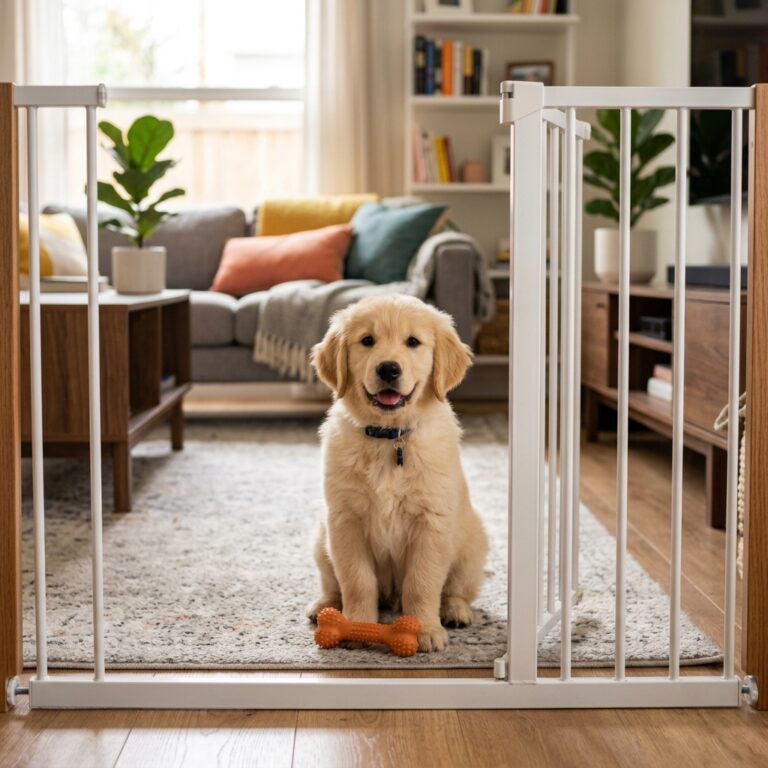
The Step-by-Step Vacuum Training Method Every Frustrated Puppy Owner Needs Right Now
The Battle of the Living Room: Why Your Puppy Hates the Vacuum
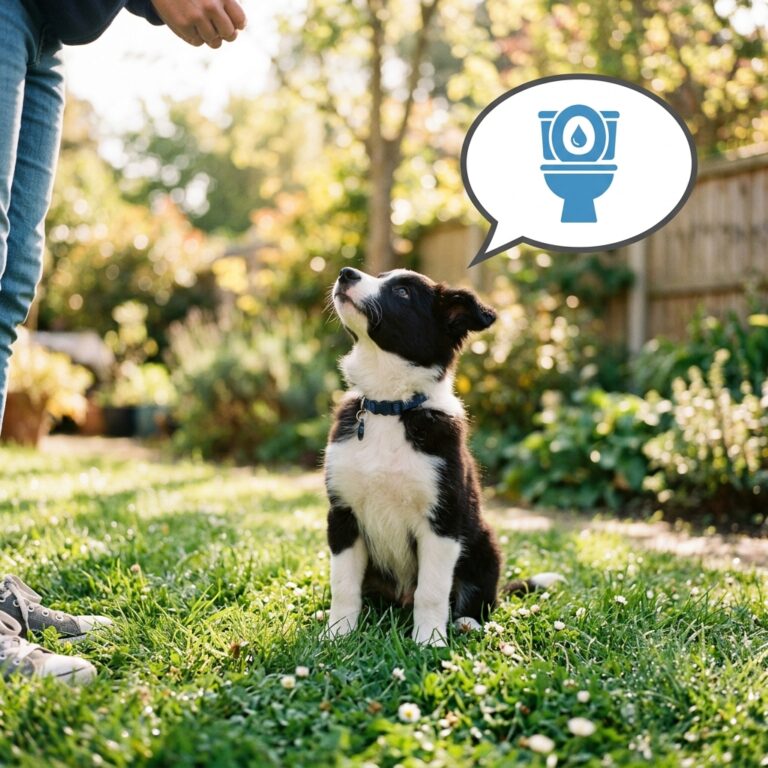
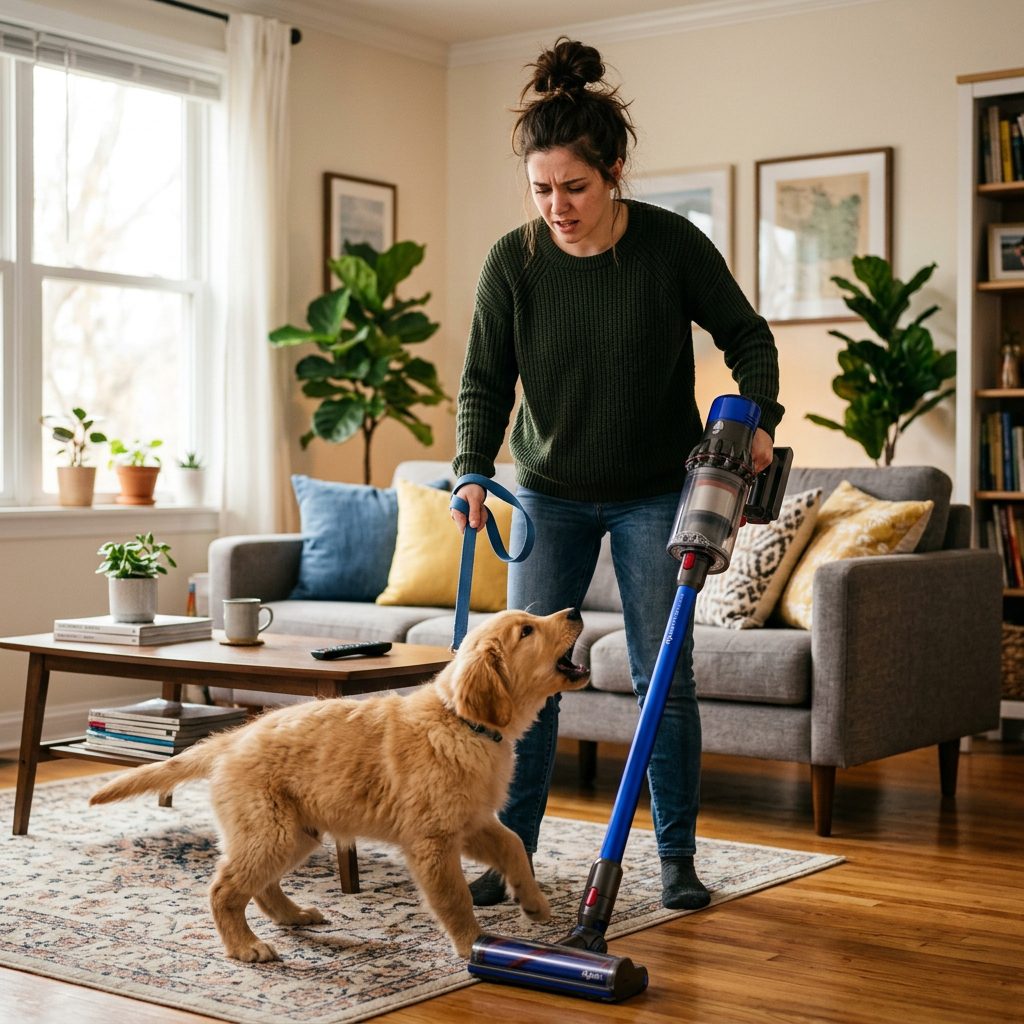
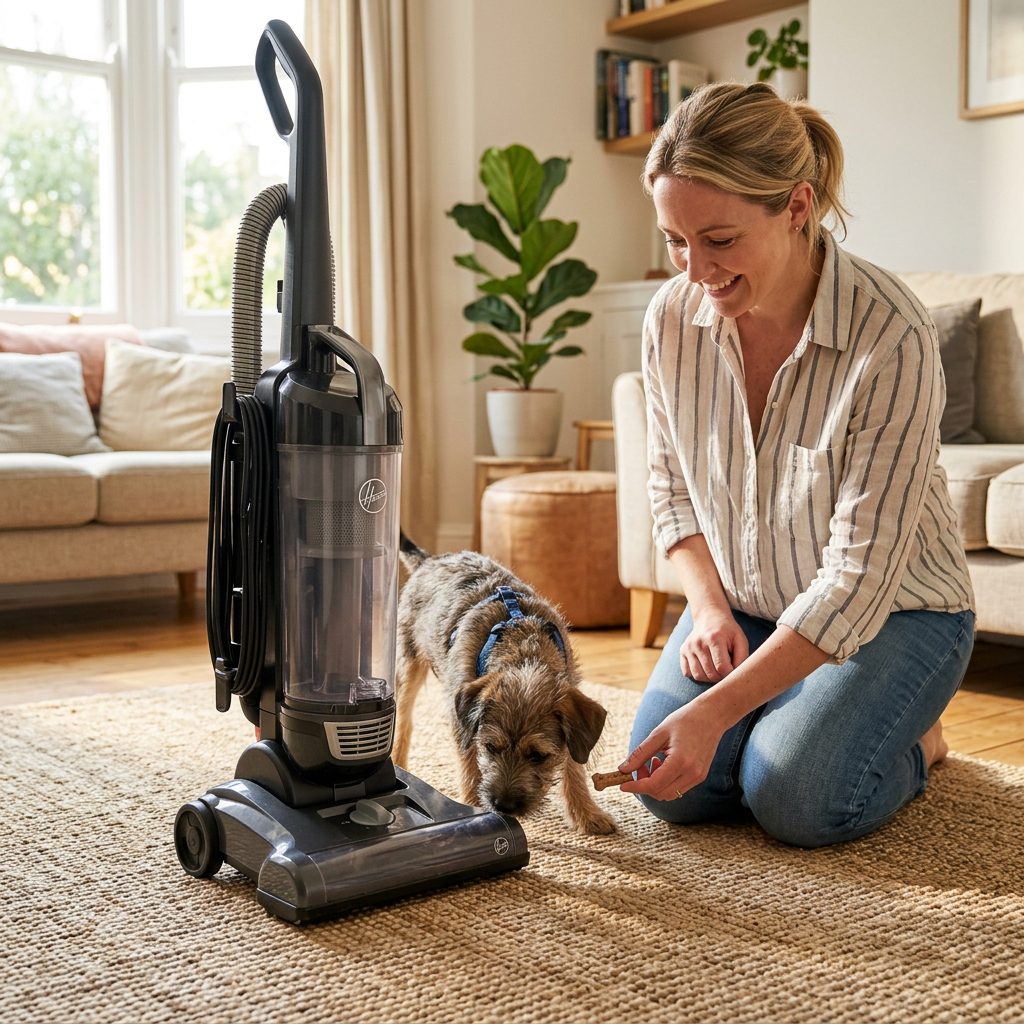
It starts with a simple click. You just want to clean up the stray kibble and mysterious fluff that has accumulated under the sofa. But the moment you engage that power switch, your peaceful home transforms into a chaotic battlefield. Your puppy, usually a sweet ball of fur, suddenly turns into a snarling, lunging, or terrified mess. If you are a frustrated puppy owner, you are certainly not alone. The vacuum cleaner is often the ‘final boss’ of household training. It is loud, it moves unpredictably, and to a puppy, it looks like a mechanical predator roaming their territory.
The good news? You do not have to live in a dusty house forever, nor do you have to lock your dog in a crate every time you need to clean. As a canine specialist, I have seen even the most reactive puppies learn to ignore the ‘vacuum monster.’ This guide will walk you through a professional-grade desensitization and counter-conditioning program. We are going to change your puppy’s emotional response from ‘Run for your life!’ to ‘Oh, that boring thing? Where is my treat?’
Before we dive into the steps, it is important to understand that this process takes patience. We are working with classical conditioning—the same science Pavlov used with his famous dogs. We want to pair the scary stimulus (the vacuum) with a high-value reward (the best treats in the world) until the puppy associates the noise with something wonderful.
Understanding the Fear: Why the Vacuum is Scary
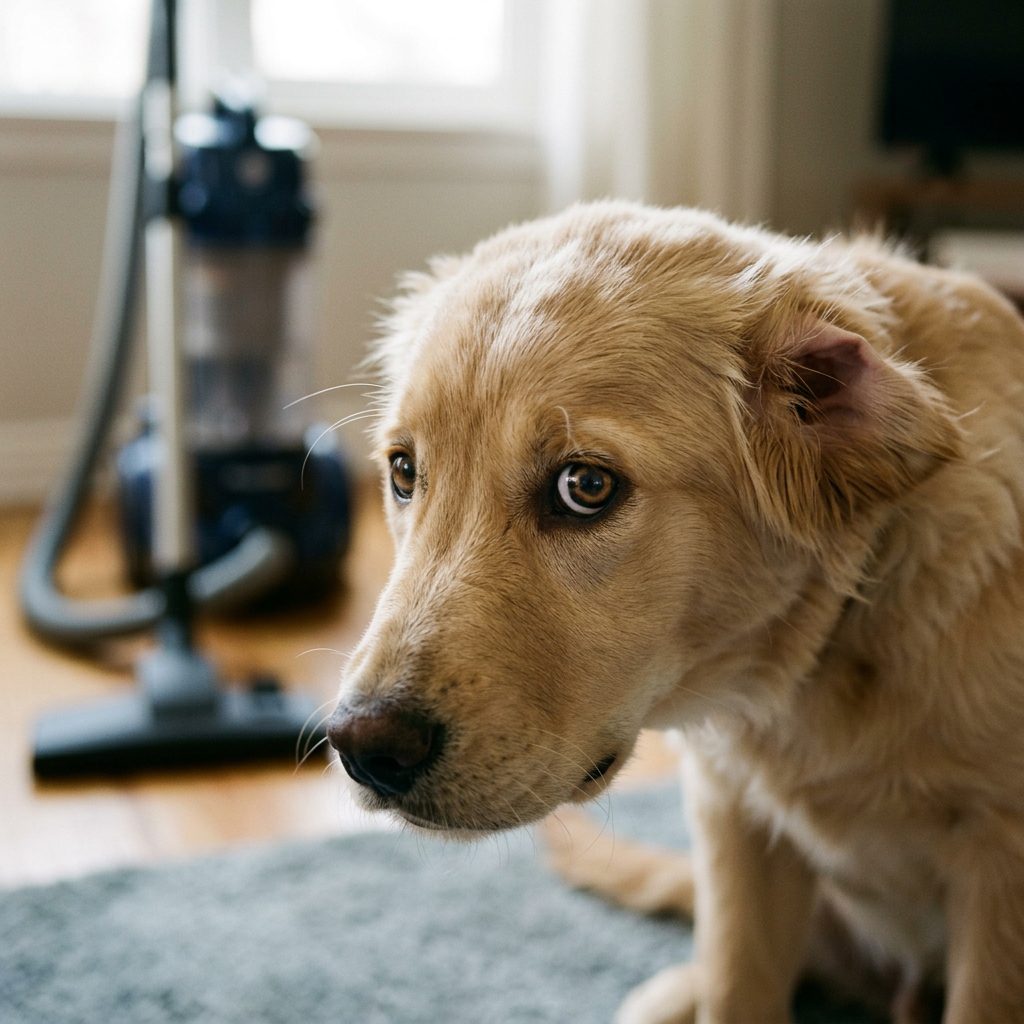
To fix the behavior, we must first understand the ‘why.’ Puppies experience the world through their senses, and a vacuum is a sensory overload. Their hearing is significantly more sensitive than ours, meaning the high-pitched whine of a vacuum motor can actually be painful or startling to their ears.
The Three Main Triggers
- The Noise: The decibel level and frequency of most vacuums are jarring to a canine ear.
- The Movement: The back-and-forth motion mimics the movement of prey or a predator, triggering a puppy’s herding or flight instincts.
- The Scent: Vacuums kick up old dust and dander, creating a whirlwind of confusing smells.
Most puppies fall into one of two categories when the vacuum comes out: the Fearful Hider or the Bold Attacker. Understanding which one your puppy is will help you tailor your approach.
| Reaction Type | Typical Behaviors | Internal Emotion |
|---|---|---|
| The Hider | Tucked tail, trembling, running to another room, hiding under furniture. | Pure Fear/Anxiety |
| The Attacker | Barking, lunging, biting the vacuum head, growling, ‘zoomies’. | Frustration or Prey Drive |
Preparation: Tools and the ‘Vacuum-Only’ Treat
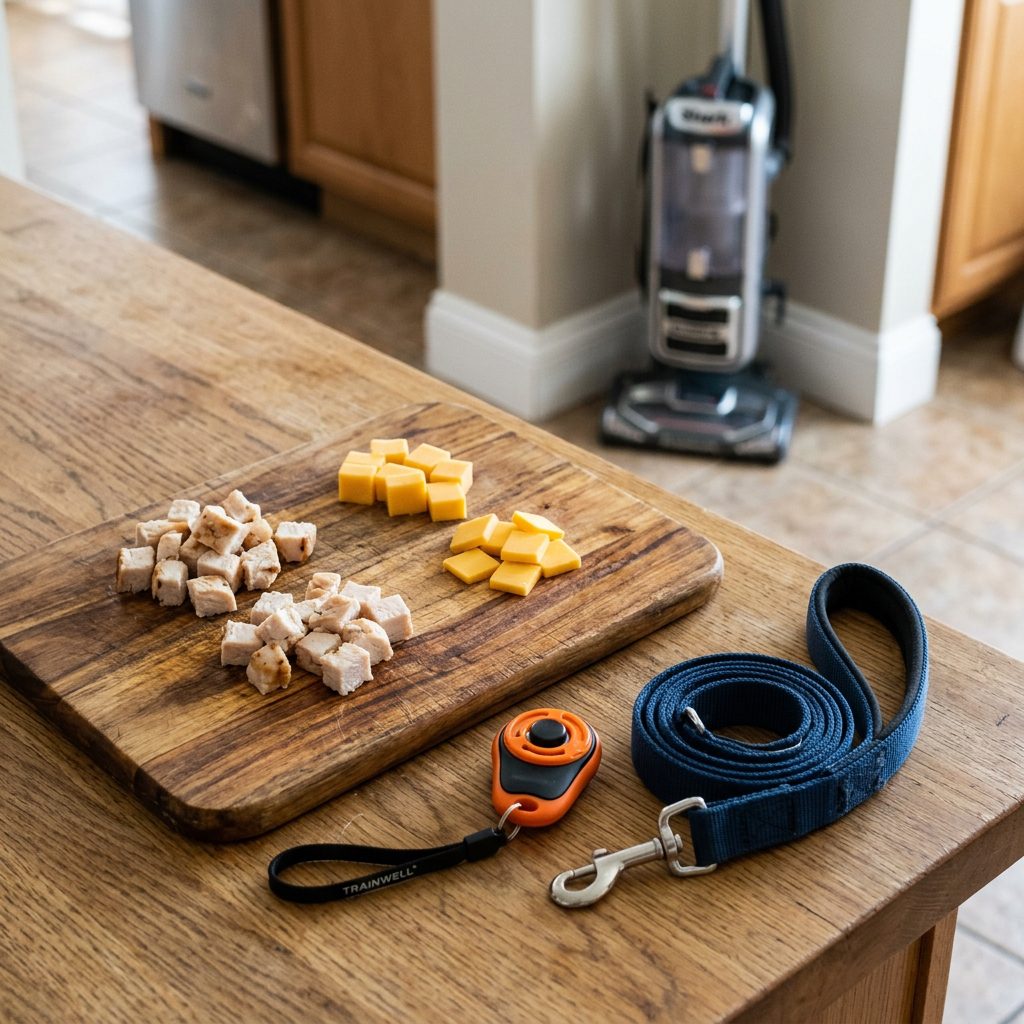
You cannot start this training with boring kibble. We need what trainers call High-Value Reinforcement. This should be something your puppy never gets at any other time. Think boiled chicken, tiny cubes of cheddar cheese, or freeze-dried liver.
The Training Kit Checklist
- The Vacuum: Preferably one with a cord you can manage easily.
- A Leash: To keep your puppy at a safe distance (the threshold).
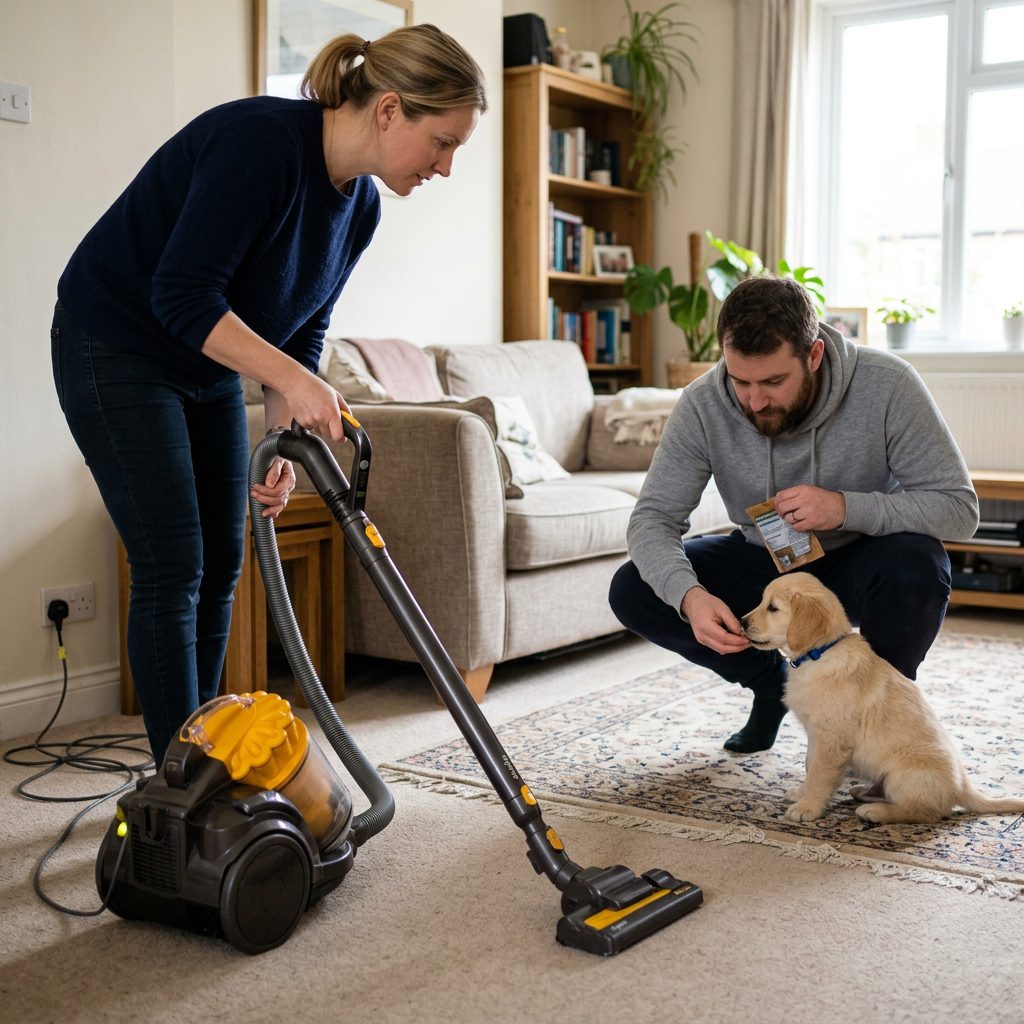
- A Helper: It is much easier if one person operates the vacuum while the other handles the treats.
- High-Value Treats: Pre-cut into pea-sized pieces to prevent choking and overfeeding.
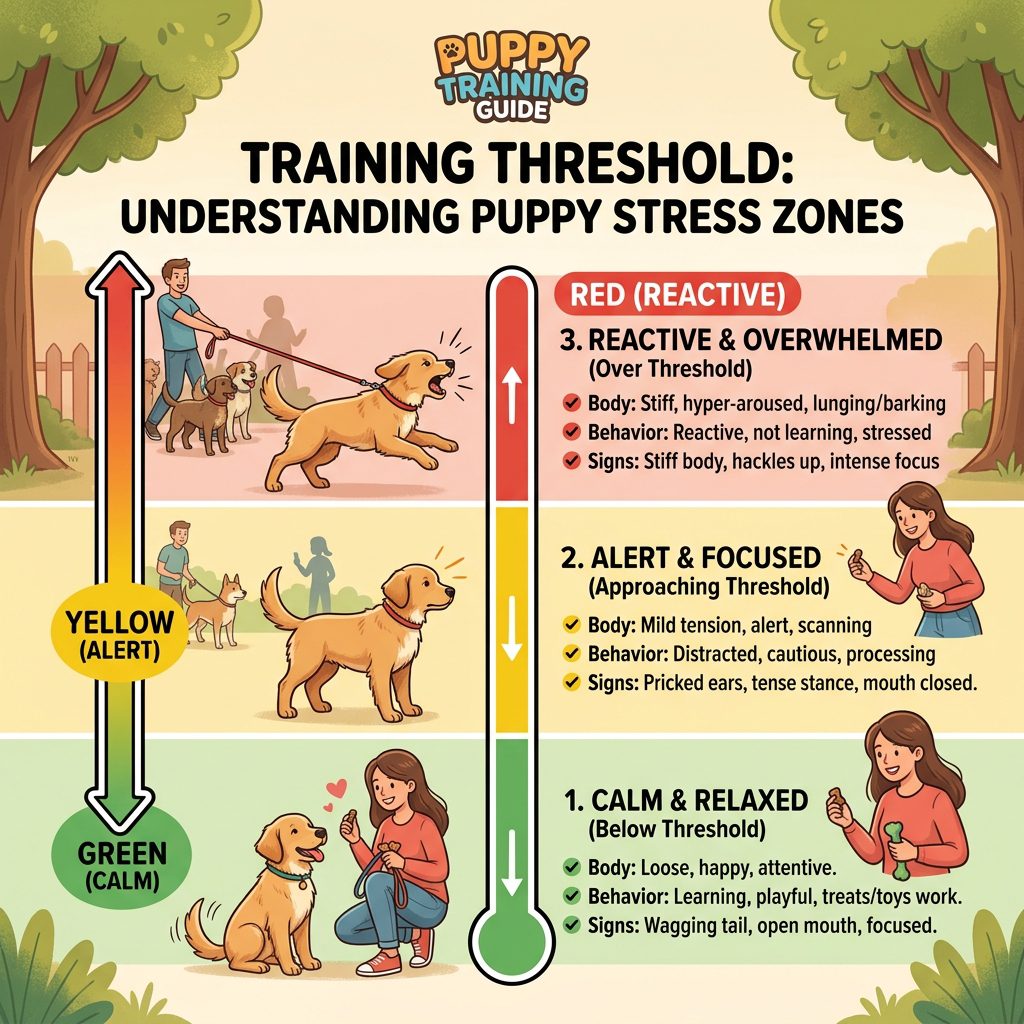
Pro Tip: If your puppy is too stressed to take a treat, you are too close to the vacuum. This is called being ‘over threshold.’ Move further away until they can focus on the food again.
Phase 1: The Stationary Introduction (The Vacuum is a Statue)
The biggest mistake owners make is turning the vacuum on immediately. We start with the vacuum off and completely still.
- Place the vacuum in the middle of the room, turned off.
- Bring your puppy into the room on a leash at a distance where they are aware of the vacuum but not reacting.
- Every time your puppy looks at the vacuum, say ‘Yes!’ or click your clicker, and give a treat.
- Gradually move closer, one step at a time, continuing the ‘Look at it = Get a treat’ cycle.
- The goal is to have your puppy sniff the stationary vacuum. If they sniff it, give them a ‘jackpot’ (3-4 treats in a row).
Spend 2-3 days on this phase. We want the puppy to think the vacuum is basically a weird-looking treat dispenser.
Phase 2: Adding Movement (The Silent Dance)
Movement often triggers the ‘chase’ instinct in breeds like Border Collies or Shepherds. In this phase, the vacuum remains off, but we add motion.
The Process
- Have your helper stand by the vacuum (still turned off).
- Stand 10-15 feet away with your puppy.
- Have the helper move the vacuum back and forth just a few inches.
- The moment the vacuum moves, feed your puppy a constant stream of tiny treats.
- Stop moving the vacuum; stop feeding the treats.
This teaches the puppy that the movement of the vacuum starts the ‘treat party.’ If the puppy lunges, increase the distance. We are looking for a ‘conditioned emotional response’ where the puppy looks at you for a treat the moment the vacuum moves.
Phase 3: The Sound of Music (Distance and Decibels)

Now we introduce the scariest part: the noise. This is where most people fail because they move too fast. We need to muffle the sound or create distance.
Step-by-Step Sound Desensitization
- Put your puppy in a room with a closed door and a high-value long-lasting chew (like a stuffed Kong).
- Have your helper turn the vacuum on in a different room for only 5 seconds, then turn it off.
- If the puppy remains calm, repeat, gradually increasing the duration.
- Slowly move the vacuum closer to the door of the room your puppy is in over several sessions.
- Eventually, perform this in the same room, but keep the vacuum at the furthest possible point from the dog.
| Training Day | Distance | Vacuum Status | Duration |
|---|---|---|---|
| Day 7-8 | Other side of a door | On | 10 Seconds |
| Day 9-10 | 15 Feet away | On (Stationary) | 30 Seconds |
| Day 11-12 | 10 Feet away | On (Moving) | 1 Minute |
Troubleshooting: What to Do When Things Go Wrong
Training isn’t always a straight line. You might have a day where your puppy regresses. This is normal! Don’t get frustrated; just adjust your strategy.
Common Issues and Solutions
- My puppy won’t stop barking: You are too close or the sound is too loud. Go back to Phase 2 for a few sessions.
- My puppy tries to bite the cord: Use a cord protector or keep the puppy on a short leash during training to prevent access to the cord. This is a safety priority!
- The puppy is fine until I turn my back: This is a ‘generalization’ issue. Practice with the vacuum in different rooms and with different people operating it.
Expert Tip: Never scold or punish your puppy for reacting to the vacuum. Punishment increases the negative association, making the fear deeper and harder to fix. Always use positive reinforcement.
Conclusion
Success is a Quiet House
Vacuum training is not about having a dog that loves the vacuum; it is about having a dog that is neutral toward it. By following this step-by-step method, you are doing more than just cleaning your floors—you are building a bond of trust with your puppy. You are showing them that you will protect them and that scary things aren’t so scary when Mom or Dad is around with the ‘good’ treats.
Remember, every puppy learns at a different pace. Some might breeze through this in a week, while others might take a month to handle the noise. Stay consistent, keep your training sessions short (5 minutes max), and always end on a positive note. Soon enough, you will be able to clean your house in peace, and your ‘frustrated puppy owner’ days will be a thing of the past. Happy training!