Hate Clipping Nails? How To Teach Your Puppy To Use A Scratch Board In 10 Minutes Flat!
Let’s be honest: for many of us, the mere sight of a pair of nail clippers is enough to send our puppies running for the hills—and honestly, sometimes we want to join them. The fear of ‘nicking the quick,’ the wrestling matches on the living room floor, and the sheer stress of trying to hold a squirming paw can make nail maintenance the most dreaded chore in the household. But what if I told you that your puppy could actually enjoy filing their own nails? Enter the scratch board (also known as a scratch pad).
As a canine specialist, I’ve seen firsthand how transformative this tool can be. By turning nail care into a game of ‘paw,’ we bypass the restraint and anxiety associated with traditional grooming. In this guide, I’m going to show you exactly how to harness your puppy’s natural digging instincts to achieve perfectly manicured claws in about 10 minutes of active training. We aren’t just filing nails; we are building confidence and strengthening the bond between you and your savvy pup. Grab some high-value treats, and let’s get started!
Why the Scratch Board is a Game-Changer for Savvy Owners
Before we dive into the ‘how-to,’ it is important to understand why the scratch board is often superior to clippers or grinders for many dogs. Traditional methods involve passive restraint, where the dog must submit to being handled. A scratch board utilizes active participation, giving the dog agency and control over the process. This shift from ‘something happening to them’ to ‘something they are doing’ is the key to eliminating grooming anxiety.
The Benefits of Scratching vs. Clipping
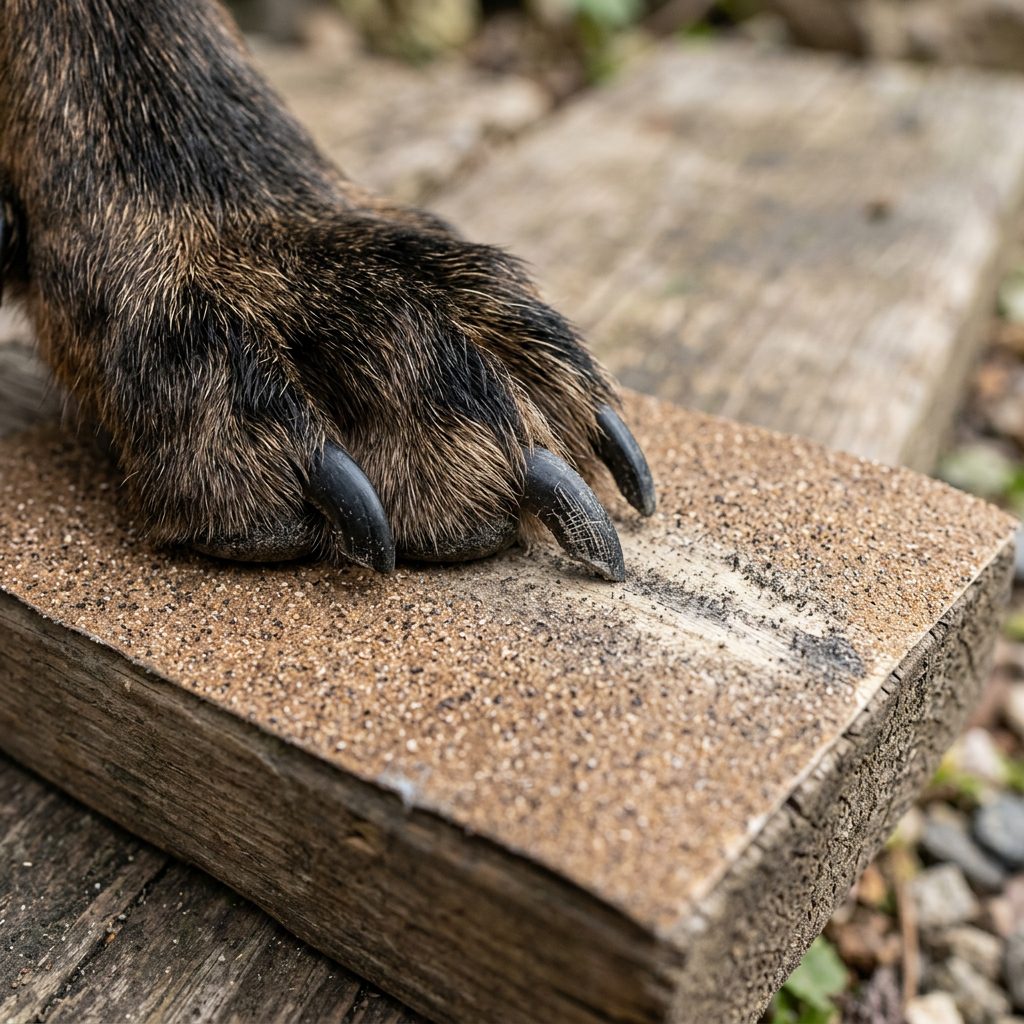
Scratch boards work like a giant emery board for dogs. As they ‘dig’ at the abrasive surface, the nail is filed down gradually. This significantly reduces the risk of cutting the quick (the sensitive blood vessel inside the nail) because the friction wears the nail down from the outside in, rather than a sharp blade pressure that can cause pinching or pain.
| Feature | Traditional Clippers | Electric Grinders (Dremel) | Scratch Board |
|---|---|---|---|
| Stress Level | High (Restraint required) | Medium (Vibration/Noise) | Low (Game-based) |
| Risk of Injury | High (Easy to cut the quick) | Low (Heat friction risk) | Minimal (Self-regulated) |
| Dog’s Role | Passive/Submissive | Passive | Active/Engaged |
| Skill Level | Moderate to High | Moderate | Low (Easy to learn) |
Expert Tip: Scratch boards are particularly effective for dogs with ‘black nails’ where the quick is invisible, making traditional clipping a guessing game.
Tools of the Trade: Choosing or Building Your Board
You don’t need a fancy, expensive device to get started. You can buy commercial scratch boards that often come with built-in treat compartments, or you can go the DIY route for just a few dollars. The most important factor is the grit of the sandpaper used.
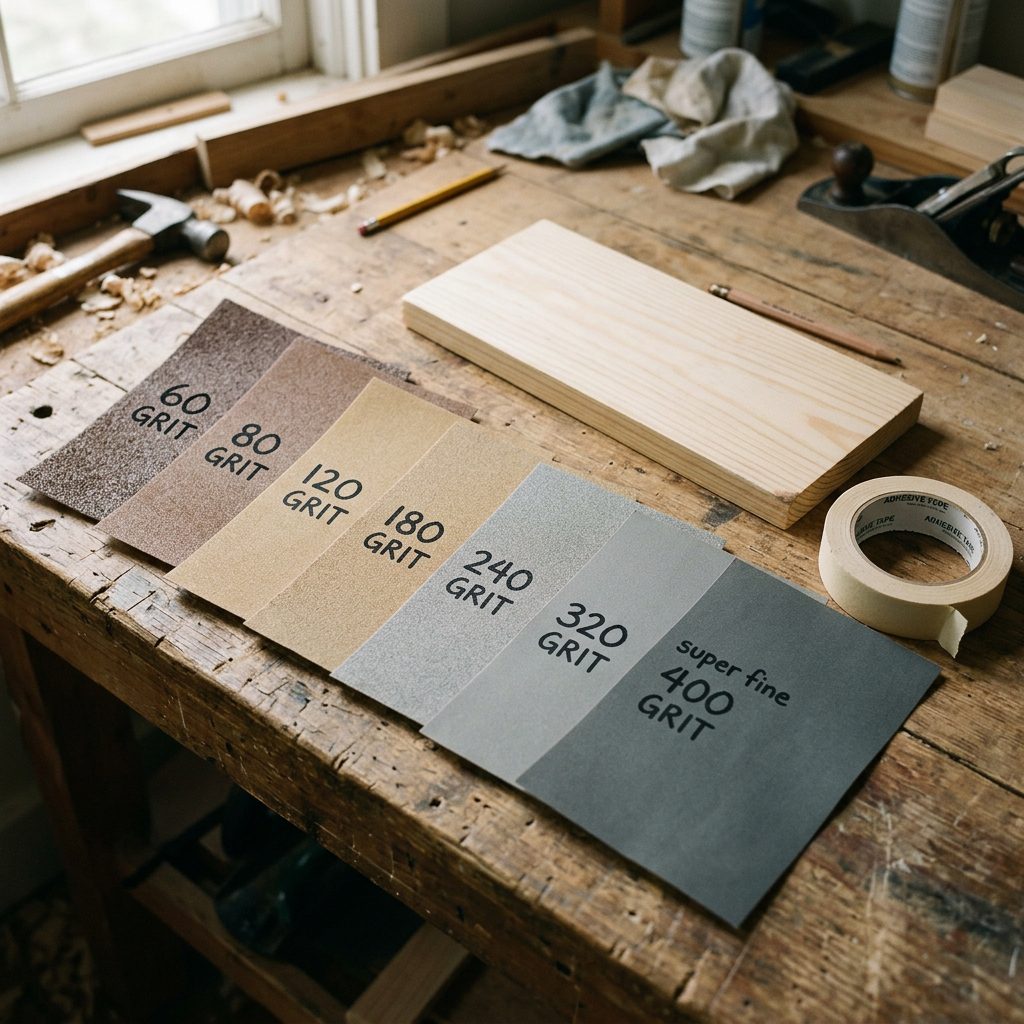
Selecting the Right Grit
Just like human nail files, the coarseness matters. For a puppy with softer nails, a finer grit is appropriate. For an adult dog with thick, hardy talons, you’ll need something more aggressive.
- 80 Grit: Coarse. Best for large breeds or initial filing of very long nails.
- 100-120 Grit: Medium. The ‘Goldilocks’ zone for most puppies and maintenance.
- 150+ Grit: Fine. Good for finishing or for very small, delicate toy breeds.
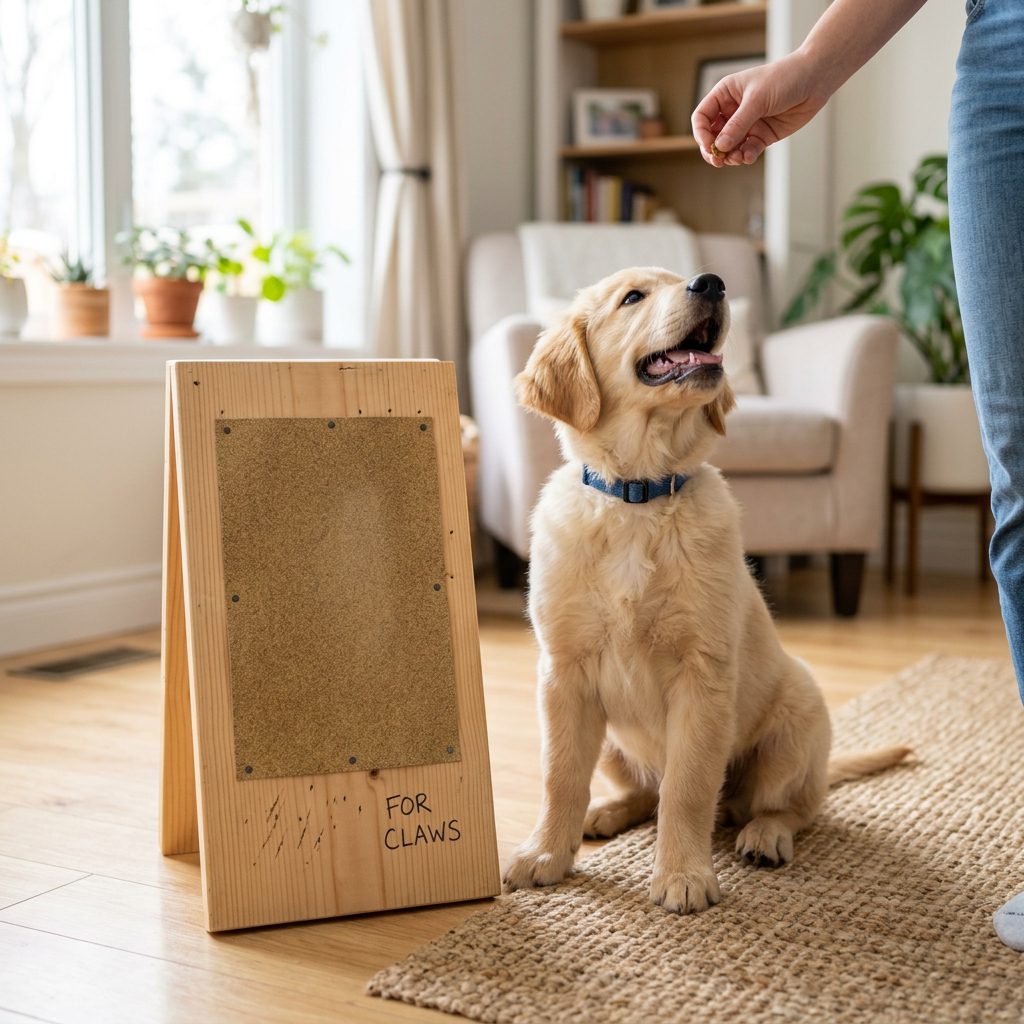
DIY Scratch Board Instructions
- Purchase a sturdy piece of plywood or a heavy-duty plastic clipboard (approx. 10×15 inches).
- Apply self-adhesive sandpaper (longboard sandpaper works best) to the surface.
- Ensure there are no sharp edges or loose staples that could catch a paw.
If you are using a flat board, you can simply prop it against a couch or hold it at a 45-degree angle. If your puppy is hesitant, starting with the board flat on the floor is often the best way to build initial confidence.
The 10-Minute Training Protocol: Step-by-Step

Ready to see results? We are going to use a technique called shaping. This means we reward small increments of progress until we reach the final goal. Set your timer for 10 minutes—you might be surprised how quickly your pup catches on!
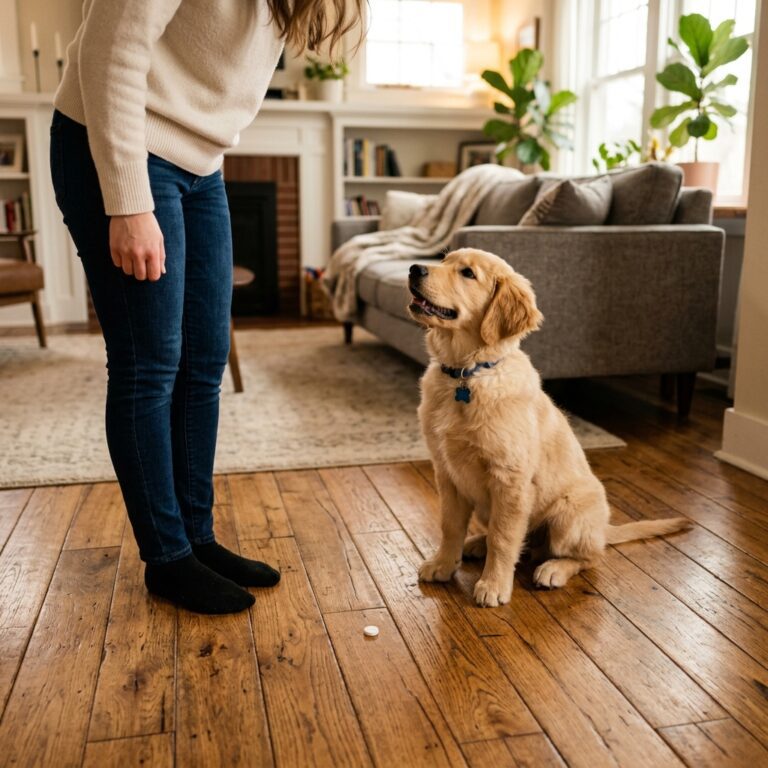
Phase 1: Creating a Positive Association (Minutes 1-2)
Place the board on the floor. Every time your puppy looks at it or sniffs it, click (if using a clicker) and toss a high-value treat on the board. We want them to think the board is a ‘magical treat dispenser.’
Phase 2: Encouraging the Paw (Minutes 3-5)
Once they are comfortable, wait for them to do something more. Most puppies will naturally try to paw at the board to get a treat they see or smell. The moment a paw touches the sandpaper—even accidentally—Jackpot! Give multiple treats and lots of verbal praise.
Phase 3: The ‘Digging’ Motion (Minutes 6-10)
Now, we only reward actual scratching motions. Hold a treat in your hand and ‘hide’ it behind the board or under a thin cloth on top of the board. Your puppy will likely try to dig for it. As their nails scrape the surface, reward immediately. Repeat this until they are offering the scratching behavior without the treat being hidden.
The ‘Treat Magnet’ Technique
If your puppy is struggling to understand the scratching motion, try the ‘Treat Magnet.’ Hold a smelly treat (like freeze-dried liver) inside your fist and press your fist against the top of the scratch board. As the puppy tries to paw your hand to get the treat, they will naturally scrape the board. Open your hand and let them have the treat the second their nails make contact with the grit.
Troubleshooting Common Challenges
Even the smartest puppies can hit a roadblock. If your 10-minute session isn’t going perfectly, don’t panic. Here is how to handle the most common hiccups.
Issue: My Dog is Scared of the Sound
The sound of nails on sandpaper can be ‘skritchy’ and startling. If your pup jumps back, go back to Phase 1. Reward them just for standing near the board while you scratch it with your fingers. Gradually desensitize them to the noise before asking them to make the sound themselves.
Issue: They Only Use One Paw
Dogs, like humans, can be ‘left-pawed’ or ‘right-pawed.’ If they are only using their dominant side, try shifting your body position or the treat’s position to the opposite side. You can also gently block the ‘busy’ paw with your hand to encourage the other one to take a turn.
Issue: Over-Scratching
Because this is a game, some high-drive dogs won’t want to stop! Always check the nails every few scratches. Stop the session immediately if the nails look short enough or if the pads of the paws look red. We want to file the nails, not the paw pads.
What About the Back Paws and Dewclaws?
The front paws are the easy part. The back paws and the dewclaws (the ‘thumb’ nail higher up on the leg) require a bit more finesse.
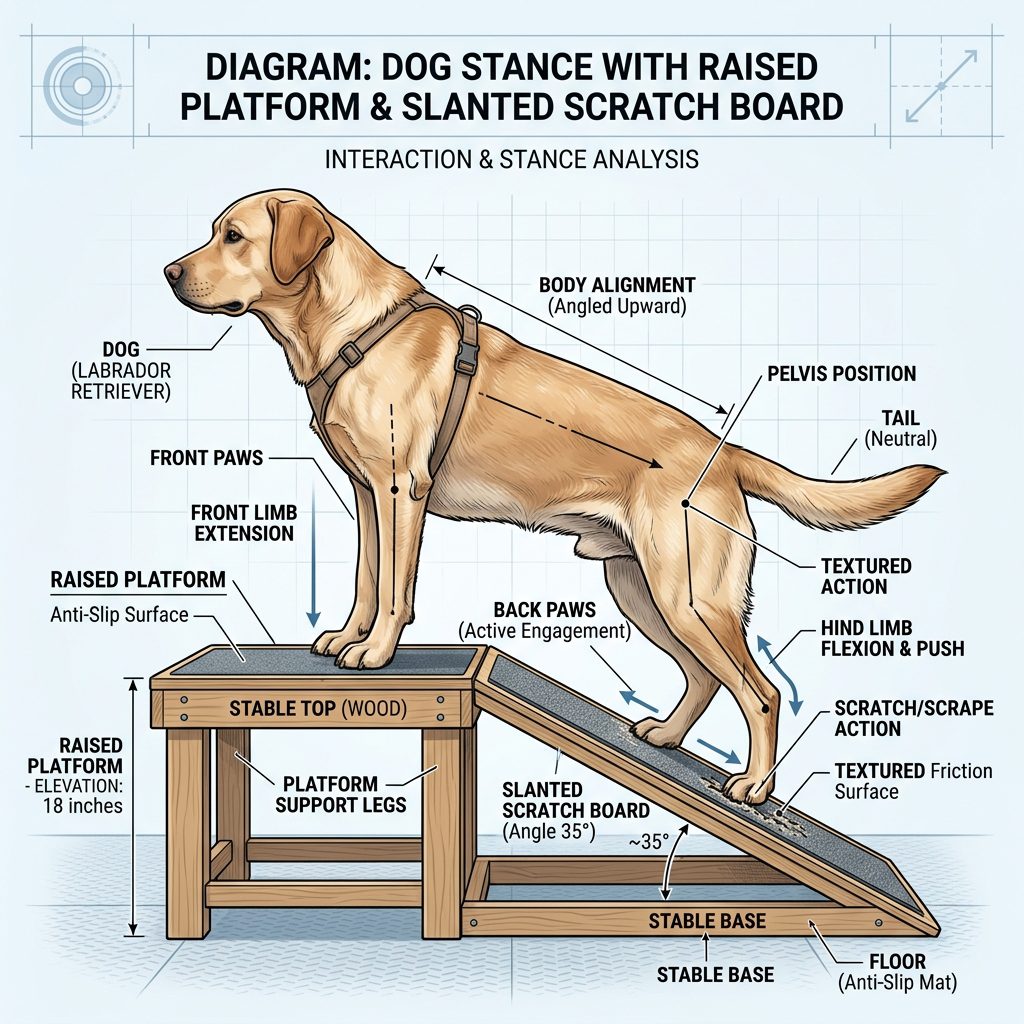
Training the Back Paws
To get the back paws, we use the ‘Suitcase’ or ‘Kick-Back’ method. Place the board on the floor behind the dog. Lure the dog forward with a treat so they have to step over the board. As their back feet move, they may naturally drag or ‘kick’ the board. Alternatively, you can prop the board at a steep angle against a wall and lure the dog to put their front paws on a stool or couch, which shifts their weight and encourages them to adjust their back feet against the board.
The Dewclaw Dilemma
It is vital to remember: A scratch board will NOT file the dewclaws. Since dewclaws don’t touch the ground or the board during the scratching motion, you will still need to use traditional clippers or a small manual file for these specific nails. However, because your dog is now so relaxed about ‘paw work’ thanks to the board, clipping that one single nail is usually a breeze!
Maintenance Schedule and Long-Term Success
Consistency is the secret to never having to ‘clip’ again. For most puppies, a quick 2-minute ‘scratch session’ twice a week is enough to keep the nails at a perfect length. If you can hear ‘clicking’ on the hardwood floor, it’s time to bring out the board!
| Activity Level | Nail Growth Rate | Recommended Frequency |
|---|---|---|
| High (Running on pavement) | Naturally worn down | Once every 2 weeks |
| Medium (Grass/Carpet) | Moderate | Once a week |
| Low (Senior/Indoor) | Fast | Twice a week |
Always end every session on a high note. Even if you only get three good scratches, reward heavily and stop. You want your puppy to see the scratch board as the best game in the world. By making nail care a fun, cooperative activity, you are setting your puppy up for a lifetime of stress-free grooming.
Conclusion
Nail maintenance doesn’t have to be a battle of wills. By spending just 10 minutes teaching your puppy to use a scratch board, you are replacing fear with fun and resistance with reinforcement. This DIY approach isn’t just a ‘hack’—it’s a sophisticated training tool that respects your dog’s autonomy while keeping them healthy and comfortable. Remember, the goal is progress, not perfection. Start slow, keep the treats flowing, and soon enough, you’ll have a pup who begs to have their nails ‘done.’ Happy scratching!