How To Train Puppy To Wear Spay Cone Without Panic: The Ultimate Guide
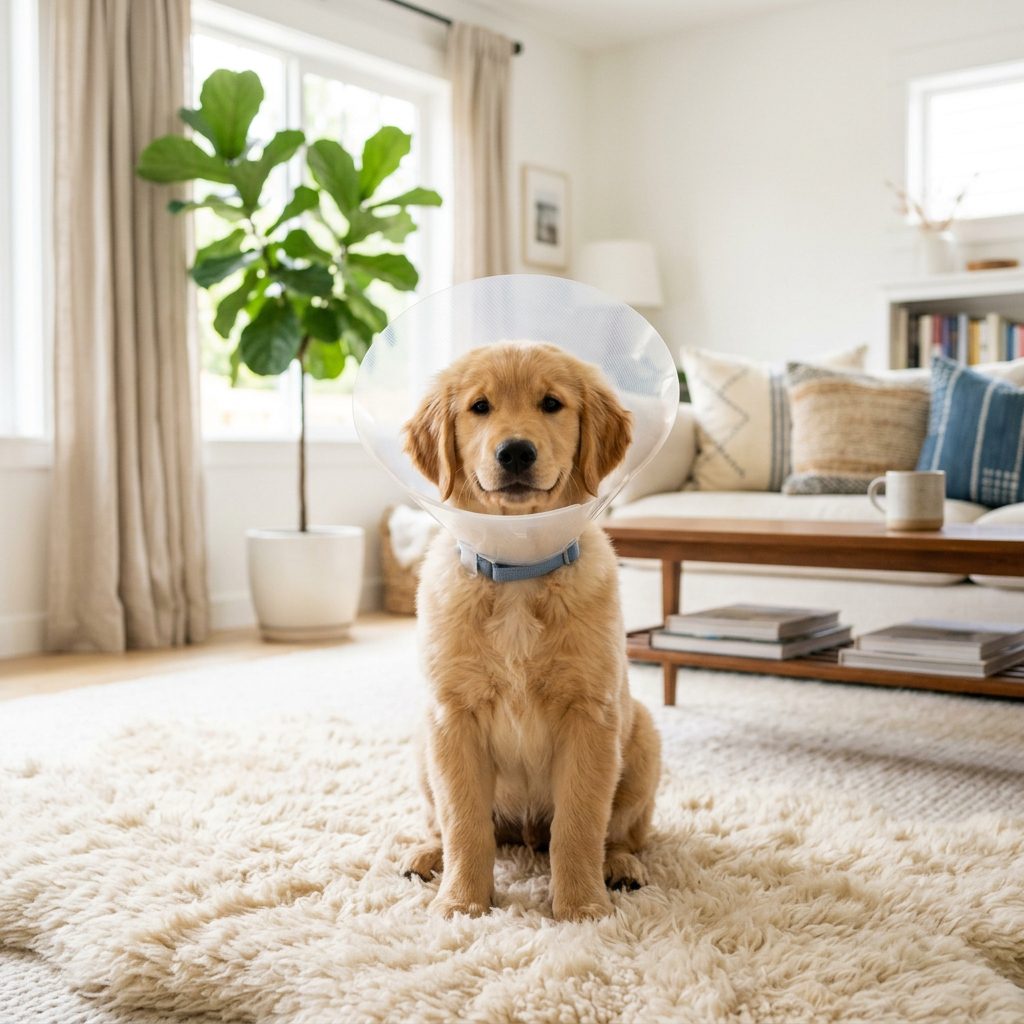
The ‘Cone of Shame.’ We’ve all seen the memes, the sad puppy eyes, and the clumsy collisions with doorframes. But when your puppy is scheduled for a spay or neuter, that plastic Elizabethan collar (E-collar) becomes a vital medical tool. It prevents your pup from licking their incision, which can lead to infections, pulled stitches, and emergency vet visits. However, for many puppies, having a giant plastic satellite dish suddenly strapped to their neck is a recipe for pure panic.
As savvy dog owners, we know that the best way to handle any stressful situation is through proactive training. You wouldn’t expect your puppy to know how to walk on a leash without practice, so why expect them to accept a cone overnight? In this guide, we are going to dive deep into the world of cooperative care, showing you exactly how to desensitize your puppy to the cone before surgery day arrives. By turning the cone into a ‘party hat’ associated with treats and praise, you can ensure a calm, safe, and speedy recovery.
Preparation: Choosing the Right Gear and Setting the Stage
Before we start the training process, we need to make sure we have the right tools. Not all cones are created equal, and the type you choose can significantly impact your puppy’s comfort level. While the vet will likely provide a standard plastic E-collar, you might want to explore alternatives depending on your puppy’s size and temperament.
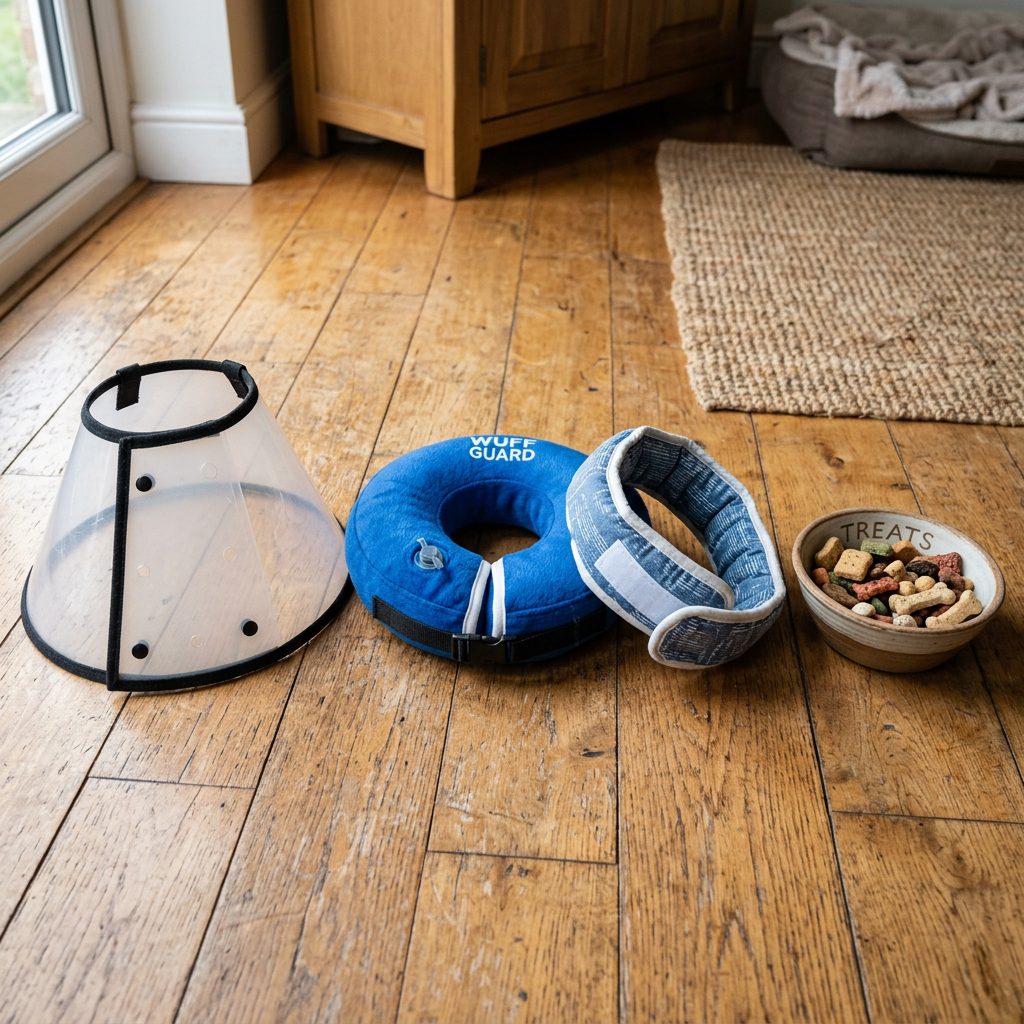
The Recovery Gear Toolkit
Here is a breakdown of the most common options you might encounter:
| Type of Cone | Pros | Cons |
|---|---|---|
| Standard Plastic (E-Collar) | Very effective; prevents all licking; easy to clean. | Noisy; blocks peripheral vision; can be uncomfortable for sleeping. |
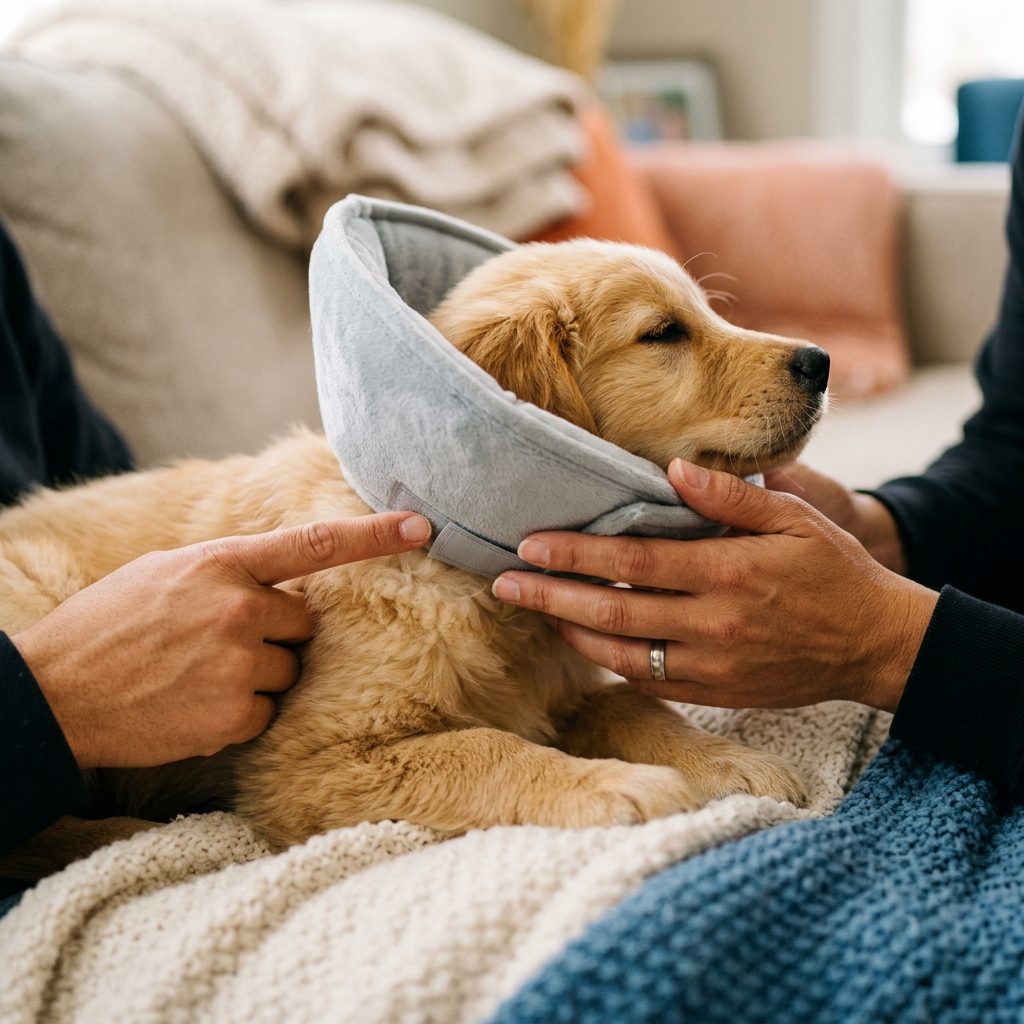
| Soft/Fabric Cone | More comfortable for sleeping; less noise when hitting walls. | Can be folded back by determined pups; harder to keep clean. |
| Inflatable ‘Donut’ | Better visibility; easier to eat and drink. | Doesn’t prevent reaching paws or tail; can be popped. |
| Recovery Suit (Onesie) | Maximum comfort; no vision blockage. | Doesn’t protect head/ear injuries; some dogs can lick through the fabric. |
Regardless of the style you choose, the training steps remain largely the same. You will also need a supply of high-value treats (think boiled chicken, string cheese, or freeze-dried liver) that your puppy only gets during ‘cone time.’ This creates a powerful positive association.
Phase 1: The ‘Look and Sniff’ Introduction
The first rule of cone training is: Never just surprise them with it. If the first time your puppy sees the cone is when they are groggy and sore from surgery, they will likely associate it with pain and fear. We want to start at least 7 to 10 days before the procedure.
Step 1: Sight and Scent
Place the cone on the floor in the middle of the room. Let your puppy approach it on their own terms. Every time they sniff it or even look at it, say ‘Yes!’ and give them a treat. We want them to think, ‘Hey, that weird plastic thing is a treat dispenser!’
Step 2: The Sound of Music (or Plastic)
One of the scariest parts of the cone is the sound. The ‘scritch-scratch’ of the Velcro or the ‘click’ of the plastic tabs can be startling. While the puppy is nearby (but not wearing it), gently manipulate the fasteners. Click the tabs, peel the Velcro, and immediately toss a treat. This counter-conditions the noise, so the sound of the cone being put on becomes a signal for a reward.
Pro Tip: If your puppy is particularly sound-sensitive, start with the cone across the room and gradually move closer as they remain calm.
Phase 2: The Head-Poke and Positive Association
Now that the puppy is comfortable with the object itself, we need to get them used to the sensation of having their head inside it. This is often where the ‘panic’ starts because the cone limits their peripheral vision.
Step 3: The ‘Lure’ Method
Hold the cone in one hand with the narrow opening facing the puppy. Hold a high-value treat in your other hand, on the other side of the opening. You want the puppy to voluntarily stick their nose through the small hole to get the treat. Do not push the cone onto them; let them move toward it.
- Level 1: Puppy puts nose in, gets treat, pulls back.
- Level 2: Puppy puts muzzle in, gets treat, stays for 2 seconds.
- Level 3: Puppy puts head all the way in so the cone is resting on their neck (but not fastened).
Repeat this dozens of times until your puppy is eagerly shoving their head into the cone the moment they see it. You are aiming for a ‘proprioceptive’ comfort—where they understand where their head is in relation to the plastic walls.
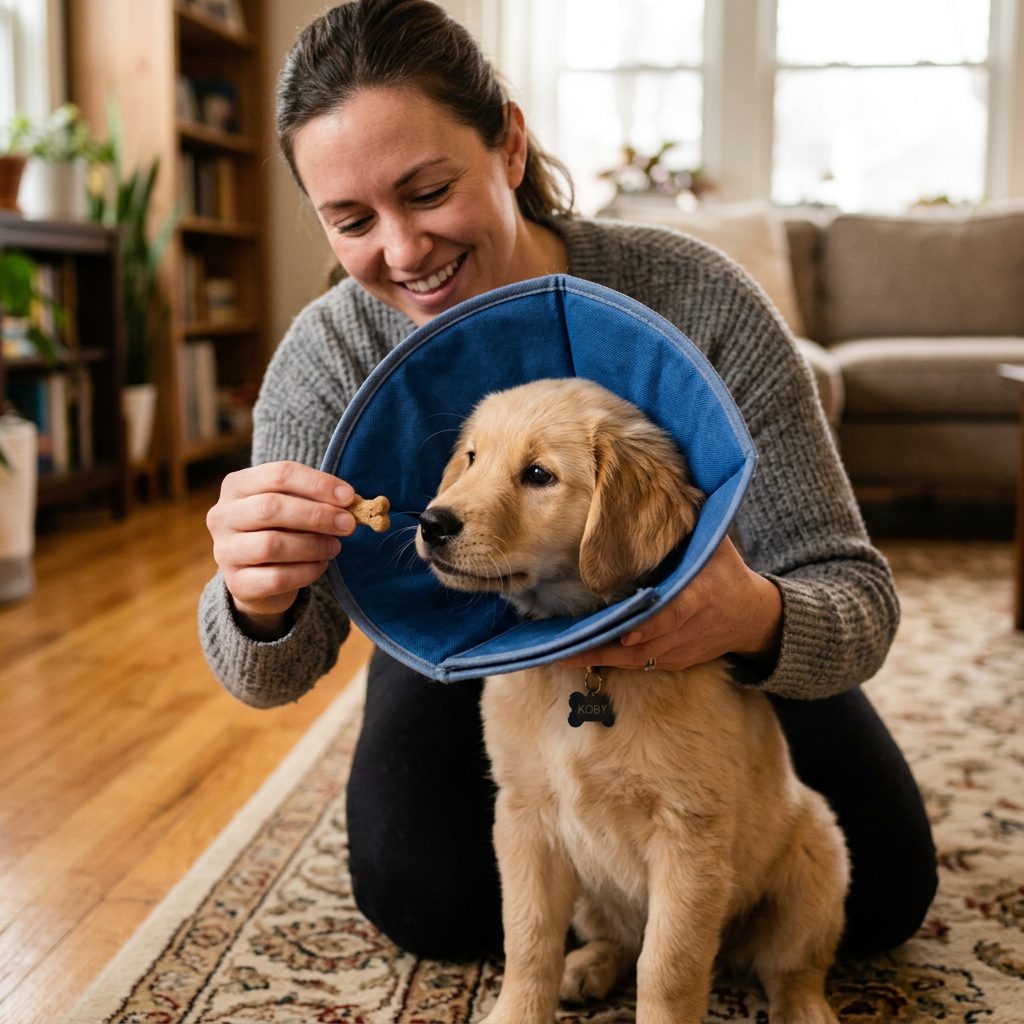
Phase 3: Fastening and Movement
Once your puppy is a pro at the head-poke, it’s time to secure the cone. This is the ‘real deal’ phase. Start by fastening it loosely for just a few seconds while you feed a stream of treats, then take it off immediately.
Building Duration
Slowly increase the time the cone stays on. Start with 10 seconds, then 30, then a minute. During this time, keep your puppy engaged. Use a Lick Mat or a stuffed Kongs to keep them occupied while wearing the cone. This distracts them from the sensation on their neck.
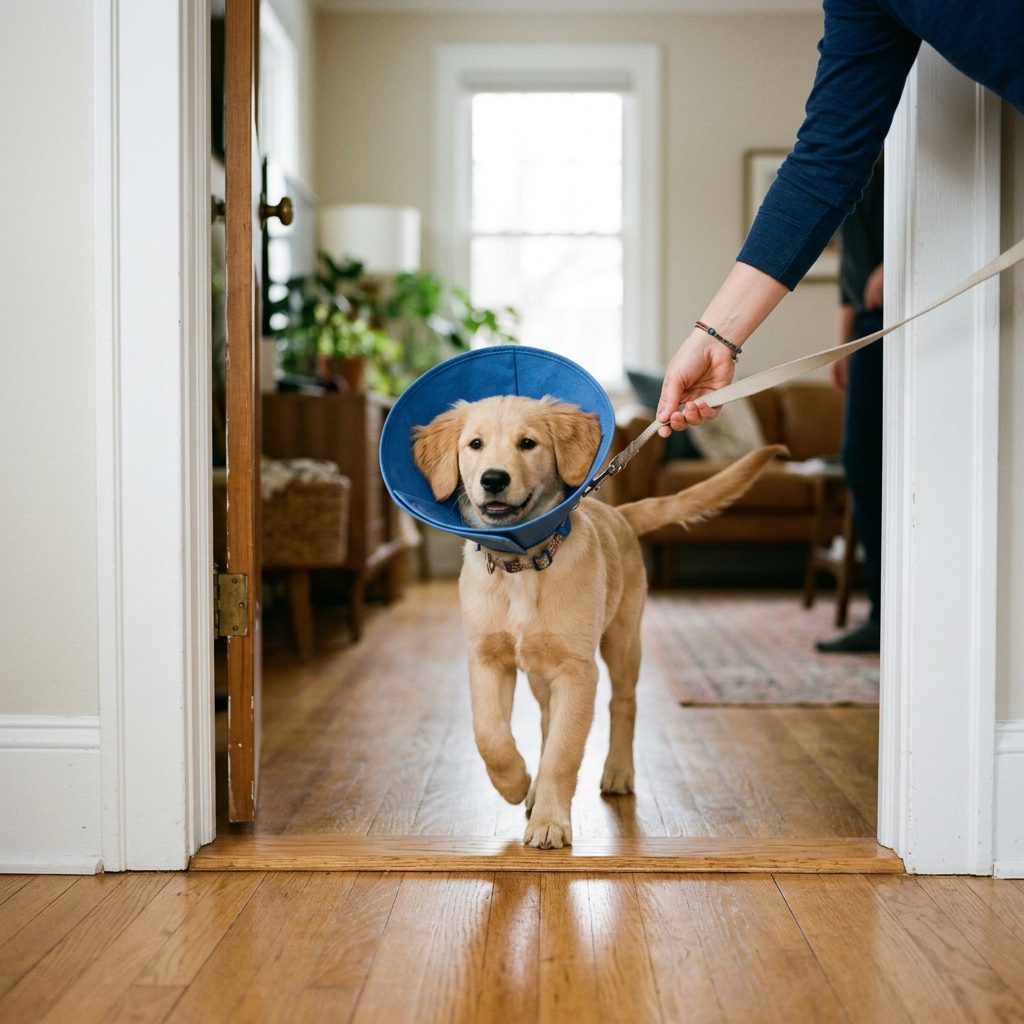
Navigating the Environment
Puppies often panic when they first bump into a wall or a chair. Their spatial awareness is completely thrown off. You can help them by:
- Widening the Path: Move furniture slightly apart to create wider walkways.
- Targeting: Use a touch-stick or your hand to lead them through doorways while wearing the cone.
- Positive Rebound: If they ‘bonk’ into a wall, immediately say ‘Oopsie!’ in a happy voice and give a treat. We want to teach them that bumping into things isn’t a disaster—it’s just a minor clunk.
Troubleshooting: Managing Panic and Freezing
Even with the best training, some puppies may still experience a moment of ‘statue-dog’ (freezing in place) or ‘alligator-rolling’ (trying to thrash the cone off). Knowing how to react in these moments is crucial for maintaining their trust.
The ‘Freeze’ Response
If your puppy puts the cone on and refuses to move, do not pull them by the leash. This can increase their anxiety. Instead, use a very smelly treat (like sardines or wet food) and place it just an inch from their nose. Encourage them to take one step. Celebrate that single step like they just won the Olympics!
The ‘Thrash’ Response
If the puppy starts thrashing, stay calm. Do not yell or try to pin them down. If possible, wait for a 1-second lull in the thrashing, then gently remove the cone. This teaches them that calm behavior is the way out, not the thrashing itself. Go back a step in your training—perhaps they weren’t ready for the cone to be fastened yet.
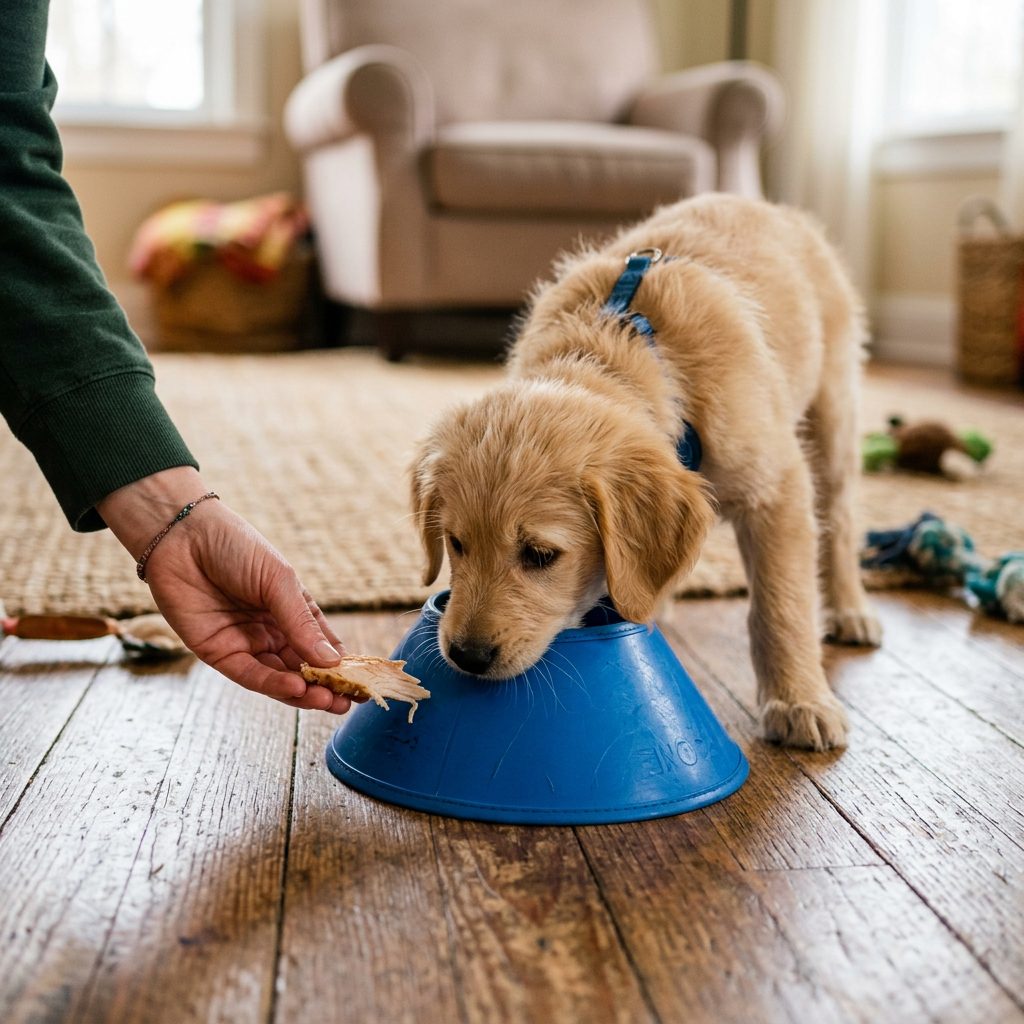
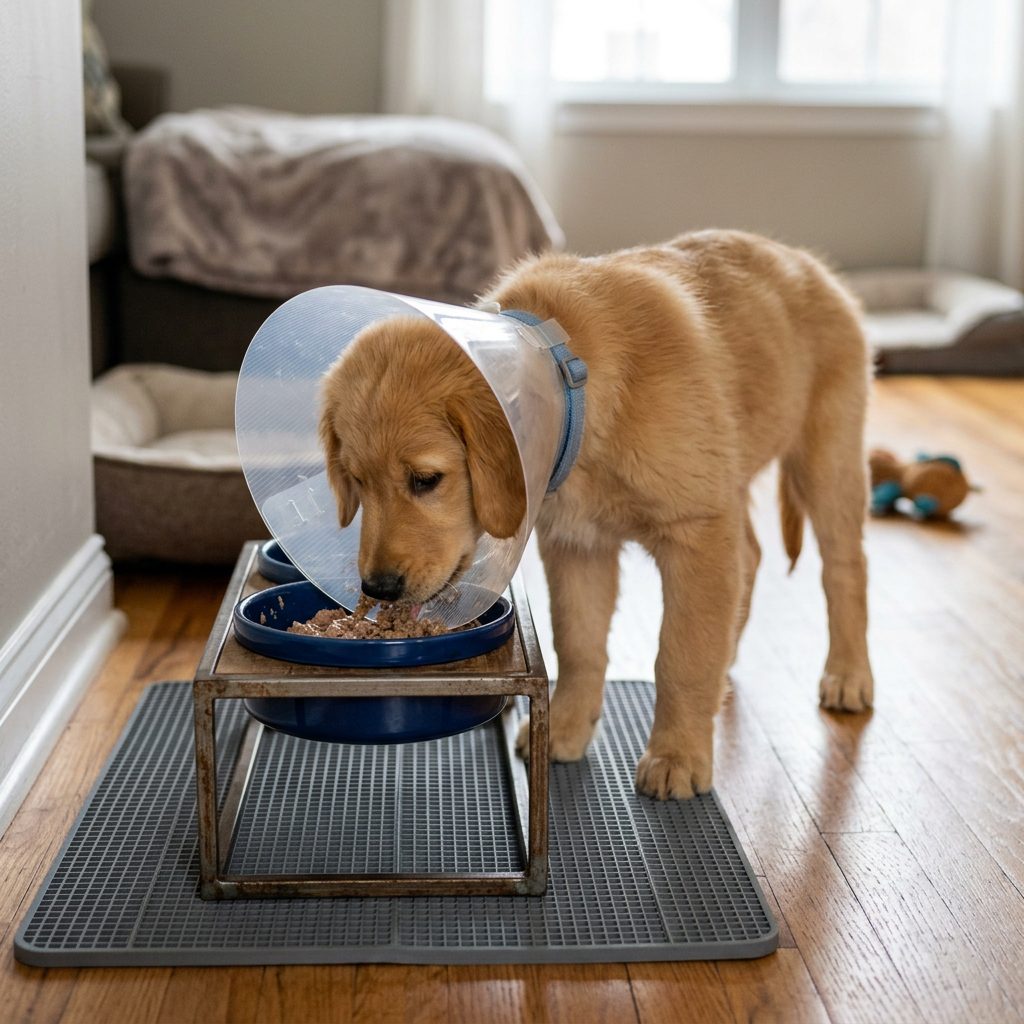
Feeding and Hydration Challenges
Many puppies struggle to eat or drink with a cone. It can hit the bowl and push it away. To solve this, consider the following adjustments:
| Challenge | Solution |
|---|---|
| Bowl keeps moving | Place the bowl on a non-slip silicone mat or in a corner. |
| Cone hits the floor first | Elevate the food and water bowls by 2-4 inches using a stand or a sturdy box. |
| Refusal to eat | Hand-feed small amounts of kibble or wet food to build confidence. |
The Golden Rules for Post-Surgery Success
The training you do now is an investment in your puppy’s safety. Once the surgery is over, you will need to be diligent. Here are the golden rules for the 10-14 days of recovery:
- The 100% Rule: If you cannot supervise your puppy, the cone must be on. It only takes 30 seconds for a puppy to pull out their stitches.
- Check for Chafing: Twice a day, remove the cone (while keeping the puppy on a short leash so they don’t lick) and check their neck and ears for redness or irritation.
- Keep it Clean: Food and saliva can build up inside the cone. Wipe it out daily with a pet-safe disinfectant or a damp cloth.
- Mental Stimulation: Since physical exercise is restricted post-spay, use the cone time for ‘brain games.’ Scent work (hiding treats around the room) is a great way to tire them out without risking their incision.
By following these steps, you aren’t just preventing an injury; you are teaching your puppy resilience. You are showing them that even when things feel weird or restricted, they are safe, and you are there to support them.
Conclusion
Training your puppy to wear a spay cone doesn’t have to be a stressful ordeal. By starting early, using high-value rewards, and moving at your puppy’s individual pace, you can transform a potentially terrifying experience into a manageable part of their routine. Remember, your calm energy is contagious. If you treat the cone like a normal, happy accessory, your puppy will eventually follow your lead.
The ‘Cone of Shame’ is really a ‘Cone of Healing.’ It is the only thing standing between your puppy and a complicated recovery. Stay patient, stay positive, and before you know it, those stitches will be out, the cone will be off, and your pup will be back to their usual zoomie-filled self. Happy training!