7 Simple Steps To Painless Ear Cleaning Your Puppy Will Actually Enjoy
Making Ear Care a Joyful Routine
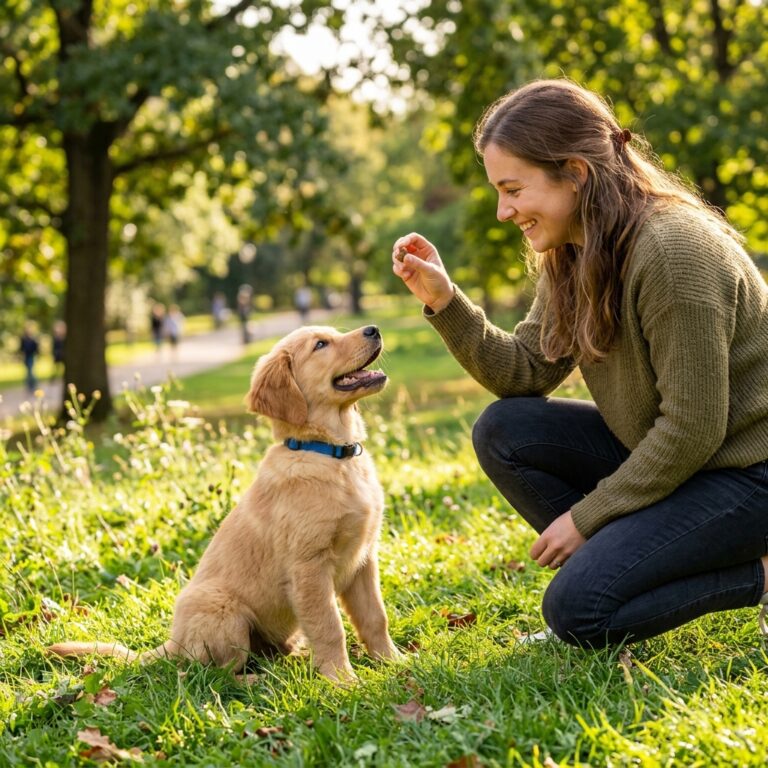
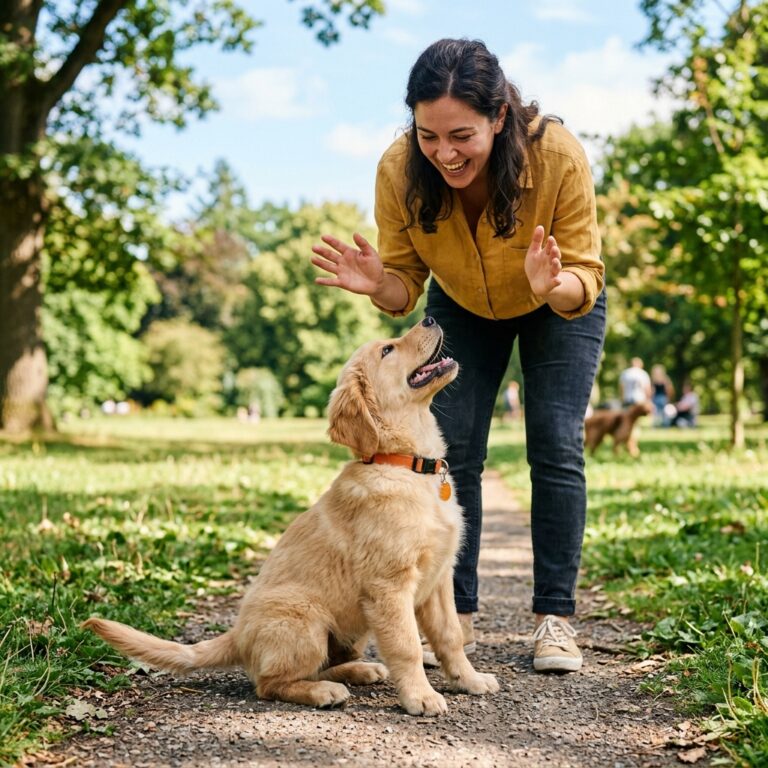
If you have ever tried to clean a puppy’s ears, you might have experienced what feels like a wrestling match involving a slippery, wiggly creature and a bottle of fluid that ends up everywhere except the ear canal. For many savvy dog owners, ear maintenance is often viewed as a necessary evil—a chore that must be endured rather than enjoyed. However, it doesn’t have to be this way. As a canine specialist, I am here to tell you that with the right approach, ear cleaning can become a stress-free bonding moment that your puppy actually looks forward to.
Puppies are in a critical socialization window. Every experience they have now shapes their perception of grooming for the rest of their lives. By using positive reinforcement and a gentle touch, you are not just cleaning out wax; you are building trust. In this comprehensive guide, we will walk through the essential tools, the psychological preparation, and the exact seven steps to ensure your puppy’s ears stay healthy and their tail stays wagging throughout the process.
Gathering Your Professional Ear Care Kit
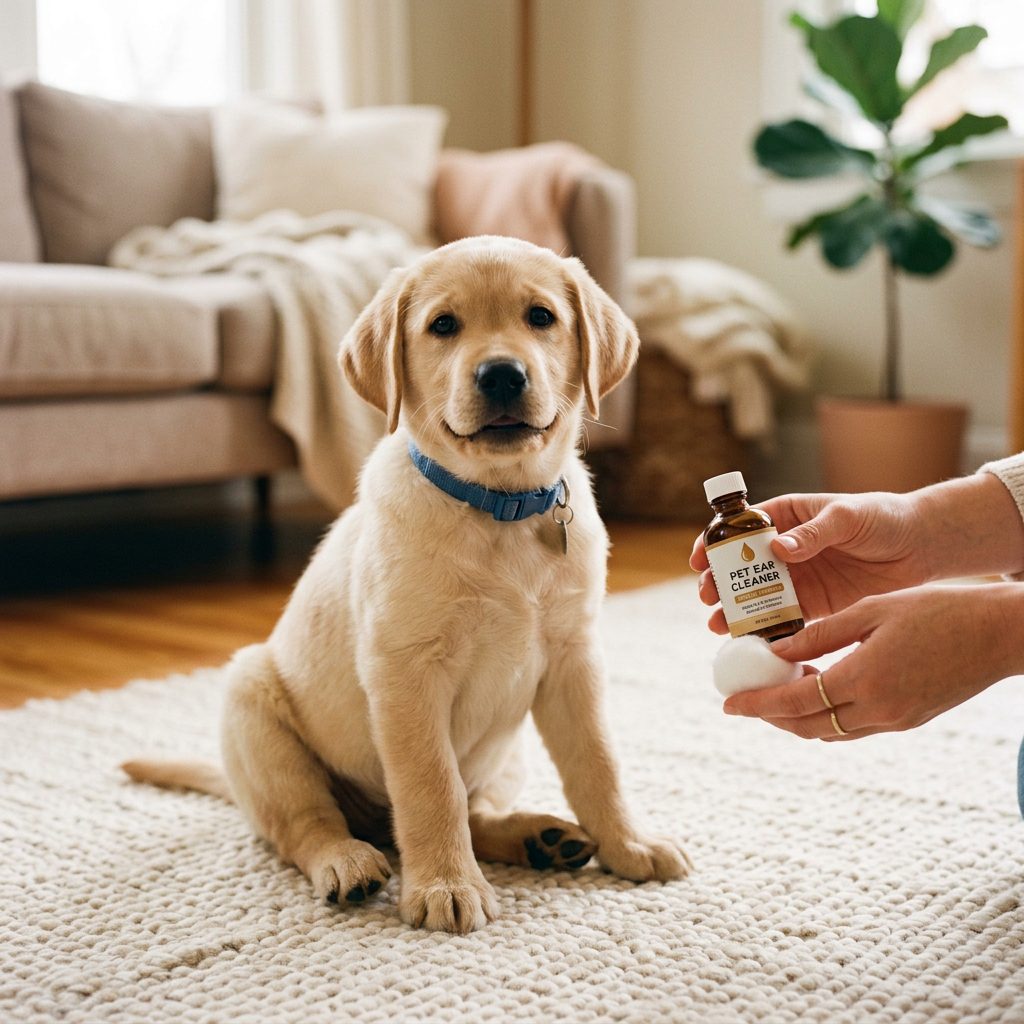
Before you even call your puppy over, you must have all your supplies ready. Nothing ruins a calm grooming session faster than having to get up and hunt for a cotton ball while your puppy decides to bolt for the sofa. Preparation is the hallmark of a savvy owner.
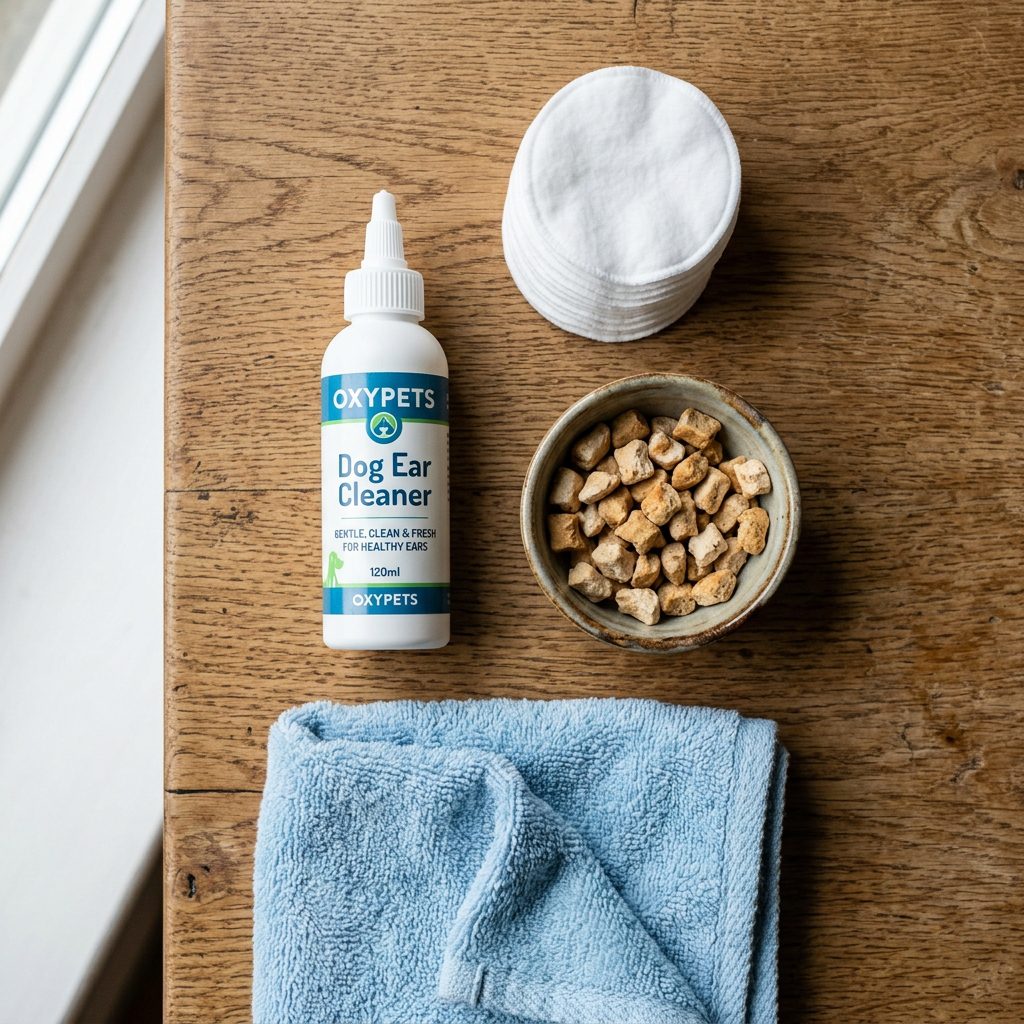
Essential Supplies for Puppy Ear Cleaning
You don’t need an entire pharmacy, but you do need high-quality, dog-specific products. Never use human ear cleaning solutions or hydrogen peroxide, as these can be incredibly irritating to a puppy’s delicate skin.
| Tool | Purpose | Special Note |
|---|---|---|
| Veterinary-Approved Ear Cleaner | Breaks up wax and debris | Look for a pH-balanced, alcohol-free formula. |
| Cotton Balls or Gauze Pads | Wiping away excess fluid and wax | Avoid Q-tips/cotton swabs inside the ear canal. |
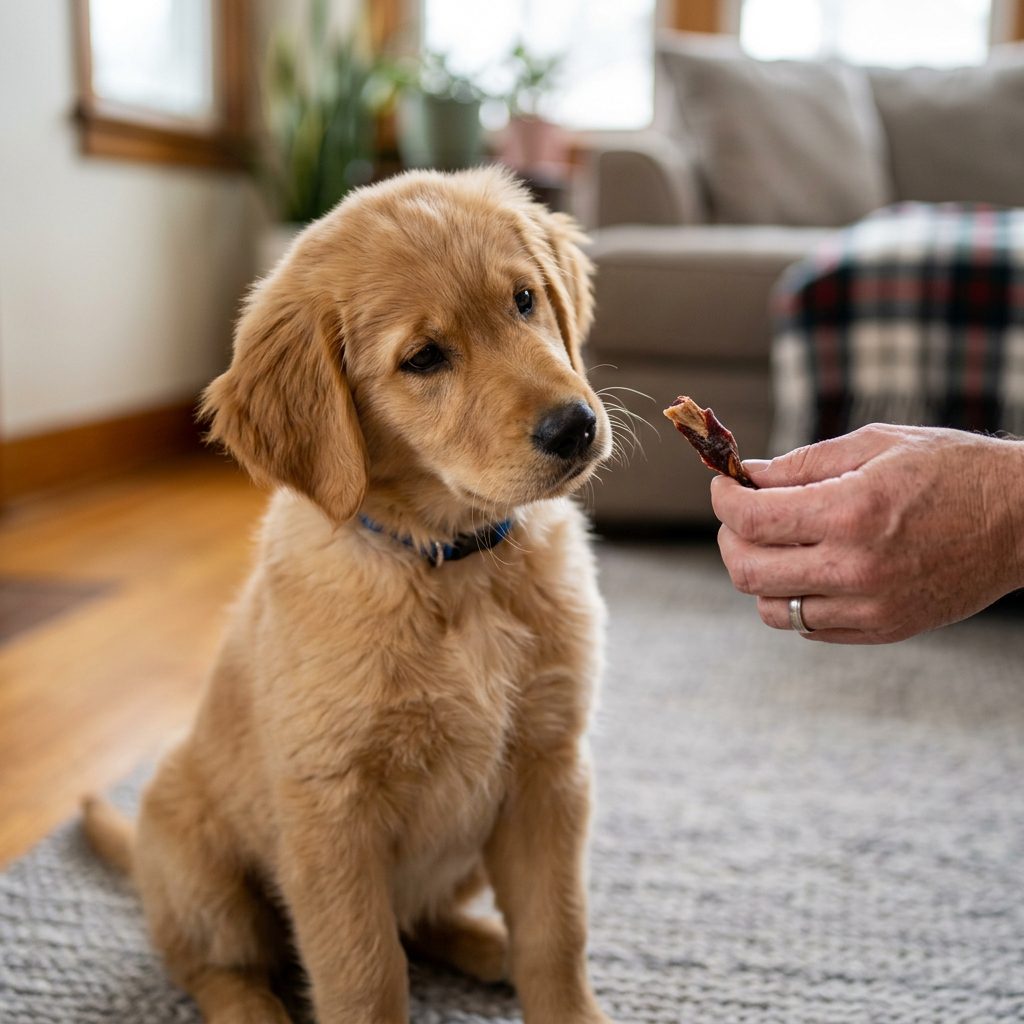
| High-Value Treats | Positive reinforcement | Use something extra special like small pieces of boiled chicken. |
| A Towel | Cleanup and containment | Useful for the inevitable ‘ear shake’ after the liquid goes in. |
Expert Tip: Keep your ear cleaning solution at room temperature. Cold liquid hitting a warm ear canal can be startling and uncomfortable for a young puppy.
The Art of Desensitization: Pre-Cleaning Prep
You wouldn’t expect a toddler to sit still for a complex medical procedure without any preparation, and your puppy is no different. Before we dive into the liquid and the wiping, we need to ensure your puppy is comfortable with their ears being handled.
Step-by-Step Desensitization
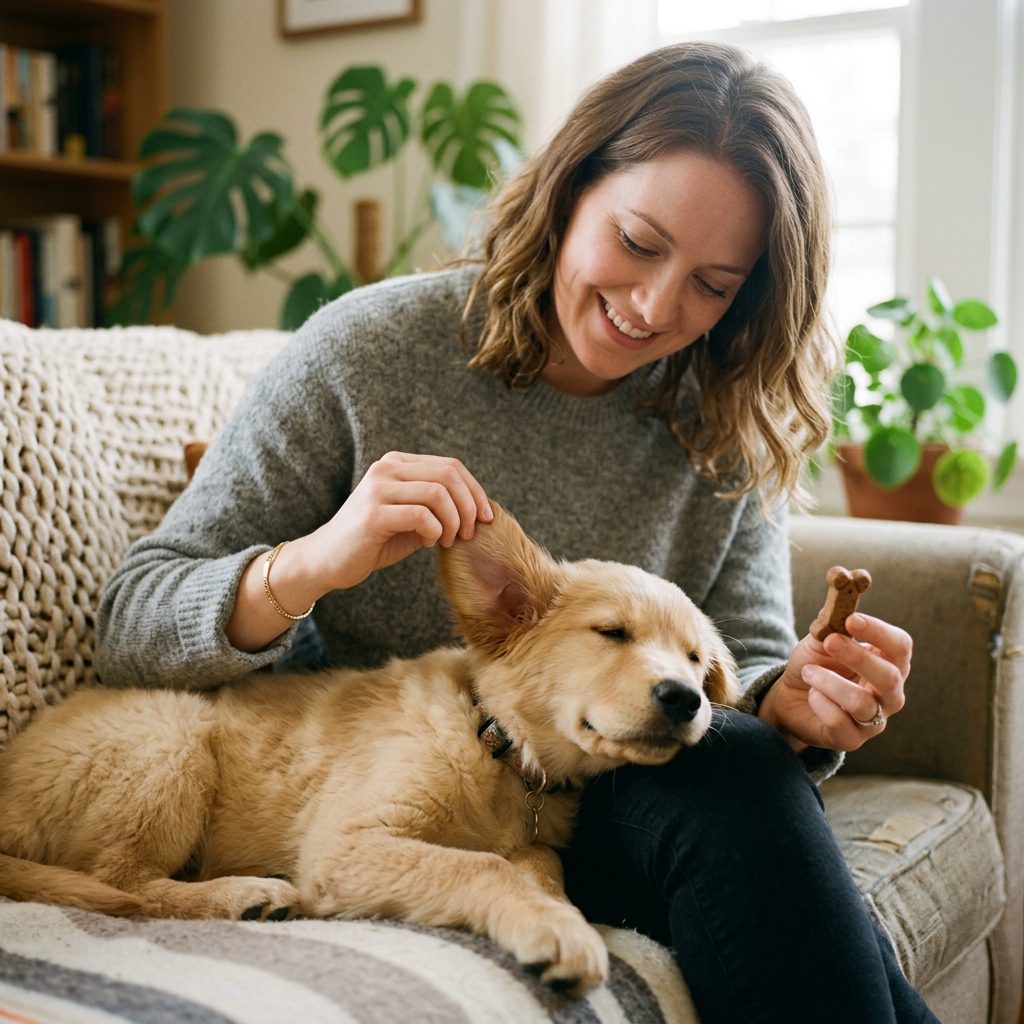
- The Gentle Touch: Start by massaging your puppy’s ears during normal cuddle time. If they lean in, give them a treat.
- The Scent Introduction: Let them sniff the ear cleaner bottle and the cotton pads. Reward their curiosity.
- The Sound Check: Open and close the cap of the cleaner so they get used to the clicking or squeezing sound.
The goal is to reach a state where your puppy associates the sight of the ear care kit with good things. If your puppy is already showing signs of fear, go back a step and spend more time on the ‘treat and touch’ phase before proceeding to the actual cleaning.
The 7 Simple Steps to a Painless Clean

Now that your puppy is relaxed and your kit is ready, follow these seven steps for a seamless experience. Remember to keep your voice low, calm, and encouraging throughout.
1. The Inspection
Start by lifting the ear flap (the pinna) and looking inside. You are checking for redness, discharge, or a foul odor. If the ear smells like yeast or old gym socks, stop and call your vet—it might be an infection rather than just dirt.
2. The Perfect Position
Sit on the floor with your puppy between your legs or in the crook of your arm. Ensure they are comfortable but secure. This isn’t about restraint; it’s about providing a ‘hug’ that makes them feel safe.
3. Applying the Solution
Gently lift the ear flap and squeeze the ear cleaner into the ear canal until you see the liquid start to fill the opening. Crucial: Do not stick the tip of the bottle into the ear; hold it just above the opening.
4. The Magical Base Massage
This is the step puppies usually enjoy! Close the ear flap and massage the base of the ear (the part closest to the head) for about 30 seconds. You should hear a ‘squishing’ sound. This sound means the cleaner is breaking up the wax deep inside.
5. The Shake Break
Step back and let your puppy shake their head. This is a natural reflex that uses centrifugal force to bring the loosened debris from the deep canal up to the outer surface where you can reach it.
6. The Gentle Wipe
Using your cotton ball or gauze, gently wipe away the wax and excess fluid from the outer part of the ear canal and the inside of the ear flap. Only go as deep as your index finger can easily reach.
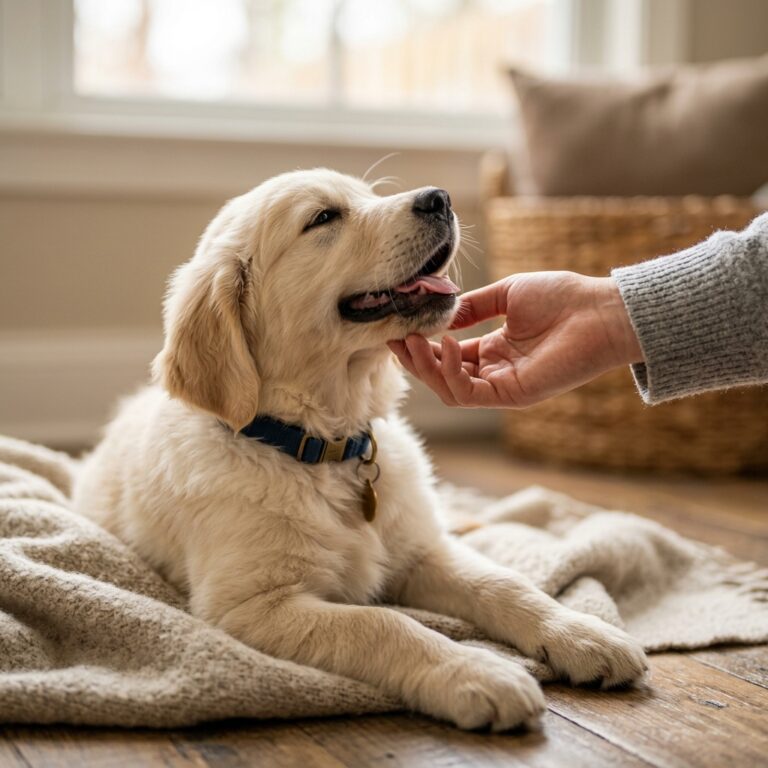
7. The Jackpot Reward
Immediately follow the cleaning with a ‘jackpot’ of treats and praise. This final step cements the idea that ear cleaning is the best part of the day.
Troubleshooting Common Puppy Protests
Even the best-laid plans can hit a snag. Puppies are naturally wiggly, and some have more sensitive ears than others. If your puppy is struggling, here is how to handle the most common issues.
What to Do if Your Puppy Wiggles
If the puppy starts to struggle, don’t force the issue. Stop, wait for a second of calm, reward that calm, and then try again. Sometimes, doing one ear in the morning and the other in the evening is a better strategy for high-energy pups.
Common Mistakes to Avoid
- Using Q-Tips: These can push wax deeper or even puncture the eardrum if the puppy jerks their head.
- Over-Cleaning: Cleaning too often can strip the ear of healthy oils and lead to irritation.
- Yelling or Punishment: This will create a permanent negative association, making future cleanings impossible.
Special Note: If your puppy yelps or cries during the massage phase, this is a sign of pain, not just annoyance. This usually indicates an underlying ear infection (Otitis Externa) that requires veterinary intervention.
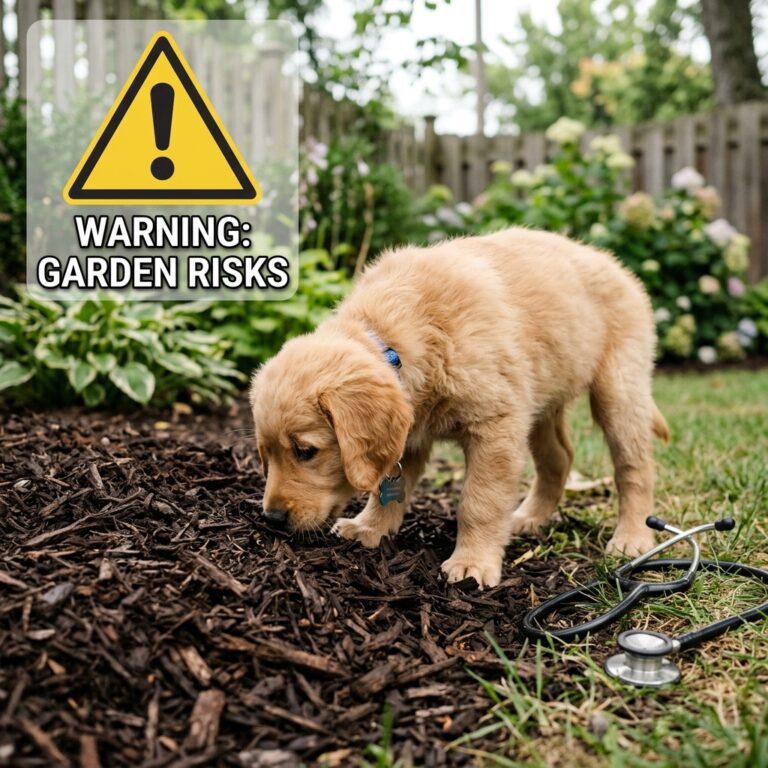
Red Flags: When to Stop and Call the Vet
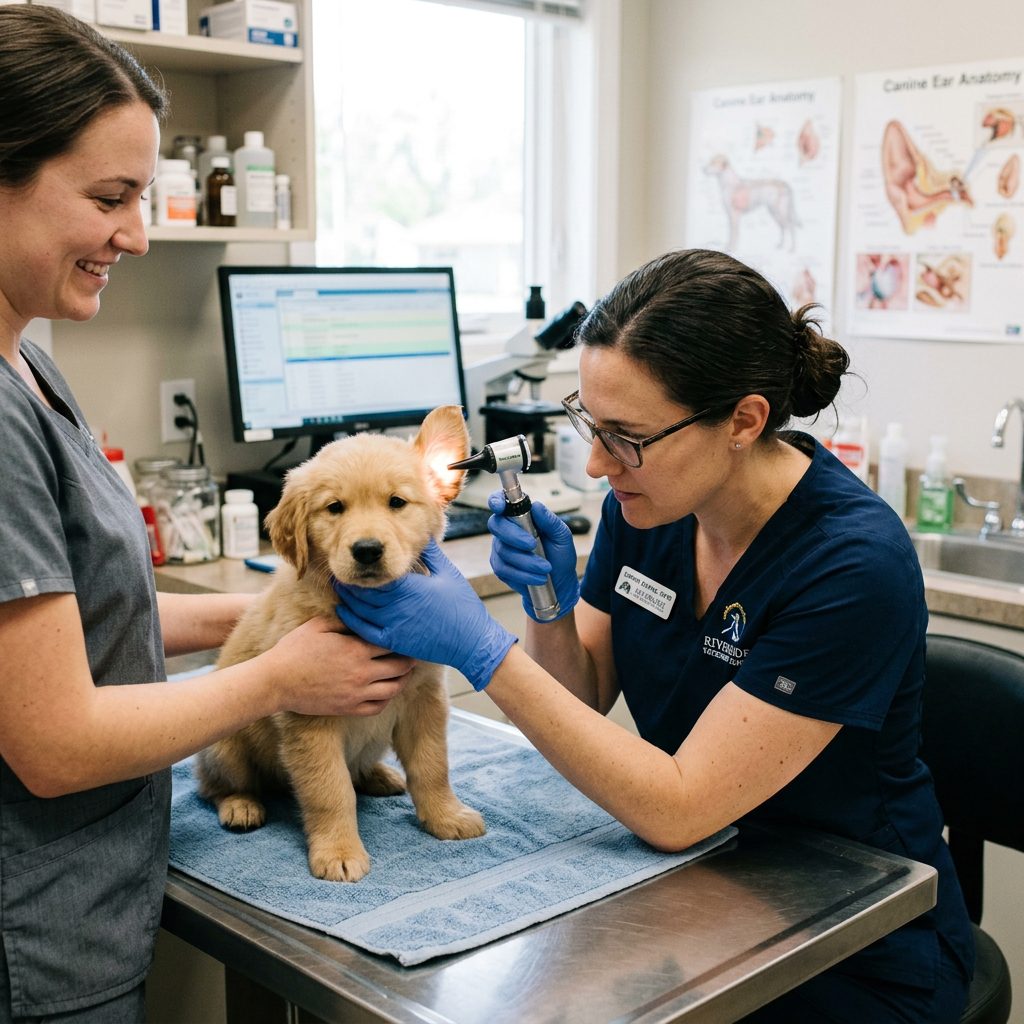
While regular cleaning is part of routine maintenance, it is not a cure for a medical condition. As a savvy owner, you must know when the situation has moved beyond ‘dirty ears’ and into ‘medical emergency’ territory.
Signs of an Ear Infection
| Symptom | What it Looks Like | Action Required |
|---|---|---|
| Excessive Scratching | Puppy constantly paws at the ear or rubs head on floor | Schedule vet exam |
| Odor | Sweet, musty, or ‘yeasty’ smell | Schedule vet exam |
| Discharge | Black, yellow, or bloody debris | Urgent vet visit |
| Swelling | The ear flap feels thick or like a water balloon | Emergency vet visit (likely a hematoma) |
If you notice any of these signs, do not attempt to clean the ears at home. The ear canal may be too inflamed, and adding solution could cause significant pain or even damage a compromised eardrum.
Maintenance Schedule: How Often is Enough?
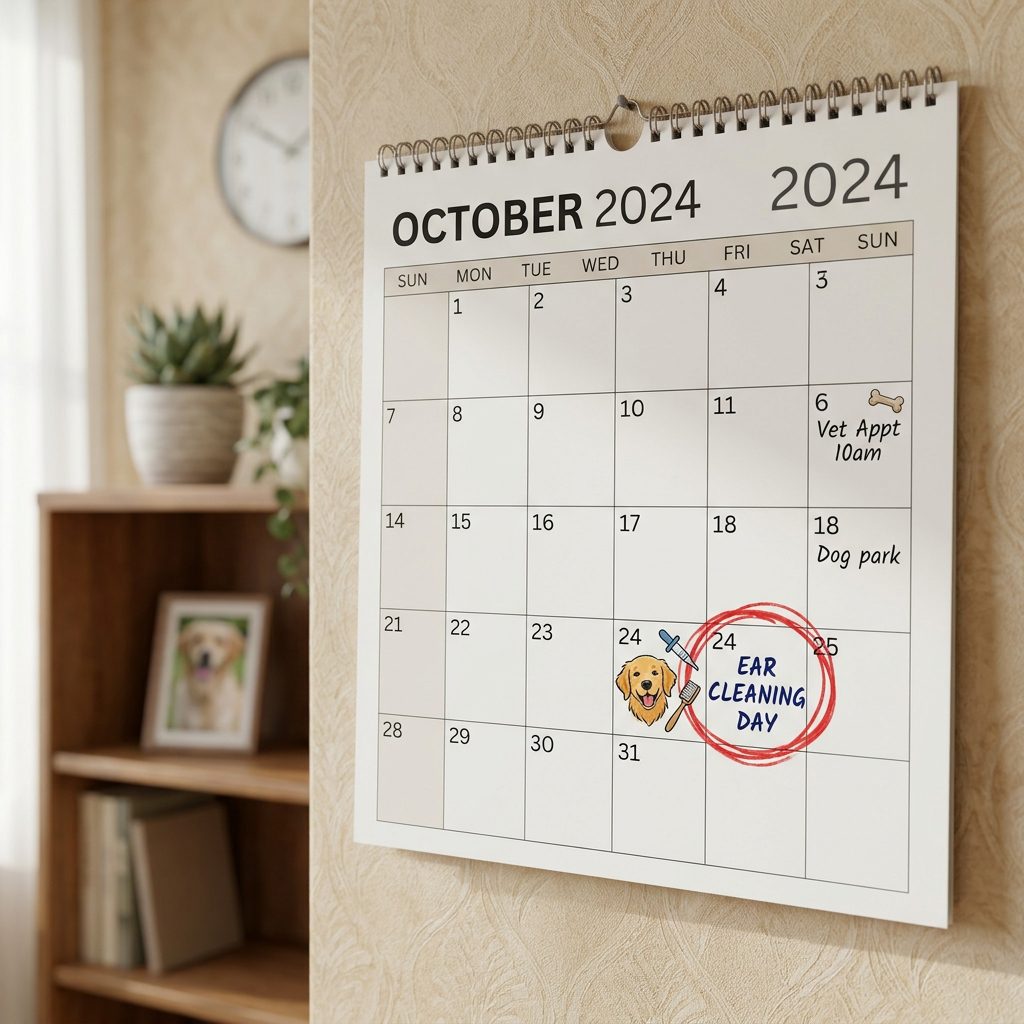
How often you should clean your puppy’s ears depends heavily on their breed, lifestyle, and ear shape. Puppies with long, floppy ears (like Spaniels or Hounds) tend to trap more moisture and require more frequent checks than those with upright, ‘prick’ ears.
General Frequency Guidelines
- Floppy-Eared Breeds: Once a week to once every two weeks.
- Upright-Eared Breeds: Once a month or as needed.
- Water Lovers: After every swim or bath to ensure the canal stays dry.
Always check the ears daily during your puppy’s ‘full body check’ to catch any issues early. The goal is a light pink, clean-smelling ear with minimal visible wax.
Conclusion
A Lifetime of Healthy Ears Starts Now
By following these seven simple steps, you are doing much more than just maintaining hygiene; you are teaching your puppy that the world is a safe place and that grooming is an opportunity for love and rewards. Consistency is key. The more you practice these techniques with a calm and friendly demeanor, the easier it will become.
Remember, every puppy is an individual. Some will take to ear cleaning immediately, while others may need a few weeks of ‘practice’ sessions with just treats and touch. Stay patient, stay positive, and enjoy this time of growth with your new best friend. Your reward will be a dog that sits calmly for grooming throughout their adult life, and of course, those soft, clean puppy ears that are so wonderful to nuzzle.