Avoid This Mistake! How to Properly Size Your Puppy’s Crate Divider for Housebreaking
Hey there, savvy dog owners! Bringing home a new puppy is undoubtedly one of the most exciting experiences in the world. You have the puppy breath, the tiny paws, and the endless cuddles. But let us be honest for a second: along with all that joy comes the dreaded reality of housebreaking. Potty training can feel like a full-time job, and if you are reading this, you are likely looking for the smartest, most efficient way to get your furry best friend on a reliable schedule. Well, you are in exactly the right place!
As an experienced canine specialist, I can tell you that the secret weapon to lightning-fast housebreaking is not magic—it is proper crate training. More specifically, it is knowing how to use a crate divider correctly. Crate dividers are absolute game-changers, allowing you to buy one adult-sized crate and adjust the living space as your puppy grows. However, there is a massive, incredibly common mistake that well-meaning pup parents make every single day: giving the puppy too much room too soon. When a crate is improperly sized, it completely undermines the dog’s natural instincts, leading to frustrating accidents and major setbacks in your potty training journey.
In this comprehensive guide, we are going to dive deep into the exact science and step-by-step methodology of sizing your puppy’s crate divider. We will cover the tools you need, the precise measurements to take, and the troubleshooting tips to ensure your puppy feels safe, secure, and motivated to hold it. Grab a cup of coffee, take a deep breath, and let us set your puppy up for ultimate housebreaking success!
The Science Behind the Crate: Tapping Into the Den Instinct
Why Crate Sizing Dictates Housebreaking Success
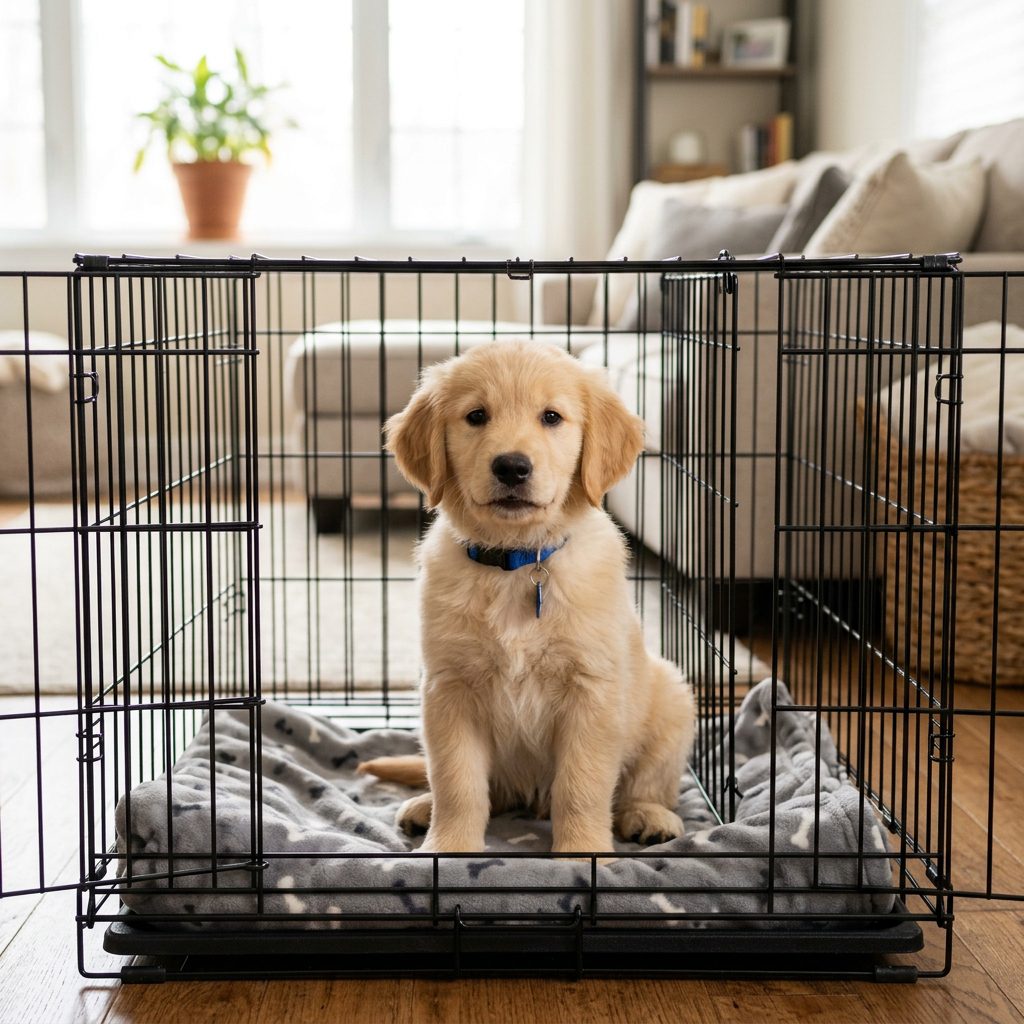
To truly understand why the position of your crate divider matters so much, we have to look at the psychology and evolutionary history of your dog. Dogs are den animals by nature. In the wild, their ancestors sought out small, enclosed spaces to sleep, give birth, and recover from illness. A den provides security, warmth, and protection from predators. When we introduce a crate to our puppies, we are not putting them in a “cage”—we are providing them with their very own modern-day den.
The Golden Rule of the Den
Here is the most critical behavioral concept you need to grasp: dogs have a natural instinct not to soil the area where they sleep. This instinct kicks in very early in a puppy’s life, usually learned from their mother in the whelping box. If a puppy has to go to the bathroom, they will instinctively try to waddle away from their sleeping area to do their business. This is the exact instinct we are harnessing when we crate train.
“When you give a puppy too much space in their crate, you accidentally create a multi-room apartment. They will sleep in the bedroom and use the far corner as their en-suite bathroom.”
If your puppy’s crate is too large, or if the divider is pushed too far back, the crate loses its den-like quality. The puppy realizes they can pee in one corner, walk to the opposite end, and sleep comfortably without ever touching the mess. This completely breaks the housebreaking process because it teaches the puppy that eliminating inside the crate is perfectly acceptable. By properly sizing the crate with a divider, you restrict the space just enough so that the puppy must hold their bladder to keep their sleeping quarters clean. This builds their bladder muscle control and teaches them to wait until you take them outside.
Tools Needed & Measuring Your Growing Pup
Gathering Your Supplies
Before you start moving metal panels around, you need to make sure you have the right equipment and accurate measurements. Guessing your puppy’s size by eyeballing it is a surefire way to make the exact mistake we are trying to avoid. Let us break down exactly what you need.
- A High-Quality Wire Crate: Ensure it comes with a sturdy, secure divider panel. Wire crates are highly recommended for growing puppies because they offer great ventilation and visibility.
- A Soft Measuring Tape: A flexible tailor’s tape is perfect for measuring a wiggly puppy.
- A Notepad and Pen: To record your puppy’s current dimensions and track their growth.
- High-Value Treats: To keep your puppy happy and distracted while you measure them.
How to Measure Your Puppy for the Divider
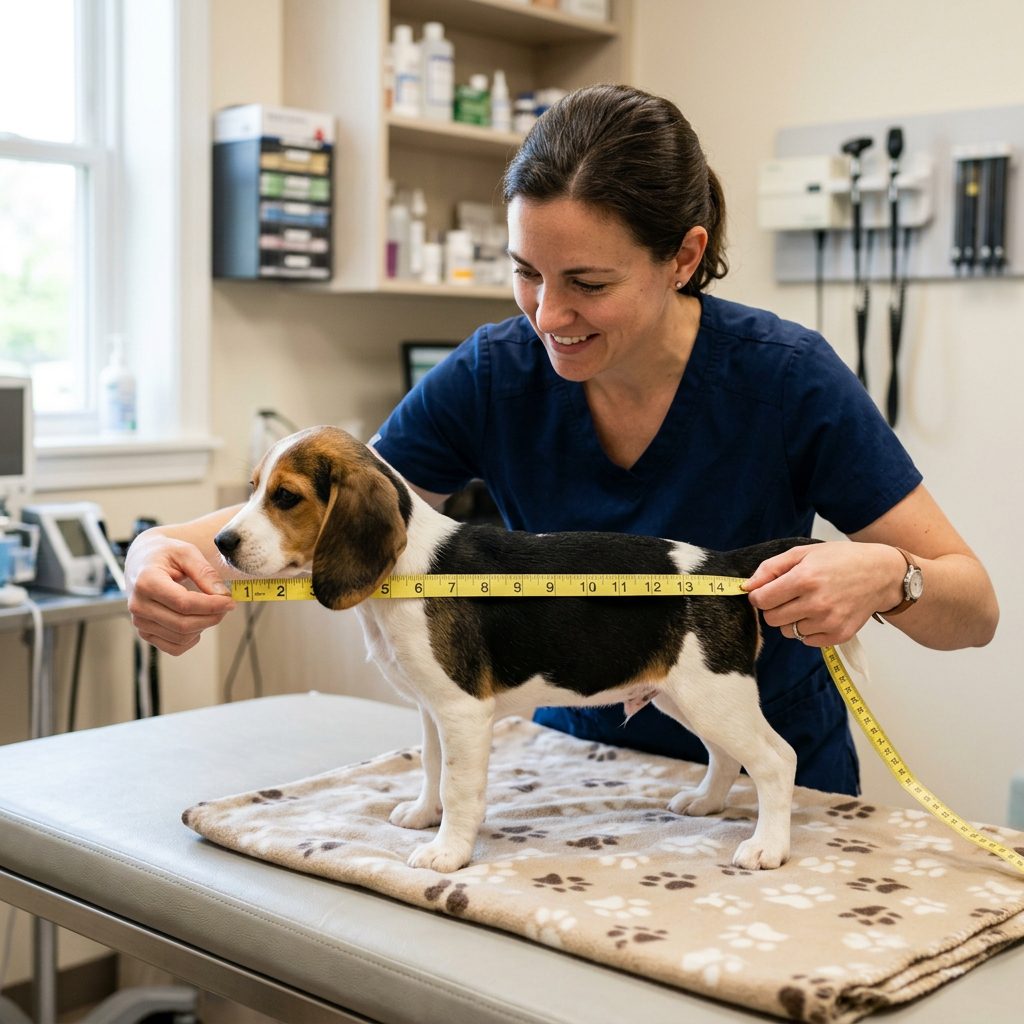
You need two primary measurements to set the divider correctly: length and height. Wait until your puppy is calm, perhaps after a play session, and use treats to lure them into a standing position.
- Measure the Length: Place the end of the measuring tape at the tip of your puppy’s nose and measure straight down their back to the base of their tail. Do not include the tail itself! Add exactly two to four inches to this measurement. This is the maximum length of space they need in the crate.
- Measure the Height: Have your puppy sit tall or stand. Measure from the floor to the top of their head (or the tips of their ears if they have erect ears like a German Shepherd). Add two to four inches to this measurement to ensure they will not bump their head when sitting.
| Puppy Size Category | Typical Puppy Length (Nose to Tail Base) | Recommended Crate Space Length |
|---|---|---|
| Toy Breeds (Yorkies, Chihuahuas) | 8 – 12 inches | 10 – 15 inches |
| Small Breeds (Pugs, Frenchies) | 12 – 16 inches | 15 – 19 inches |
| Medium Breeds (Beagles, Spaniels) | 16 – 22 inches | 19 – 25 inches |
| Large Breeds (Retrievers, Shepherds) | 20 – 26 inches | 23 – 29 inches |
| Giant Breeds (Great Danes, Mastiffs) | 24 – 30+ inches | 27 – 34+ inches |
Keep in mind that these are starting guidelines. The physical footprint of the space you create with the divider should allow the puppy to stand up without hunching, turn around in a tight circle, and lie down comfortably on their side with their paws stretched out. That is it. No extra room for pacing or playing.
Step-by-Step: Adjusting the Crate Divider Properly
Executing the Perfect Fit
Now that you have your precise measurements, it is time to install and adjust the divider. Doing this right the first time will save you from cleaning up frustrating messes later. Follow these steps carefully to ensure the divider is secure and accurately placed.
Step 1: Assemble the Main Crate
Set up the adult-sized crate in a high-traffic area of your home, like the living room or kitchen, so your puppy does not feel isolated. Make sure all the main latches are secure and the plastic or metal bottom pan is locked into place. You do not want the pan sliding around when the puppy moves.
Step 2: Insert the Divider Panel
Most wire crates come with a divider panel that hooks onto the sides of the crate. Based on the length measurement you took earlier (puppy length + 2 to 4 inches), count the wire rungs from the front door of the crate to find the correct placement spot. Slide the divider in through the front door or the top (if your crate opens from the top) and hook it securely onto the side panels. Crucial tip: Ensure the hooks are facing outward or are positioned in a way that they cannot poke or scratch your puppy.
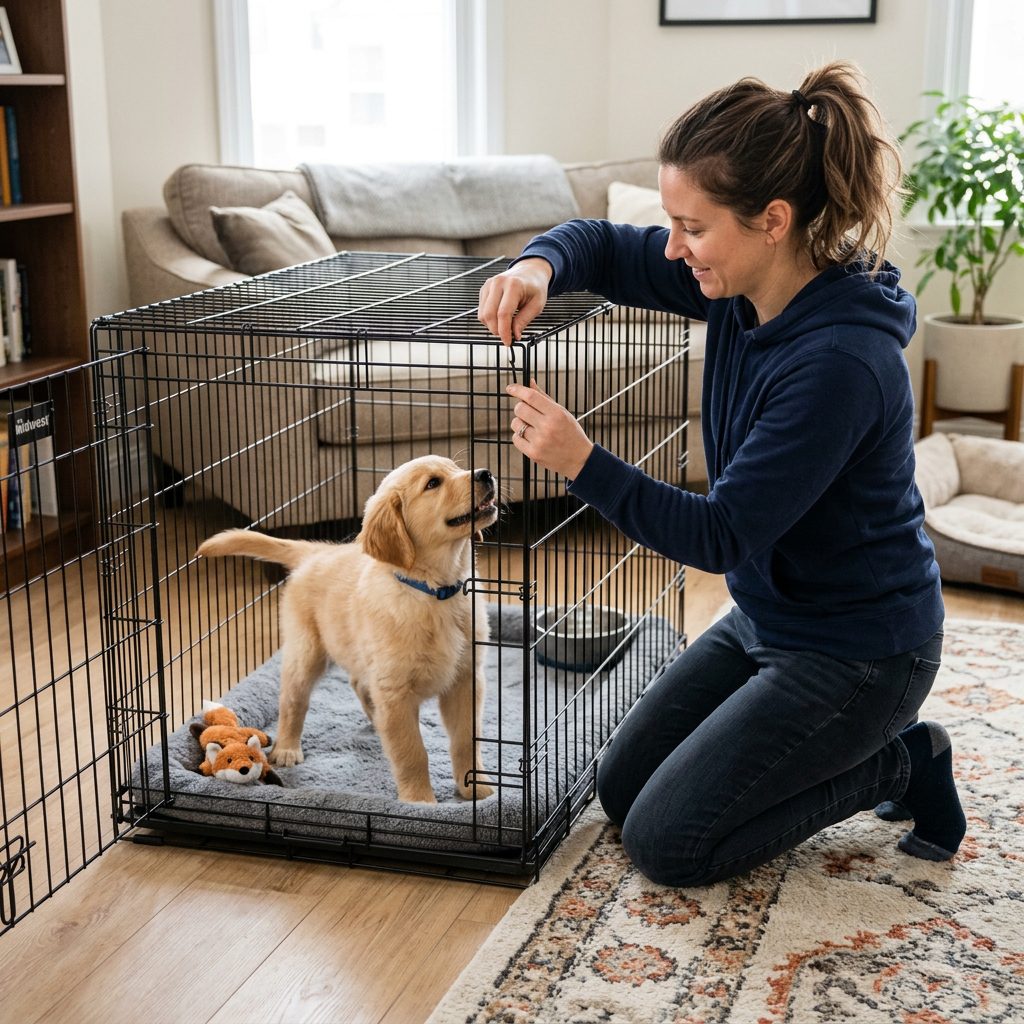
Step 3: The Three-Point Fit Test
Once the divider is locked in, invite your puppy into the crate using a high-value treat. Do not force them; make it a positive experience. Once they are inside with the door closed, observe them closely to perform the Three-Point Fit Test:
- Point 1 – The Stand: Can the puppy stand up completely straight without dipping their head or shoulders? If their head touches the top of the crate, the crate itself is too small, but assuming you bought an adult size, this shouldn’t be an issue.
- Point 2 – The Turn: Can the puppy turn around? They should be able to make a tight 360-degree turn without getting stuck against the divider. It should not be a wide, sweeping turn—just enough to change directions.
- Point 3 – The Sprawl: Can the puppy lie down on their side with their legs extended? If their paws are cramped up against the front door while their back is against the divider, you need to move the divider back one notch.
If your puppy passes all three points without having excess room to pace back and forth, congratulations! You have successfully sized the crate divider.
Troubleshooting & The Most Common Housebreaking Mistakes
Where Most Dog Owners Go Wrong
Even the most dedicated and savvy dog owners can fall into a few common traps when setting up their puppy’s crate. Let us troubleshoot the biggest mistakes that lead to housebreaking failures so you can avoid them entirely.
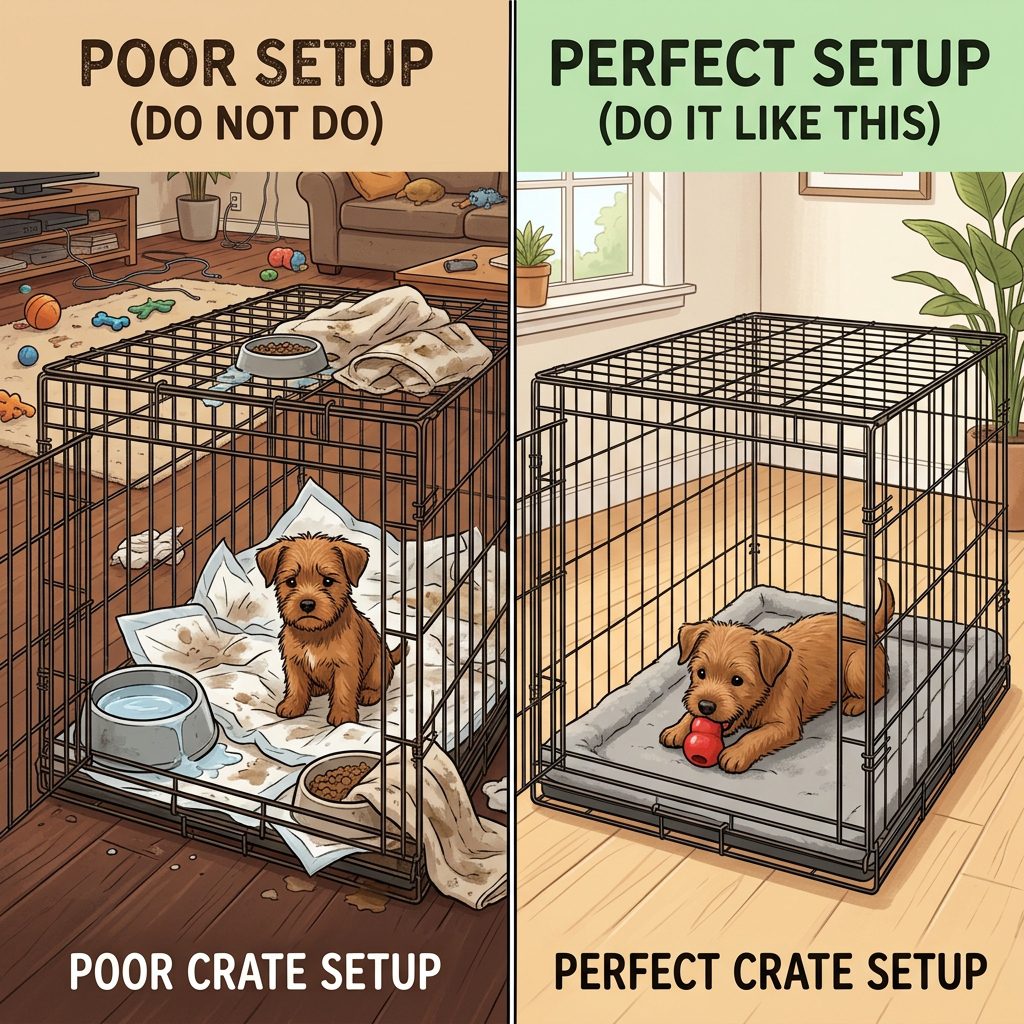
Mistake #1: Leaving Room for Potty Pads
This is a massive red flag in crate training! Never, ever put a puppy pad inside the crate with your puppy. Some owners think, “I’ll give them a little extra room and put a pad in the back just in case.” This completely ruins the den instinct. You are actively teaching the puppy that it is okay to pee in their bed. The crate is for holding it; the outside grass is for pottying. Keep the space restricted and take them out frequently.
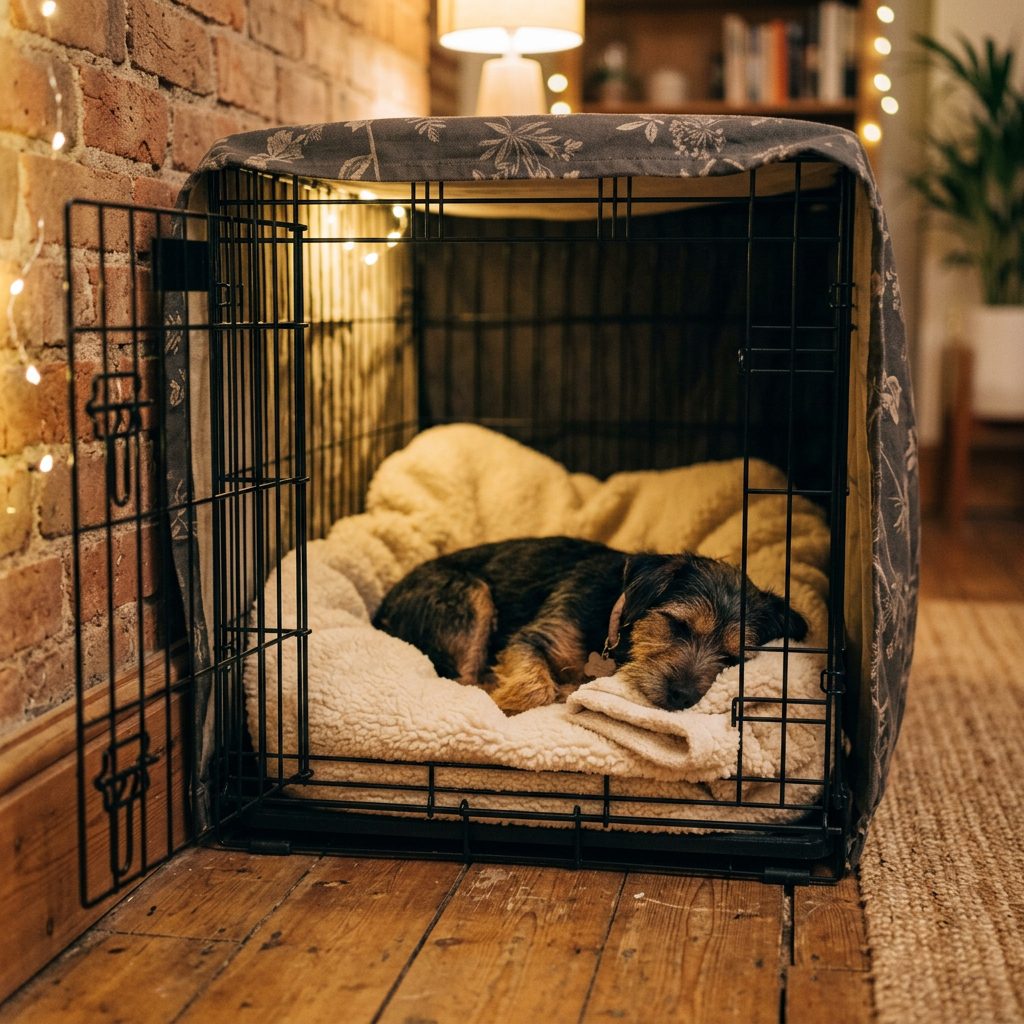
Mistake #2: Adding Oversized, Plush Beds
We all want our puppies to be comfortable, but putting a giant, fluffy bed into a restricted crate space can actually cause problems. First, thick beds raise the puppy higher, potentially making the crate ceiling too low. Second, many puppies will pee on plush beds because the absorbent material wicks the moisture away, keeping them dry and defeating the purpose of the confined space. Stick to a thin, easy-to-wash fleece blanket or a flat crate mat until the puppy is fully potty trained.
Mistake #3: Leaving Food and Water Bowls Inside
Unless your puppy is going to be crated for an extended period (which they shouldn’t be at a young age), do not leave food and water bowls in the crate. Water bowls take up valuable square footage, altering the space dynamics. More importantly, free access to water means the puppy’s bladder will fill up rapidly while confined, virtually guaranteeing an accident. Offer water outside the crate and remove it about two hours before bedtime.
| Crate Setup Element | The Wrong Way (Causes Accidents) | The Right Way (Promotes Holding It) |
|---|---|---|
| Bedding | Thick, plush, highly absorbent bolsters | Thin fleece blanket or flat, waterproof mat |
| Accessories | Water bowls, food dishes, potty pads | One or two safe chew toys (e.g., Kong) |
| Divider Placement | Leaving 1-2 feet of extra empty space | Only 2-4 inches of clearance around the pup |
| Location | Isolated in a dark, lonely basement | In a family room or bedroom with activity |
Upgrading Space: When to Move the Divider
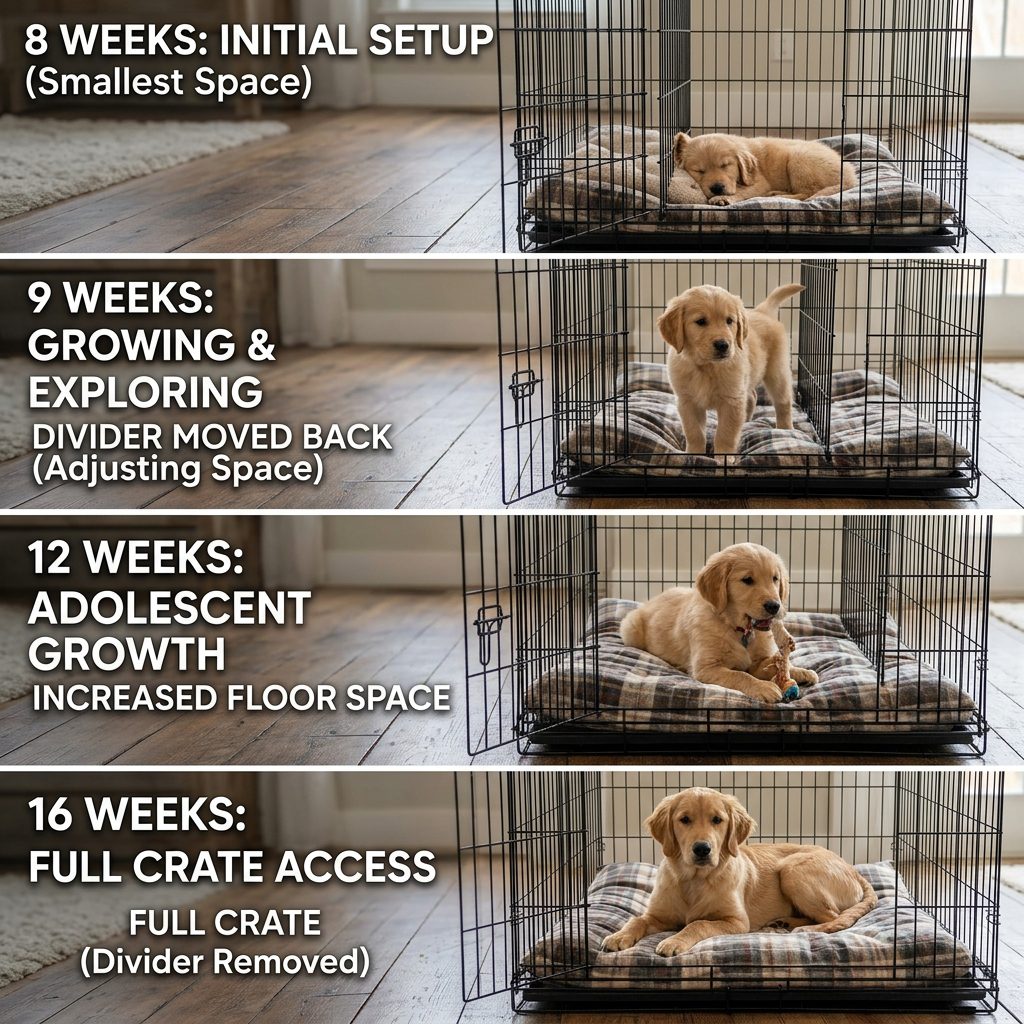
Keeping Up With Your Growing Puppy
Puppies grow at an astonishing rate, especially during their first six months. The perfect divider placement you set up on Tuesday might be too tight by the following Monday! Staying highly observant and adjusting the divider proactively is essential for your puppy’s comfort and physical development.
Signs It Is Time to Expand
You should assess the crate size at least once a week. You do not necessarily need to break out the measuring tape every time; just watch how your puppy moves inside the crate. It is time to push the divider back a notch or two if you notice any of the following signs:
- Your puppy has to duck their head when standing up.
- They look cramped or have to contort their spine into a tight “C” shape to lie down.
- Their paws are constantly sticking out through the front wire bars when they sleep.
- They struggle or bump into the sides heavily when trying to turn around.
The Adjustment Process
When you decide it is time to give them more room, do not get overly generous. Move the divider back just one or two rungs at a time. After moving it, repeat the Three-Point Fit Test (Stand, Turn, Sprawl). By gradually increasing the space, you maintain the den instinct while accommodating their growing body.
“Consistency is key. If you accidentally move the divider too far back and your puppy has an accident, simply clean it thoroughly with an enzymatic cleaner, move the divider forward one notch, and shorten the time between potty breaks.”
Eventually, usually around 6 to 8 months of age depending on the breed, your puppy will reach their near-adult size and will be fully potty trained. At that glorious milestone, you can remove the divider entirely and let them enjoy the full luxury of their adult crate!
Conclusion
At the end of the day, housebreaking your puppy does not have to be a nightmare filled with ruined rugs and endless frustration. By understanding the psychology of the den instinct and utilizing your crate divider correctly, you are setting clear boundaries that your puppy naturally wants to follow. Remember the golden rule: restrict the space so they can only stand, turn around, and lie down. Avoid the temptation to give them a luxurious, sprawling apartment too soon, keep absorbent bedding to a minimum, and adjust the space gradually as they grow.
Potty training is a journey of patience, consistency, and love. You are equipping your puppy with the skills they need to be a wonderful, well-behaved member of your household. Stick to the measurements, follow the three-point fit test, and celebrate those successful trips to the backyard. You and your pup have got this! Happy training!