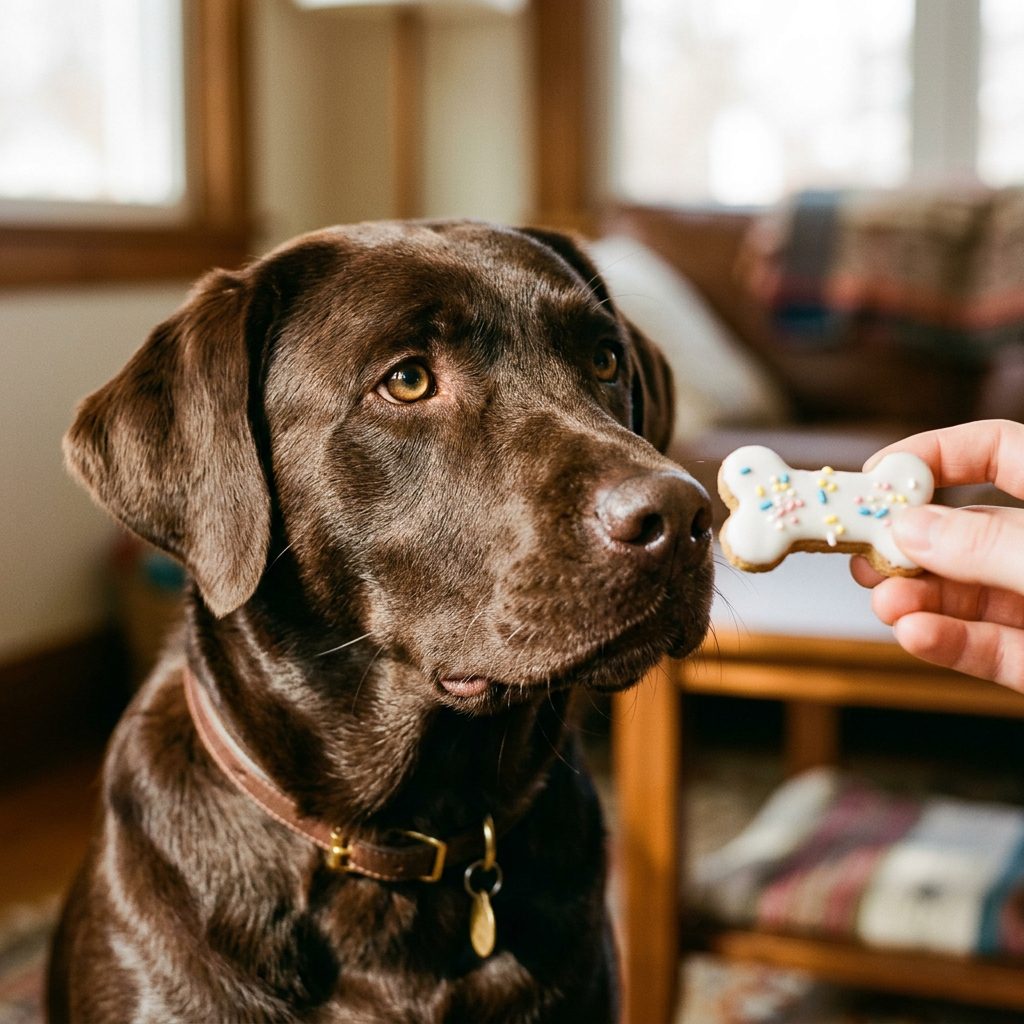
The Glossy Secret: Super Easy Coconut Butter Dog Icing That Dries Solid In Minutes!
Let’s get real for a second: have you ever looked at the back of those fancy ‘dog bakery’ treats and wondered why they cost more than your own lunch? I have. As the Canine Nutrition Hacker, I’ve spent years dissecting ingredient labels, and what I found in commercial dog icing was frankly insulting. We’re talking about corn syrup, tapioca starch, and ‘vegetable’ oils that are really just inflammatory junk. You want that professional, glossy look for your pup’s birthday cake or training treats, but you don’t want to feed them a sugar bomb that leads to a vet visit. Enter the glossy secret: Coconut Butter. This isn’t just a health food trend; it is a functional powerhouse that behaves exactly like royal icing but without the toxic baggage. In this guide, I’m going to show you how to master this one-ingredient wonder that dries rock-solid in minutes, stays shelf-stable, and provides your dog with healthy fats instead of empty calories. Grab your spatula, because we’re about to disrupt the dog treat industry from your own kitchen.
The Forensic Breakdown: Why Your Current Dog Icing Sucks
If you’ve ever tried to frost a dog treat with peanut butter or yogurt, you know the struggle. Peanut butter stays sticky, making it impossible to stack treats or put them in a bag without a massive mess. Yogurt icing requires refrigeration and often cracks or gets soggy. But the real enemy is the commercial dog icing mix. Let’s look at what’s usually inside those ‘just add water’ packets.
The Filler Hall of Shame
- Maltodextrin: A high-glycemic thickener that spikes blood sugar faster than table sugar.
- Hydrogenated Fats: Used to keep the icing solid at room temperature, but terrible for canine heart health.
- Artificial Colors: Linked to hyperactivity and allergies in sensitive dogs.
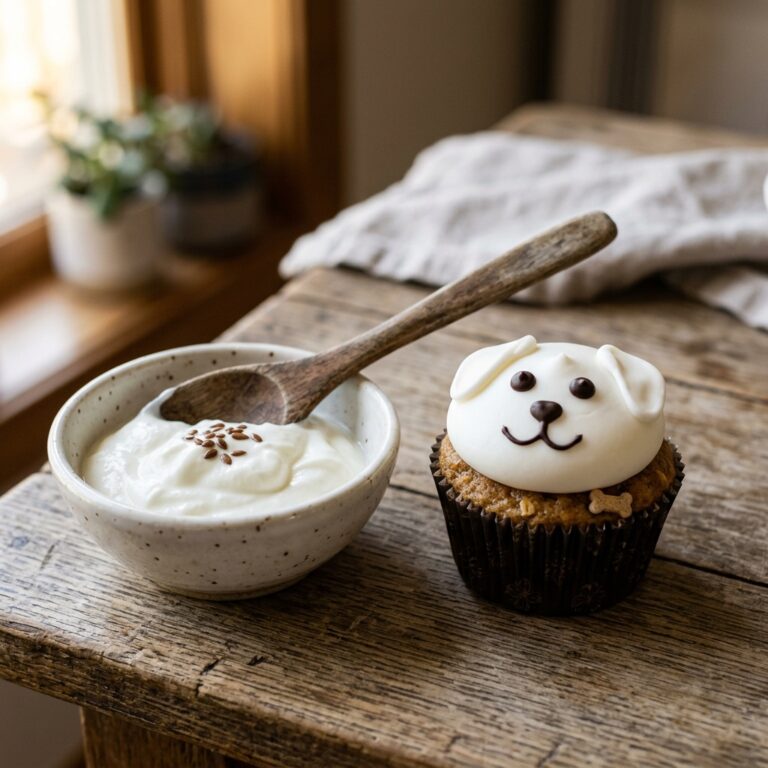
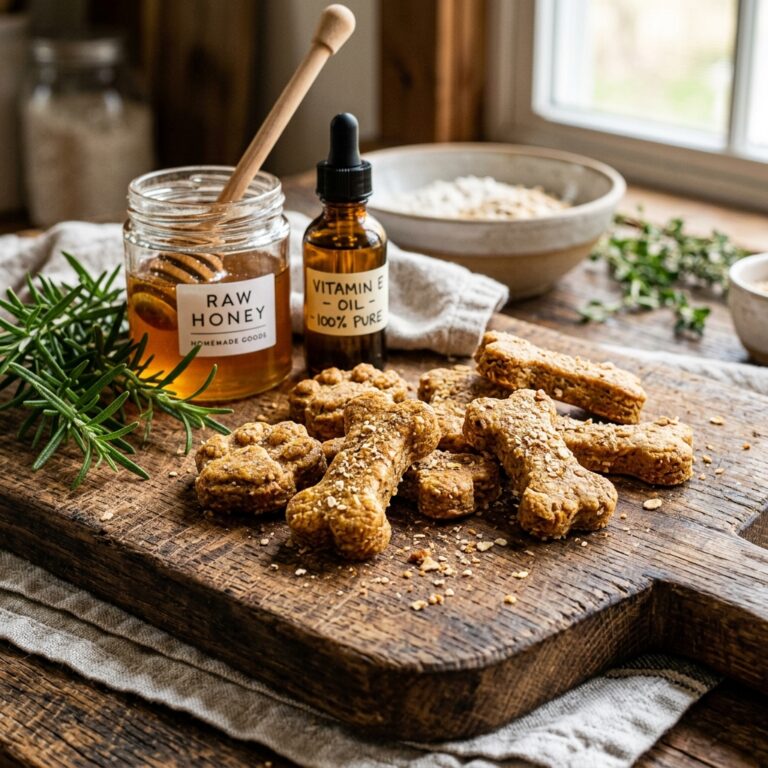
Coconut butter, on the other hand, is simply the meat of the coconut ground into a paste. It contains Lauric Acid, which is a medium-chain fatty acid known for its antimicrobial and anti-inflammatory properties. When you melt it, it flows like silk. When it cools, the saturated fats naturally solidify, creating a hard, glossy shell that won’t smudge. It’s the ultimate ‘hack’ for any savvy dog owner who wants their treats to look like they came from a high-end boutique.
Insider Secret: Most people confuse coconut oil with coconut butter. Coconut oil is just the extracted fat; coconut butter includes the fiber from the coconut meat, which is why it sets so much harder and more opaque!
The Safe Chef Guide: Fats, Calories, and Common Sense
SAFETY DISCLAIMER: I am a nutrition hacker, not your veterinarian. While coconut butter is generally safe and healthy, it is extremely calorie-dense. If your dog has a history of pancreatitis or is significantly overweight, you must consult your vet before adding high-fat treats to their diet. Always introduce new ingredients slowly to avoid digestive upset.
The Fat Factor
Because coconut butter is high in Medium-Chain Triglycerides (MCTs), it is processed differently by the liver than other fats, providing a quick source of energy. However, ‘healthy fat’ is still fat. For a 50lb dog, a single iced treat is fine, but don’t go overboard. We are looking for nutritional density, not calorie overload.
Allergy Check
Coconut is technically a fruit, not a nut, and true coconut allergies in dogs are rare. However, always watch for signs of itching or loose stools. If your dog is a ‘sensitive stomach’ warrior, start with a tiny drizzle before committing to a full bake-off.
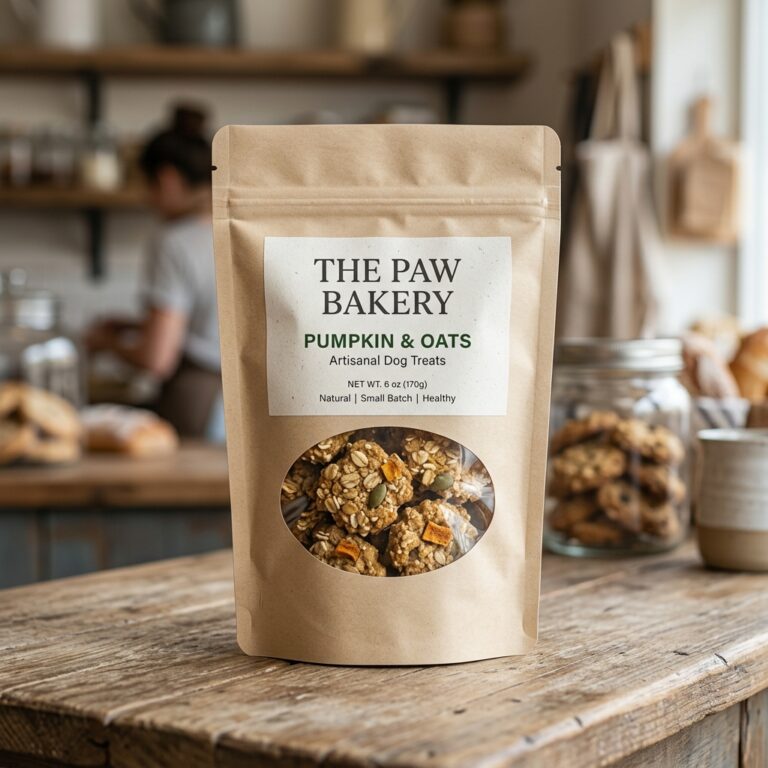
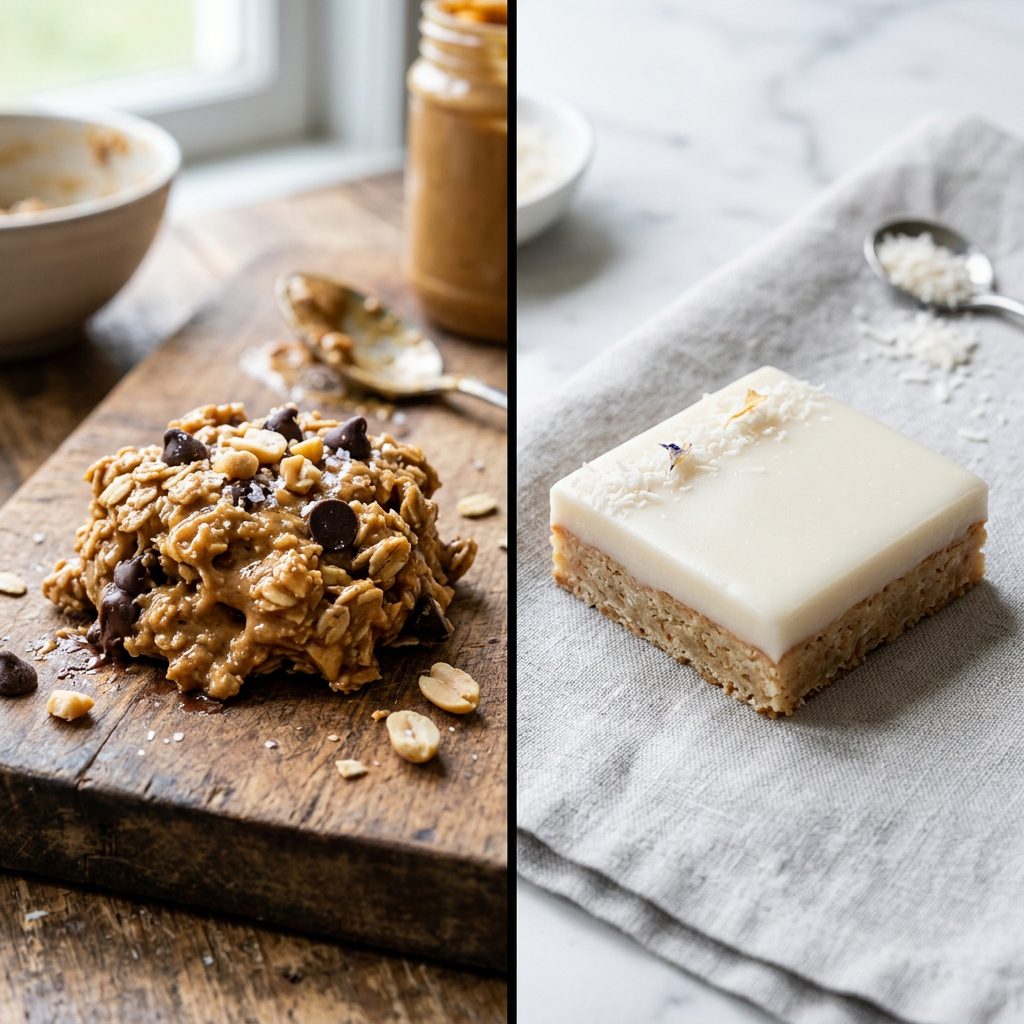
The Cost Audit: DIY Gloss vs. Premium Store-Bought
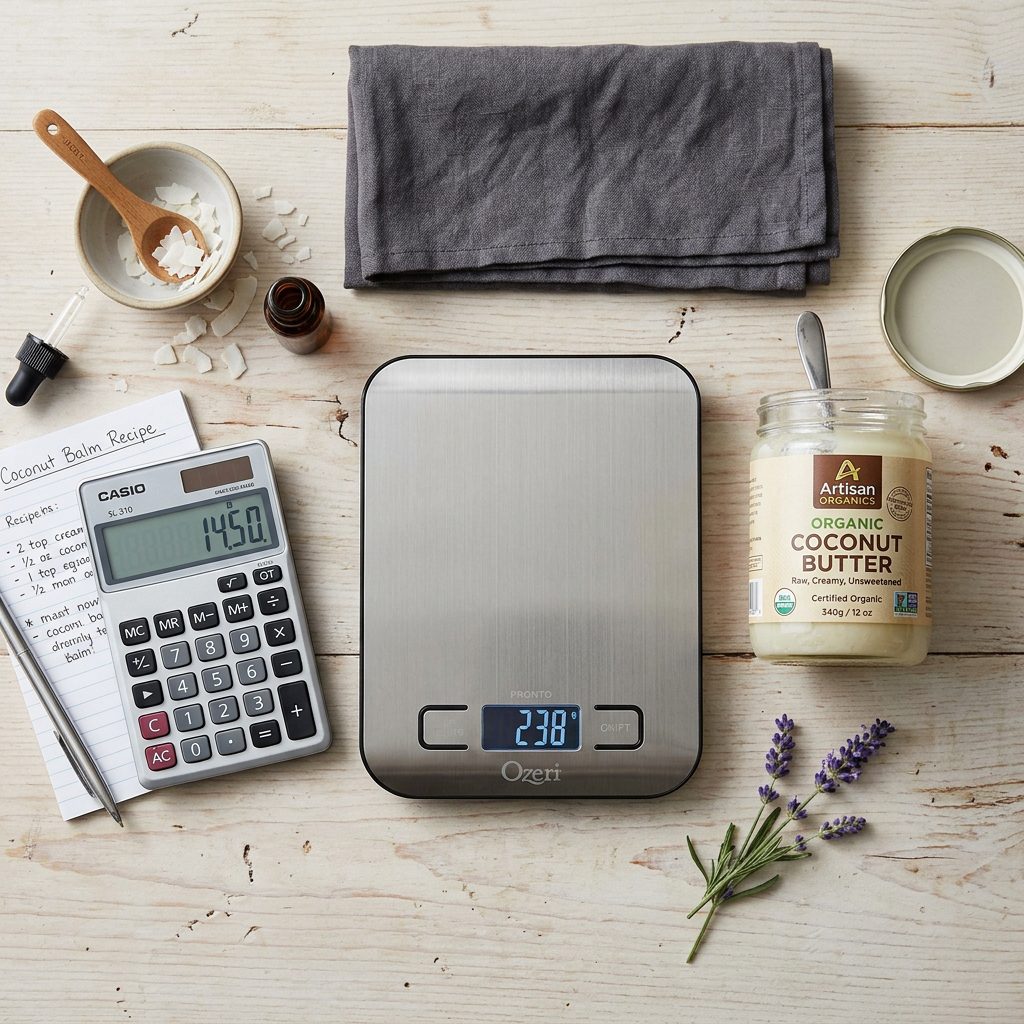
Let’s talk numbers. I hate overpaying for marketing. When you buy ‘Dog Frosting’ online, you’re often paying for 80% starch and 20% marketing. By buying raw coconut butter in bulk, you’re getting a pure product that lasts for months. Let’s look at the breakdown for a typical batch of 24 treats.
| Feature | Store-Bought Mix | DIY Coconut Butter | The Verdict |
|---|---|---|---|
| Primary Ingredient | Sugar/Starch | Coconut Meat | DIY Wins (Nutritious) |
| Set Time | 1-2 Hours | 5-10 Minutes | DIY Wins (Speed) |
| Shelf Stability | Requires Fridge | Room Temp Stable | DIY Wins (Convenience) |
| Cost Per Batch | $12.00 – $15.00 | $4.50 – $6.00 | DIY Wins (Price) |
As you can see, you are saving over 50% by switching to the coconut butter method. Plus, you aren’t paying for shipping on water-weight or fancy packaging. You’re paying for the ‘good stuff’ that actually benefits your dog’s coat and skin.
The Master Recipe: One Ingredient, Infinite Possibilities
This is so simple it barely qualifies as a recipe, but the technique is where the magic happens. You only need one thing: high-quality, organic coconut butter (sometimes called Coconut Manna).
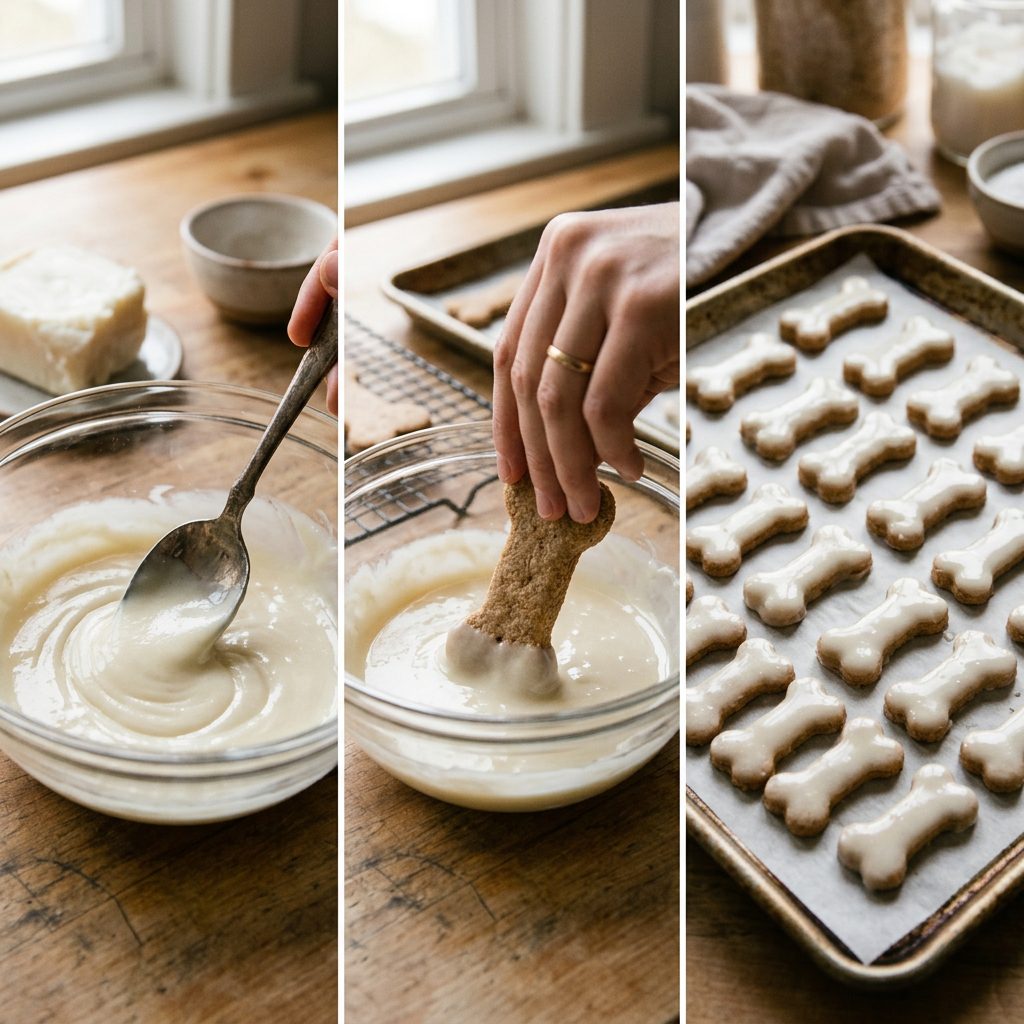
The Hacker’s Steps
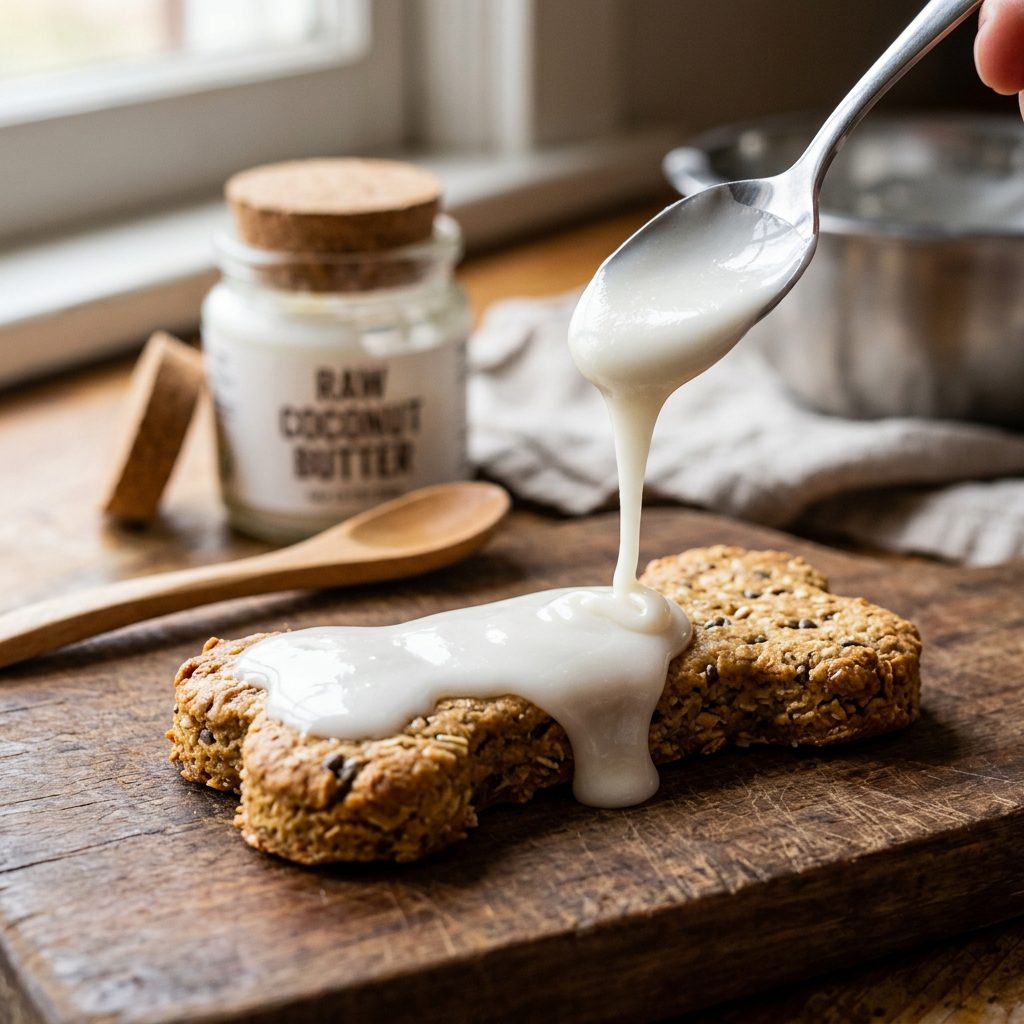
- The Gentle Melt: Never microwave coconut butter on high; it burns easily. Place the jar in a bowl of warm water or use a double boiler until it reaches a liquid consistency.
- The Stir: Coconut butter separates (oil on top, fiber on bottom). You must stir it thoroughly to ensure the icing sets evenly.
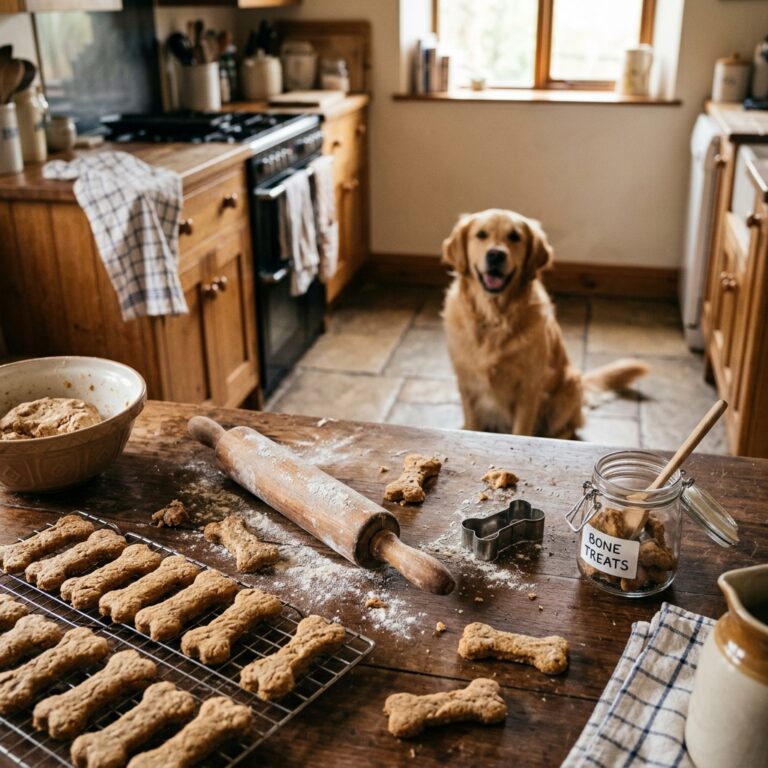
- The Dip: Take your pre-baked (and cooled!) dog biscuits and dip the tops directly into the liquid butter. Shake off the excess.
- The Flash Freeze: For a ‘dry in seconds’ finish, pop the treats into the freezer for 2 minutes. The cold surface of the biscuit plus the cold air will snap the fats into a solid, glossy state.
Pro Tip: The Drizzle
If you want those fancy zig-zag lines, put the melted butter into a small piping bag or a plastic sandwich bag with the corner snipped off. Because it hardens so fast, you can layer colors without them bleeding into each other.
The Hacker’s Palette: Natural Colorants That Actually Work
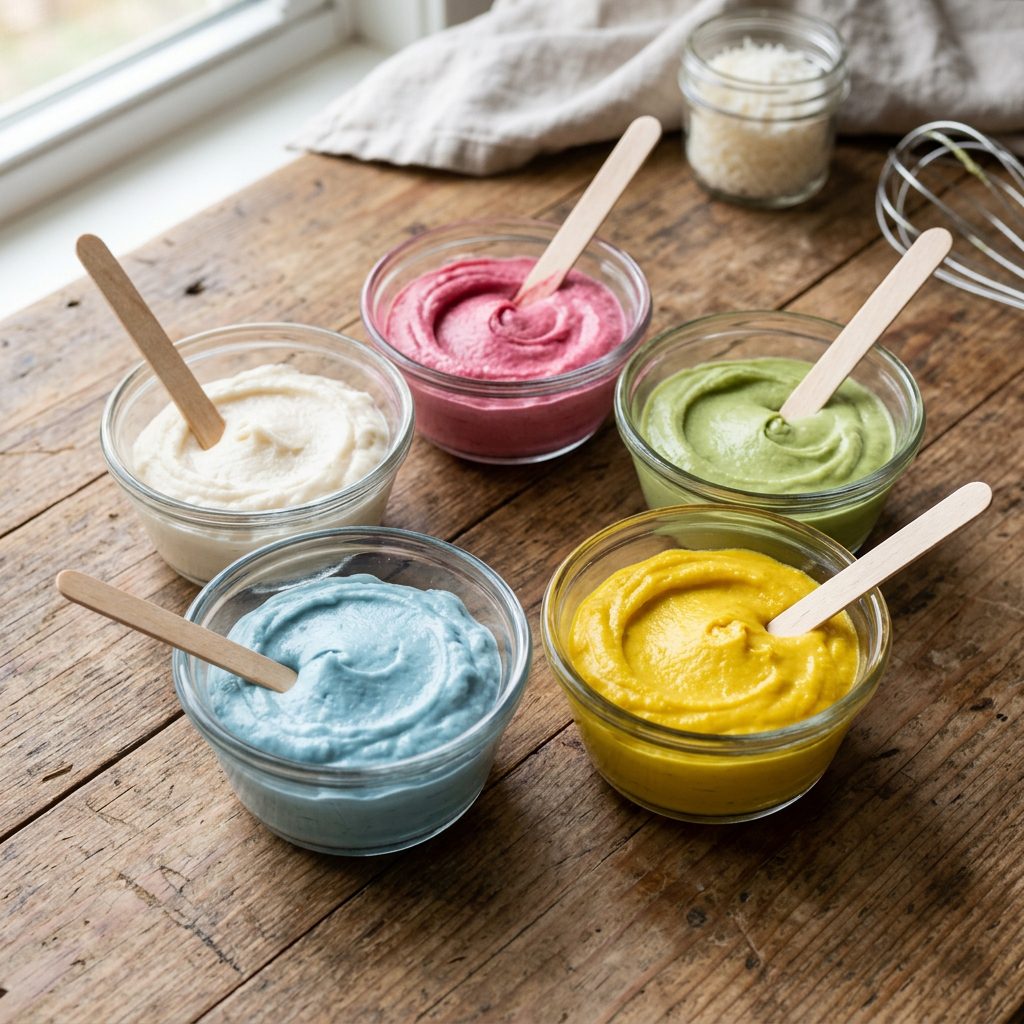
White icing is classy, but sometimes you want a pop of color for a ‘Gotcha Day’ or a holiday. Don’t touch those artificial food dyes! They are full of chemicals your dog doesn’t need. Instead, use these Hero Ingredients to create a rainbow of dog-safe colors.
- Pink/Red: A teaspoon of beet powder. It’s packed with antioxidants and creates a vibrant magenta.
- Yellow/Gold: A pinch of turmeric. Great for joint health, but use sparingly as it has a strong flavor.
- Green: Spirulina or wheatgrass powder. This provides a massive hit of chlorophyll and vitamins.
- Blue: Blue Spirulina (Butterfly pea flower powder is also an option, but check for dog-safe sourcing).
- Purple: Purple sweet potato powder or a tiny amount of mashed blueberries.
Simply whisk these powders into the melted coconut butter before dipping. The colors will remain vibrant even after the icing dries solid. This is how you get that ‘Instagram-ready’ look without the toxic additives.
Troubleshooting & Storage: Keeping the Shine
Even the best hacks have a learning curve. If your icing is cracking, it usually means it was applied too thick or the treat underneath was too cold too fast. Apply a thinner layer for better flexibility. If the icing is too runny, let it sit at room temperature for 3-5 minutes to thicken slightly before dipping.
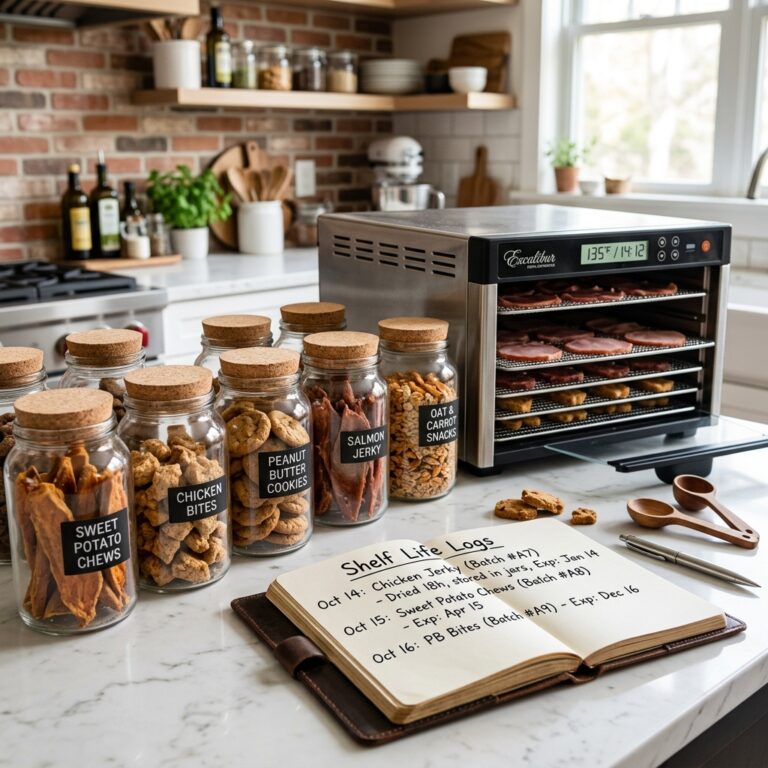
Storage Secrets
One of the best things about coconut butter icing is that it is shelf-stable at room temperature (below 72°F). If your house is very warm, the icing may soften, so in the summer months, keep your treats in a sealed container in the pantry or fridge. They will stay fresh as long as the base biscuit lasts—usually 2 weeks in the pantry or 6 months in the freezer.
Hacker Tip: If you’re shipping these treats to a friend, place parchment paper between layers. Even though it dries solid, the high fat content can sometimes ‘sweat’ if the package gets hot during transit.
Conclusion
There you have it—the glossy secret is out. You don’t need expensive mixes, dangerous sugars, or professional culinary training to make dog treats that look like they belong in a boutique window. By using coconut butter, you’re choosing a path that prioritizes nutritional integrity and your dog’s health without sacrificing the ‘wow’ factor. Remember, being a savvy dog owner isn’t about spending the most money; it’s about knowing which ingredients work for you and which ones are just filler. Go ahead, try the drizzle, experiment with the natural colors, and watch your pup go wild for a treat that’s actually good for them. You’ve got the tools, you’ve got the hack—now go create something amazing!