5 Genius Silicone Mold Hacks for Perfect, Non-Stick Dog Treats Every Single Time!
Let’s be real for a second: we’ve all been there. You spend forty-five minutes blending the perfect organic, grass-fed, antioxidant-rich slurry for your pup, carefully spooning it into those adorable tiny paw-print molds, only to have the treats crumble into a sad, sticky mess when you try to pop them out. It’s frustrating, it’s wasteful, and quite frankly, your dog deserves better than ‘treat-dust.’ As the Canine Nutrition Hacker, I’ve dedicated my life to exposing the overpriced, filler-laden garbage sold in the treat aisle and helping you master the art of the DIY snack. Today, we aren’t just talking about recipes; we are talking about the technical mastery of the silicone mold. Silicone is a game-changer for the savvy dog owner, allowing us to create portion-controlled, nutrient-dense treats without the chemical binding agents found in commercial snacks. But there is a learning curve. If you want those crisp edges and that satisfying ‘pop’ every time you de-mold, you need to stop treating your molds like traditional bakeware. We are diving deep into the forensic details of surface tension, temperature control, and ingredient ratios. By the time you finish this guide, you’ll be churning out professional-grade treats that would make a boutique pet bakery jealous, all while saving a fortune and keeping your dog’s gut health in peak condition.
Insider Secret: Most commercial ‘soft chews’ use glycerin and vegetable oil to stay moist and non-stick. By using these hacks, we achieve better results using nothing but whole-food physics.
Hack 1: The ‘Sheet Pan Foundation’ for Zero Spills
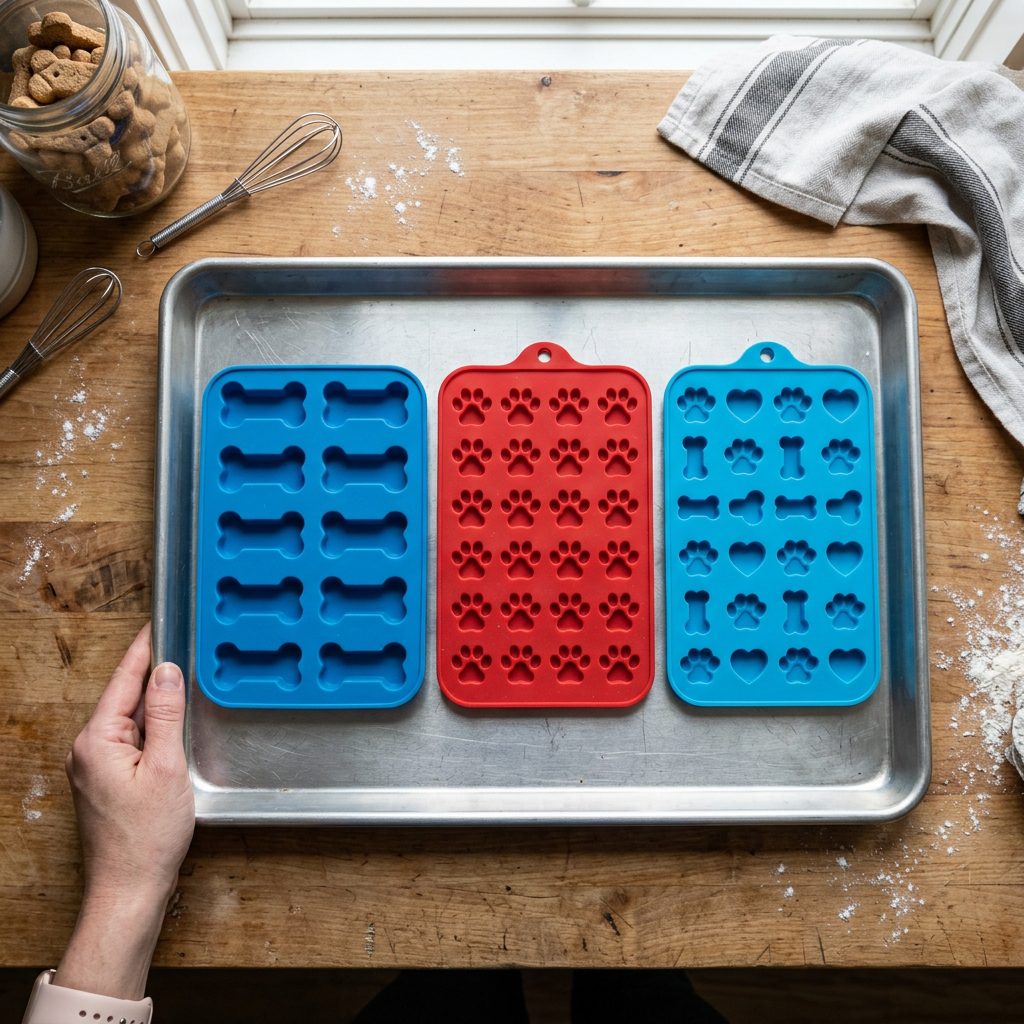
The biggest mistake beginners make with silicone is forgetting that silicone is, by nature, floppy. You fill your molds on the counter, and the moment you try to lift them to the freezer or oven, the mold flexes, the liquid spills, and you’ve got a sticky mess running down your cabinet doors. The solution? Always place your silicone molds on a rigid baking sheet before you start filling. This provides a stable, flat surface that ensures even distribution of the mixture. Furthermore, a metal baking sheet acts as a thermal conductor. In the freezer, it helps pull heat away from the treats faster; in the oven, it ensures the bottom of the mold reaches the desired temperature simultaneously with the top. This stability is crucial for ‘complex’ molds with intricate details like small claws or textured bones. If the mold flexes even a millimeter during the setting process, those fine details are the first things to break off during extraction.
Why Stability Matters for Nutrient Density
When we use high-moisture ingredients like bone broth or pureed liver, the surface tension is delicate. A stable base prevents the ingredients from separating or settling unevenly, which ensures that every single treat contains the same ratio of nutrients. No more ‘dud’ treats that are just frozen water while the meat sediment sits at the bottom of the mold.
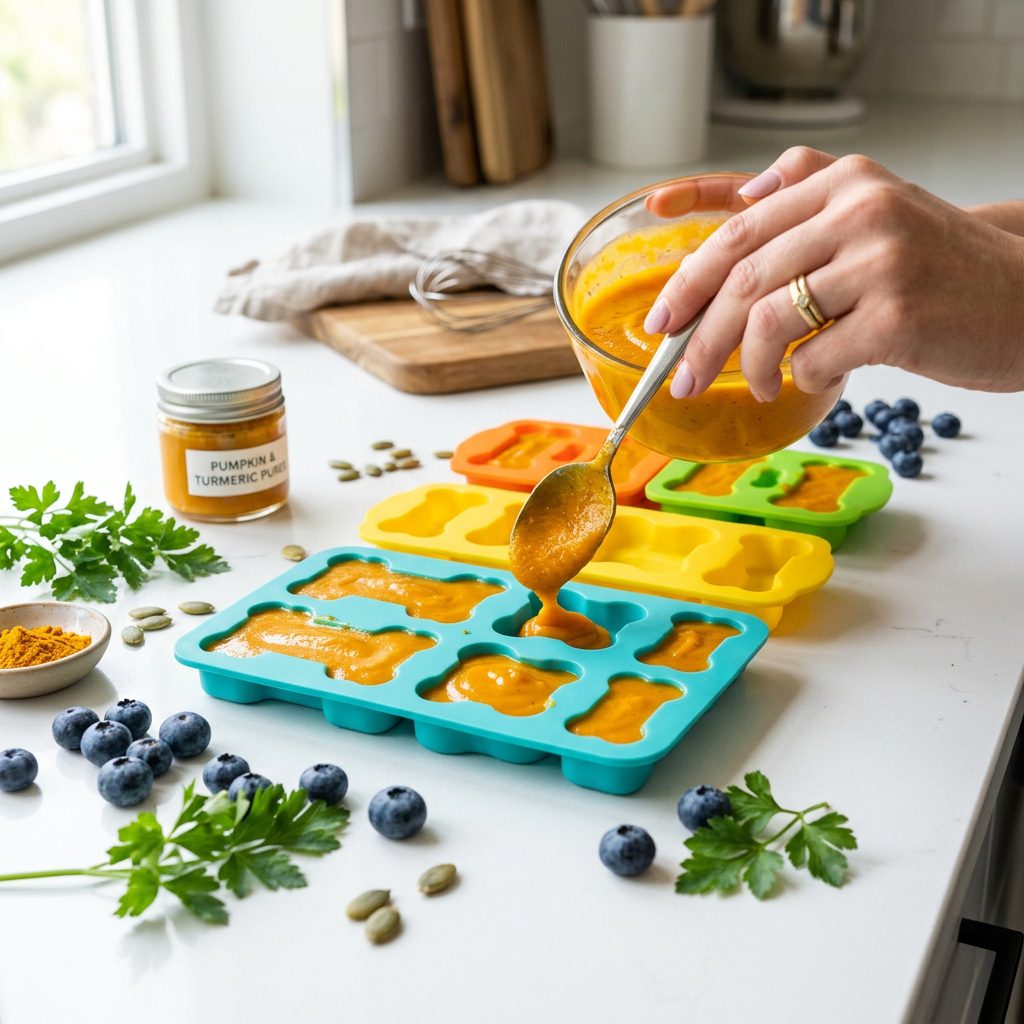
Hack 2: The ‘Micro-Vibration’ Technique for Crisp Details
Have you ever popped a treat out only to find it covered in tiny pits and holes? Those are air bubbles, and they are the enemy of a perfect, non-stick treat. Air bubbles create weak points in the structure of the treat, making it more likely to snap or crumble. To fix this, use the Micro-Vibration Hack. Once your molds are filled, lift the baking sheet about an inch off the counter and drop it firmly. Do this three or four times. You will see tiny bubbles rising to the surface and popping. This forces the mixture into every tiny crevice of the mold. If you’re working with a thicker ‘dough’ style treat, use a toothpick to swirl the mixture into the corners before tapping. This ensures that when you de-mold, you get those sharp, clean edges that look like they came from a high-end factory, minus the ‘Big Kibble’ preservatives.
The Forensic Breakdown: DIY vs. Store-Bought
Let’s look at why mastering this matters for your wallet. Commercial ‘premium’ treats are marked up by nearly 600% compared to the cost of raw ingredients.
| Feature | Store-Bought ‘Premium’ | Hacker DIY (Silicone Mold) |
|---|---|---|
| Main Protein | Chicken Meal / By-products | Fresh Liver, Heart, or Muscle Meat |
| Binders | Corn Starch, Glycerin, Gums | Gelatin or Natural Fiber (Pumpkin) |
| Cost Per Ounce | $1.50 – $2.25 | $0.18 – $0.45 |
| Transparency | Hidden ‘Natural Flavors’ | 100% Traceable Ingredients |
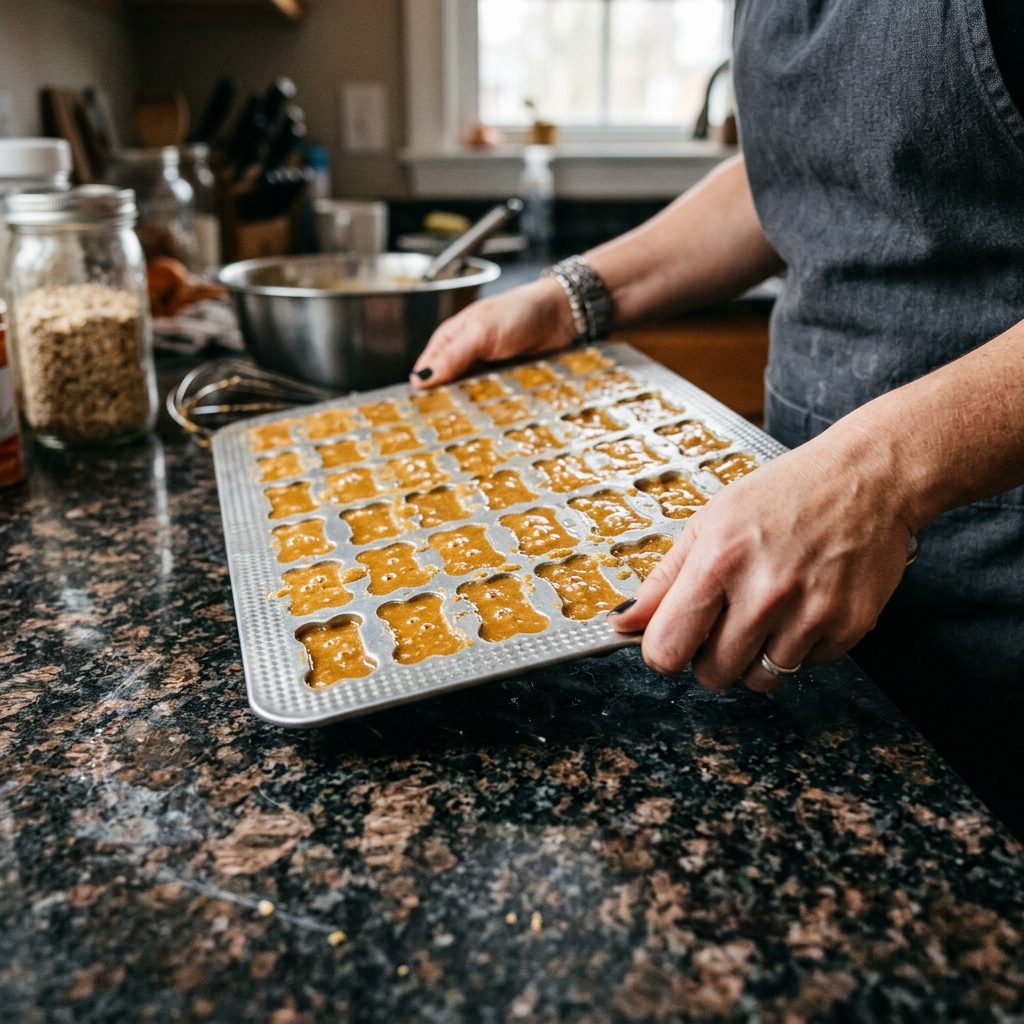
Hack 3: The ‘Flash Freeze’ and ‘Bottom-Up’ Pop
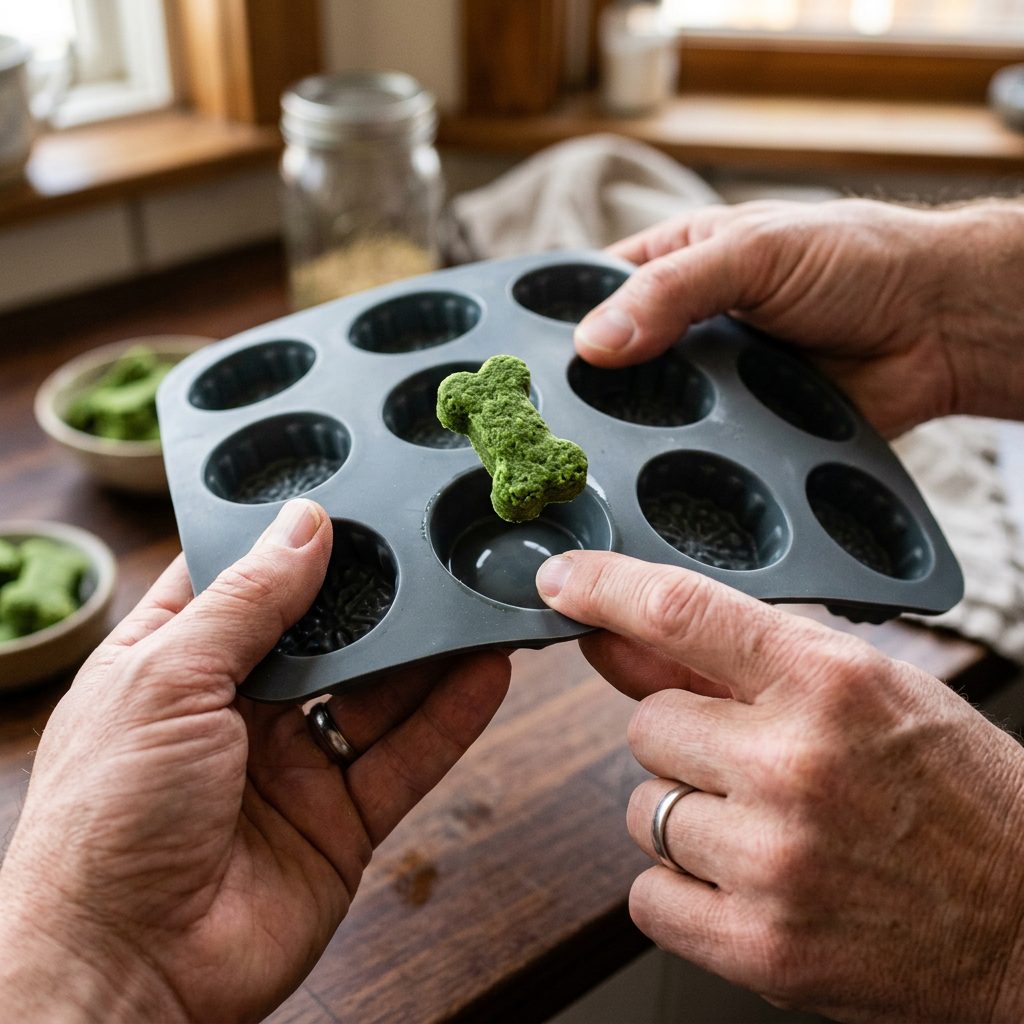
Temperature is your best friend when it comes to non-stick treats. If you are making frozen treats (using yogurt, kefir, or broth), you need to ensure they are frozen solid. Many owners get impatient and try to de-mold after two hours. This is a recipe for disaster. Give them at least 4-6 hours, or ideally, overnight. When it’s time to extract, do not pull from the top. Instead, flip the mold upside down and use your thumbs to push the bottom of each individual cavity upward. This ‘bottom-up’ pressure uses the silicone’s elasticity to break the vacuum seal between the treat and the mold wall without putting stress on the treat’s edges. For baked treats, the rule is the opposite: complete cooling. Silicone retains heat longer than you’d think. If you try to pop out a warm baked treat, the steam trapped between the treat and the silicone will act like glue. Wait until the mold is cool to the touch, then use the same thumb-push method.
The Safety Disclaimer
Note: I am a dedicated dog advocate and nutrition hacker, not a veterinarian. While these hacks ensure perfect treats, always consult your vet before introducing new proteins or supplements into your dog’s diet, especially if they have underlying health conditions like kidney disease or pancreatitis.
Hack 4: The ‘Coconut Oil Insurance Policy’
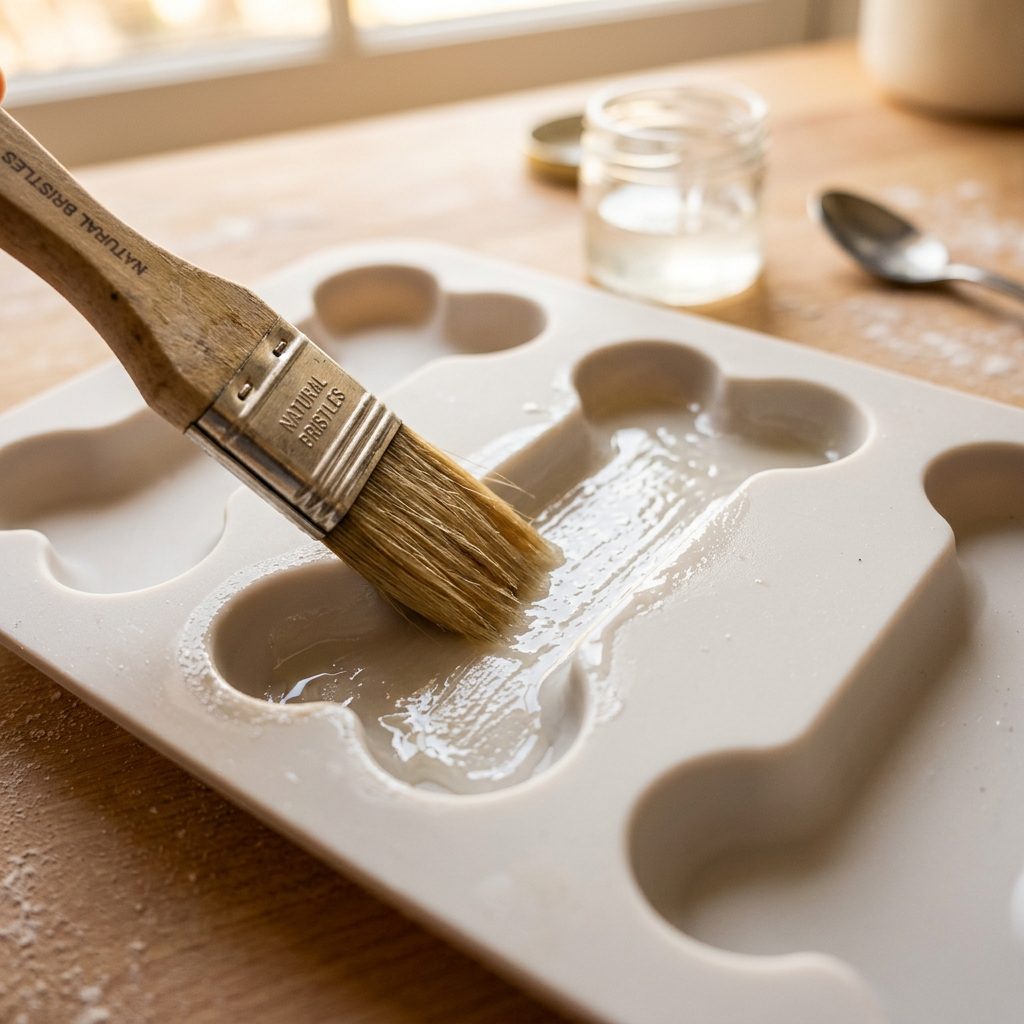
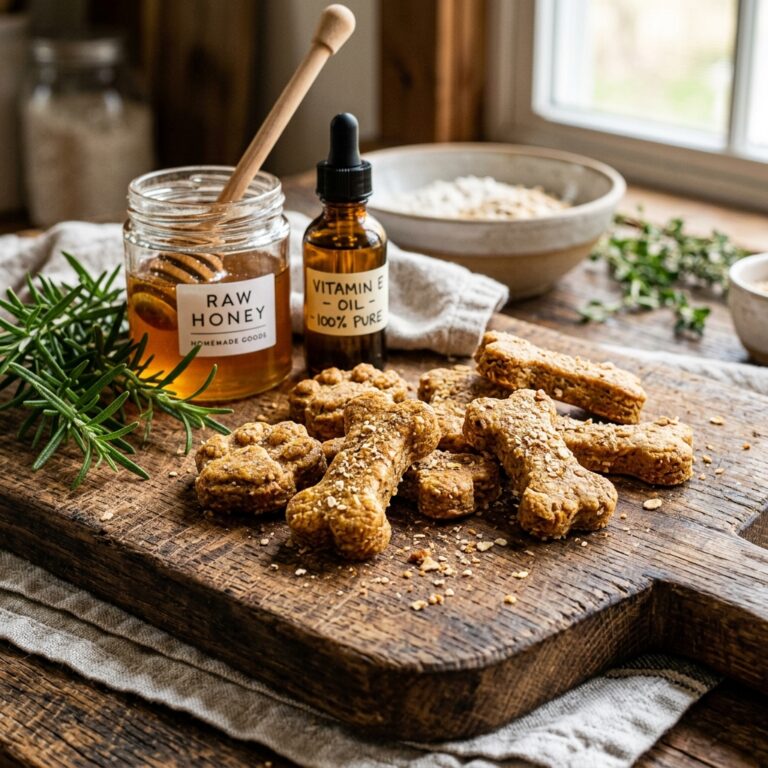
While silicone is marketed as ‘non-stick,’ certain high-protein ingredients (like egg whites or lean fish) can still bond to the surface during the baking process. If you’re dealing with a particularly ‘grabby’ recipe, use the Coconut Oil Insurance Policy. Take a pastry brush and lightly coat the inside of the mold with melted unrefined coconut oil. Not only does this guarantee a clean release, but coconut oil is a ‘hero ingredient’ for canine health. It contains Medium Chain Triglycerides (MCTs) which support cognitive function and a shiny coat. You’re adding a functional health boost while solving a mechanical problem. It’s a win-win. Just be careful not to overdo it; a microscopic layer is all you need. Too much oil can interfere with the setting of gelatin-based treats.
Hacker Tip: If your dog is watching their weight, you can use a light mist of water or even a tiny bit of ‘low-sodium’ salmon juice to create a barrier, though coconut oil remains the gold standard for release.
Hack 5: The ‘Boiling Water Reset’ for Sticky Residue
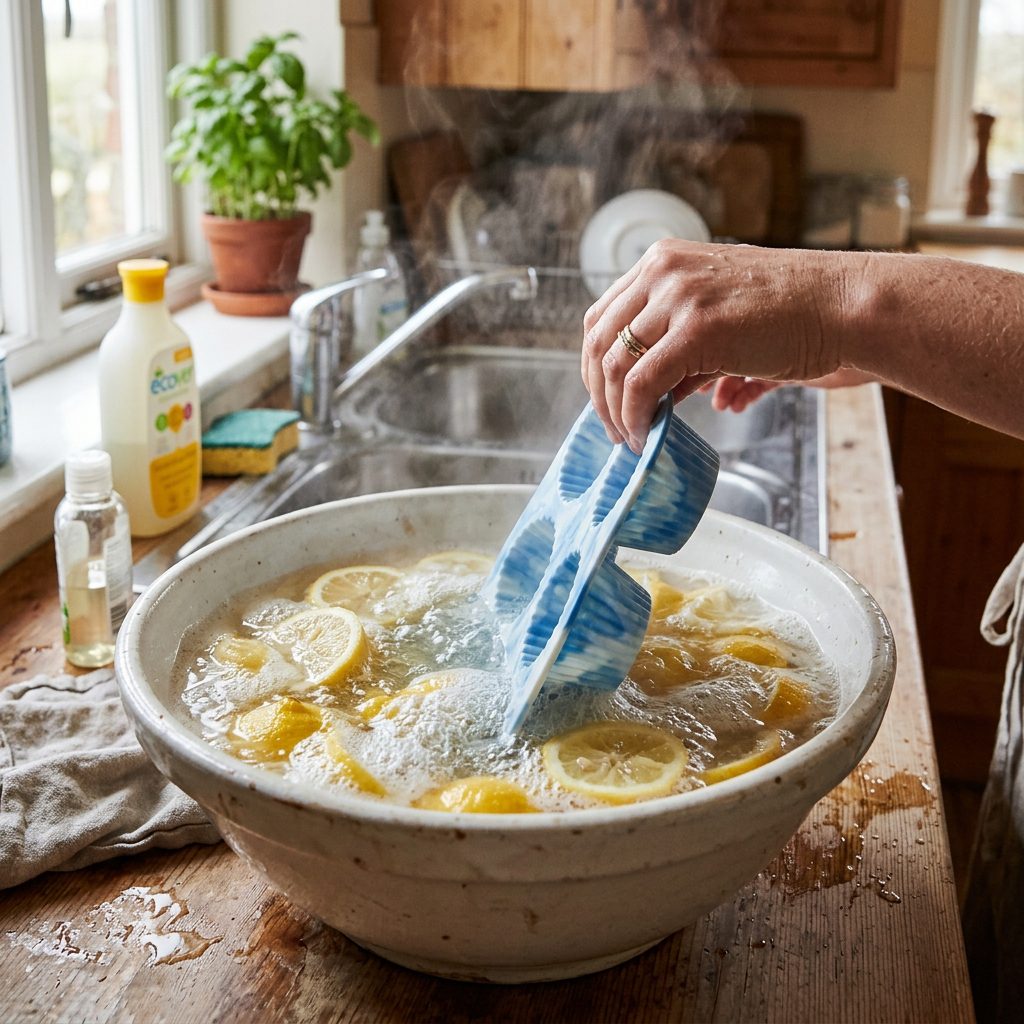
Even with the best hacks, silicone can develop a ‘filmy’ or ‘sticky’ feel over time. This is caused by microscopic fat deposits from previous treat batches that have polymerized onto the silicone. If your molds start to feel tacky even when clean, your treats will start to stick. Forget the dishwasher; it rarely gets hot enough to strip these oils. Instead, do a Boiling Water Reset. Submerge your molds in a mix of boiling water and a high-quality grease-cutting soap (or a splash of white vinegar) for 10 minutes. This opens the ‘pores’ of the silicone and releases the trapped fats. Rinse with cold water to ‘close’ the surface, and your molds will be as slick as the day you bought them. This maintenance hack ensures that your 50th batch of treats comes out just as perfectly as your first.
The Real Cost of Cleanliness
Maintaining your molds isn’t just about aesthetics; it’s about hygiene. Bacteria can hide in those microscopic fat layers. By using the boiling water method, you are effectively sterilizing your equipment without the need for harsh, scented chemicals that might irritate your dog’s sensitive nose.
Conclusion
Mastering the silicone mold is the final step in transitioning from a casual pet owner to a true Canine Nutrition Hacker. By using the sheet pan for stability, vibrating the air bubbles out, respecting the ‘Flash Freeze’ timeline, applying a coconut oil barrier, and maintaining your gear with boiling water, you’ve eliminated every excuse for buying overpriced, processed treats. You now have the power to control every single milligram of nutrition that enters your dog’s body. No more ‘mystery meats,’ no more ‘technological additives,’ and no more frustration in the kitchen. Your treats will look better, taste better, and provide the targeted nutrition your dog needs to thrive. So, go ahead—grab that mold, prep your sheet pan, and start hacking your way to a healthier, happier dog. Your pup (and your bank account) will thank you. Now, get to popping!