How to Design Gorgeous, FDA-Compliant Dog Bakery Labels That Sell Out in Minutes
Listen up, treat-trepreneurs. You’ve spent weeks perfecting that grain-free, peanut butter and pumpkin biscuit. It looks like a five-star pastry, and the local pups are practically banging down your door for a taste. But here is the cold, hard truth: The FDA and your state’s Department of Agriculture don’t care how many tail wags you get. If your label is a mess, your business is a liability. I’ve seen brilliant bakeries get shut down or fined into oblivion because they thought a cute font and a ribbon were enough. As the Canine Nutrition Hacker, I’m here to tell you that compliance is your superpower. When you nail your labeling, you aren’t just avoiding fines; you are building massive trust with savvy dog owners who read labels like they are forensic scientists. In this guide, I’m going to show you how to design labels that are both legally bulletproof and visually irresistible. We are talking about the ‘insider secrets’ to making your packaging look like it belongs on the shelves of a high-end boutique while meeting every single regulatory hurdle.
The Legal Blueprint: What Must Be on Your Label
Before we get into the pretty colors and branding, we need to talk about the ‘Big Four.’ Every single dog treat sold in the United States must follow the guidelines set by the Association of American Feed Control Officials (AAFCO) and the FDA. If you miss these, you are basically inviting a ‘Cease and Desist’ letter to your mailbox. Safety Disclaimer: I am a nutrition hacker, not a veterinarian or a regulatory attorney. While these tips are based on industry standards, you must always check with your specific state’s Department of Agriculture, as some states have their own quirky ‘Feed Laws.’
The Mandatory Elements
- Product Name: This must be descriptive. If it’s a ‘Pumpkin Crunch,’ you need to specify it is a ‘Dog Treat’ or ‘Pet Supplement.’
- Net Quantity Statement: This is the weight of the product in the bag. It must be in both US Customary (ounces/pounds) and Metric (grams/kilograms).
- Manufacturer Information: You must include your business name and address. If you are in the phone book, you can sometimes omit the street address, but why risk it?
- Ingredient Statement: This is where most people fail. Ingredients must be listed in descending order of weight before cooking.
Hacker Tip: Don’t just list ‘Peanut Butter.’ You must list the sub-ingredients of that peanut butter, like ‘Peanut Butter (Peanuts, Salt).’ Better yet, use single-ingredient peanut butter to keep your label clean.
The Forensic Ingredient Analysis: Exposing the Fluff
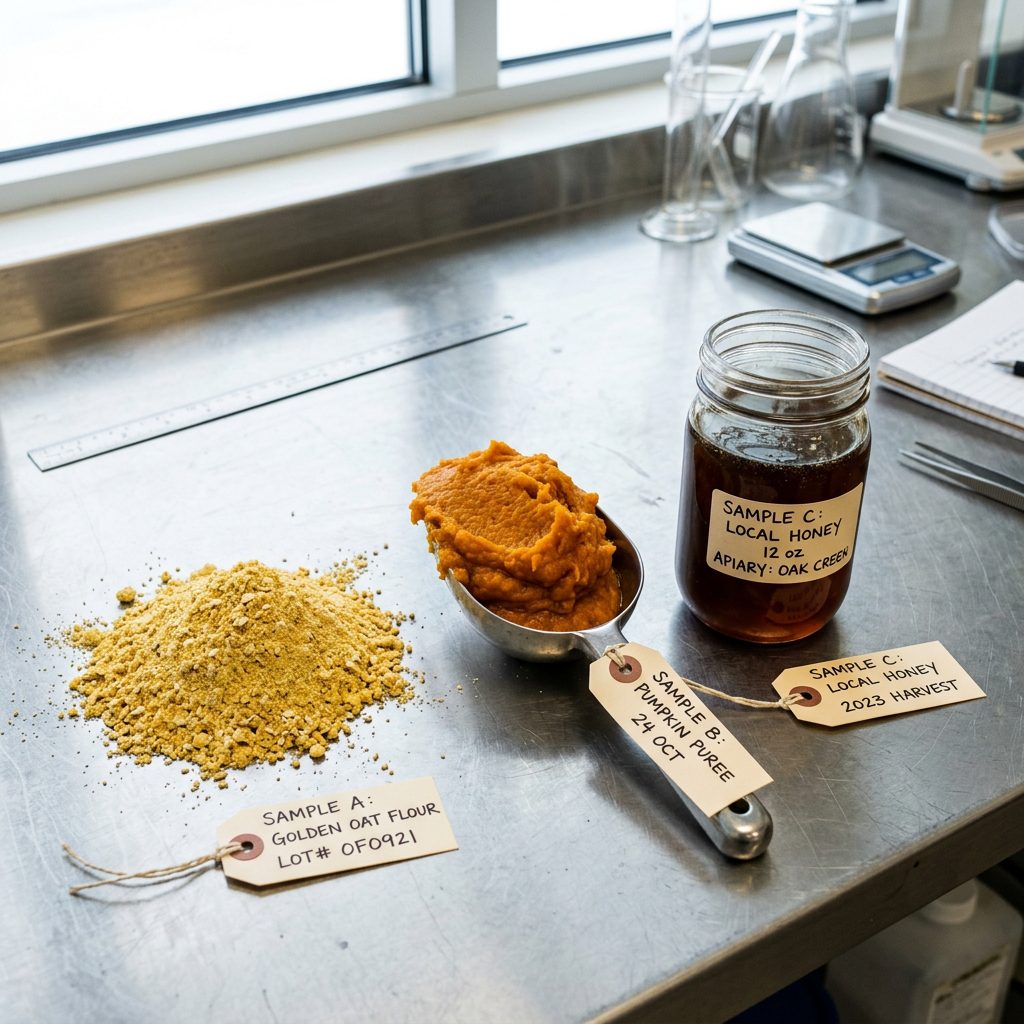
Savvy dog owners—the kind who spend $15 on a bag of treats—are looking for ‘Hero Ingredients.’ They want to see whole foods, not ‘by-products’ or ‘meals.’ As a nutrition hacker, I analyze labels for what I call ‘The First Five.’ In a bakery setting, your first ingredient should almost always be a high-quality flour or a protein. Avoid ‘Wheat Middlings’ or ‘Corn Gluten Meal’—these are cheap fillers that scream ‘low quality’ to a discerning buyer.
Understanding the ‘Naming Rules’
AAFCO has very specific rules about how you name your treats based on the percentage of ingredients. If you call them ‘Chicken Treats,’ they must be at least 95% chicken. If you call them ‘Chicken Dinner’ or ‘Chicken Entree,’ they only need to be 25% chicken. If you say ‘With Chicken,’ it only needs to be 3%! This is why I always recommend the ‘Flavor’ rule for bakeries. If you call them ‘Peanut Butter Flavor Treats,’ you don’t have a minimum percentage requirement, though you still want those high-quality ingredients at the top of the list to satisfy the ‘First Five’ rule.
| Ingredient Type | The Hacker’s Choice | The ‘Avoid’ List |
|---|---|---|
| Flour | Oat Flour, Chickpea Flour, Almond Flour | Wheat Flour (unless specified non-GMO), Corn Flour |
| Sweetener | Local Honey, Applesauce (unsweetened) | Xylitol (Deadly!), High Fructose Corn Syrup |
| Protein | Dehydrated Liver, Wild-Caught Salmon | Meat Meal, Animal Fat (unspecified source) |
| Preservative | Vitamin E (Tocopherols), Rosemary Extract | BHA, BHT, Ethoxyquin |
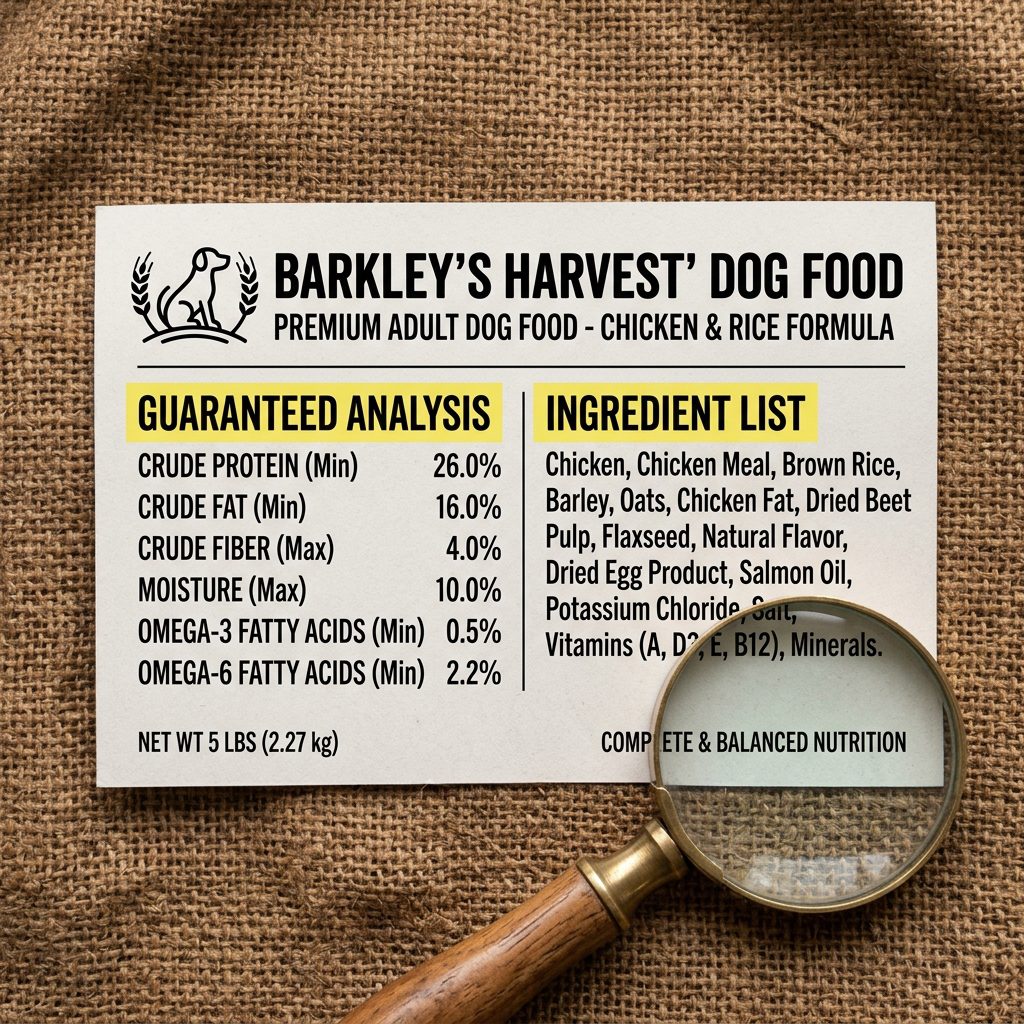
Guaranteed Analysis: The Math Behind the Magic
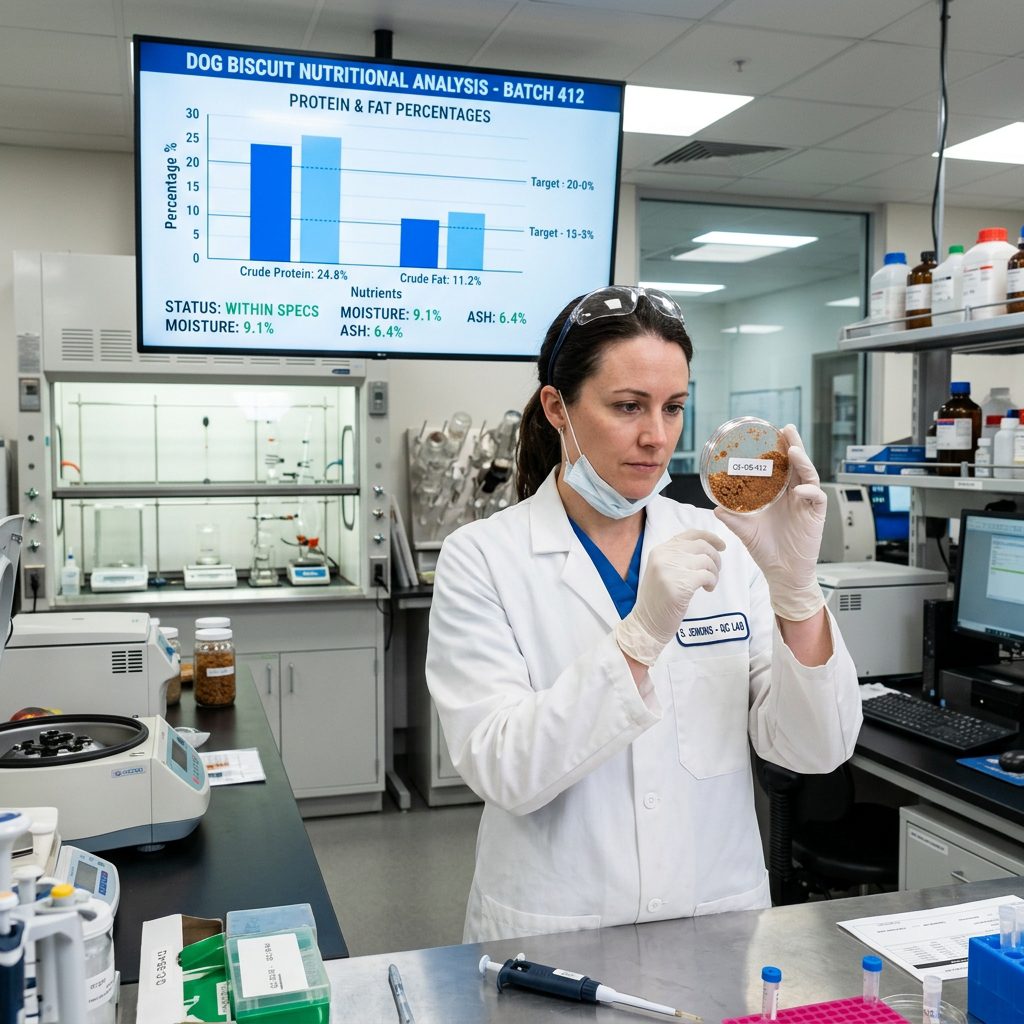
This is the part that scares most home bakers, but it’s the most important for compliance. The Guaranteed Analysis (GA) is a chart that tells the owner exactly how much protein, fat, fiber, and moisture is in your treats. For treats, you generally only need the ‘Big Four’:
- Crude Protein (Minimum %)
- Crude Fat (Minimum %)
- Crude Fiber (Maximum %)
- Moisture (Maximum %)
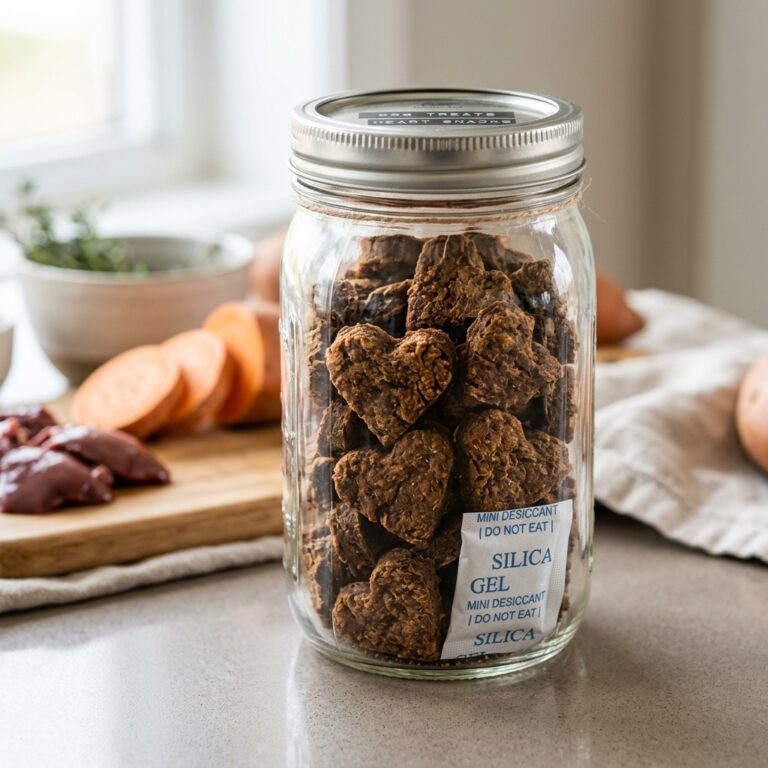
How do you get these numbers? You have two choices: send your treats to a certified lab (costs about $50-$100 per recipe) or use a database calculation software. If you are just starting, lab testing is the gold standard and gives you a ‘Certificate of Analysis’ that you can show to inspectors. Hacker Secret: If your treats are crunchy/dehydrated, your moisture will be low (around 10%), which naturally extends shelf life without nasty chemicals.
Designing for the ‘Sell Out’: Aesthetics That Move Product
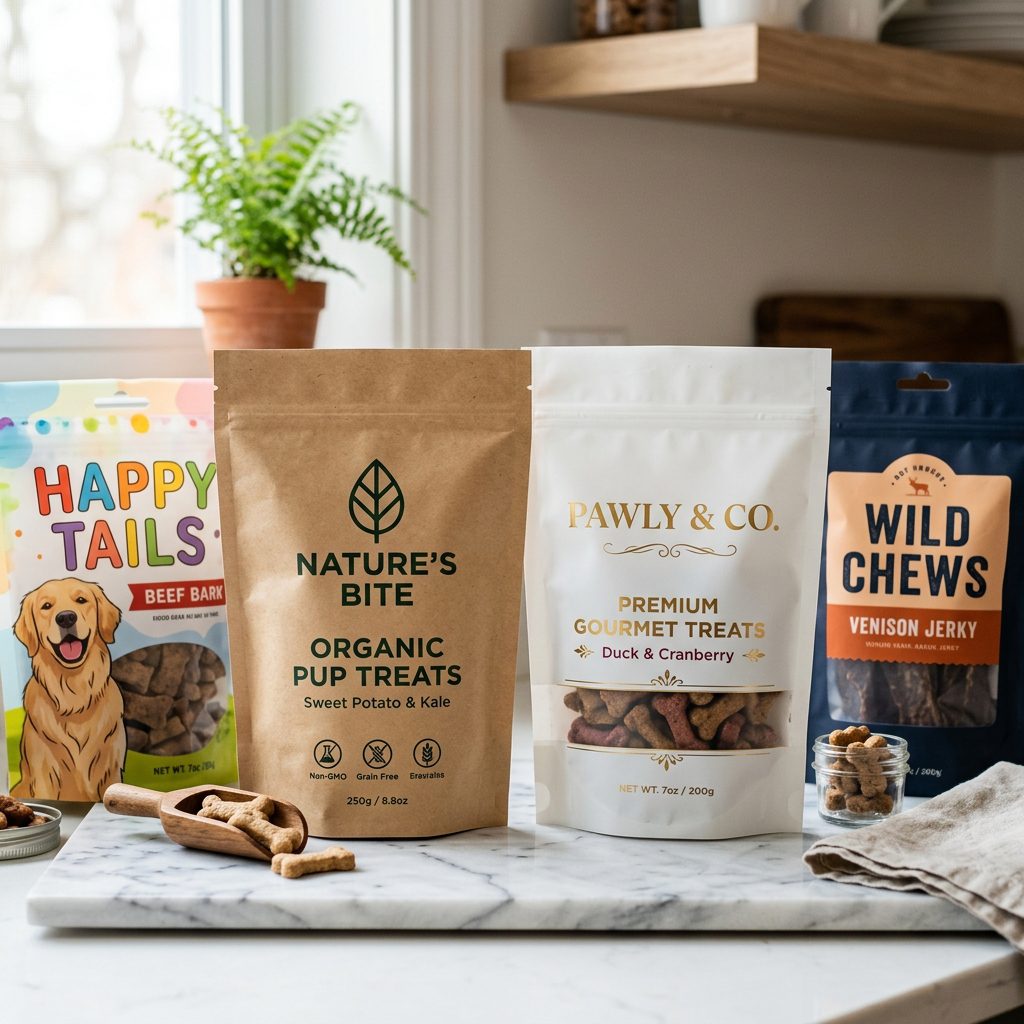
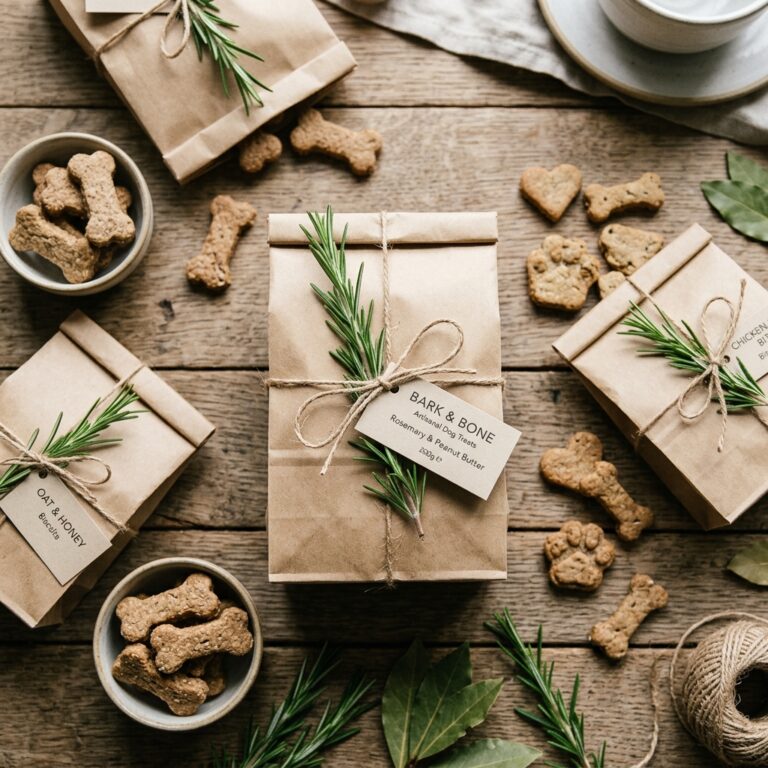
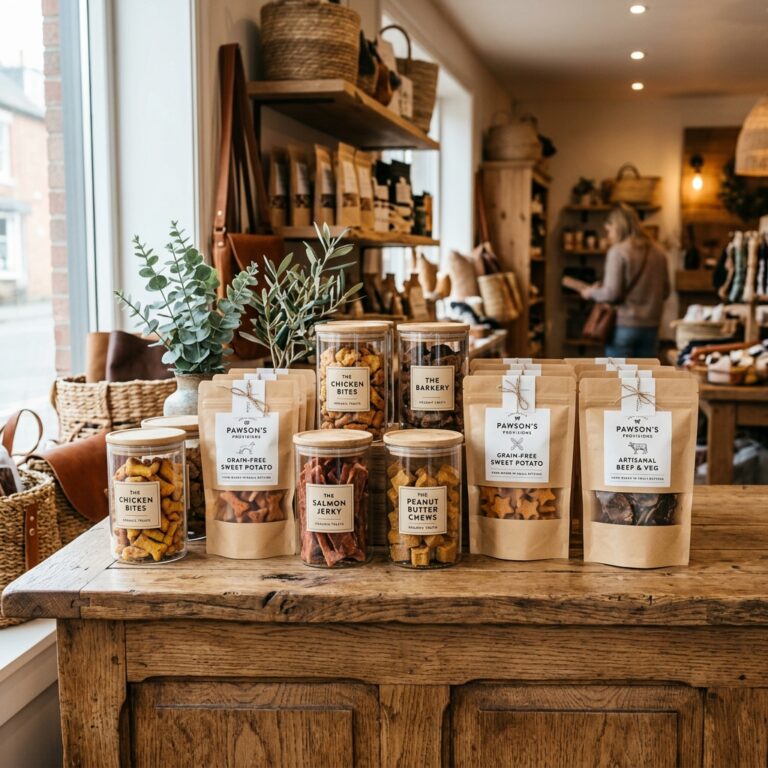
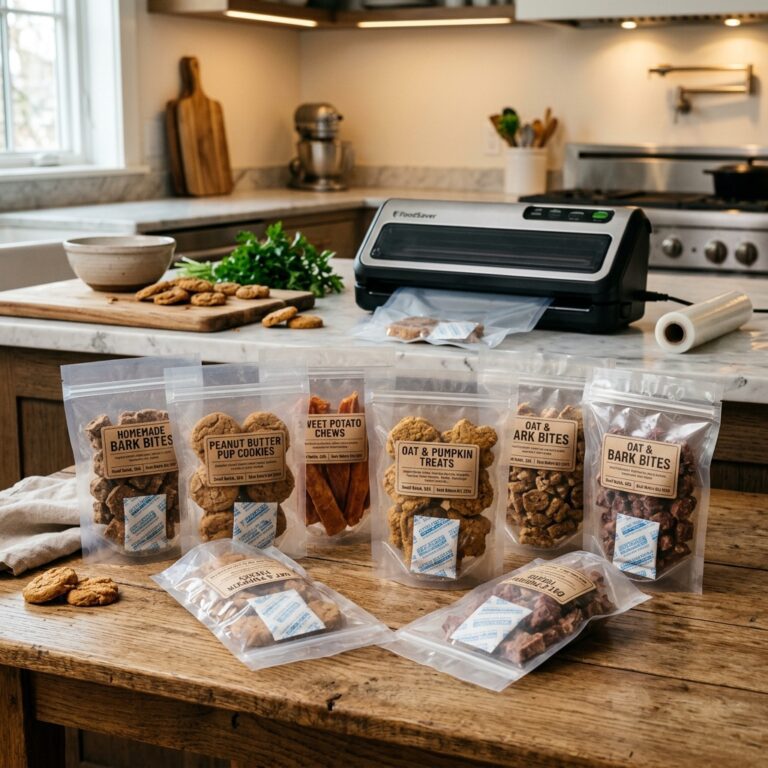
Now that we are legal, let’s get gorgeous. Your label is your silent salesman. To sell out in minutes, you need to appeal to the owner’s emotions while satisfying their logic. Savvy owners love minimalism. They want to see the product. Use clear windows in your packaging so the ‘artisanal’ nature of the treat shines through. Use matte finishes instead of glossy; matte feels more ‘organic’ and ‘handmade.’
Color Psychology for Dog Owners
Don’t just pick your favorite color. Use colors that trigger the right response:
- Green: Health, vitality, and ‘natural’ ingredients.
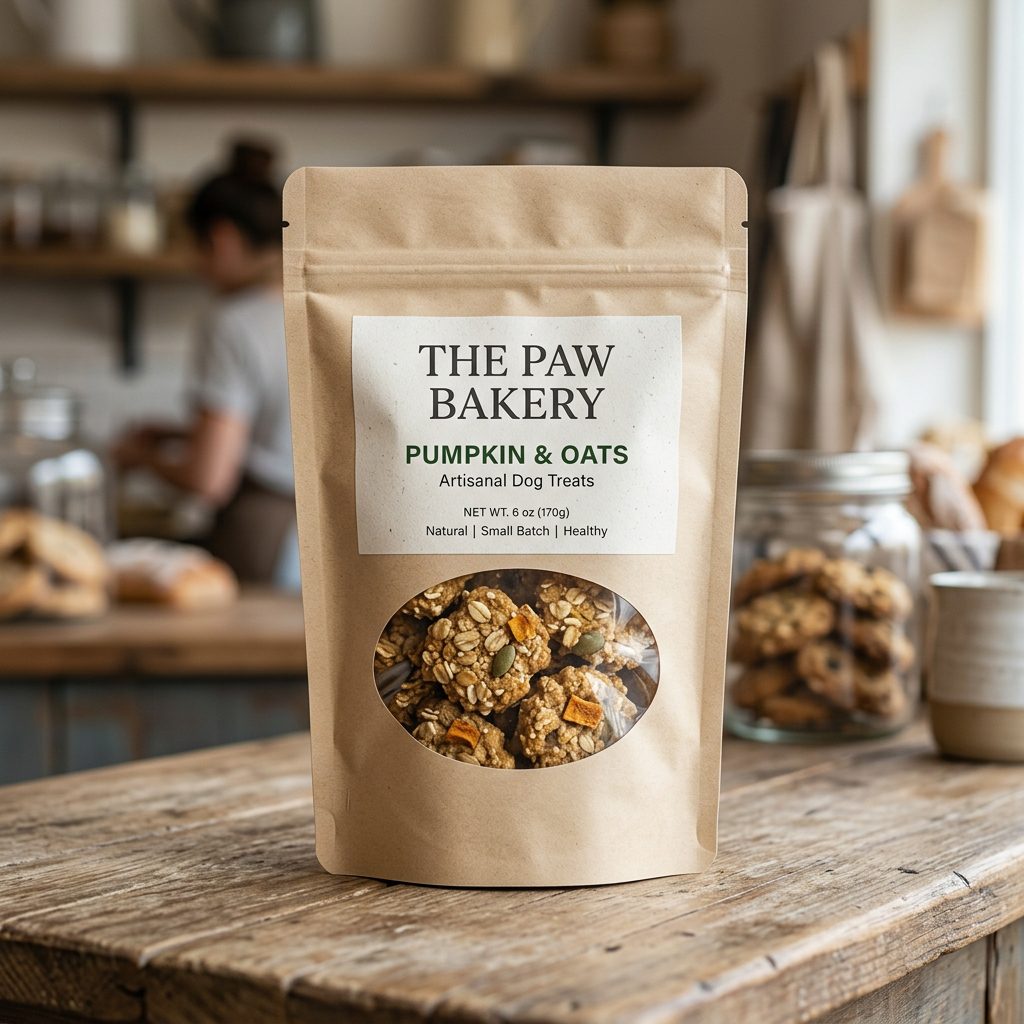
- Brown/Kraft: Earthy, rustic, and ‘handmade’ vibes.
- Blue: Trust and reliability (great for ‘calming’ treats).
- Orange: Energy and flavor (perfect for pumpkin or sweet potato treats).
Hacker Tip: Use a QR code on your label that leads to a ‘Behind the Scenes’ video of you baking. It builds incredible transparency and turns a one-time buyer into a loyal fan.
The Safe Chef Guide: Cost Breakdown & Recipe Ratios
Running a bakery isn’t just about baking; it’s about margins. If you don’t know your cost per treat, you don’t have a business; you have an expensive hobby. Let’s look at the cost of doing it right versus cutting corners.
| Expense Item | DIY / Home Printer | Professional Print Run | Hacker Strategy (Hybrid) |
|---|---|---|---|
| Label Cost | $0.45 / label | $0.12 / label (Bulk) | $0.20 / label (Short Run) |
| Compliance Software | $0 (Manual math) | $500+ (Corporate) | $15/mo (Small Biz App) |
| Lab Testing | $0 (Risky) | $100 / recipe | $80 (Group buy/Discount) |
| Total Startup | Low | High | Moderate |
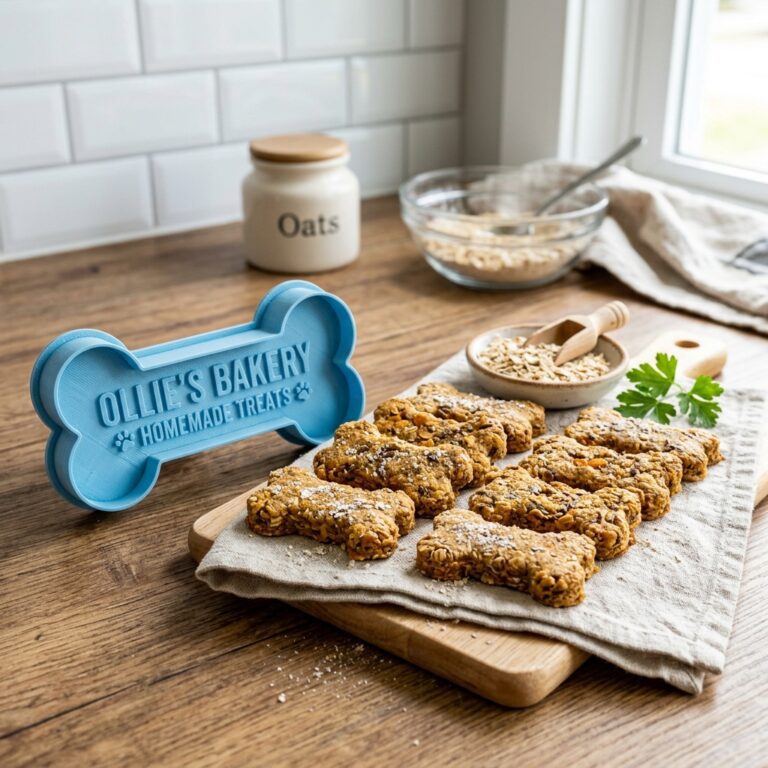
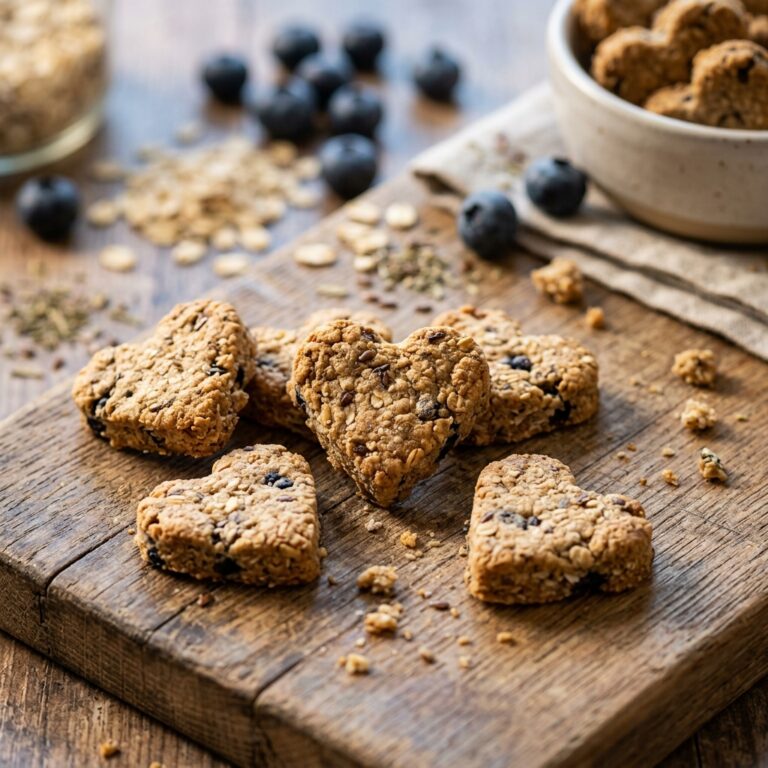
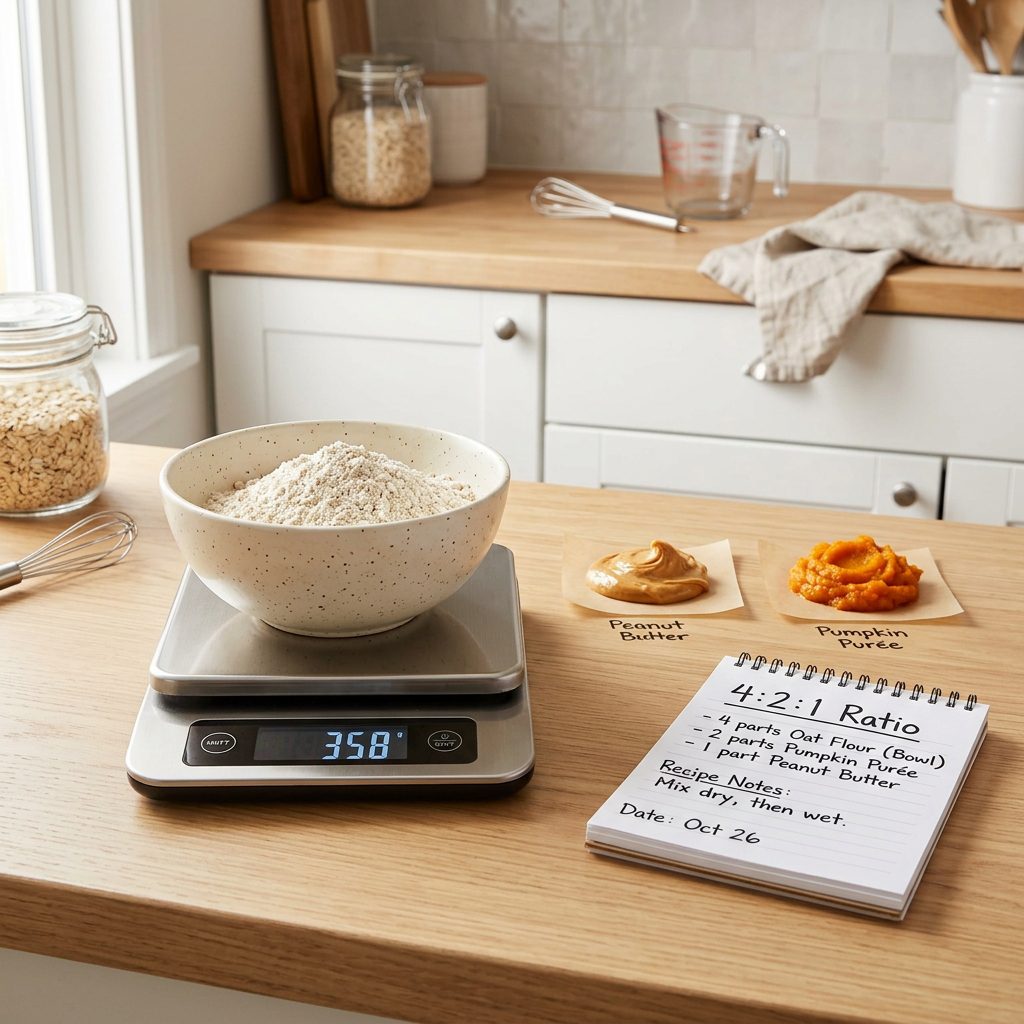
Actionable Recipe: The ‘Hacker Base’ Biscuit
Use this 4:2:1 ratio for a consistent, easy-to-label treat base:
- 4 Parts Flour: 2 cups Oat Flour (Great for allergies).
- 2 Parts Puree: 1 cup Pumpkin or Unsweetened Applesauce.
- 1 Part Binder/Fat: 1/2 cup Peanut Butter (No Xylitol!) or 1 Egg.
Batch Cooking Tip: Bake these at a low temperature (300°F) for a longer time to remove as much moisture as possible. The drier the treat, the more stable the label’s ‘Moisture Max’ percentage will be, and the longer they stay fresh on the shelf.
Conclusion
Designing FDA-compliant dog bakery labels might feel like a chore, but it is actually the foundation of a premium brand. When you can look a customer in the eye and explain your Guaranteed Analysis or why your Ingredient Statement starts with whole oats instead of wheat middlings, you aren’t just selling a treat—you’re selling peace of mind. Remember, the ‘savvy’ dog owner is your best customer. They are loyal, they spend more, and they tell their friends. By following the AAFCO guidelines, using the forensic ‘First Five’ rule for ingredients, and wrapping it all in a minimalist, high-end design, you are setting yourself up to sell out every single time. Now, get into that kitchen, get your math right, and start building the dog bakery of your dreams. The pups are waiting!