How to Triple Your Homemade Dog Treats Shelf Life (Without Dangerous Preservatives!)
Let us be real for a second. You just spent your entire Sunday afternoon lovingly mixing, rolling, and baking a batch of organic, grain-free sweet potato and turkey treats for your best furry friend. Your dog is obsessed with them. You feel like the ultimate pet parent. But then, Thursday rolls around. You reach into the plastic baggie on your counter, and there it is: that dreaded fuzzy green mold. Your hard work, your expensive organic ingredients, and your dog’s joy—all straight into the trash.
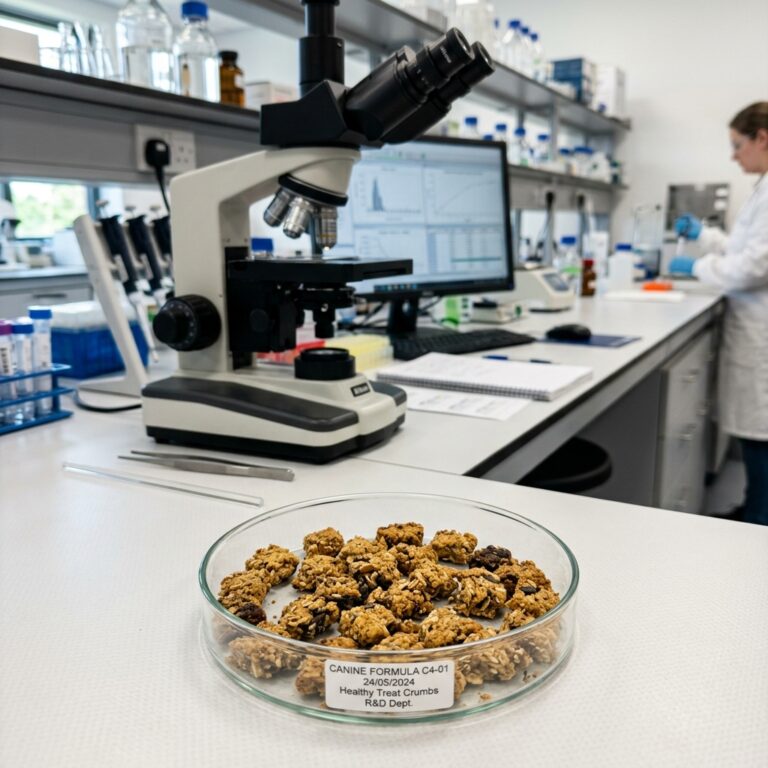
It is incredibly frustrating, right? As a savvy dog owner, you already know that turning to cheap, store-bought treats is not the answer. Those commercial treats can sit on a shelf for three years straight without growing a single spore of mold. Have you ever stopped to ask yourself why?
Insider Secret: Commercial treats survive the apocalypse because they are pumped full of chemical preservatives like BHA, BHT, and Ethoxyquin—ingredients that have been linked to serious health issues, organ toxicity, and even cancer in our pets. You are baking at home to avoid this exact toxic garbage!
I am The Canine Nutrition Hacker, and I absolutely despise wasting money, wasting food, and compromising on my dog’s health. You do not have to choose between feeding your dog synthetic chemicals and throwing away moldy treats every four days. Today, I am going to show you exactly how to analyze your baking process like a forensic scientist and triple your homemade dog treats’ shelf life using only safe, natural methods.
SAFETY DISCLAIMER: Before we dive into the kitchen, remember that I am a street-smart nutrition hacker and passionate dog owner, not a licensed veterinarian. While these natural preservation methods are safe and effective, homemade treats should only make up about 10% of your dog’s daily caloric intake. If you are cooking full DIY meals for your dog, you must consult a veterinary nutritionist to ensure they are getting the proper essential vitamins and minerals.
Now, grab your apron and your mixing bowls. We are about to hack the baking process and make your homemade treats last longer than you ever thought possible!
The Silent Killer of Homemade Treats: Moisture
If you want to beat the commercial pet food industry at their own game, you have to understand their biggest enemy: water. In the food science world, there is a term called Water Activity (aw). This is not just about how wet a treat feels; it is about how much unbound water is available inside the treat for bacteria, yeast, and mold to feed on.
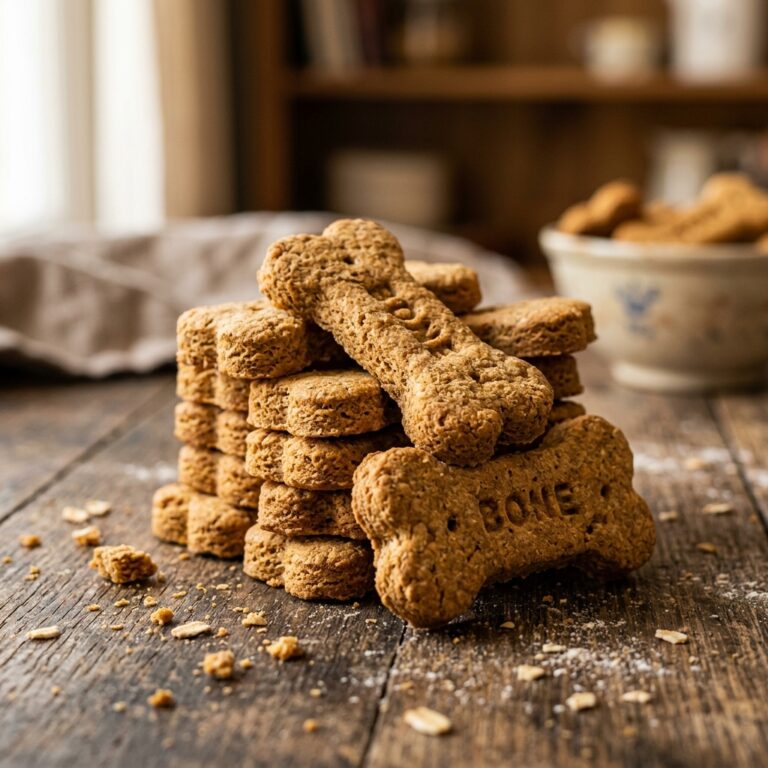
When you bake a batch of peanut butter and pumpkin dog biscuits, they might feel dry on the outside, but the inside is usually still soft and chewy. That chewy center is a luxurious five-star resort for mold spores. Commercial brands solve this by either baking the treats until they are basically rocks, or by injecting them with propylene glycol (a chemical cousin to antifreeze) to keep them soft without allowing mold to grow. We are not going to do either.
The “Double Bake” Dehydration Hack
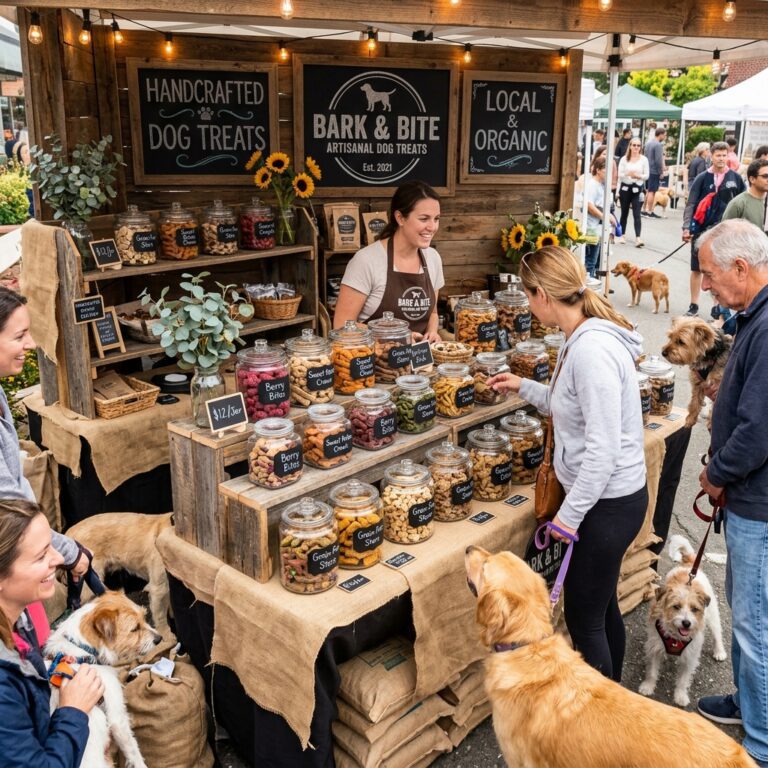
To naturally extend the shelf life of your treats by weeks, you need to master the double bake. This is the exact method professional artisanal dog bakeries use to keep their products shelf-stable without chemicals.
- Bake for Structure: Bake your treats at the recipe’s recommended temperature (usually around 350 degrees Fahrenheit) until they are fully cooked.
- The Low-and-Slow Dehydration: Once they are cooked, turn your oven temperature down to the lowest possible setting (usually 150 to 170 degrees Fahrenheit).
- The Door Trick: Prop the oven door open just a crack—about an inch or two. You can use a wooden spoon to keep it propped. This allows the trapped moisture to escape.
- Wait it Out: Leave the treats in there for 2 to 4 hours. You are essentially turning your oven into a giant food dehydrator.
Hacker Tip: If the treat bends, it will mold. If it snaps cleanly in half with a sharp “crack” sound, you have successfully removed the moisture, and you have just doubled its shelf life.
Mother Nature’s Chemical-Free Preservatives
Dehydration handles the mold, but what about the fat? If your treats contain meat, fish oil, or peanut butter, the fats inside can go rancid. Rancid fat will not necessarily make your dog instantly sick, but it destroys the nutritional value, smells terrible, and can cause severe gastrointestinal upset over time. To fight fat oxidation, we need antioxidants. Here are the hero ingredients you should be adding to your dough.
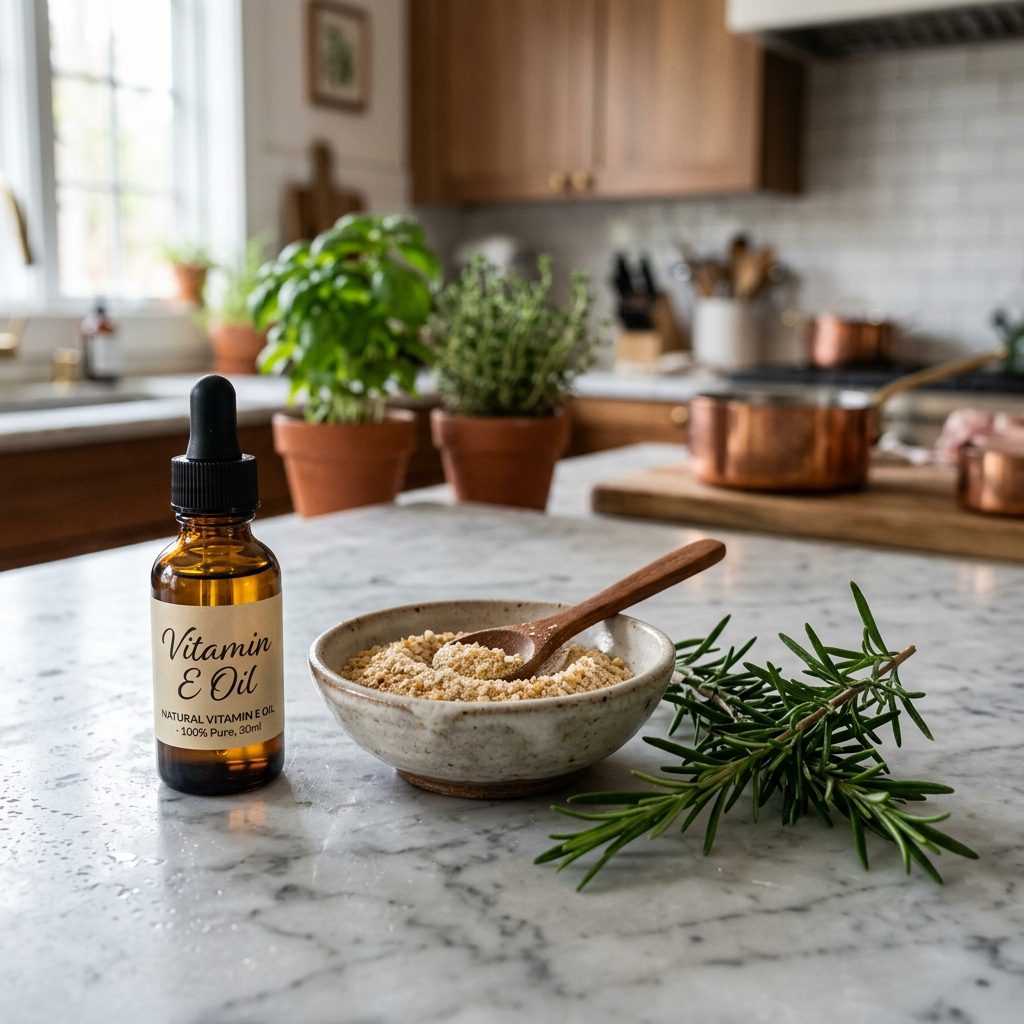
1. Mixed Tocopherols (Vitamin E)
This is the gold standard for natural preservation. Vitamin E is a powerful antioxidant that prevents fats from oxidizing. You can buy a bottle of liquid Vitamin E oil at any health food store. Just add about 1/2 teaspoon of liquid Vitamin E per batch of dough. It will not change the flavor, but it acts like a microscopic shield for the fats in your treats.
2. Ascorbic Acid (Vitamin C)
Vitamin C increases the acidity of your treats slightly, creating an environment where bacteria struggle to survive. You can crush up a plain, unflavored Vitamin C tablet (make sure it contains NO artificial sweeteners like Xylitol, which is deadly to dogs) and mix it into your wet ingredients.
3. Rosemary Extract
Rosemary extract is highly effective at preventing rancidity and is used by many high-quality, premium dog food brands. However, a word of caution for the savvy owner: Rosemary extract has been known to lower the seizure threshold in dogs with a history of epilepsy. If your dog is prone to seizures, skip the rosemary and stick to Vitamin E.
| Natural Preservative | Primary Target | Average Shelf Life Boost | Cost Per Batch |
|---|---|---|---|
| Vitamin E (Tocopherols) | Fat Rancidity | +2 to 3 Weeks | $0.15 |
| Vitamin C (Ascorbic Acid) | Bacterial Growth | +1 to 2 Weeks | $0.10 |
| Rosemary Extract | Fat Rancidity | +3 to 4 Weeks | $0.25 |
| Oven Dehydration (No cost) | Mold & Yeast | +4 to 6 Weeks | $0.00 |
The Ultimate Batch-Cooking Storage Strategy (And Real Cost Breakdown)
Even with dehydration and natural antioxidants, how you store your treats dictates their ultimate survival. If you toss perfectly dehydrated, Vitamin E-infused treats into a cheap plastic bag and leave them in the sun, they will still spoil. Let us talk about the ultimate storage strategy that will save you serious money.
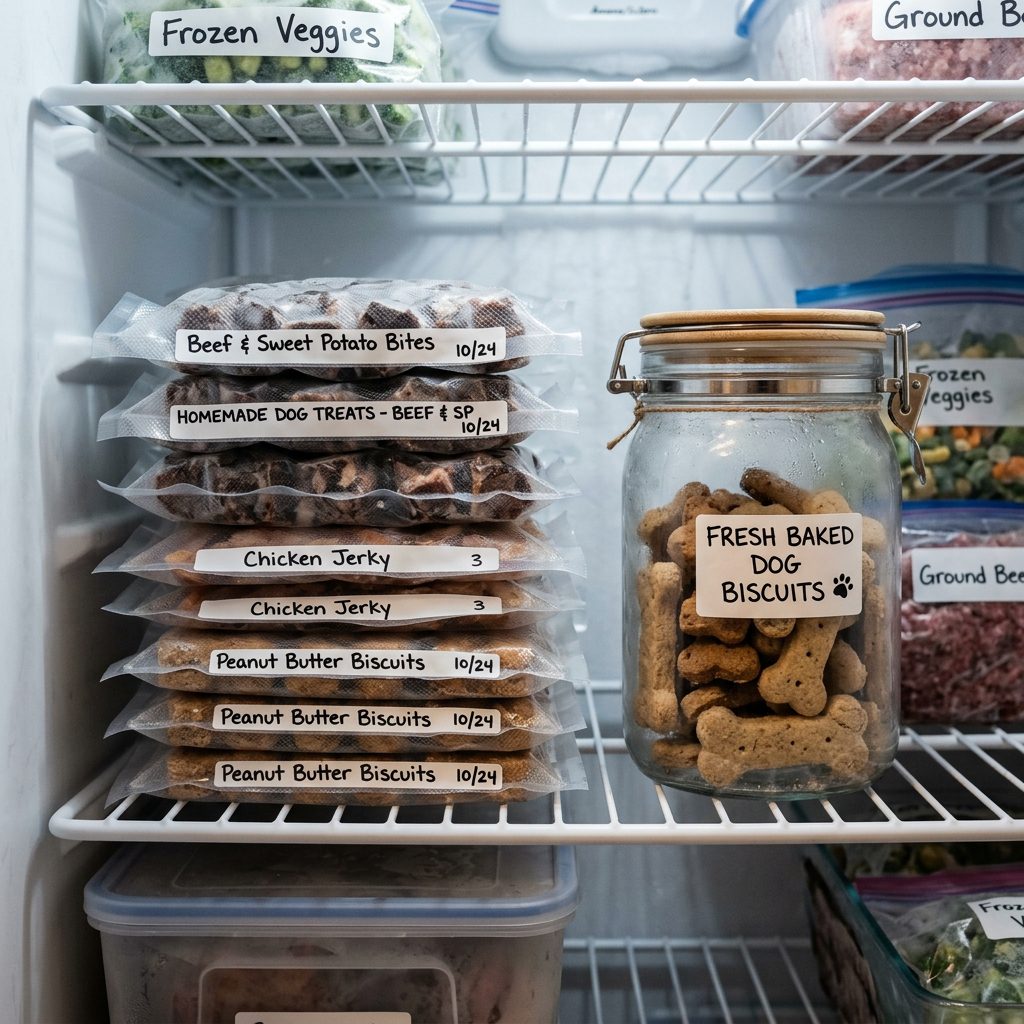
The Three-Tier Storage System
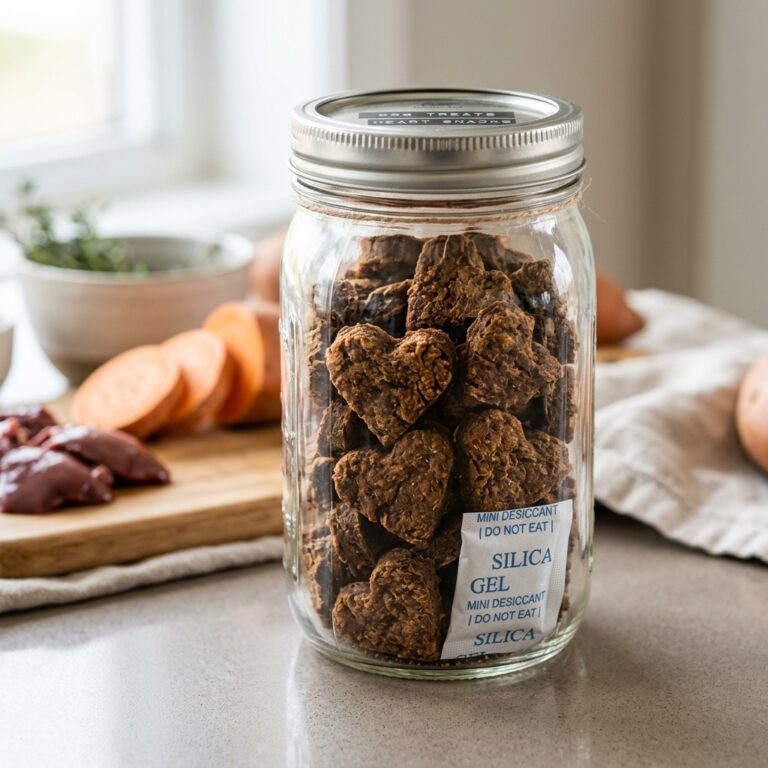
- The Countertop (1-2 Weeks): Keep only what your dog will eat in the next 7 to 14 days in an airtight glass jar on the counter. Glass is vastly superior to plastic because plastic is porous and lets microscopic amounts of air and moisture in. Keep the jar out of direct sunlight.
- The Refrigerator (1-2 Months): For softer treats (like meatball-style treats or anything with high moisture that you didn’t dehydrate), the fridge is mandatory. Store them in an airtight container lined with a paper towel to absorb condensation.
- The Freezer (Up to 6 Months): The freezer is the DIY chef’s best friend. You can bake a massive batch of treats once a month, freeze 80% of them, and pull them out as needed. Vacuum sealing your treats before freezing prevents freezer burn and extends their life indefinitely.
Cost Breakdown: DIY vs. Premium Commercial
Let us look at the real numbers. Is spending time dehydrating and storing homemade treats actually worth it? Absolutely. When you stop throwing away spoiled DIY treats, the savings skyrocket compared to buying premium, natural store-bought brands.
| Treat Type (1 lb yield) | Ingredients / Sourcing | Estimated Cost | Shelf Life (Properly Stored) |
|---|---|---|---|
| Premium Store-Bought | Organic, Grain-Free, Natural Preservatives | $18.00 – $25.00 | 6 – 12 Months |
| Spoiled DIY Treats | Organic ingredients (thrown away after 4 days) | $15.00 (wasted) | 4 Days |
| Hacked DIY Treats | Organic ingredients + Vit E + Dehydrated + Frozen | $5.50 | 3 – 6 Months |
By utilizing the freezer and natural preservatives, you are getting premium-quality, filler-free treats for a fraction of the cost, saving yourself upwards of $150 a year on dog treats alone.
Actionable Recipe: The 3-Month Shelf-Life Sweet Potato Crunchers

Ready to put this forensic food science into practice? Here is a bulletproof recipe designed specifically for longevity, using exact ratios to balance protein, carbs, and natural preservatives. This recipe avoids common allergens like wheat, corn, and soy, making it perfect for dogs with sensitive stomachs.
Ingredients
- 1 Cup cooked, mashed sweet potato (Hero ingredient: fantastic for digestion)
- 1/2 Cup natural, unsweetened peanut butter (Ensure NO Xylitol)
- 1.5 Cups oat flour (Novel carbohydrate, easy on the stomach)
- 1/2 Teaspoon liquid Vitamin E (Our fat-protecting hero)
- 1/4 Cup bone broth (Dog-safe, no onions/garlic)
The Preservation Process
- Mix & Roll: Preheat your oven to 350 degrees Fahrenheit. In a large bowl, mix the sweet potato, peanut butter, and liquid Vitamin E until smooth. Slowly fold in the oat flour and bone broth until a stiff dough forms. Roll out to 1/4 inch thickness.
- Cut & Bake: Cut into small, bite-sized pieces (smaller treats dry out faster and more evenly). Bake for 25 minutes.
- The Dehydration Phase: Turn the oven down to 150 degrees Fahrenheit. Prop the door open with a wooden spoon. Leave the treats in the oven for 3 hours.
- The Snap Test: Remove one treat and let it cool completely. Try to break it. If it snaps cleanly, they are done. If it bends, dehydrate for another hour.
- Storage: Let them cool completely overnight on a wire rack (do not put warm treats in a container, the condensation will cause instant mold). Store one week’s worth in a glass jar, and vacuum-seal the rest for the freezer.
Hacker Tip: Never substitute the oat flour for a high-moisture puree without adjusting your dry ingredients. The wetter the dough starts, the longer it takes to safely dehydrate!
Conclusion
Baking your own dog treats is one of the most loving, health-conscious decisions you can make for your pet. It allows you to completely control the ingredient list, banish toxic fillers like BHA and artificial colors, and tailor the nutrition perfectly to your dog’s needs. But being a savvy dog owner means working smarter, not just harder.
By understanding the science of water activity, utilizing mother nature’s antioxidants like Vitamin E, and mastering the art of the low-and-slow dehydration bake, you have officially leveled up. You are no longer just making dog treats; you are crafting highly nutritious, shelf-stable canine superfoods.
Stop throwing your hard-earned money and beautiful baked goods into the trash. Implement this three-tier storage system, grab a bottle of natural tocopherols, and watch your homemade treats last for months. Your wallet will thank you, and your dog will be thrilled to have a constant supply of their favorite crunchers. Stay savvy, keep hacking that nutrition, and give your dog a perfectly preserved treat for me!