Pain-Free Paws: How to Safely Train Your Puppy to Walk Comfortably on Gravel and Rocks
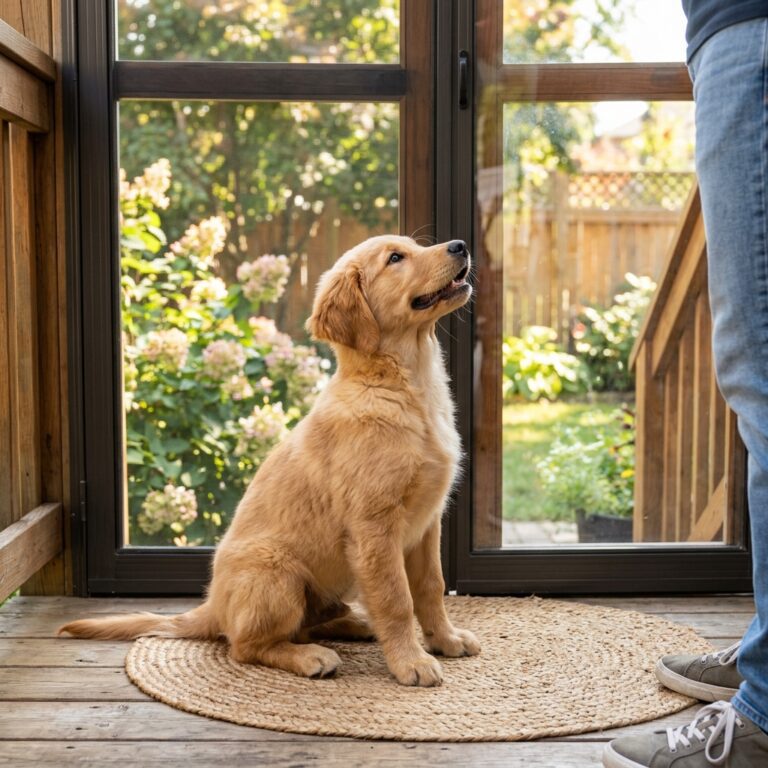
Welcome to the wonderful world of puppy parenthood! If you have ever watched your little furball gingerly lift their feet like they are walking on a bed of nails the moment they hit the driveway, you are not alone. Transitioning from soft carpets and lush grass to the harsh, unforgiving texture of gravel and rocks can be a daunting experience for a young dog. As a savvy owner, you know that those adorable, velvet-soft paw pads are not just for show; they are sensitive sensory organs that require protection and gradual conditioning.
Walking on rough terrain is not just about physical toughness; it is a significant part of your puppy’s socialization and confidence-building journey. Whether you are planning weekend mountain hikes or just need to navigate a stone-paved path in your neighborhood, teaching your puppy to walk comfortably on these surfaces is essential for their long-term mobility and happiness. In this guide, we are going to dive deep into the anatomy of puppy paws, the gear that can make a difference, and a foolproof training method to turn your ‘tender-foot’ into a rugged explorer. Let’s get those paws ready for adventure!
Understanding the Sensitivity of Puppy Paws
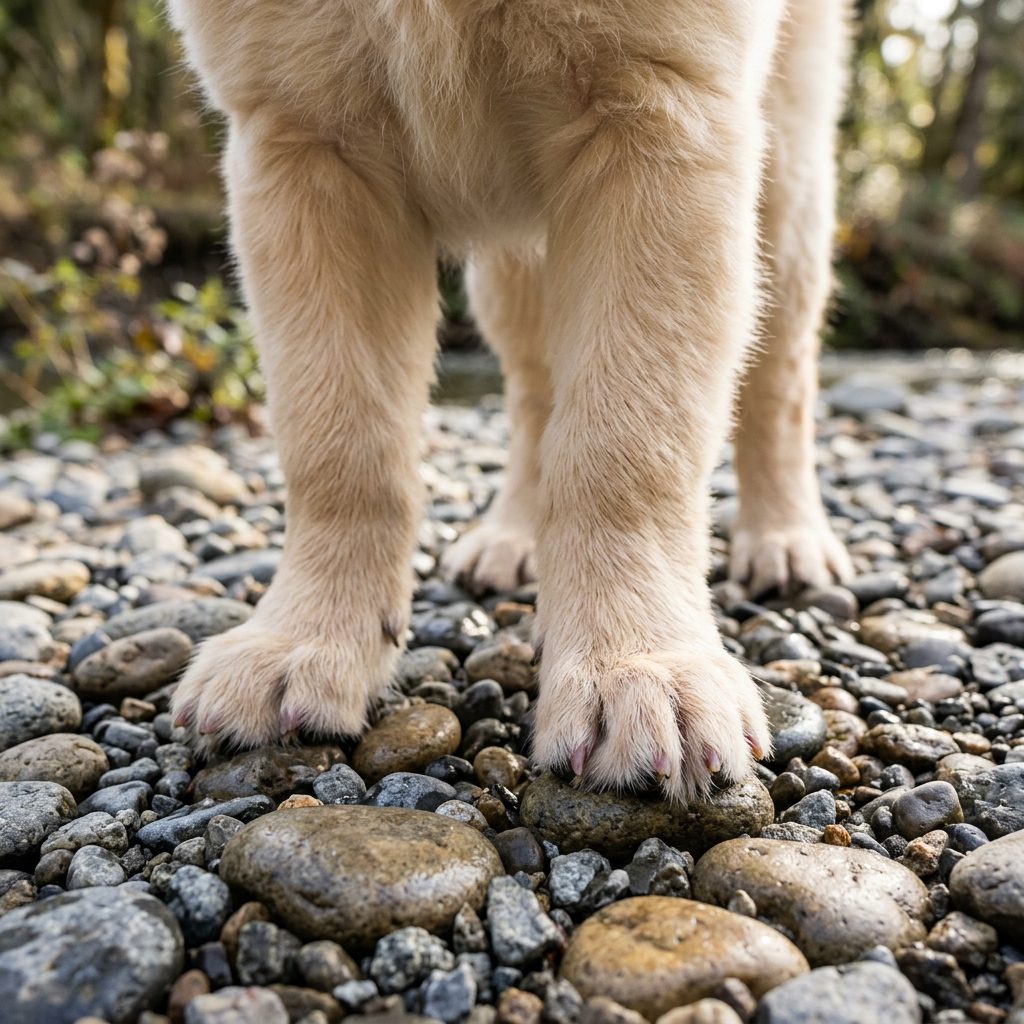
Before we start the training, it is crucial to understand what we are working with. Unlike adult dogs who have spent years building up thick, leathery callouses, a puppy’s paw pads are incredibly soft and thin. Think of them like the soles of a baby’s feet versus an experienced hiker’s boots. This sensitivity makes them prone to thermal burns from hot rocks and mechanical injuries from sharp gravel edges.
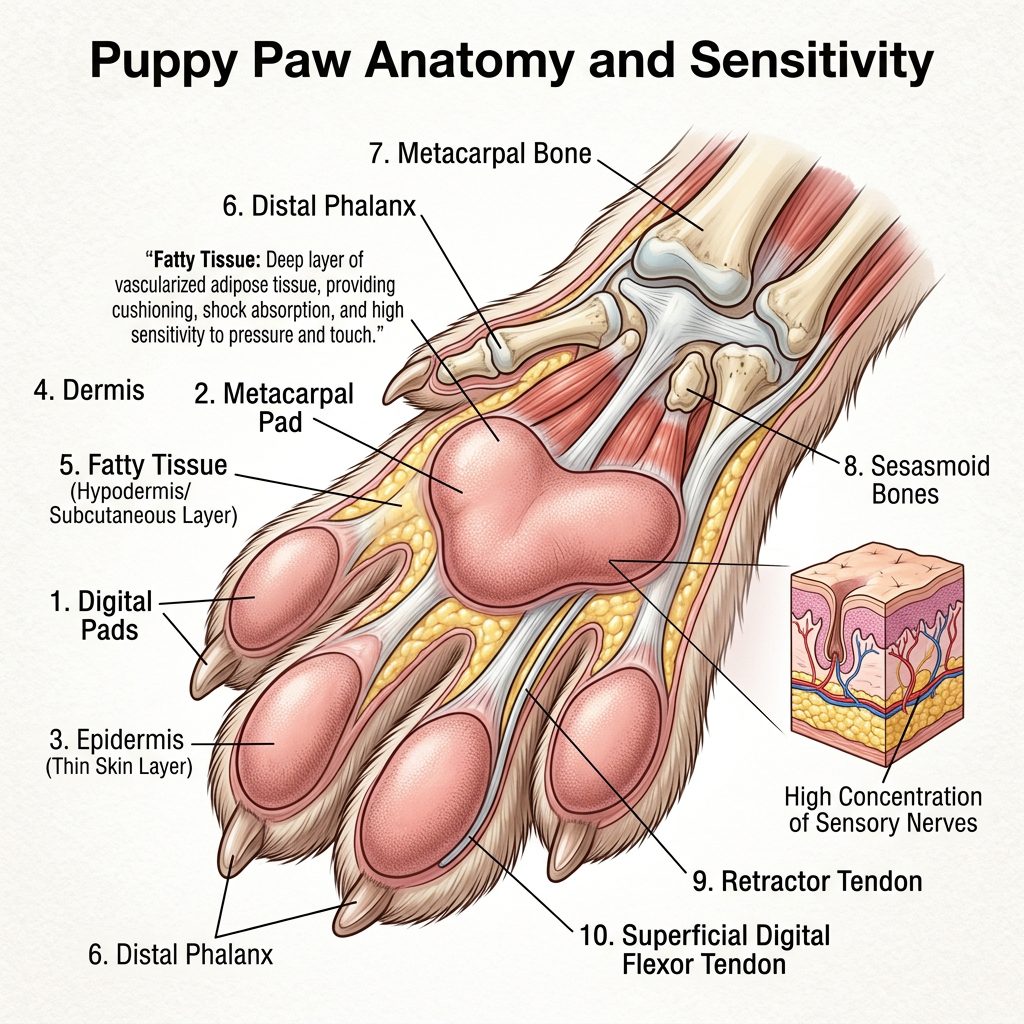
The Anatomy of the Pad
The paw pad is composed of fatty tissue, collagen, and a specialized layer of skin. In puppies, the stratum corneum (the outermost layer of the skin) is much thinner. This means they feel every sharp point and temperature shift much more intensely than an adult dog would. Furthermore, puppies are still developing their proprioception—their internal sense of where their limbs are in space. Stepping on shifting gravel can feel unstable and scary to a pup who hasn’t quite mastered their own balance yet.
Expert Tip: Puppy pads are high-traction but low-durability. Avoid ‘toughening them up’ by forcing them onto rough surfaces too quickly; this usually leads to abrasions rather than callouses.
Essential Gear for Navigating Rough Terrain
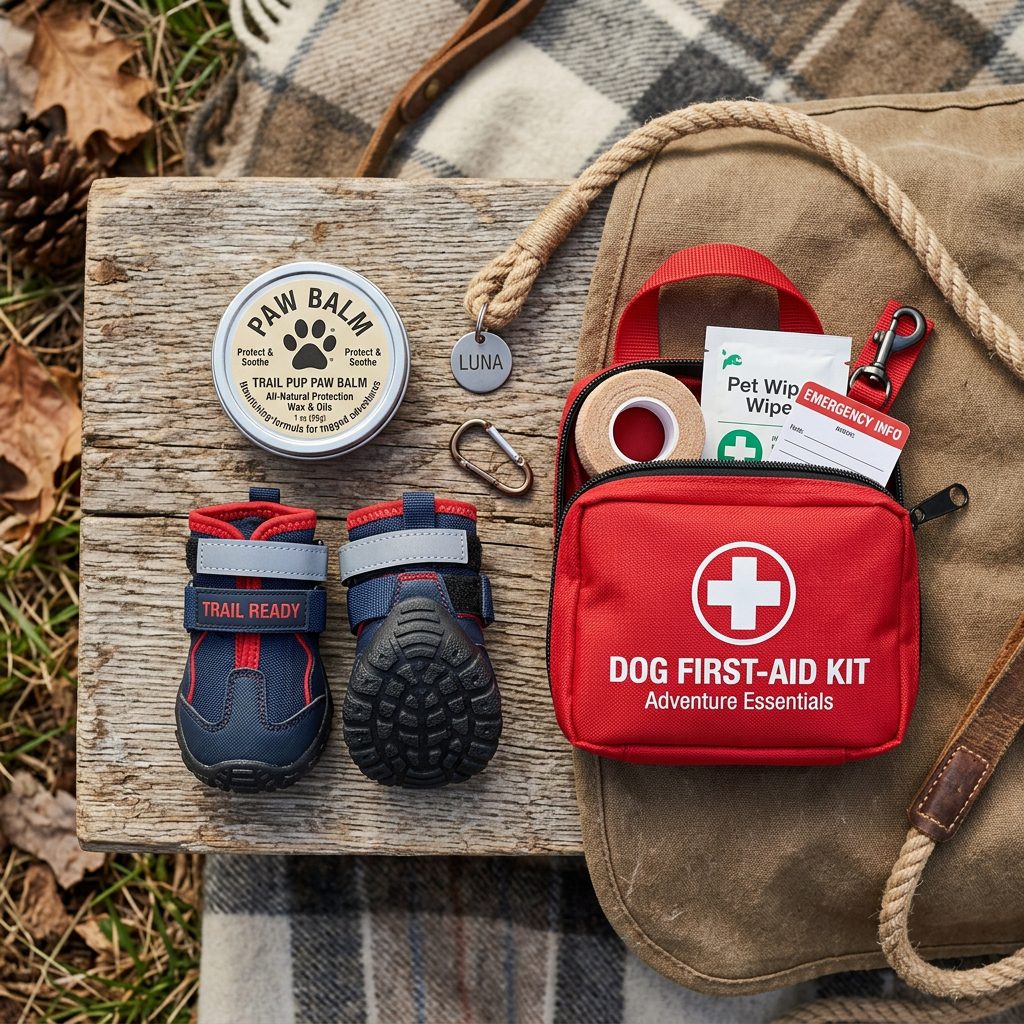
While the goal is to have your puppy walk comfortably ‘barefoot,’ sometimes a little help from technology can go a long way. Especially during the early stages of training or when facing particularly jagged terrain, the right gear can prevent a negative association with rocks. Below is a comparison of common solutions for paw protection.
| Gear Item | Best Use Case | Pros | Cons |
|---|---|---|---|
| Paw Wax/Balm | Gravel paths, hot pavement, snow. | Maintains natural feel, protects against chemicals. | Can be messy, needs reapplication. |
| Rugged Dog Boots | Sharp river rocks, long hikes. | Maximum protection from cuts and heat. | Puppies often hate the feeling; requires training. |
| Disposable Booties | Short walks, light gravel. | Thin enough to allow ground feel. | Not very durable; can tear easily. |
Choosing the Right Protection
If you decide to go with boots, look for ones with flexible soles. A rigid sole can interfere with your puppy’s natural gait and make them more likely to trip. For most gravel training, a high-quality paw wax like Musher’s Secret is often the best middle ground. It provides a semi-permeable barrier that protects against minor abrasions while allowing the puppy to still feel the ground, which is vital for their sensory development.
The Step-by-Step Guide to Gravel Training
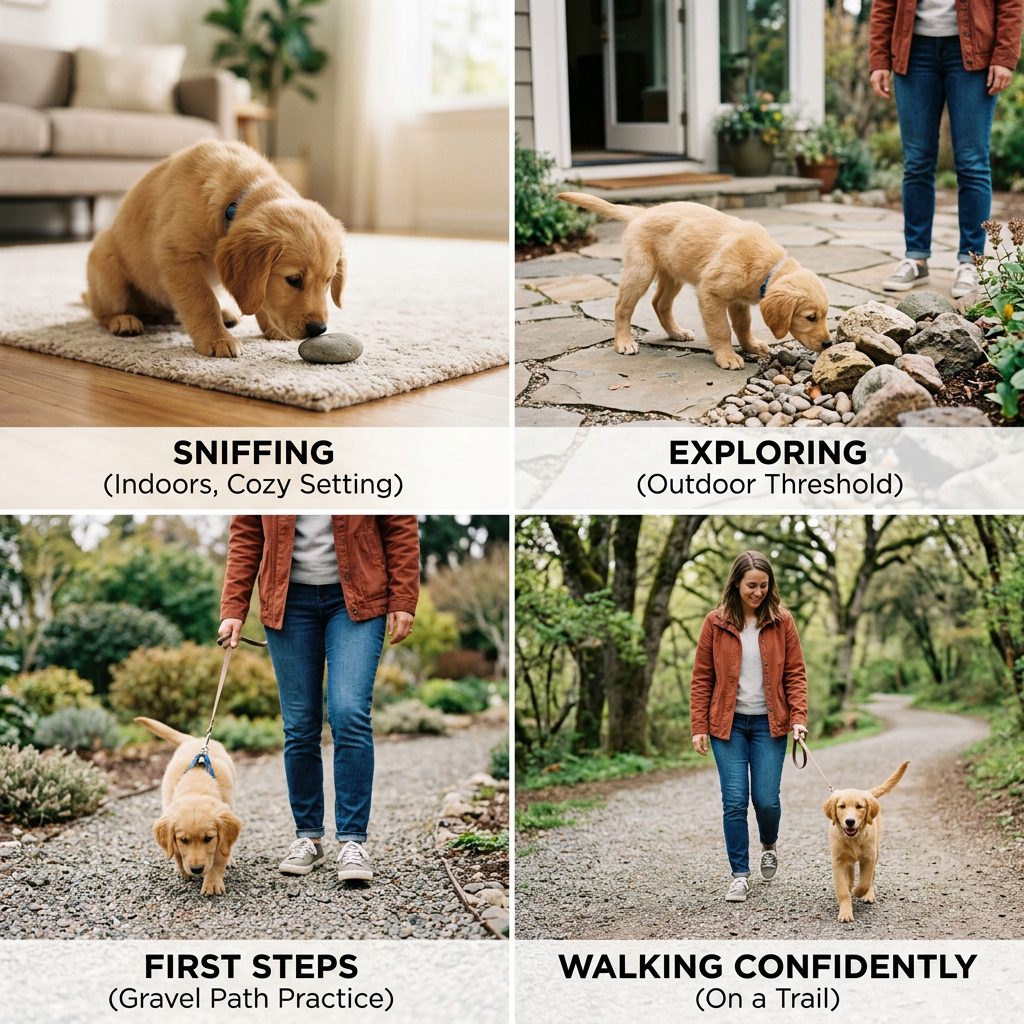
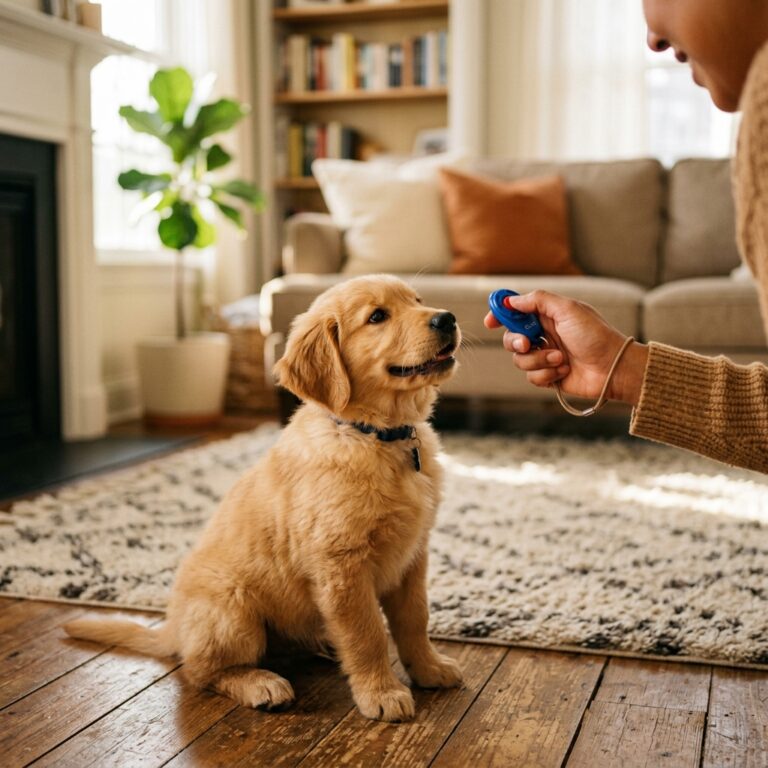
Training your puppy to handle rocks is all about gradual desensitization and positive reinforcement. We want the puppy to think, ‘Rocks mean treats!’ rather than ‘Rocks mean ouch!’ Follow these steps to build their confidence safely.
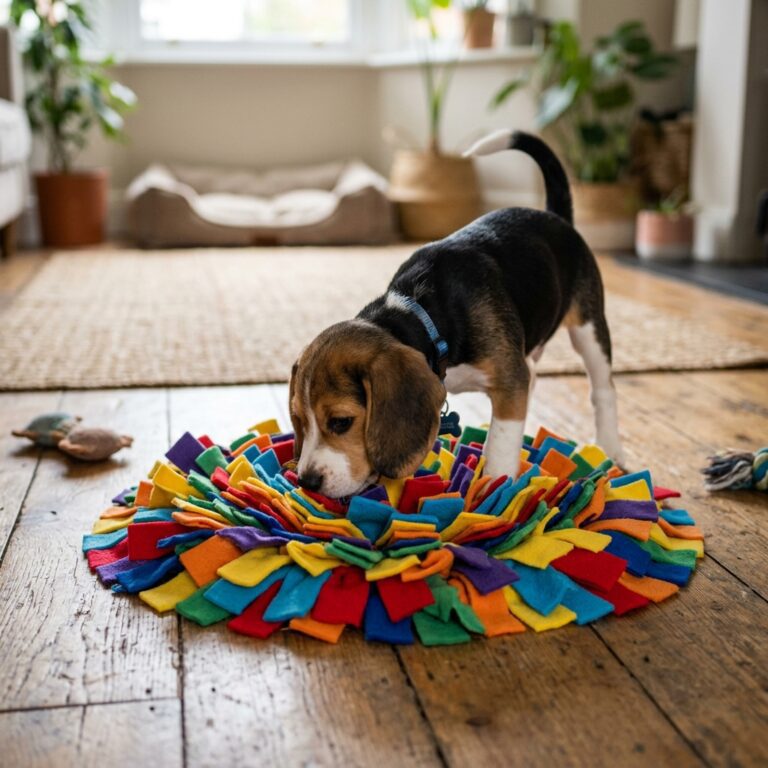
Step 1: Indoor Texture Introduction
Start inside where your puppy feels safest. Place a few flat stones or a tray of smooth river rocks on the floor. Let your puppy sniff them. When they put a paw on a stone, use a clicker or a verbal marker like ‘Yes!’ and give them a high-value treat. We are building the association that ‘different’ surfaces lead to rewards.
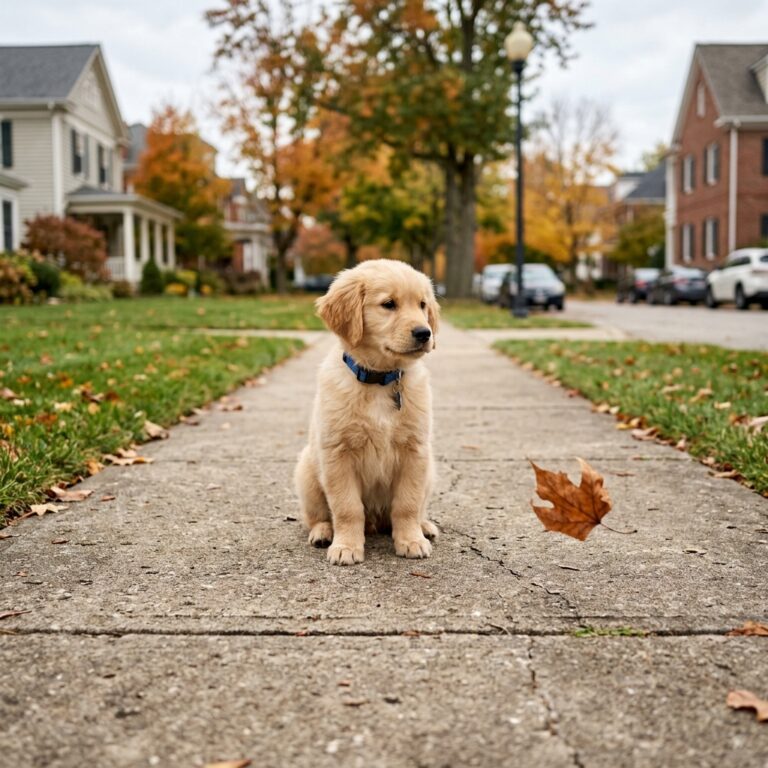
Step 2: The Driveway Drill
Move to a gravel driveway or a rocky path. Instead of trying to walk a long distance, just stand on the gravel. Let your puppy explore the area on a loose leash. Every time they take a step without showing signs of distress, reward them. If they ‘freeze,’ do not pull them. Instead, lure them forward a single inch with a treat.
Step 3: Short-Distance Commutes
Once your puppy is comfortable standing, begin walking very short distances—no more than 5 to 10 feet. Use a ‘lure and reward’ technique, keeping a treat right at their nose level to guide their focus away from the ground and toward you. This helps them learn to trust their feet without overthinking the texture.
Step 4: Increasing Duration and Variety
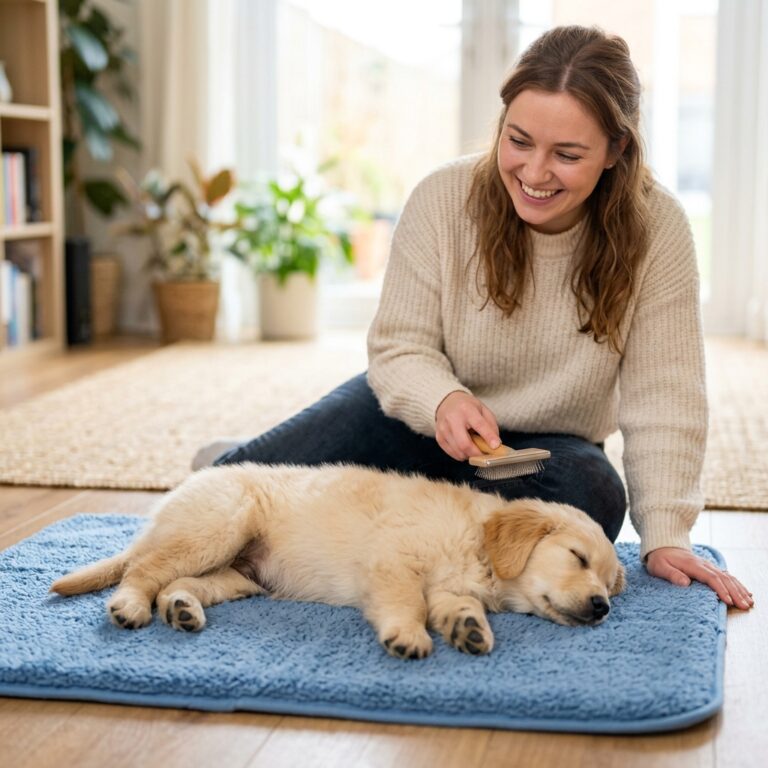
Slowly increase the time spent on the rough surface. Move from smooth gravel to slightly larger or more irregular rocks. Always monitor the pads for redness or wear after each session. If you see any signs of irritation, go back to a softer surface for a few days.
Recognizing Signs of Paw Distress
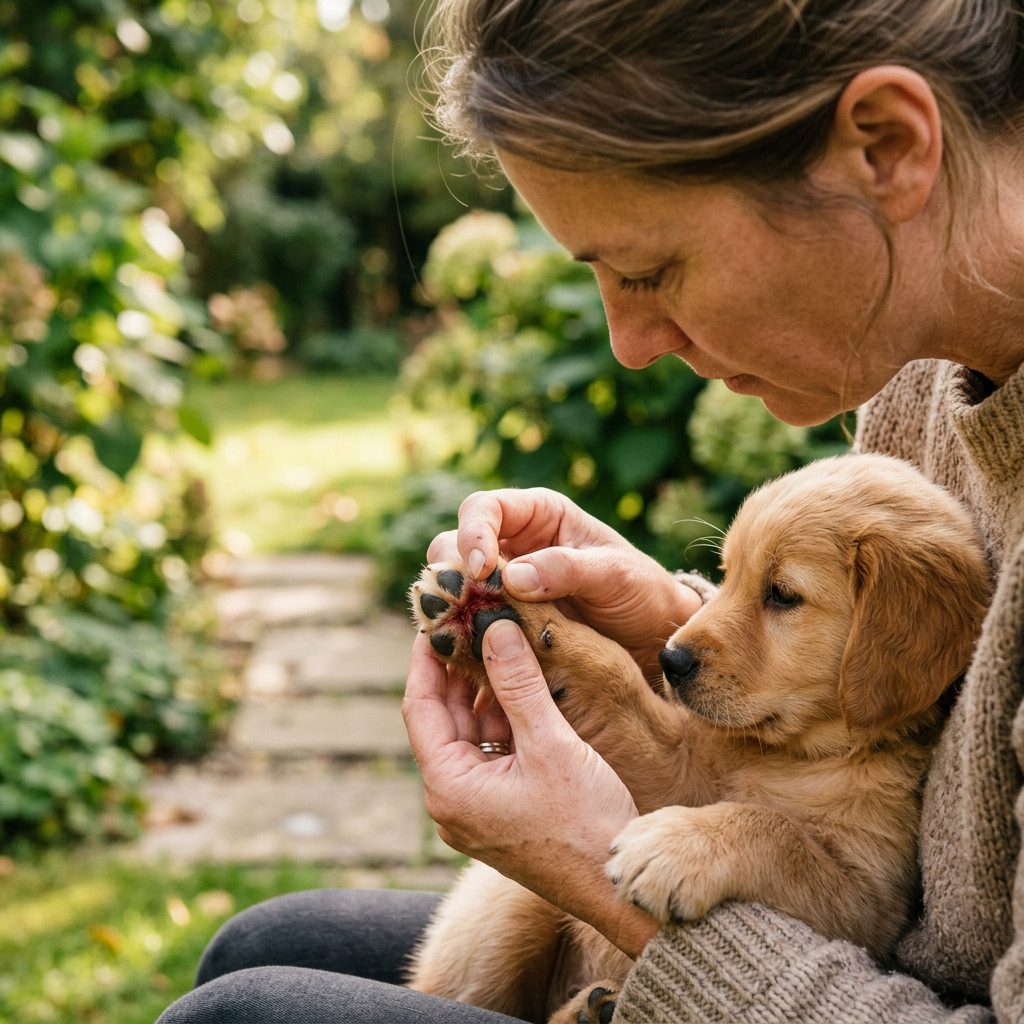
As a savvy owner, you need to be an expert at reading your puppy’s body language. Puppies are often so eager to please that they might push through pain until an injury becomes serious. Knowing when to stop is just as important as knowing how to train.
| Sign of Distress | Physical Indicator | Action Required |
|---|---|---|
| The ‘High Step’ | Exaggerated lifting of the legs. | Pause training; move to a smoother surface. |
| Licking/Chewing | Obsessive focus on a specific paw. | Check for stuck pebbles or small cuts immediately. |
| Limping or Lagging | Uneven gait or refusing to move. | Stop walk immediately; carry puppy if necessary. |
| Redness/Heat | Pads feel hot or look inflamed. | Apply cool water and rest for 48 hours. |
Always carry a small bottle of fresh water to rinse paws if they get dusty or if you suspect a small irritant has lodged between the toes. Interdigital cysts or simple pebbles caught in the webbing can cause immense discomfort and lead to a lifelong fear of rocky paths if not addressed quickly.
Advanced Tips for Hiking and River Rocks
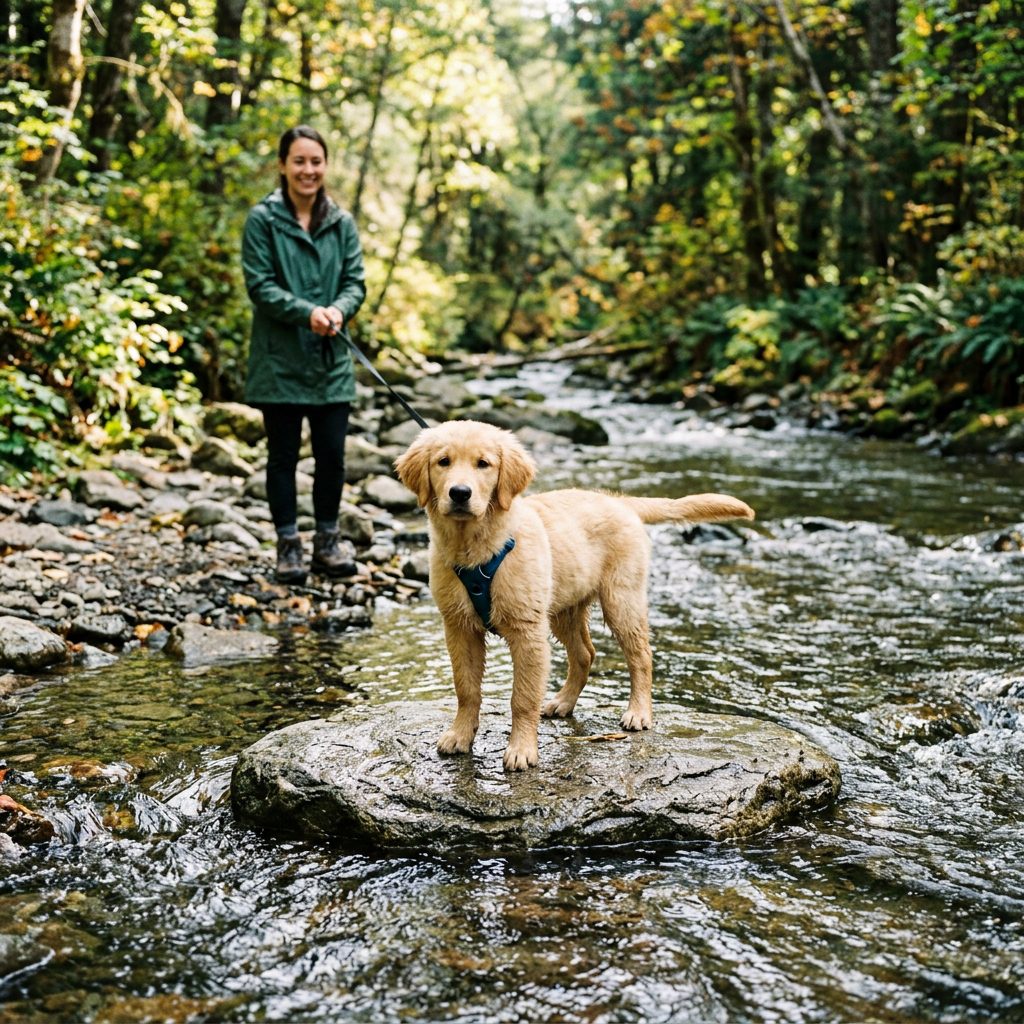
Once your puppy has mastered the driveway, you might be tempted to head for the trails. Hiking involves more than just gravel; it involves inclines, slippery river rocks, and jagged shale. Here is how to level up your training safely.
Managing Slippery Surfaces
River rocks are often worn smooth but can be incredibly slippery when wet. When training on these, ensure your puppy is wearing a harness with a back-clip. This gives you better control to stabilize them if they slip. Teach a ‘Slow’ or ‘Easy’ command to encourage them to place their feet deliberately rather than rushing.
The Importance of ‘Paw-Drying’
Wet pads are softer and more prone to tearing than dry pads. If your puppy has been splashing in a creek, their pads will be more vulnerable to the rocks on the trail back. Always dry their paws with a microfiber towel after water play before continuing your trek on rough terrain.
Remember: A puppy’s growth plates are still closing. Avoid long, strenuous hikes on any surface until your vet gives the ‘all clear,’ usually around 12 to 18 months depending on the breed.
Troubleshooting Common Challenges
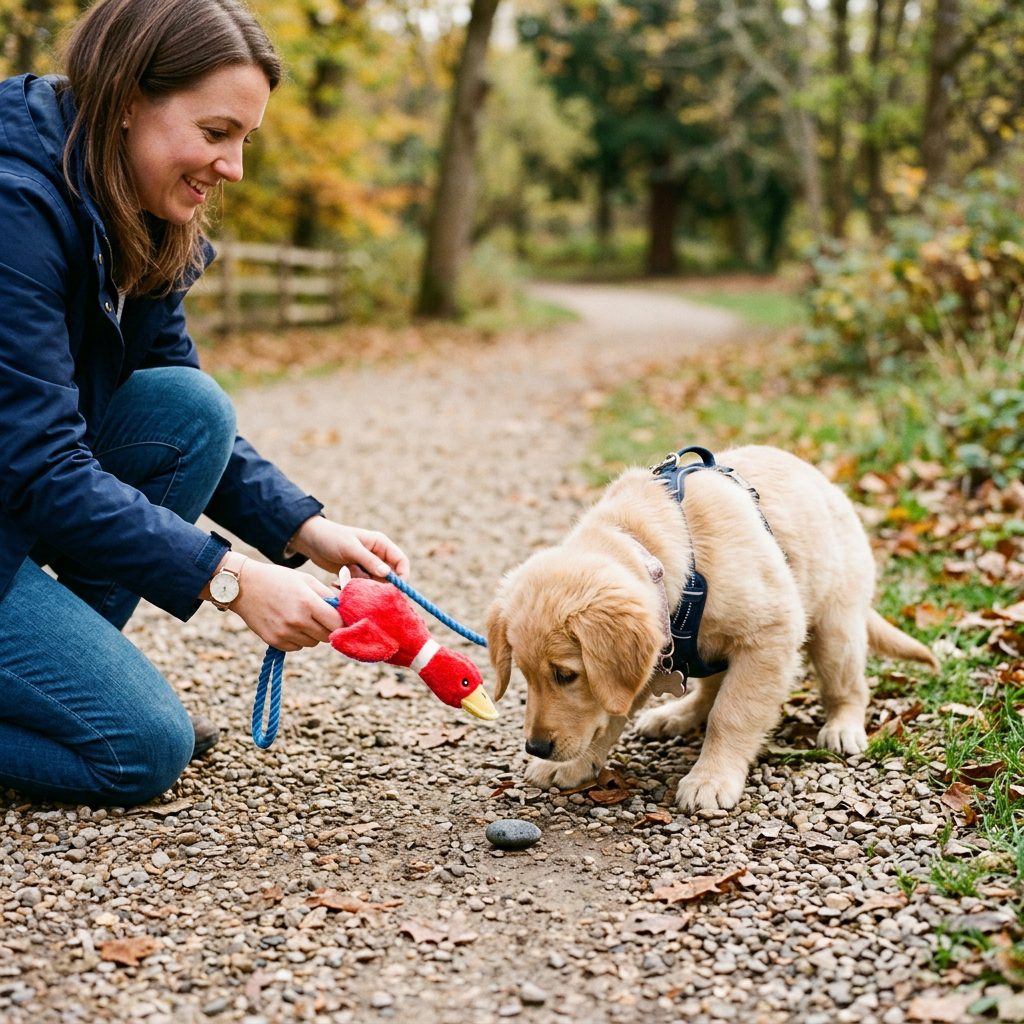
Even with the best training, you might hit a few bumps in the road—or rocks on the path! Here is how to handle the most common puppy ‘rock’ problems.
The ‘Rock Eater’
Many puppies decide that if they can’t beat the rocks, they should eat them. This is dangerous and can lead to intestinal blockages. If your pup is a ‘rock hound,’ keep them on a short leash and use a ‘Leave It’ command. If the behavior persists, you may need to use a basket muzzle during training sessions to keep them safe while they learn to focus on walking.
The ‘Freezer’
If your puppy hits the gravel and simply refuses to budge, do not force them. This is usually a sign of sensory overload. Pick them up, move them back to the grass, and try again with a much ‘easier’ version of the gravel (perhaps just a few scattered stones on the lawn). Patience is your greatest tool here.
The ‘Zoomies’ on Rocks
Some puppies get over-excited and start running wildly on gravel. This is the most common way for pads to get ‘skinned.’ If the zoomies hit, immediately shorten the leash and ask for a ‘Sit’ or ‘Down’ to calm the energy. We want calm, deliberate movements on rough terrain, not high-speed friction.
Conclusion
Training your puppy to walk on gravel and rocks is a journey that requires patience, observation, and plenty of treats. By starting slow, using the right gear, and respecting your puppy’s physical limits, you are setting them up for a lifetime of pain-free adventures. Remember, every puppy is an individual; some will take to the rocks like mountain goats, while others will need a bit more coaxing and paw balm. Stay consistent, keep it fun, and soon enough, those paws will be ready to tackle any trail you choose to explore together. Happy hiking!