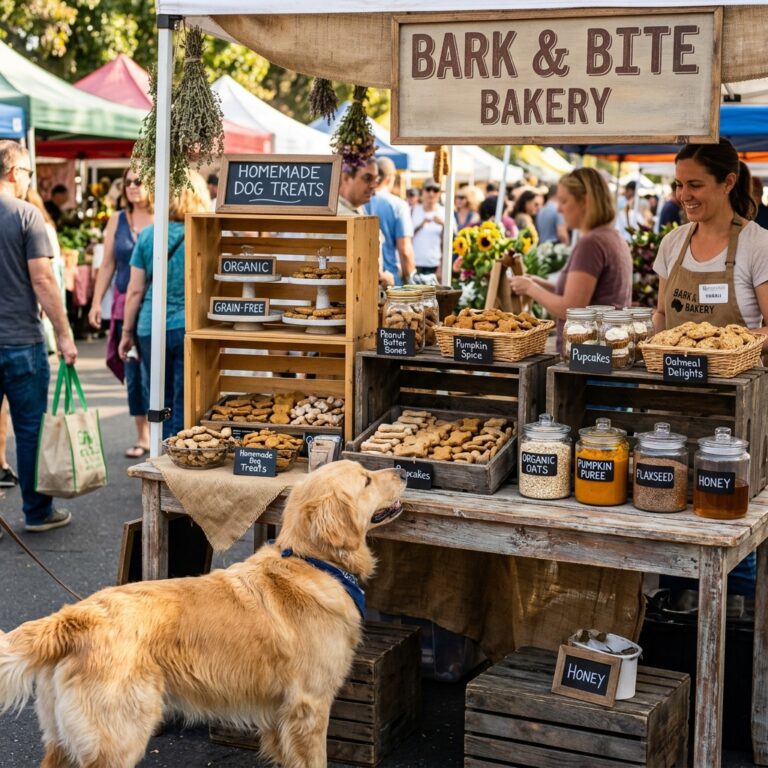
Sold Out in Minutes! How to Package Your Homemade Dog Treats Like a Million-Dollar Bakery!
The Secret to the ‘Sold Out’ Sign
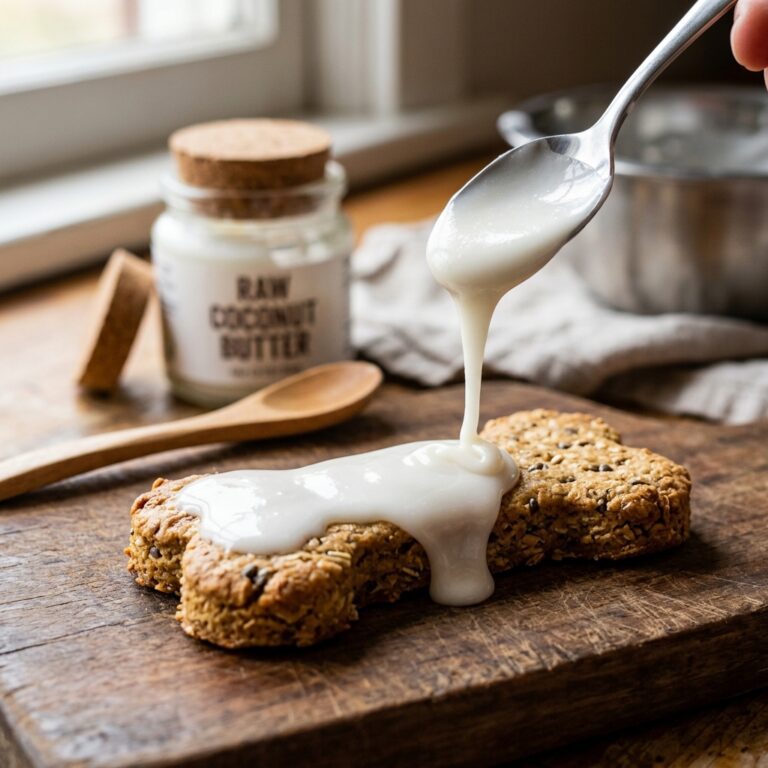
Let’s get real for a second: you’ve spent hours in the kitchen, your house smells like a savory blend of liver and sweet potatoes, and your own dog is sitting at attention like he’s guarding the Crown Jewels. You’ve mastered the recipe. But when you put those treats in a standard sandwich bag, they look… well, like a science experiment. If you want to move from ‘hobbyist’ to ‘million-dollar barkery’ status, you need to master the art of the presentation. I’m the Canine Nutrition Hacker, and I’ve spent years deconstructing why Big Pet Food can charge $20 for a bag of wheat flour and ‘natural flavors’ while you’re struggling to give away your high-protein masterpieces. The secret isn’t just the crunch—it’s the package. In this guide, I’m going to show you how to wrap your treats in a way that screams ‘premium quality’ while keeping them fresh enough to satisfy even the pickiest forensic-sniffing pup. We aren’t just making cookies; we are building a brand that respects the dog and the owner’s wallet.
The Safety First Foundation: The Safe Chef Guide
Safety & Medical Disclaimer
Before we dive into the aesthetics, we have to talk shop. I am not a veterinarian or a certified veterinary nutritionist. The information provided here is based on my experience as a savvy dog owner and nutrition enthusiast. Homemade treats are intended for supplemental feeding only and should not replace a balanced diet. Always consult your vet before introducing new ingredients, especially if your dog has underlying health conditions like kidney disease or pancreatitis.
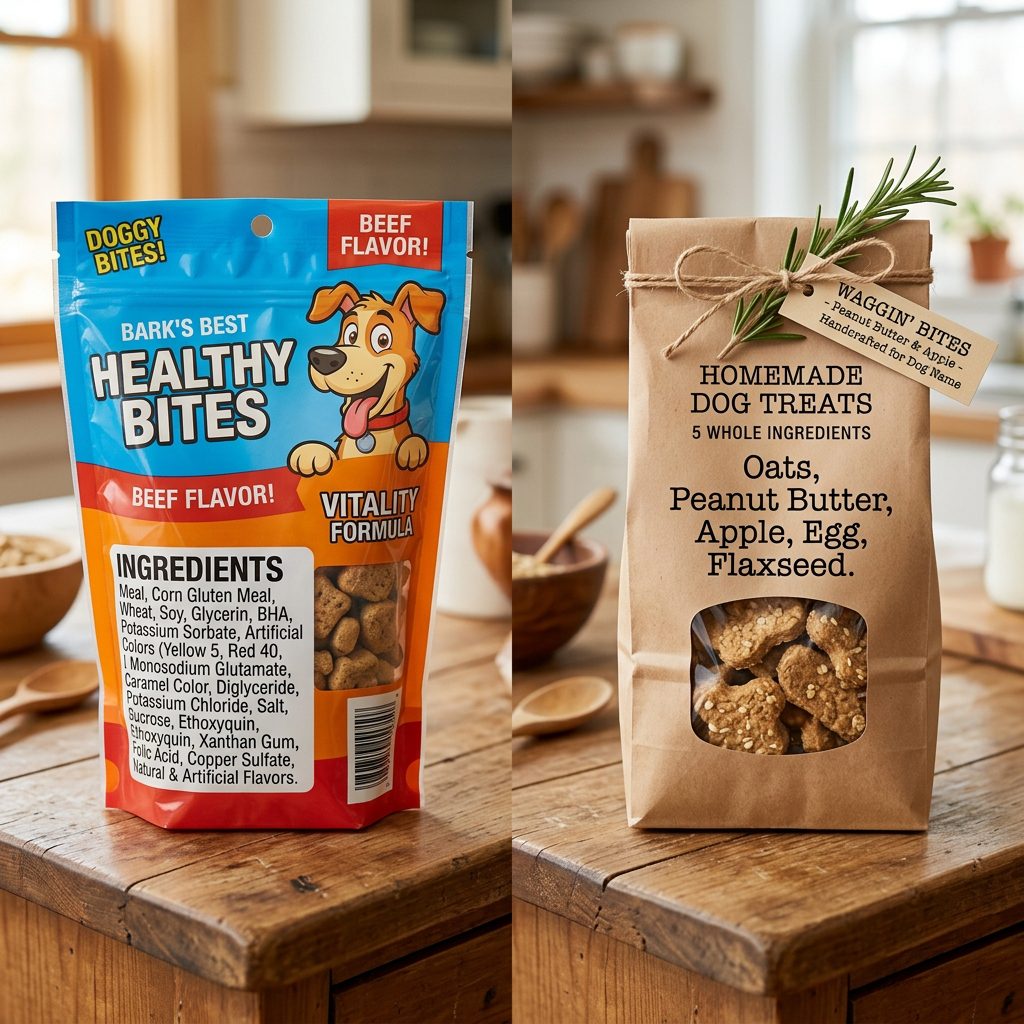
The Forensic Ingredient Check
When you package your own treats, you are the manufacturer. That means you have to be more rigorous than the big guys. Most commercial treats are loaded with BHA, BHT, and Ethoxyquin—synthetic preservatives that keep treats ‘shelf-stable’ for three years. We don’t do that here. Our goal is to use high-quality, whole-food ingredients that look as good as they taste. However, because we lack those heavy chemicals, our packaging must work twice as hard to prevent spoilage from moisture and oxygen. The biggest enemy of the homemade treat is ‘Water Activity.’ If your treats are soft, they need refrigeration. If they are ‘cracker-dry,’ they can handle the shelf. Understanding this distinction is the first step to professional-grade packaging.
The Packaging Hacker’s Toolkit: Materials That Sell
Choosing the Right Vessel
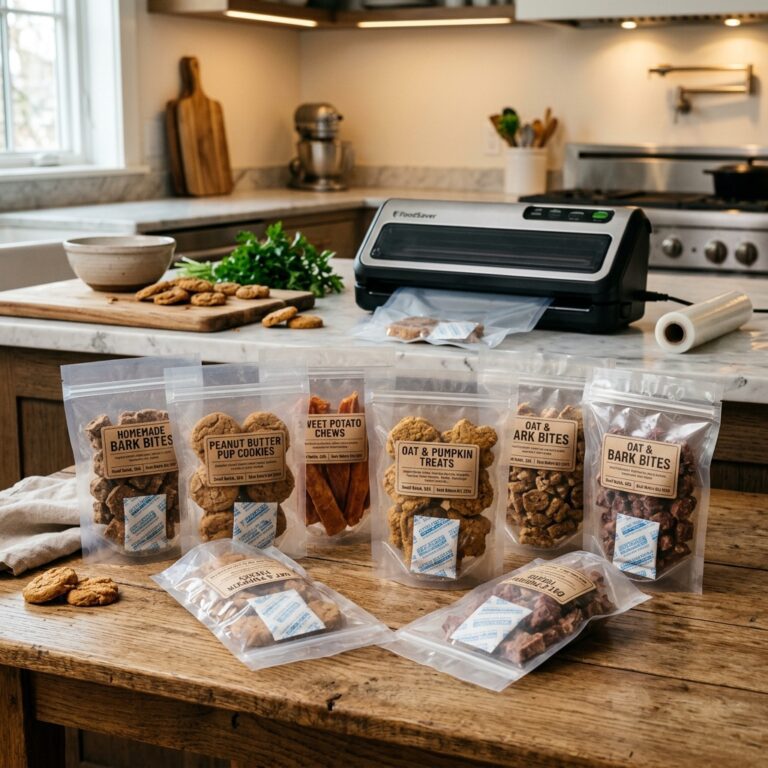
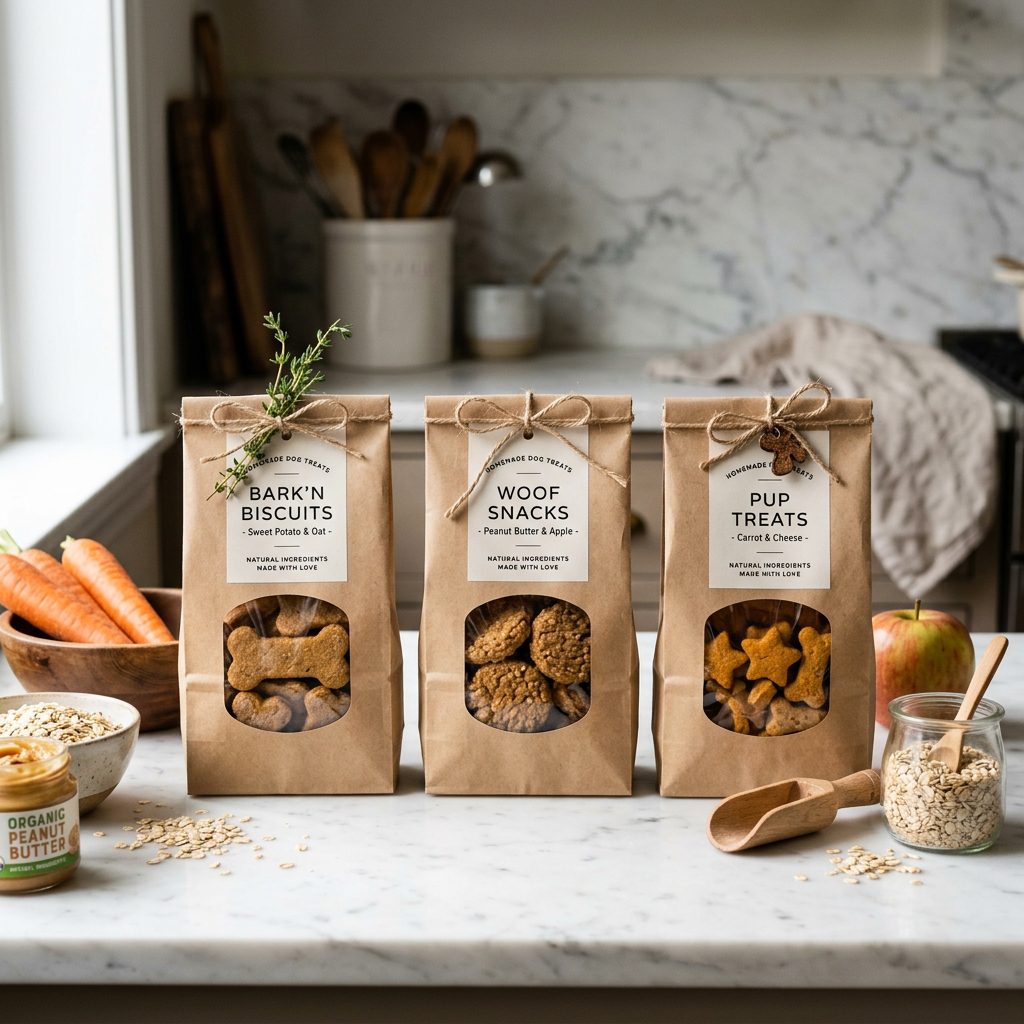
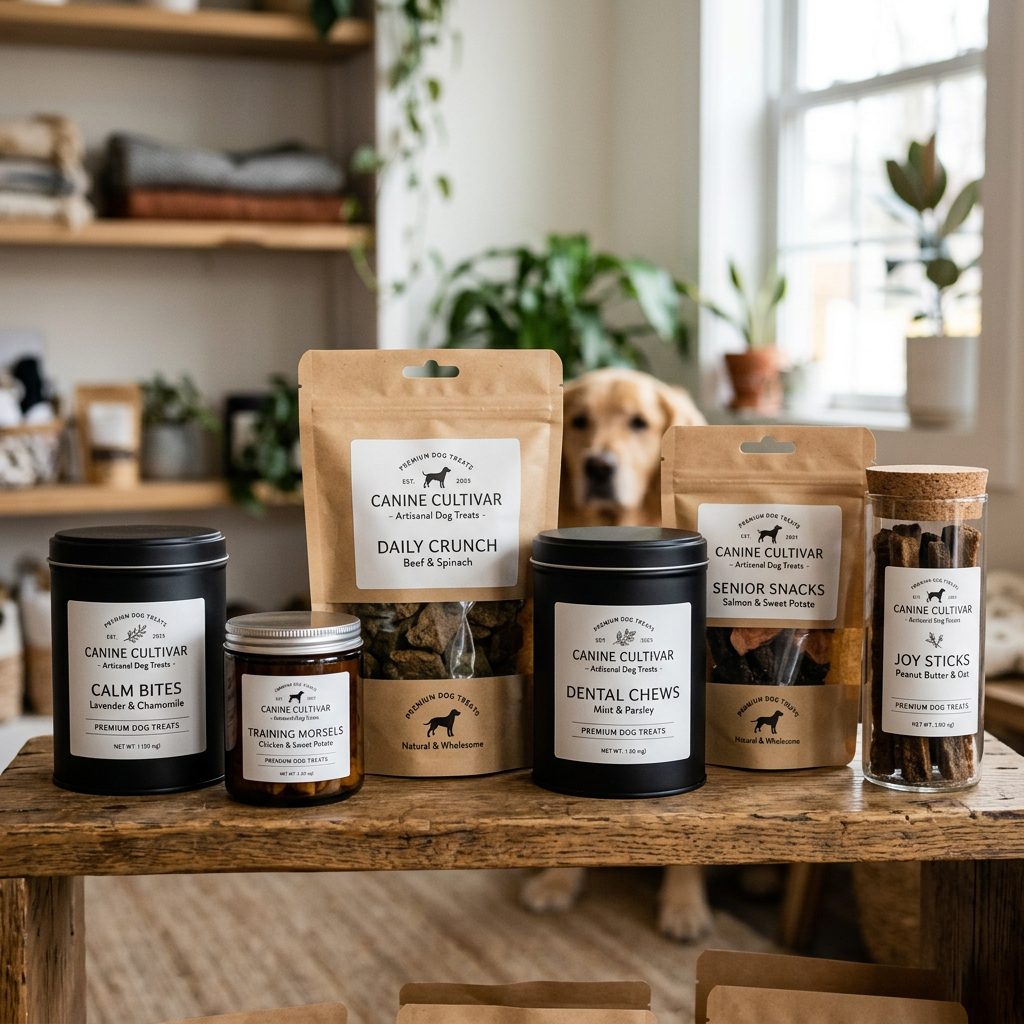
Forget the plastic wrap. If you want that million-dollar look, you need materials that provide a tactile experience. Stand-up Pouch Bags (Kraft Paper with Window) are the gold standard. They suggest an eco-friendly, artisanal vibe that savvy dog owners love. The window is crucial—if the treats look good, show them off! For treats with higher fat content (like those made with salmon or bacon grease), you must ensure the bag has a grease-proof glassine lining. Without it, you’ll get those unsightly oil spots that make your premium treats look like a greasy fast-food bag.
Insider Secret: Use a heat sealer. Even if the bag has a zip-lock, a heat seal at the top tells the customer the product is untampered and professionally handled. You can get a basic impulse sealer for less than $30, and it instantly triples your perceived value.
Branding on a Budget
You don’t need a $5,000 graphic designer. Use minimalist labels with clean fonts. Focus on the ‘Hero Ingredients’. Instead of just saying ‘Dog Treats,’ try ‘Small-Batch Dehydrated Beef & Sweet Potato Crunch.’ Use matte-finish labels rather than glossy; matte looks more expensive and modern. Always include a ‘Packed On’ date to emphasize freshness.
Real Cost Breakdown: DIY vs. Boutique Store-Bought
Is it actually cheaper to make and package your own? Let’s look at the numbers. A high-end ’boutique’ treat usually retails for about $15.00 for a 6oz bag. Let’s see what happens when we hack the system.
| Expense Item | Boutique Store Brand (6oz) | Hacker’s Homemade (6oz) |
|---|---|---|
| Core Protein (Beef Liver/Chicken) | $2.50 (Estimated) | $1.20 (Sourced fresh) |
| Fillers/Binders (Oats/Flour) | $0.50 | $0.30 (Organic) |
| Packaging (Bag + Label) | $1.50 | $0.45 (Bulk buy) |
| Marketing & Overhead | $10.50 | $0.00 |
| Total Cost | $15.00 | $1.95 |
By doing it yourself, you aren’t just saving money—you’re getting superior nutrition. You are spending your money on the ingredients rather than the CEO’s bonus. That $13.05 savings per bag adds up fast, especially if you have a multi-dog household or you’re looking to start a side hustle.
The ‘Sold Out’ Recipe: The Million-Dollar Liver Crunch
The Perfect Ratio
To get that professional ‘snap’ that stays fresh in the bag, you need the right ratio of protein to binder. Moisture is the enemy of shelf-life. Here is my go-to recipe for treats that package beautifully and don’t crumble into dust.
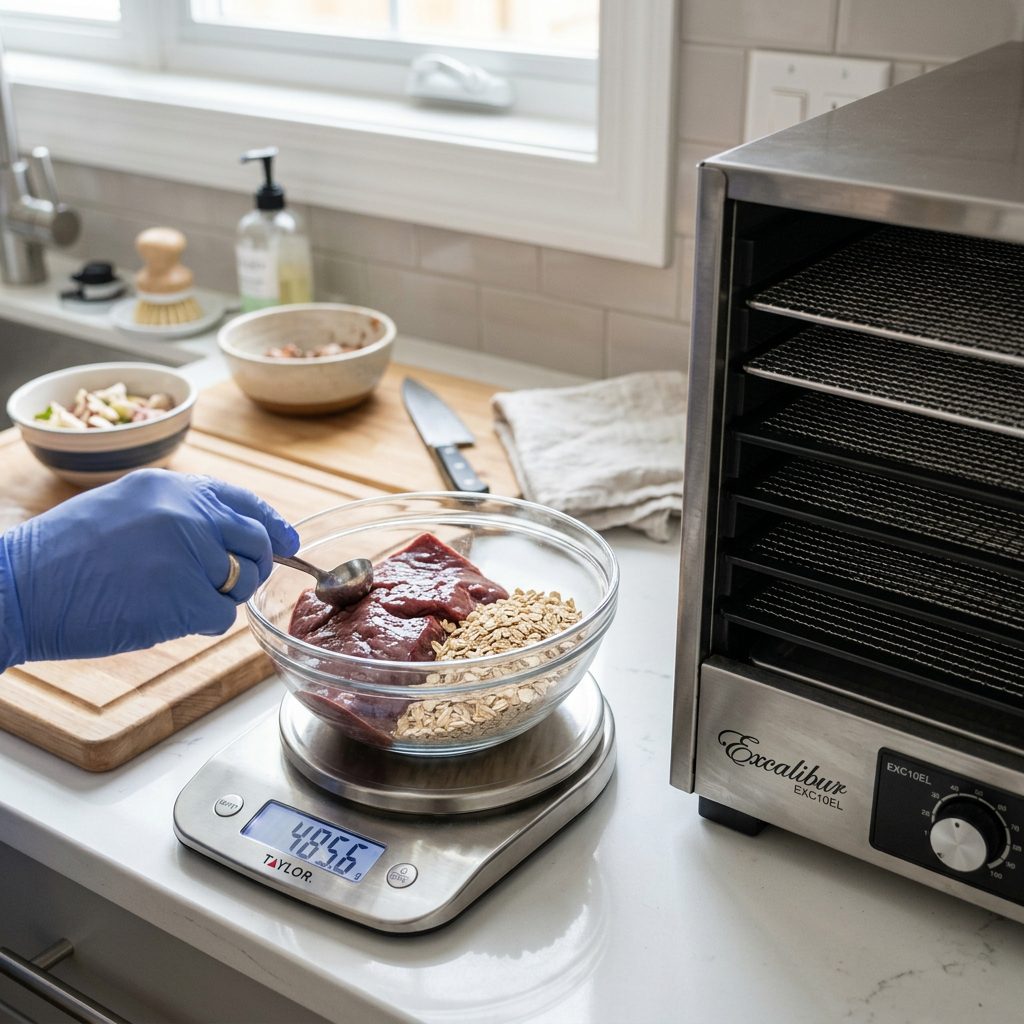
- 40% Protein: Pureed Beef Liver or Lean Ground Turkey.
- 40% Carb/Binder: Finely ground Rolled Oats (not instant).
- 20% Functional Veggie: Steamed and mashed Sweet Potato or Pumpkin (no spices).
- The Hacker’s Kick: 1 tablespoon of Blackstrap Molasses (for a rich color and natural preservation) and a pinch of Ceylon Cinnamon.
Instructions for a Professional Finish
- Preheat your oven to 325°F (or use a dehydrator for better results).
- Mix your ingredients until a stiff dough forms. If it’s too sticky, add more oat flour.
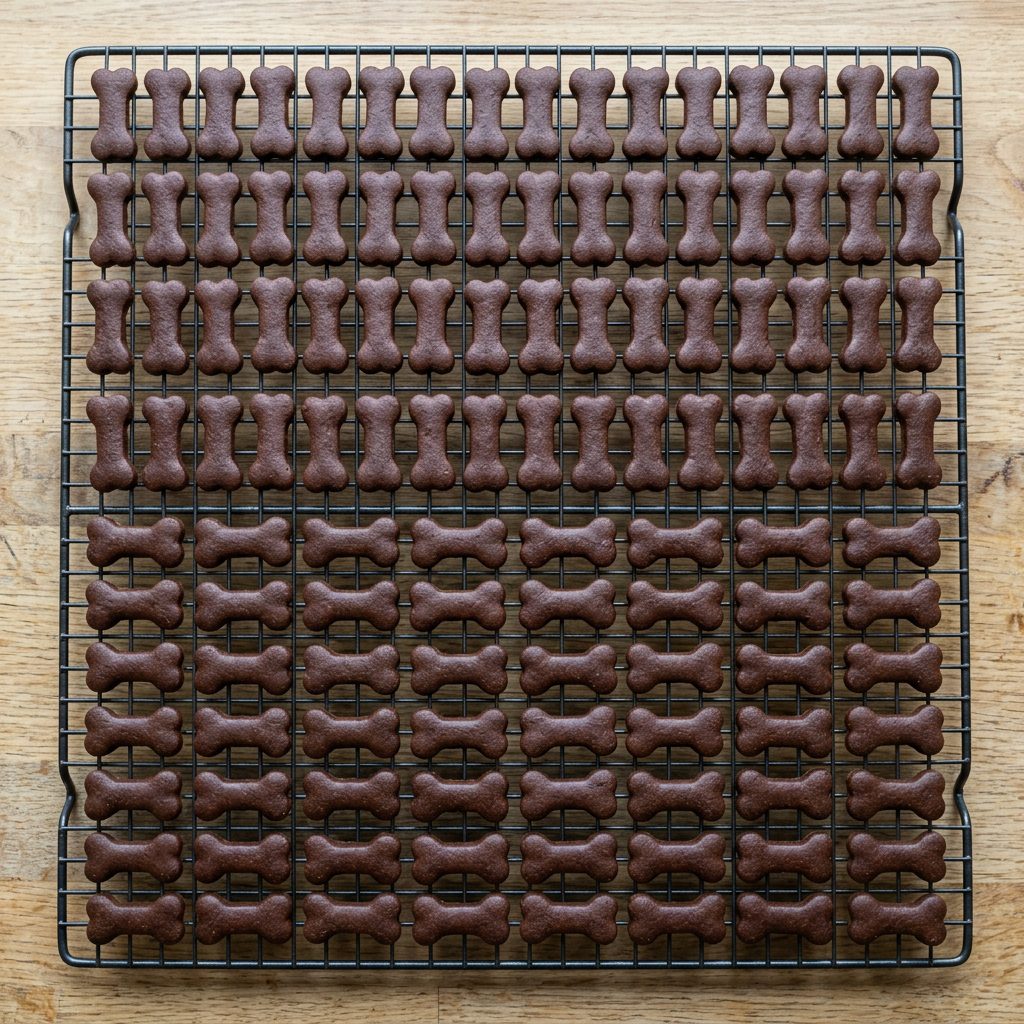
- Roll the dough between two sheets of parchment paper to exactly 1/4 inch thickness. Consistency is key for even drying!
- Use a small bone-shaped plunger cutter. These create a professional, uniform look that hand-cutting can’t match.
- Bake for 25 minutes, then flip and bake for another 20. CRITICAL STEP: Turn off the oven and let the treats sit inside with the door cracked for 2 hours. This ‘cures’ the treats, removing the final bits of moisture that cause mold in the package.
Batch Cooking & The Preservation Hack
The Silica Secret
Want to know how to keep those treats crunchy for weeks without chemicals? Food-grade silica gel packets. You can buy them in bulk for pennies. Dropping one into your Kraft bag before sealing it will absorb any residual moisture and keep that ‘million-dollar snap’ intact. Just make sure to include a ‘Do Not Eat’ warning on your label for the humans!
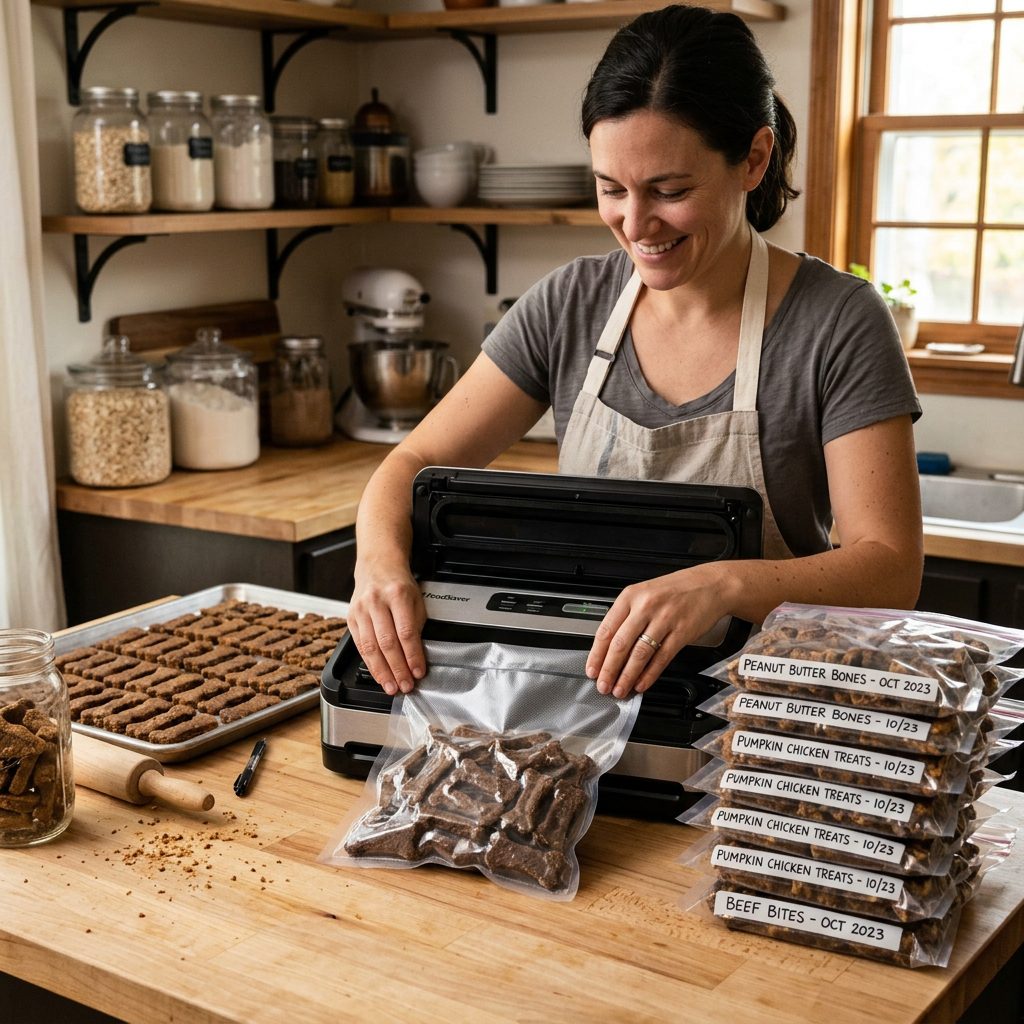
Freezing for Longevity
If you’re batch cooking (which you should be to save on energy costs), only package what you’ll use or sell in 10 days. The rest should be vacuum-sealed and tossed in the freezer. Vacuum sealing prevents freezer burn and preserves the nutritional integrity of the proteins. When you’re ready for more, let them come to room temperature completely before putting them in your display bags to prevent condensation.
Hacker Tip: If your treats ever get a bit soft, pop them back in a 250°F oven for 10 minutes. It ‘re-crisps’ the edges and makes them smell like they were just made.
Conclusion
Your Barkery Journey Starts Now
Packaging your homemade dog treats like a million-dollar bakery isn’t about tricking people—it’s about reflecting the integrity of the ingredients inside. When you use high-quality proteins and avoid the ‘mystery meats’ of the commercial world, you’re providing a service to the canine community. By using professional bags, heat-sealing for freshness, and following the ‘curing’ process, you create a product that commands respect and ensures safety. You’ve got the forensic knowledge, the cost breakdown, and the ‘sold out’ recipe. Now, get in that kitchen and show the world what a savvy dog owner can do. Your dog—and your wallet—will thank you. Stay savvy, stay hungry!