Stop Scrolling! How To Photograph Dog Treats To Make Them Look Professionally Baked!
The Secret to the ‘Pro’ Look Isn’t Just the Oven
Listen, I get it. You’ve spent three hours in the kitchen, sourcing the finest grass-fed beef liver and organic pumpkin puree, only to have your final product look like… well, something the dog dragged in. You want to share your creations on Instagram or maybe even start a side hustle selling healthy snacks, but your photos are doing your hard work a massive disservice. As the Canine Nutrition Hacker, I’m here to tell you that the difference between a ‘home-baked mess’ and a ‘professionally curated treat’ isn’t just the recipe—it’s the presentation. We aren’t just making food; we’re creating a visual experience that screams quality. In this guide, I’m going to pull back the curtain on how to make your DIY treats look so good, humans will be tempted to take a bite (and honestly, with the ingredients I recommend, they probably could). We’re talking lighting, styling, and the forensic level of detail needed to highlight those premium ingredients that set your treats apart from the over-processed junk found on big-box store shelves.
Safety First: The Hacker’s Kitchen Manifesto
Before You Pre-Heat the Oven
Before we get into the lens settings and lighting kits, we need to address the elephant in the room. I am not a veterinarian or a certified pet nutritionist. I am a savvy owner who has spent years deconstructing ingredient labels and mastering the art of the healthy snack. When you are making DIY treats, you are the quality control officer. While treats should only make up 10% of your dog’s daily caloric intake, those calories need to count. Avoid the ‘filler’ traps that commercial brands use to make their treats look uniform. We use real food here. If you are introducing new ingredients to your dog’s diet, always do so slowly and consult your vet if your pup has underlying health issues.
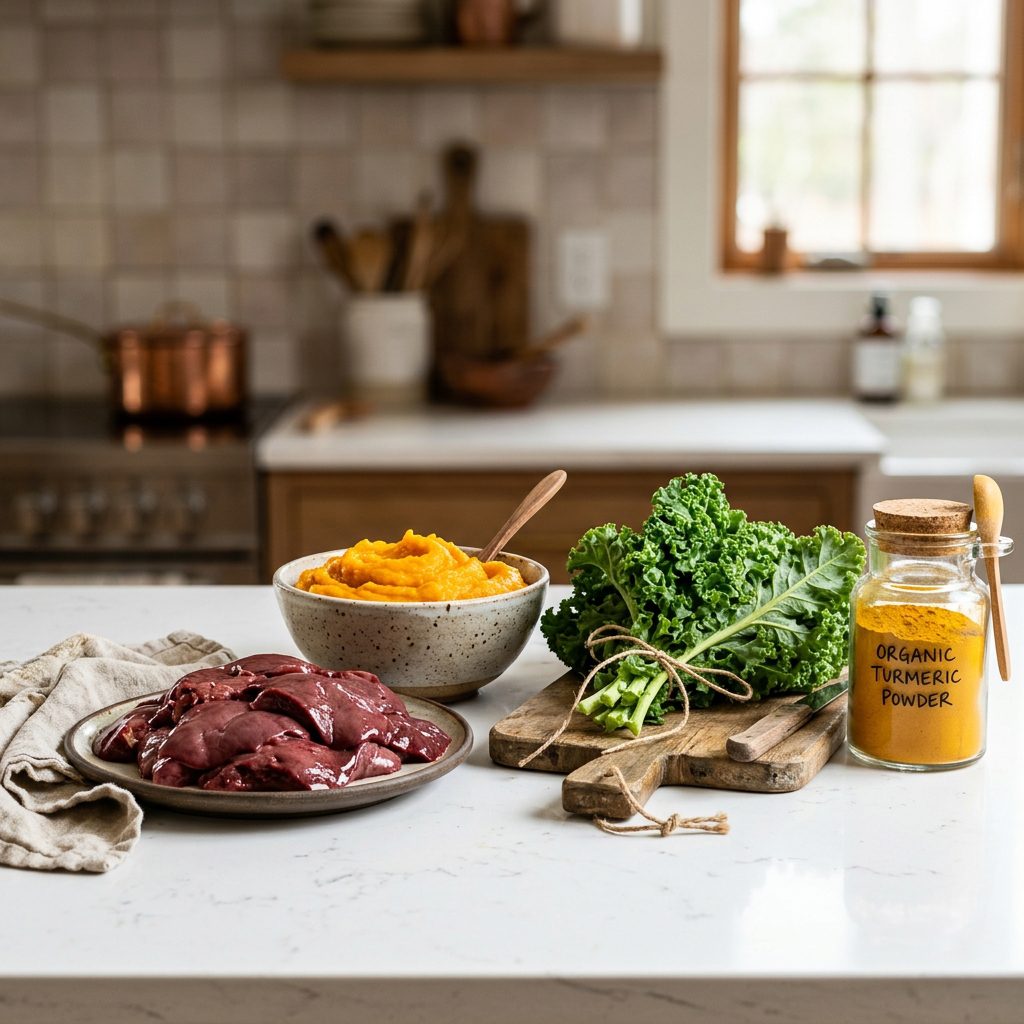
Hacker Secret: Most ‘gourmet’ store treats use Red 40 or Yellow 5 to get that bright color. We use beet powder and turmeric. It’s healthier, and the colors look more ‘organic’ and high-end in photos.
The Foundation: Ingredients That Look (And Taste) Premium
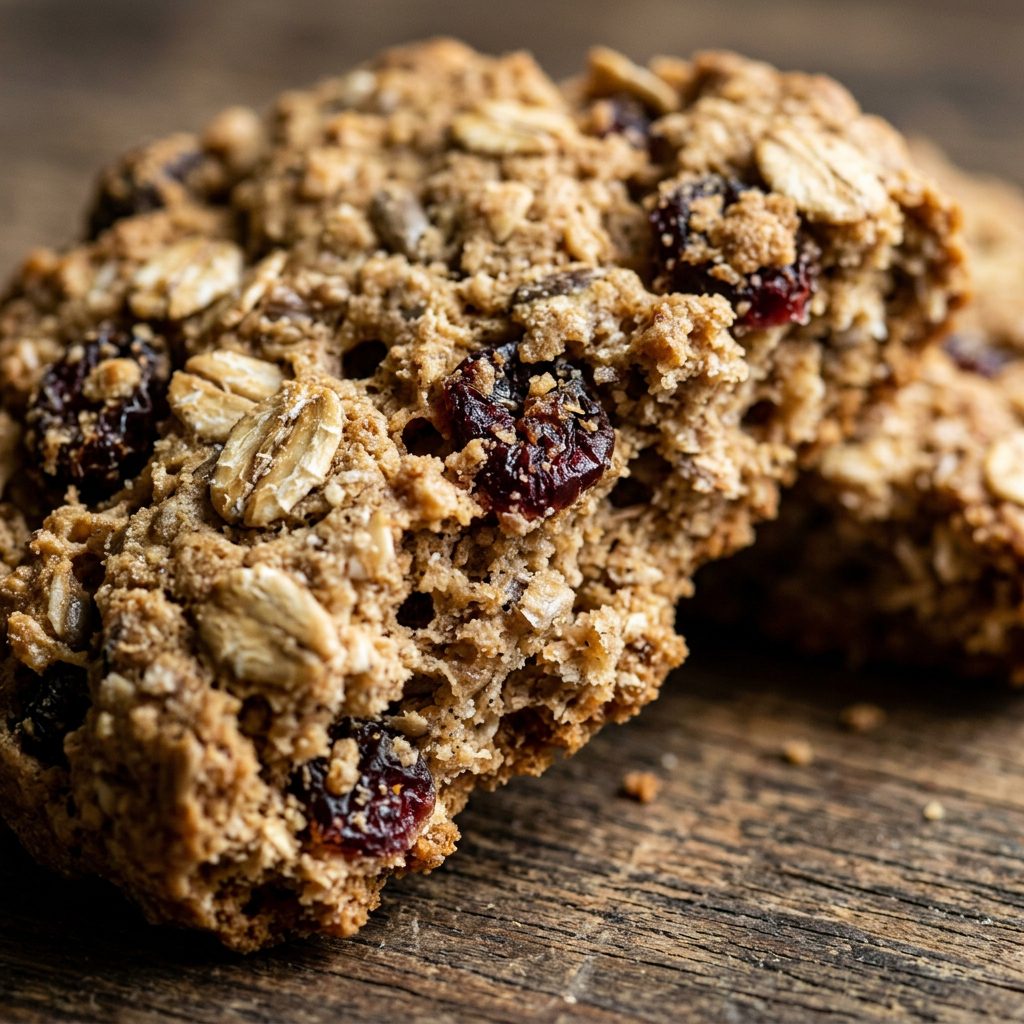
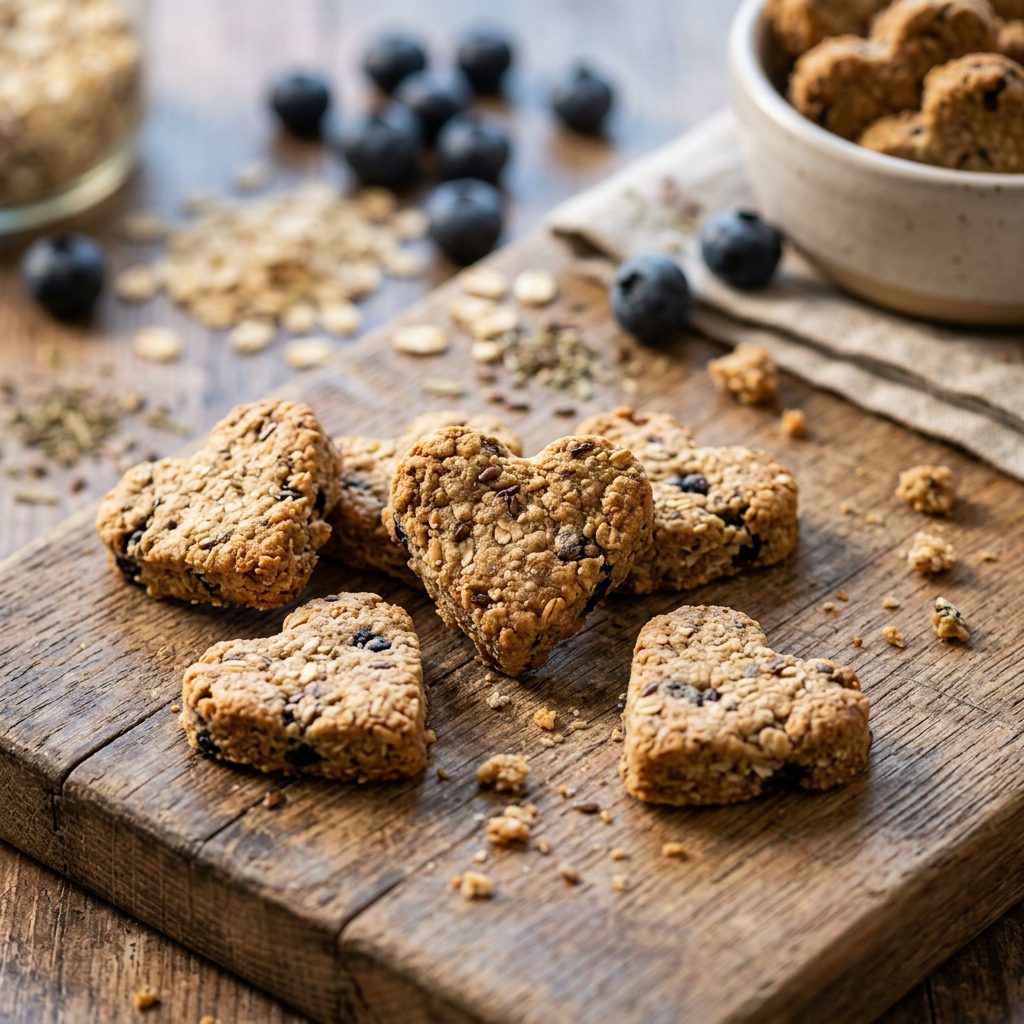
Textures That Pop on Camera
When you’re photographing treats, texture is your best friend. Smooth, beige biscuits look boring and cheap. We want visual grit. Think about using rolled oats, crushed flaxseeds, or even small chunks of dehydrated apple. These elements catch the light and tell the viewer exactly what’s inside. In the world of canine nutrition hacking, we avoid bleached white flour—not just because it’s nutritionally void, but because it photographs flat. Instead, use oat flour or chickpea flour for a richer, more rustic tone.
The ‘First 5’ Rule for Treats
Even for treats, I apply the ‘First 5 Ingredients’ test. If the first five ingredients aren’t recognizable whole foods, it’s garbage. When you make them yourself, you control this. For the best photos, ensure your ‘Hero’ ingredient (like blueberries or salmon) is visible on the surface of the treat. It provides a splash of color that breaks up the monochromatic browns of baked goods.
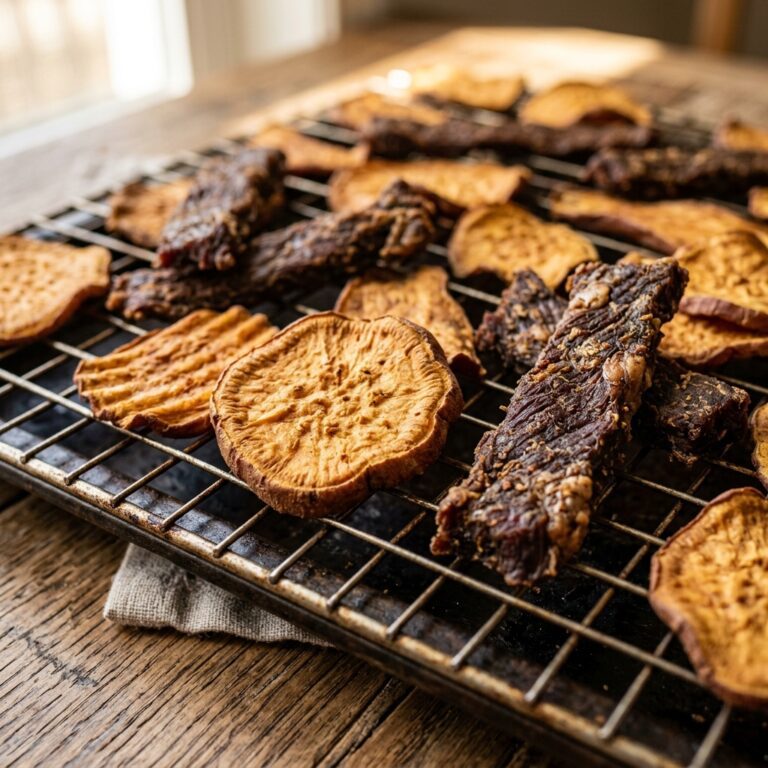
The Safe Chef Guide: The ‘Golden Liver Snap’ Recipe
The Ultimate High-Value Training Treat
This recipe is designed for maximum ‘shelf appeal’ and high-value motivation. It’s simple, cost-effective, and photographs beautifully due to its deep, rich color.
| Ingredient Type | Hacker’s Choice | Ratio |
|---|---|---|
| Protein | Pureed Beef Liver | 40% |
| Binder | Oat Flour | 40% |
| Liquid/Fat | Unsweetened Applesauce or Egg | 20% |
The Cost Breakdown: DIY vs. Boutique
Why spend $20 for a 4oz bag of ‘artisanal’ treats when you can make them for a fraction of the price?
- Store-Bought Premium: Approx. $4.50 – $5.50 per ounce.
- Hacker DIY: Approx. $0.65 per ounce (using bulk liver and oats).
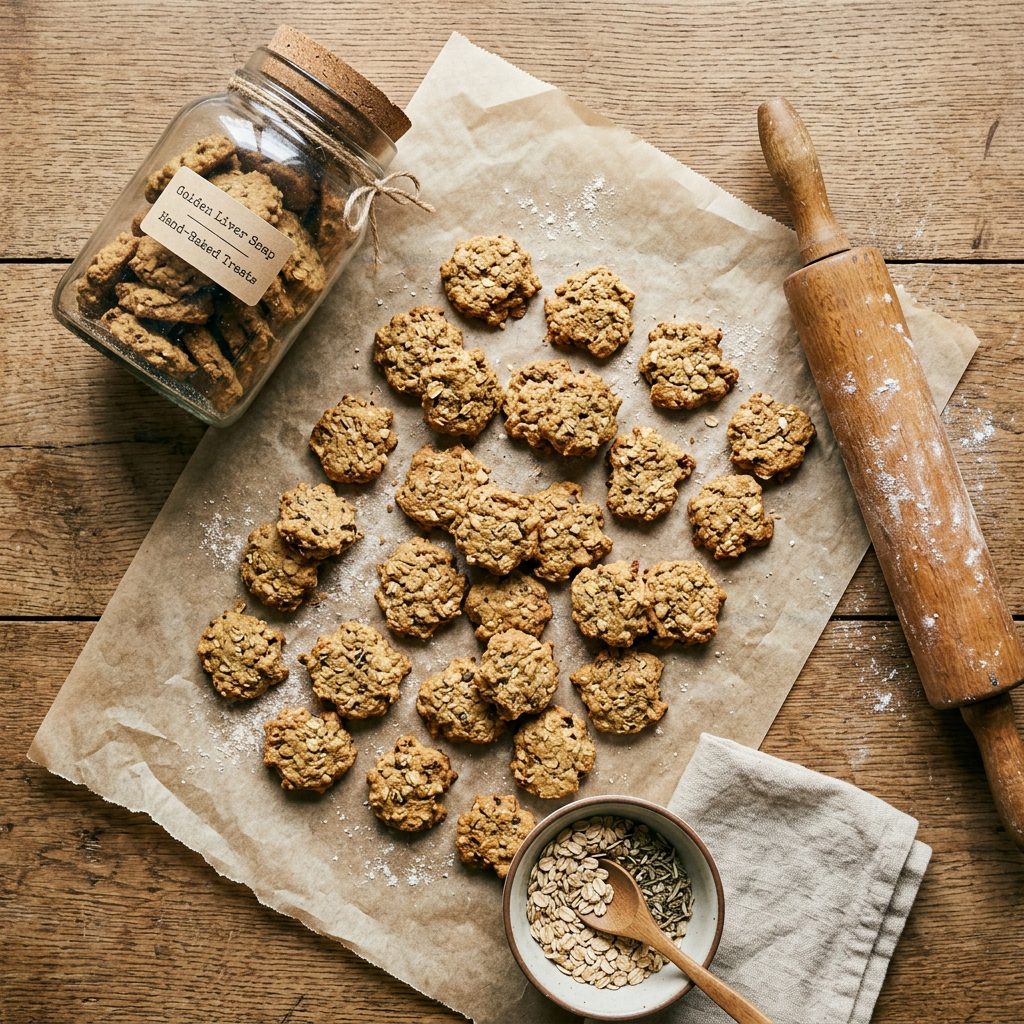
Batch Cooking Tip: These snaps are dense. Once baked, let them cool completely in the oven with the door cracked to achieve that ‘professional’ crunch. Store them in an airtight glass jar—which, by the way, makes for a great background prop in your photos!
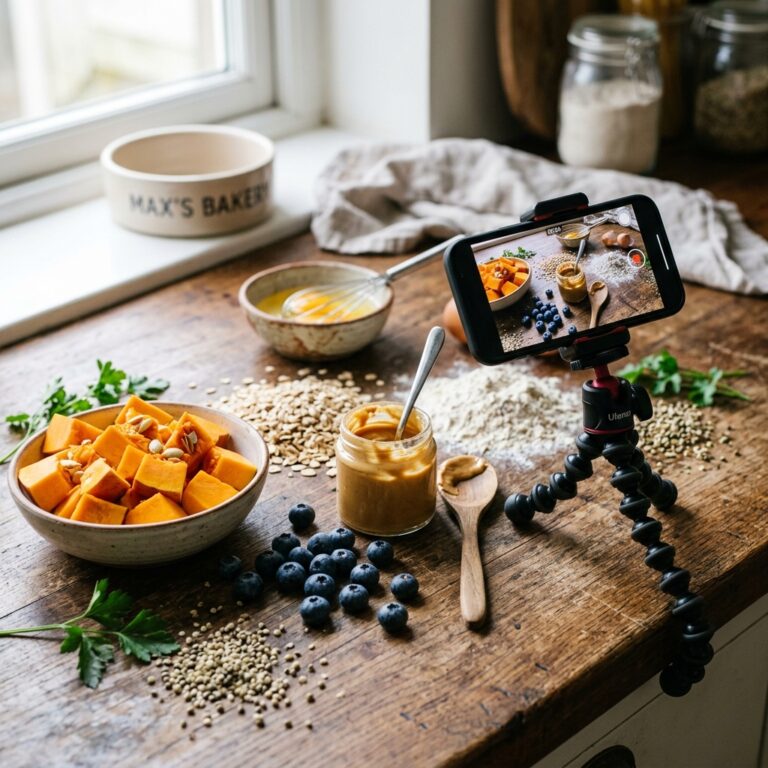
Lighting Hacks: Making Your Treats Glow
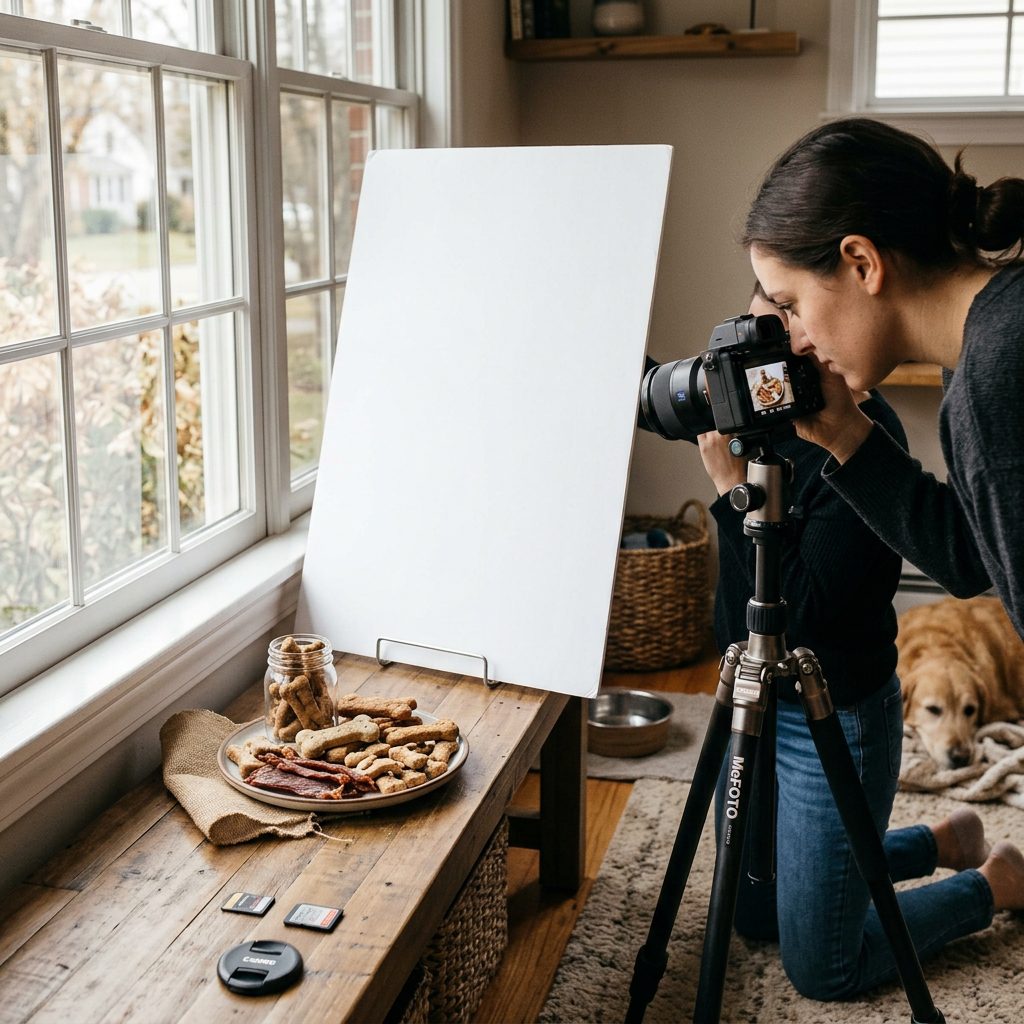
Natural Light is Your Only Friend
Forget the flash on your phone. It flattens the image and creates harsh, oily reflections on the treats. The secret to that ‘pro’ look is directional natural light. Set up your ‘studio’ (a.k.a. your kitchen table) next to a large window.
The Side-Light Technique
To make the texture of a biscuit look ‘crunchy’ and ‘freshly baked,’ place the light source to the side of the treats, not in front. This creates small shadows in the crevices of the oats and seeds, giving the photo depth.
Insider Secret: Use a white piece of foam board or even a white towel on the opposite side of the window to ‘bounce’ some light back into the shadows. This prevents the dark side of the treat from looking like a black hole.
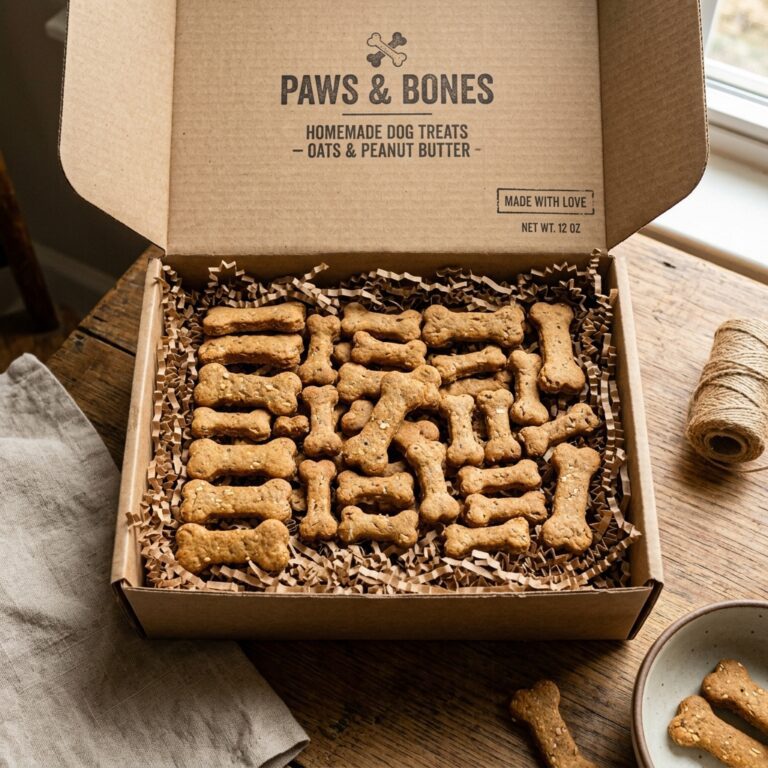
Styling Secrets: The ‘Human Grade’ Aesthetic
Props That Tell a Story
Don’t just throw the treats on a plastic plate. We want to evoke the feeling of a high-end bakery. Use natural materials:
- Weathered Wood: An old cutting board or a piece of reclaimed wood adds warmth and ‘organic’ vibes.
- Parchment Paper: Crumple it up and then flatten it out to create a textured, ‘just out of the oven’ look.
- Raw Ingredients: Scatter a few of the ingredients used in the recipe around the treats—a few stray oats, a sprig of parsley, or a whole egg.
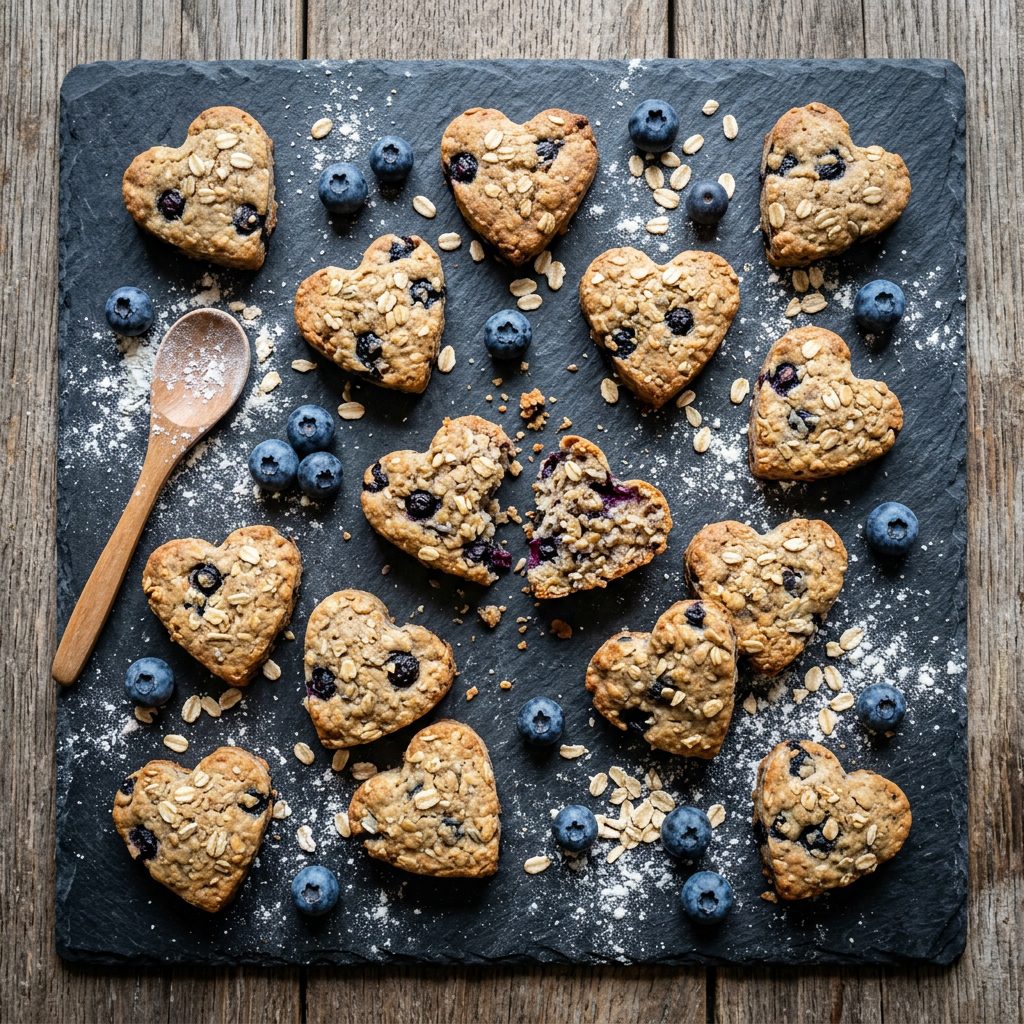
The ‘Crumbs’ Factor
Perfectly clean treats look sterile and fake. Break one or two treats in half to show the internal texture and leave a few crumbs scattered around. It suggests the treats are so crispy and delicious they’re literally falling apart with goodness. This is a classic food photography trick that works wonders for pet products.
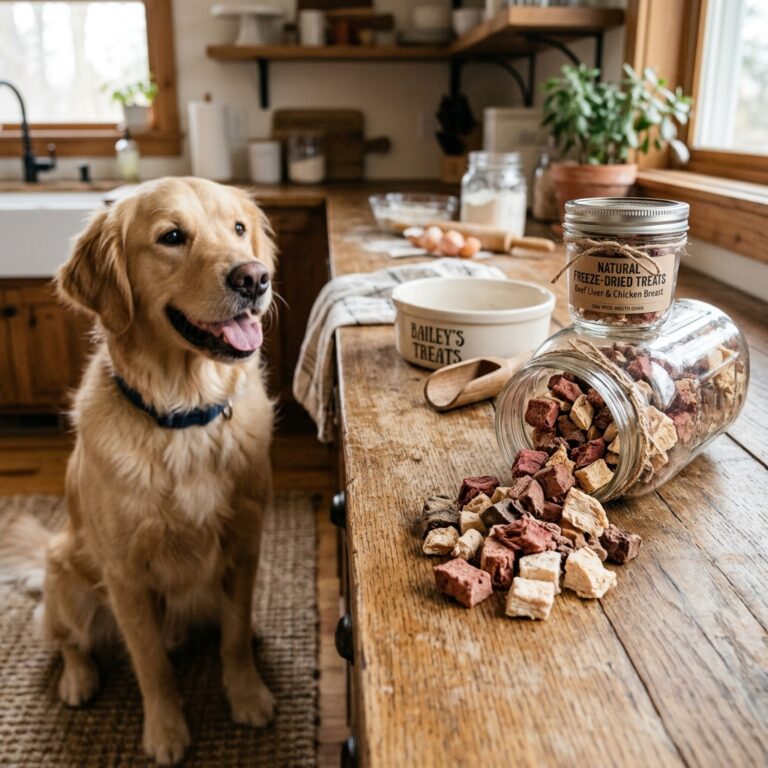
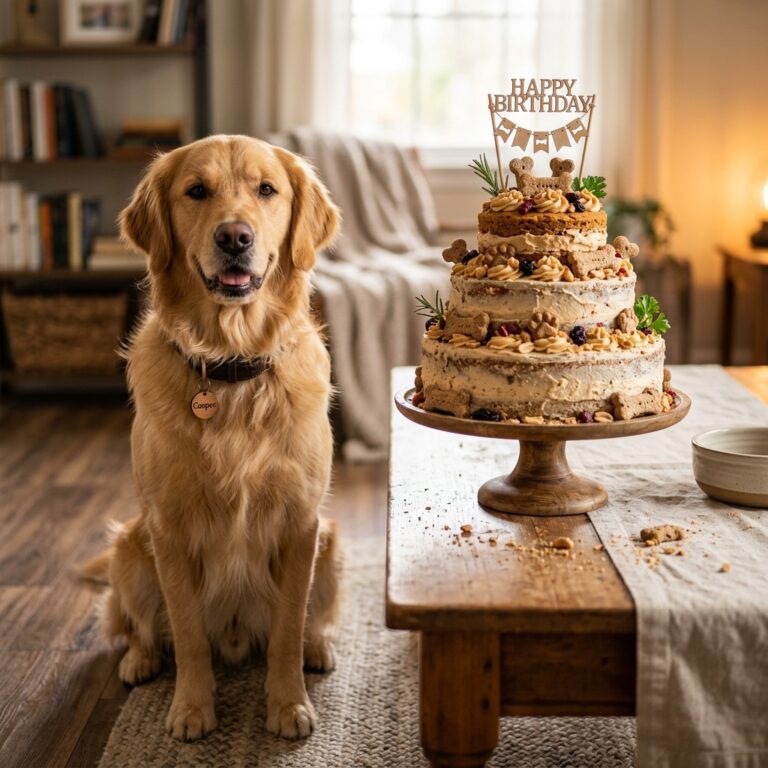
The Canine Model: Getting the ‘The Beggar’ Shot

Patience and High-Value Rewards
The ultimate ‘lifestyle’ shot involves a dog waiting patiently for the treat. This adds an emotional connection to your photo.
The ‘Focus’ Trick
To get your dog to look directly at the camera with that ‘I’m a good boy’ expression, hold a piece of the treat directly above the camera lens. If you’re using a phone, use ‘Portrait Mode’ to blur the background, making the treat in the foreground (or the dog’s face) the star of the show. Warning: Be prepared for some drool. Keep a towel handy to wipe the floor (and the dog’s chin) between shots. A drool-covered treat is a nutrition hacker’s nightmare for a clean photo!
Conclusion
You’re Ready to Disrupt the Treat Industry
By now, you should realize that ‘professional’ dog treats are 50% quality ingredients and 50% smart presentation. You’ve got the Hacker’s Golden Liver Snap recipe to provide the substance, and you’ve got the lighting and styling secrets to provide the sizzle. Stop letting the big corporations with their billion-dollar marketing budgets and sub-par ingredients win. You have the power to create something healthier, cheaper, and more visually stunning right in your own kitchen. Now, get baking, get snapping, and show the world that real nutrition looks better than any ‘filler-filled’ kibble ever could. Your dog—and your followers—will thank you.