The Secret to Professional Packaging: How to Make Homemade Dog Treats Last for Months
Stop Throwing Your Hard-Earned Money in the Trash
Let’s be real: there is nothing more frustrating than spending two hours in the kitchen baking a batch of organic, grain-free pumpkin biscuits for your pup, only to find them covered in fuzzy green mold three days later. It’s a gut-punch to your wallet and your schedule. As the Canine Nutrition Hacker, I’ve spent years deconstructing how big-name pet food brands manage to keep treats shelf-stable for two years while our homemade versions barely last a weekend. The secret isn’t just a cocktail of chemical preservatives (though they love those); it’s about moisture management and professional-grade packaging.
In this guide, I’m going to pull back the curtain on the ‘insider secrets’ of treat preservation. We aren’t just talking about putting them in a plastic tub. We are going deep into the science of dehydration, the magic of oxygen absorbers, and the specific ingredients that act as natural shelf-life boosters. If you want to bake once a month and have fresh treats every single day, you’re in the right place. Let’s turn your kitchen into a professional-grade pet bakery.
The Safety First Protocol: A Non-Negotiable Disclaimer
SAFETY DISCLAIMER: I am a canine nutrition expert and a savvy dog owner, but I am not your veterinarian. While the methods described here are designed to extend shelf life safely, homemade treats lack the extreme chemical stabilization of commercial products. Always inspect treats for ‘off’ smells or visible mold before feeding. If your dog has specific medical conditions or dietary restrictions, consult your vet before introducing new ingredients.
Before we dive into the ‘how-to,’ we need to establish the golden rule of DIY treat making: Cleanliness is next to Dogliness. When you are aiming for long-term storage, any bacteria introduced during the mixing or cooling phase will multiply inside your packaging. Sanitize your counters, use stainless steel bowls, and never, ever package treats while they are still warm. Even a tiny bit of residual heat creates condensation, and condensation is the fast track to mold city.
The Real Enemy: Understanding Water Activity (Aw)
Why Your Biscuits Go Soft
In the world of food science, we talk about Water Activity (Aw). This isn’t just how much water is in the treat; it’s how much ‘free’ water is available for bacteria and mold to grow. Most homemade treats fail because they are ‘soft-baked.’ Soft treats are delicious, but they are ticking time bombs of moisture. If you want months of shelf life, you have to drive that moisture out.
The Dehydration Hack
If you’re serious about this, you need a food dehydrator. Yes, you can use your oven at its lowest setting with the door cracked open, but a dehydrator is the professional’s secret weapon. By keeping the treats at a steady 150°F to 160°F for 6–10 hours after baking, you achieve a ‘snap’ that signals the moisture is gone. Pro Tip: If the treat bends instead of snapping, it’s not dry enough for long-term room temperature storage.
The Professional Packaging Arsenal
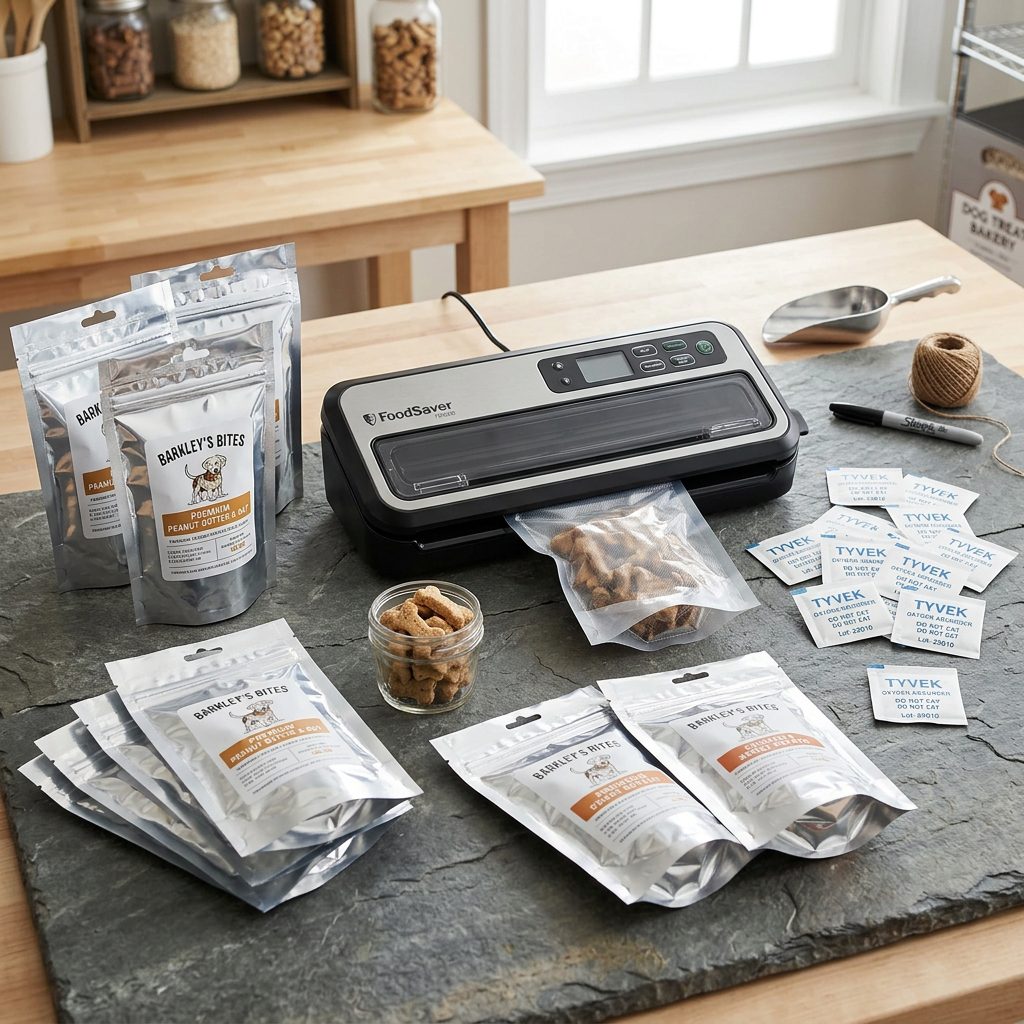
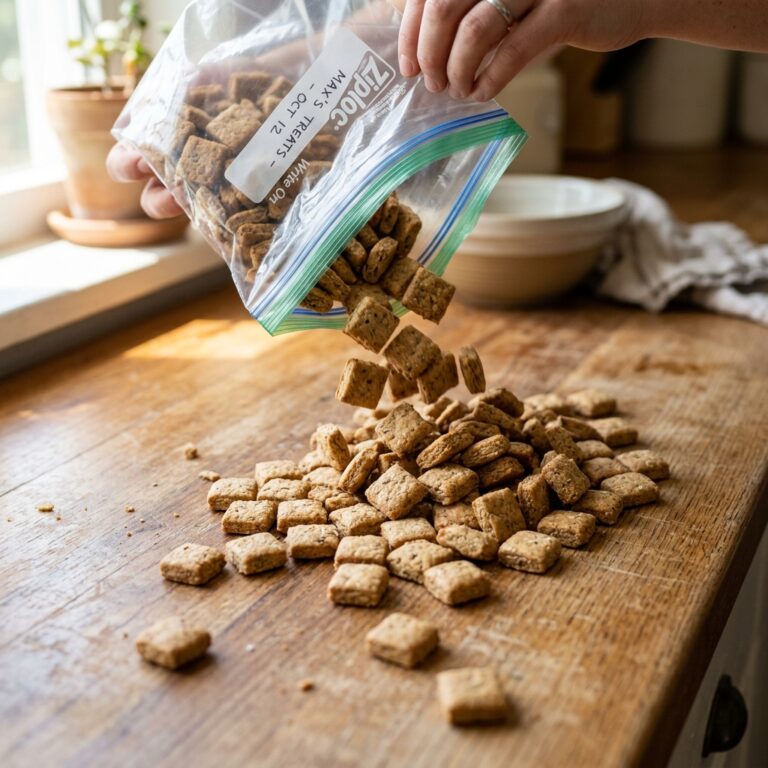
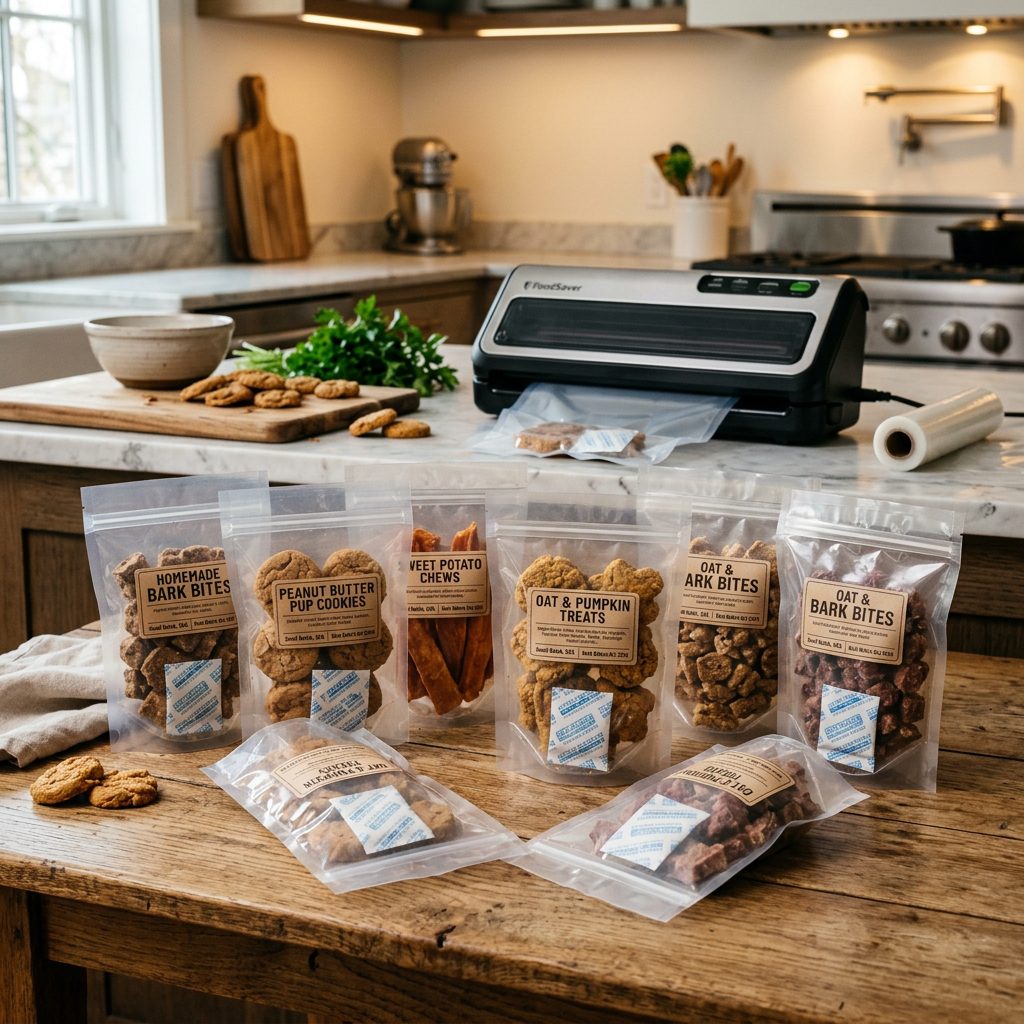
Once you’ve removed the moisture, you have to keep it out. Standard zip-top bags from the grocery store are ‘breathable’ on a microscopic level. They let oxygen and humidity in, which turns your crunchy treats into soggy, rancid messes. Here is the gear you actually need:
- Mylar Bags: These are the gold standard. They provide a total light and oxygen barrier.
- Oxygen Absorbers (O2A): These little packets are NOT silica gel. They actually remove the oxygen from the sealed bag, preventing the fats in the treats from going rancid.
- Vacuum Sealing: If you aren’t using Mylar, a vacuum sealer is your next best bet. It physically removes the air that spoilage organisms need to survive.
- Silica Gel Packets: Use these for ‘crunchy’ treats to absorb any residual moisture, but never use them in the same bag as oxygen absorbers (they fight each other).
| Packaging Method | Expected Shelf Life | Best For… | Hacker Rating |
|---|---|---|---|
| Plastic Baggy | 3-5 Days | Immediate use | 1/10 |
| Mason Jar (Airtight) | 2-3 Weeks | Countertop display | 5/10 |
| Vacuum Sealed Bag | 3-6 Months | Bulk storage | 8/10 |
| Mylar + Oxygen Absorber | 6-12 Months | The ‘Prepper’ Dog Owner | 10/10 |
Ingredient Forensic Analysis: What Spoils and What Stays
As a Canine Nutrition Hacker, I look at ingredients through the lens of stability. Some ingredients are ‘high-risk’ for long-term storage. If you want treats to last, you need to swap the risky stuff for the hero ingredients.
The ‘Enemy’ Ingredients (High Spoilage)
- Animal Fats & Greases: Bacon grease or chicken fat goes rancid incredibly fast.
- Fresh Dairy: Milk, cheese, and yogurt introduce moisture and proteins that spoil quickly without heavy refrigeration.
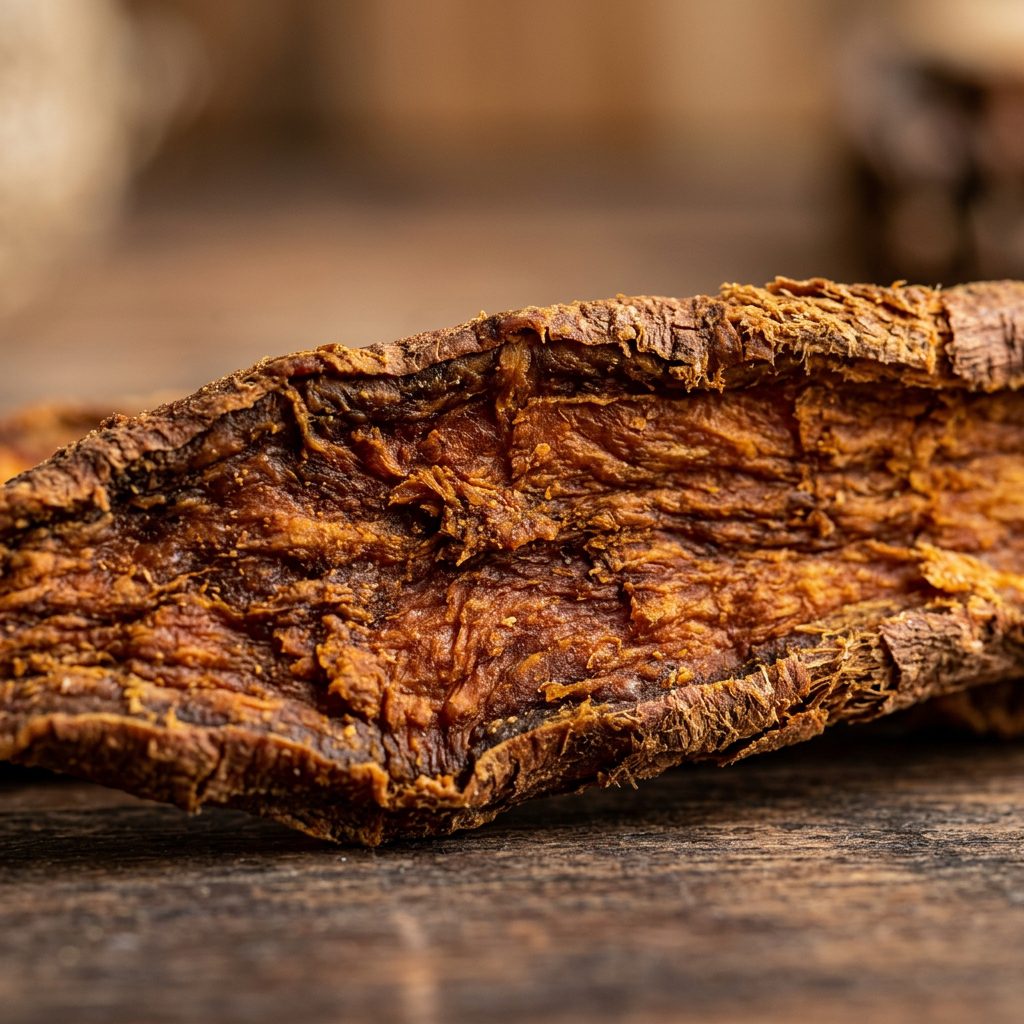
- Fresh Meat: Unless you are making ‘jerky’ with a 10-hour dehydration cycle, fresh meat in a biscuit is a recipe for disaster.
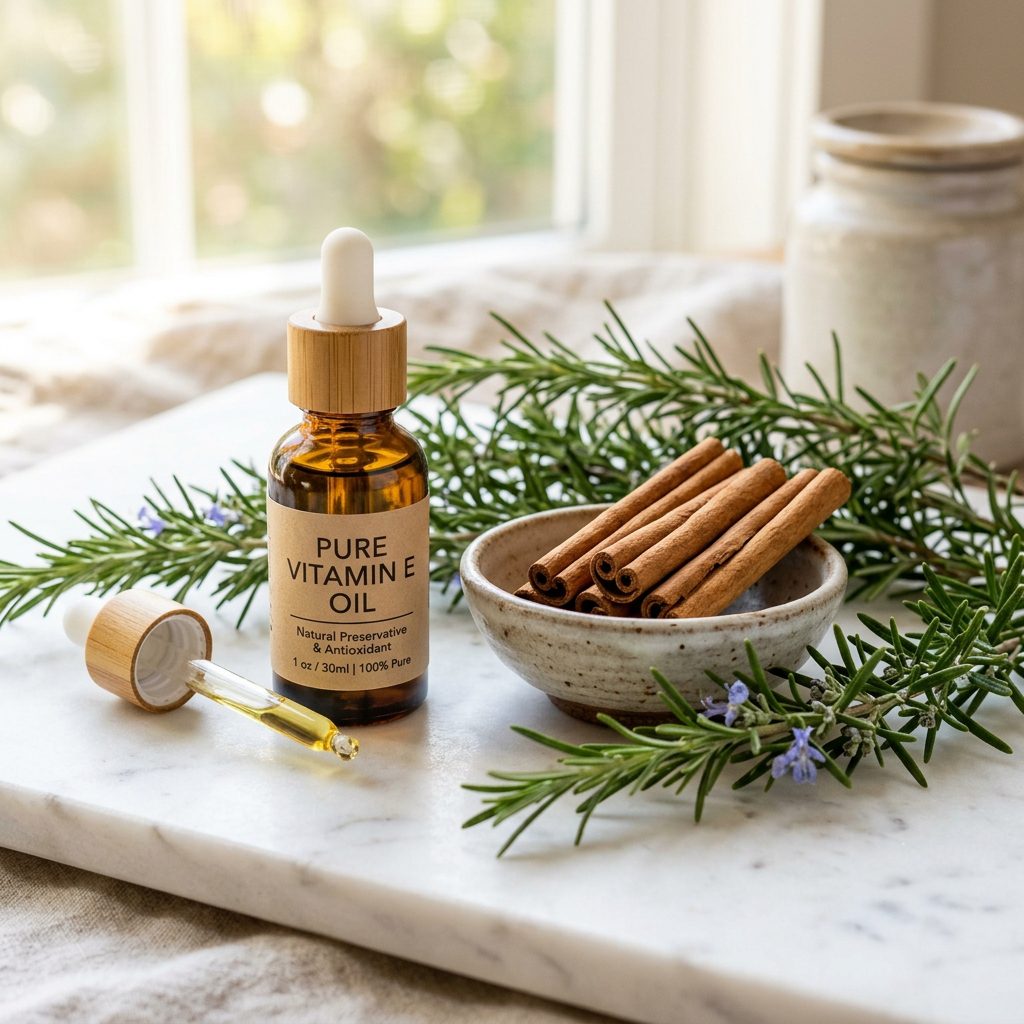
The ‘Hero’ Ingredients (Natural Preservatives)
- Vitamin E (Mixed Tocopherols): This is what the big brands use. You can buy liquid Vitamin E and add a few drops to your dough to slow down fat oxidation.
- Rosemary Extract: A powerful natural antioxidant that prevents rancidity.
- Honey: A natural humectant with antimicrobial properties (use sparingly).
- Ceylon Cinnamon: Not only is it great for blood sugar, but it also has natural antifungal properties.
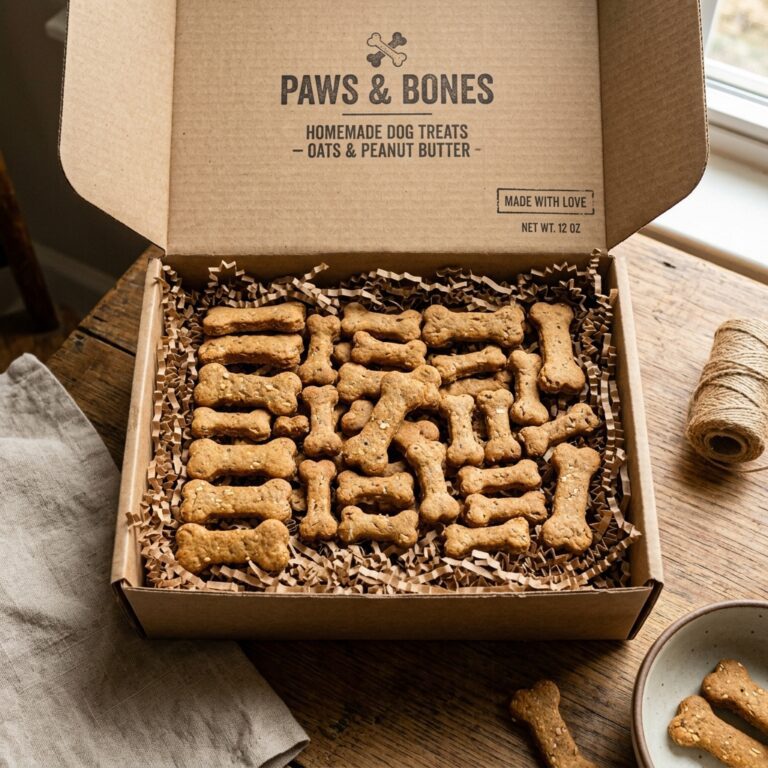
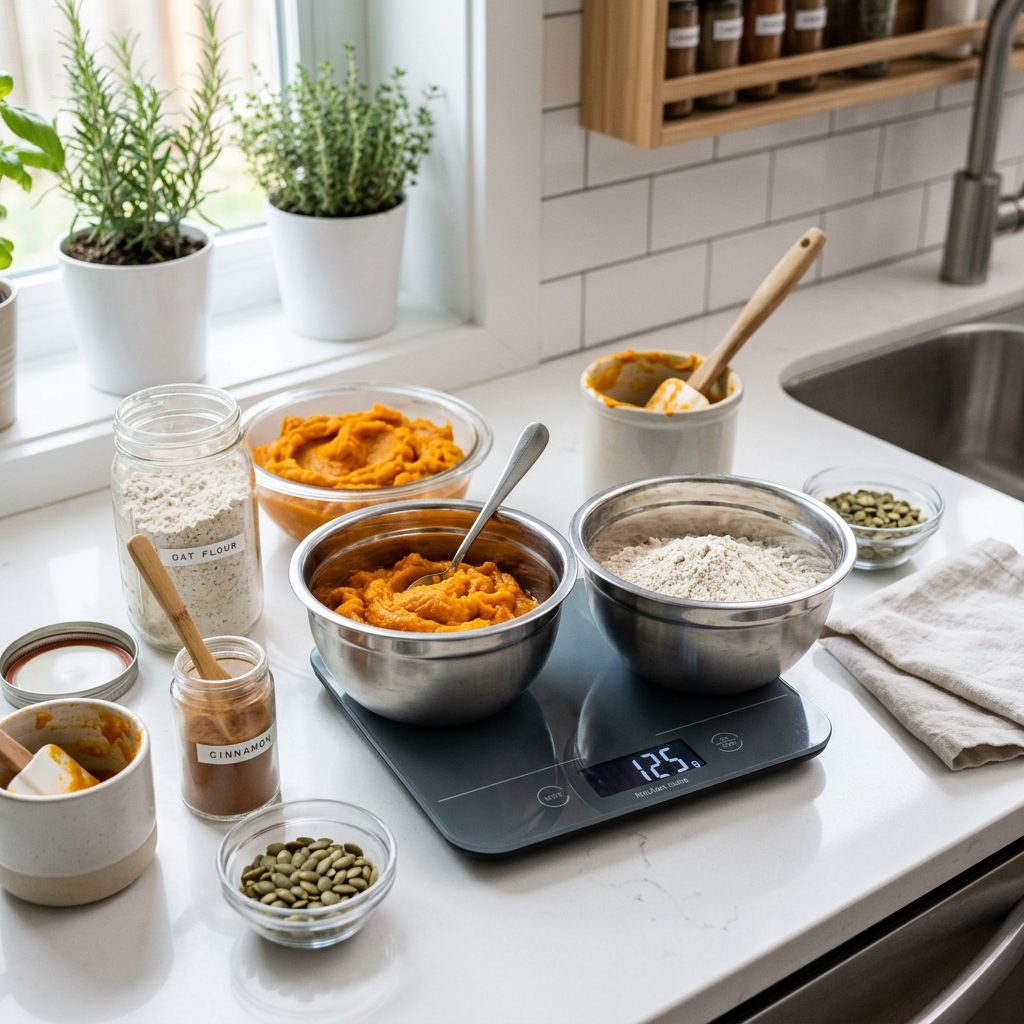
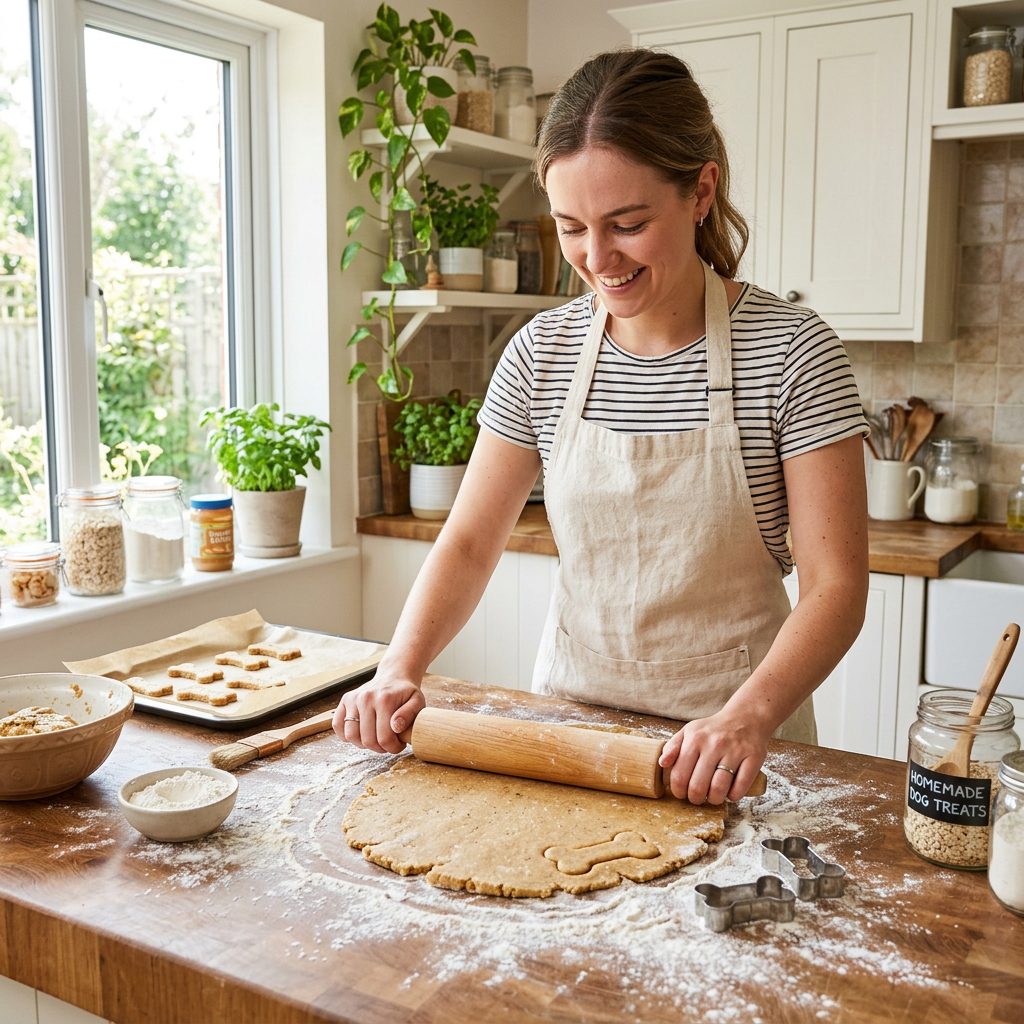
The ‘Everlasting’ Sweet Potato & Oat Crunch Recipe
This is my go-to recipe for long-term storage. It’s low-fat (which prevents rancidity) and high-fiber. When processed correctly, these will last 6 months in professional packaging.
The Ratios
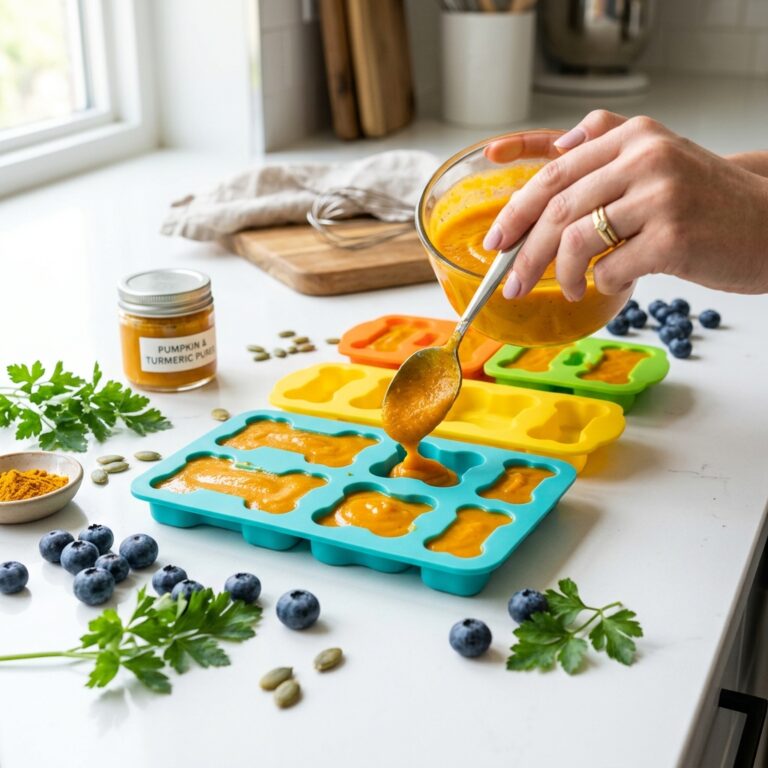
- 70% Base: Oat Flour (drier than wheat flour).
- 20% Binder: Pureed Sweet Potato (steamed and mashed, not canned with syrup).
- 10% Superfoods: Ground flaxseed, a dash of cinnamon, and a drop of Vitamin E oil.
The Step-by-Step Process
- Mix: Combine ingredients until a stiff dough forms. If it’s sticky, add more oat flour.
- Roll & Cut: Roll thin! The thinner the treat, the faster it dehydrates. Aim for 1/8 inch.
- The Double Bake: Bake at 325°F for 20 minutes. Turn the oven down to 150°F and leave them in for 4 hours (or move to a dehydrator).
- The Snap Test: Let them cool completely. If they don’t ‘snap’ like a cracker, put them back in the heat.
- The Professional Finish: Place in a Mylar bag with one 100cc oxygen absorber and heat-seal.
Cost Breakdown: DIY Professional vs. High-End Boutique
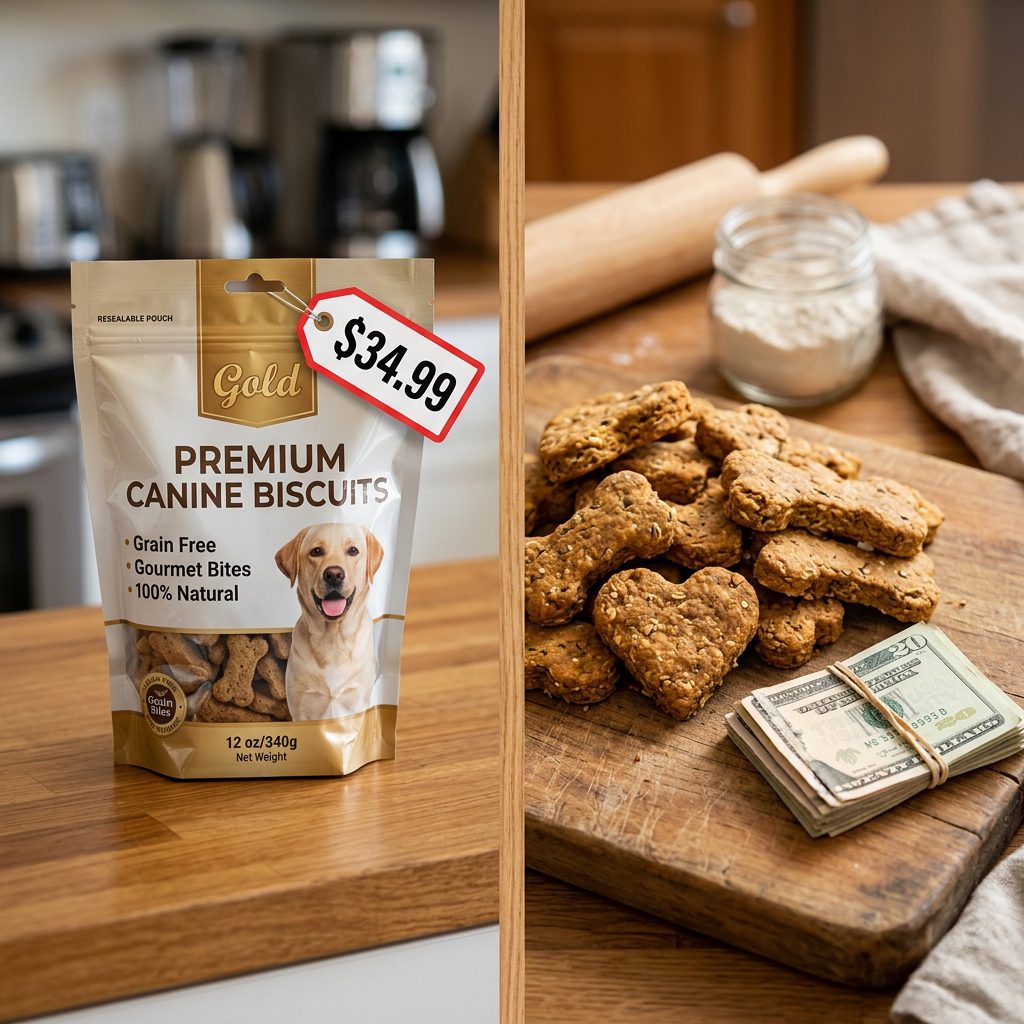
Is it actually worth the effort? Let’s look at the numbers. High-end, ‘all-natural’ preserved treats at the boutique pet store can run you $15.00 to $20.00 for a 10oz bag. Here is what it costs to hack it at home.
| Expense Item | Boutique Store Cost | Hacker DIY Cost |
|---|---|---|
| Ingredients (Organic) | Included | $2.50 |
| Packaging (Mylar/O2A) | Included | $0.75 |
| Electricity (Dehydration) | Included | $0.40 |
| Total Per 10oz | $18.00 | $3.65 |
By doing it yourself, you are saving roughly $14.35 per bag. If you use two bags a month, that is $344.40 a year back in your pocket. That’s enough for a high-quality vet checkup or a very fancy new dog bed.
Conclusion
Mastering the Art of the Long-Lasting Treat
Making your own dog treats shouldn’t be a weekly chore that ends in moldy disappointment. By adopting the mindset of a Canine Nutrition Hacker, you’re taking control of both your dog’s health and your household budget. Remember: the secret isn’t a magic chemical; it’s the combination of extreme dehydration and oxygen-free packaging.
Start small. Try the ‘Double Bake’ method with your next batch. Invest the $30 in a vacuum sealer or a pack of Mylar bags. Your dog will thank you for the consistent, crunchy rewards, and your wallet will thank you for the hundreds of dollars saved. Now, go forth and bake—and make it last!