The Genius Ziploc Bag Hack That Lets You Bake 400 Perfect Training Treats in 10 Minutes Flat!
Listen up, savvy dog owners. If you are actively training your dog, you already know the painful reality of the ‘treat tax.’ You walk into your local big-box pet store, grab a tiny, aesthetically pleasing bag of ‘premium’ training treats, and drop fifteen dollars at the register. Fast forward three days, and that bag is completely empty. It is a vicious, expensive cycle, and frankly, the pet food industry loves it when you are stuck on that hamster wheel.
As The Canine Nutrition Hacker, I look at dog training treats a little differently. I analyze ingredient labels like a forensic scientist, and what I see in most commercial training treats is nothing short of daylight robbery. You are paying premium prices for water, glycerin, and cheap carbohydrate binders. But today, we are breaking the system. I am going to share my absolute favorite insider secret: a ridiculously simple, completely foolproof method to create hundreds of high-value, nutrient-dense training treats in your own kitchen using a standard Ziploc bag.
THE SAFE CHEF DISCLAIMER: Before we dive into the kitchen, let’s get one thing straight. I am a street-smart nutrition hacker and an obsessed dog owner, not a licensed veterinarian. While these treats are made from whole, dog-safe foods, they are intended for intermittent or supplemental feeding only. They are not a complete diet. If your dog has specific medical conditions like kidney disease or severe food allergies, always consult your vet before introducing new ingredients.
We are going to bypass the junk, save a mountain of cash, and give your dog a treat so irresistible they will be doing backflips for it. Let’s get to hacking.
The Dark Side of Store-Bought Training Treats (And Why We Hack)
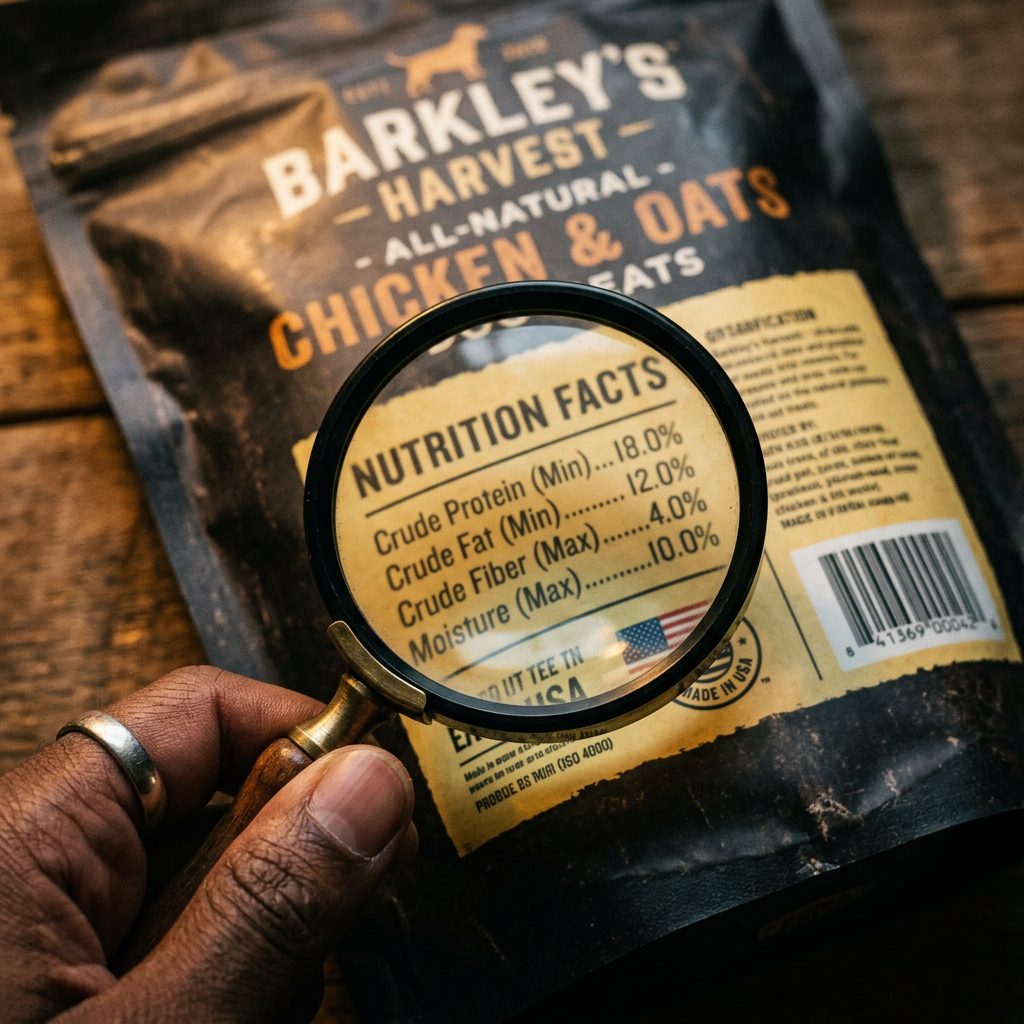
Before I show you the solution, we need to understand the problem. Turn over that expensive bag of store-bought training treats and read the first five ingredients. If you are buying a semi-moist treat, I can almost guarantee you will see ingredients like ‘vegetable glycerin,’ ‘corn syrup,’ or ‘propylene glycol.’
The Filler Epidemic
Why are these ingredients in there? Because water is heavy and cheap. To keep a treat soft and chewy on a store shelf for two years without growing mold, manufacturers pump them full of humectants (like glycerin) and preservatives. You are literally paying for chemically retained moisture.
- Vegetable Glycerin: Often a byproduct of biofuel manufacturing, used to keep treats soft. It can cause gastrointestinal upset in sensitive dogs.
- Artificial Smoke Flavor: Used to trick your dog’s nose into thinking they are getting real meat, when they are actually getting a soy or wheat base.
- Sugar and Syrups: Dogs, just like humans, get addicted to sugar. Manufacturers use it to increase palatability, leading to canine obesity and dental decay.
When you take control of your dog’s treats, you eliminate the mystery. You know exactly what goes into their body, and you stop funding the filler epidemic. Plus, your dog’s waistline and digestive tract will thank you.
The Real Cost Breakdown: DIY vs. Premium Store-Bought
Let’s talk numbers, because being a savvy dog owner means protecting your wallet just as fiercely as you protect your dog’s health. When you are doing high-repetition obedience training, agility, or behavior modification, you can easily go through 50 to 100 pea-sized treats in a single session. At commercial prices, that adds up fast.
The Forensic Financial Review
Here is exactly how much money you are bleeding by relying on commercial training treats, compared to our Ziploc Bag Hack recipe.
| Metric | Premium Store-Bought Treats | The Ziploc Hack (DIY) |
|---|---|---|
| Primary Ingredient | Chicken Meal / Glycerin | 100% Real Wild Salmon |
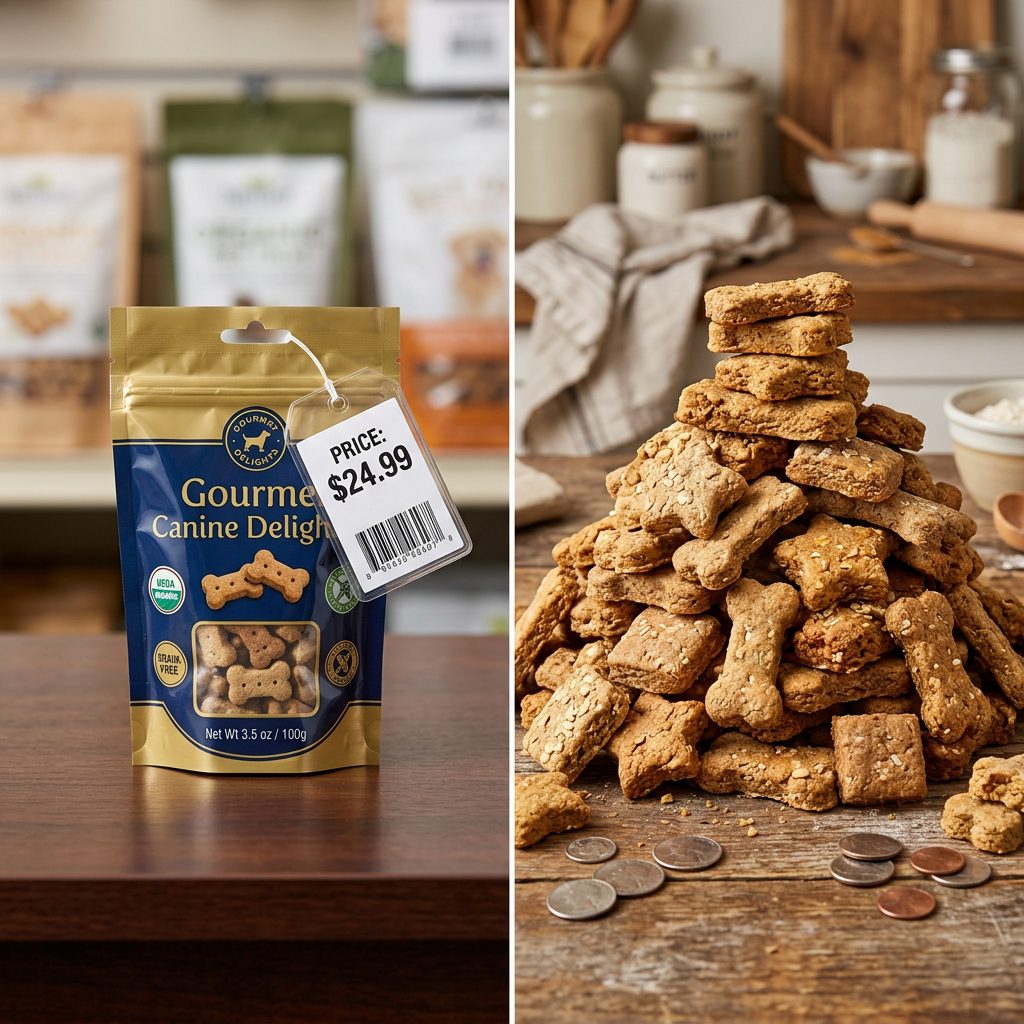
| Cost Per 400 Treats | $18.50 (Approx. 2 bags) | $2.80 |
| Prep Time | Drive to store (30 mins) | 10 Minutes Active Prep |
| Filler Content | High (Binders, Sugars) | Zero (Just whole foods) |
| The Verdict | Expensive & Over-processed | Nutrient-Dense & Budget-Friendly |
By switching to this homemade method, you are saving roughly $15.00 per batch. If you train actively and make a batch a week, that is a savings of almost $800 a year. That is money you can redirect toward high-quality core nutrition, veterinary care, or that orthopaedic bed your dog has been eyeing.
The 3-Ingredient ‘High-Value’ Recipe Arsenal
To make this hack work, we need a batter that is the exact right consistency. It needs to be wet enough to pipe through a bag, but solid enough to bake into distinct, non-crumbly pieces. We are using a simple, highly digestible 3-ingredient matrix: Protein, Binder, and Moisture.
The Salmon Sensation Recipe
This is my go-to recipe. Salmon is incredibly pungent (which makes it a ‘high-value’ reward for dogs) and is packed with Omega-3 fatty acids for brain health and coat shine.
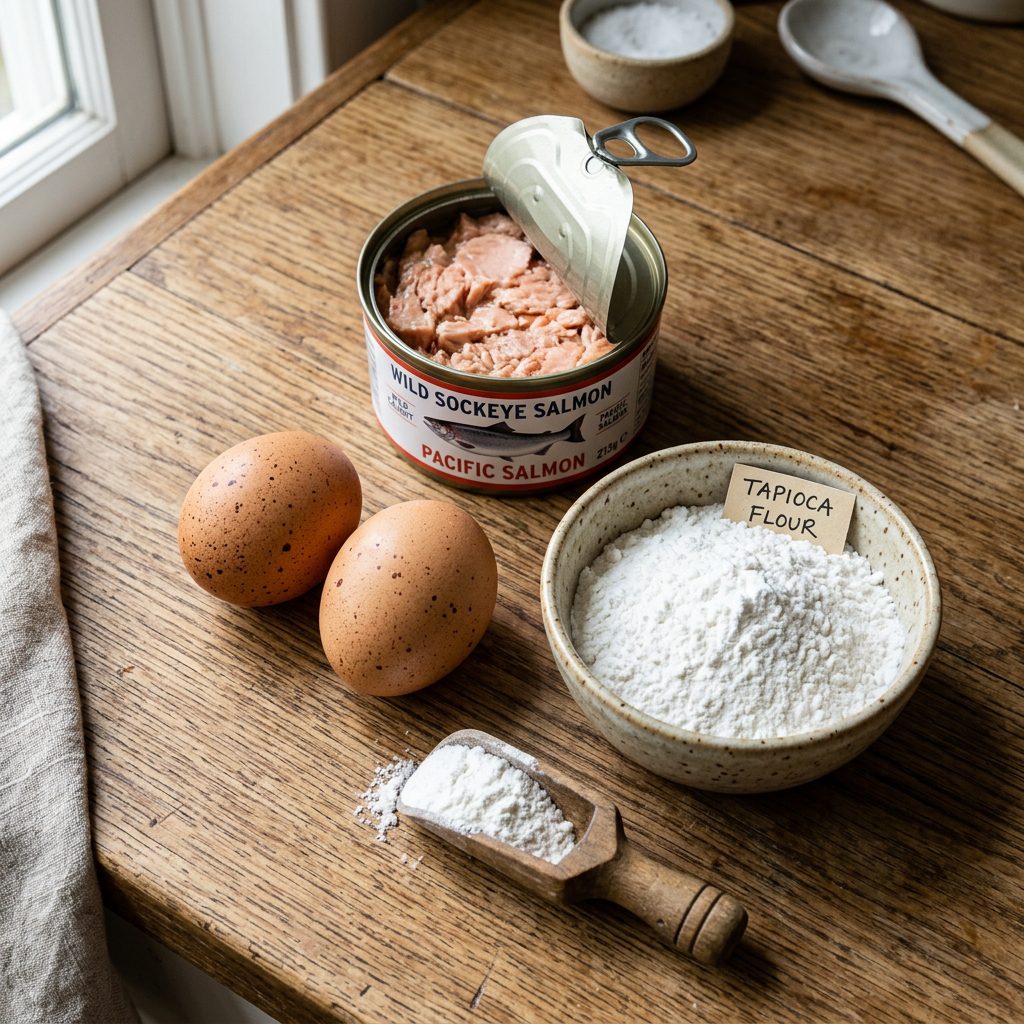
- 1 Can (14.7 oz) of Pink Salmon: Do not drain the liquid! We need that stinky, nutrient-rich juice for our batter. Make sure it is packed in water, not oil, and has no added sodium.
- 2 Cups of Tapioca Flour (or Oat Flour): Tapioca flour creates a fantastic, slightly chewy texture that holds together perfectly without crumbling in your pocket. If your dog handles grains well, oat flour is a cheaper, fiber-rich alternative.
- 2 Large Eggs: The ultimate natural binder, packed with bioavailable protein and essential amino acids.
HACKER TIP: If your dog is allergic to fish, you can easily swap the canned salmon for an equal volume of pureed wet dog food, canned chicken (in water), or even pure pureed pumpkin and peanut butter for a vegetarian option. The secret is maintaining the thick, paste-like consistency.
The Genius Ziploc Bag Hack (Step-by-Step Execution)
Here is where the magic happens. Forget rolling out dough. Forget using tiny, frustrating cookie cutters that take hours. We are going to use industrial kitchen efficiency tailored for the home cook.
Step 1: The Blender Blitz
Dump your entire can of salmon (juice and all), the two eggs, and your flour into a food processor or blender. Blend it on high until it forms a thick, smooth paste. It should look like thick pancake batter. If it is too runny, add a tablespoon of flour. If it is too thick, add a splash of water.
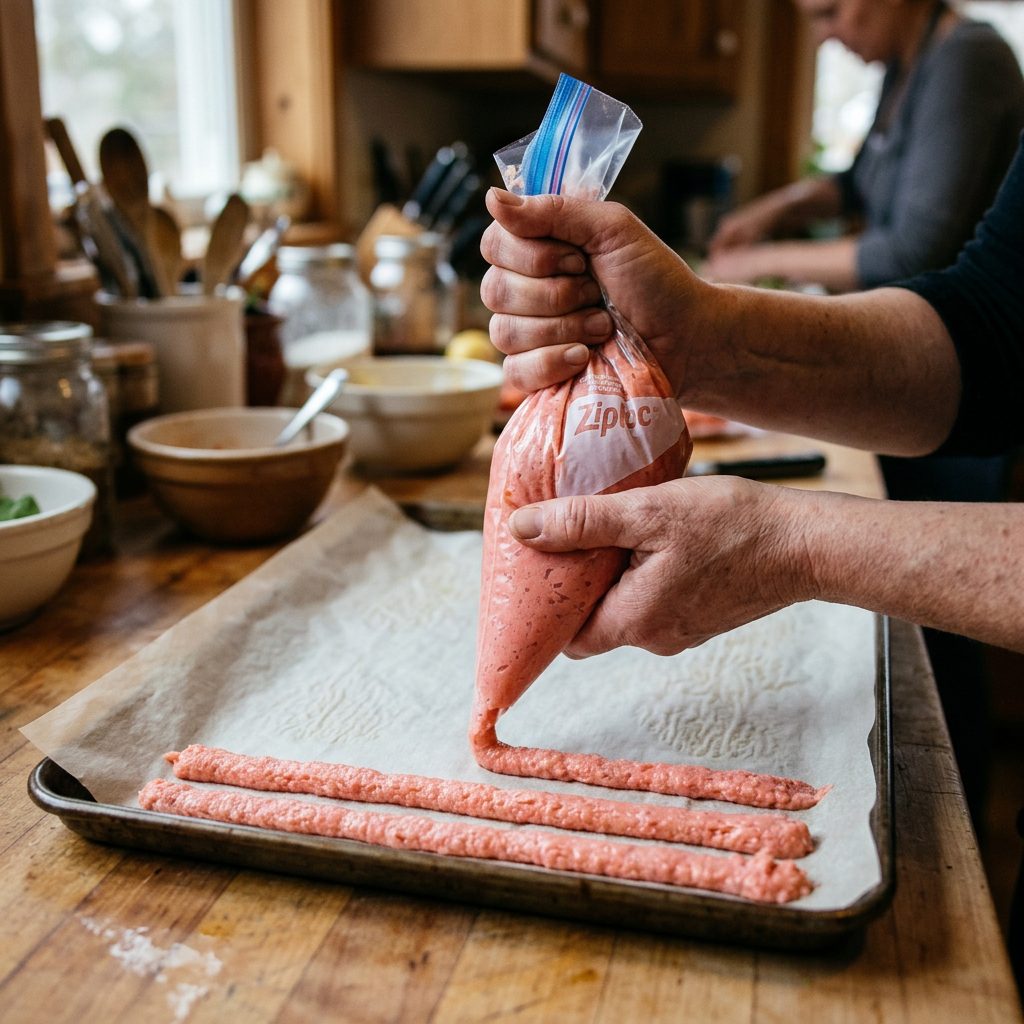
Step 2: The Ziploc Transfer
Take a gallon-sized heavy-duty Ziploc bag. Fold the top edges over to keep the zipper clean, and scoop all of your batter into the bag. Squeeze the air out and seal it. You have just created a makeshift pastry piping bag.
Step 3: The Piping & Scoring Hack
Preheat your oven to 350 degrees Fahrenheit (175 degrees Celsius). Line a large baking sheet with parchment paper. Snip a tiny corner off your Ziploc bag (about the width of a pea). Now, squeeze the bag and pipe long, continuous lines of batter from one end of the baking sheet to the other, leaving a tiny gap between each line. Once the pan is full of horizontal lines, take a pizza cutter or a butter knife and run it vertically down the lines, scoring them into tiny, pea-sized squares.
Step 4: Bake and Snap
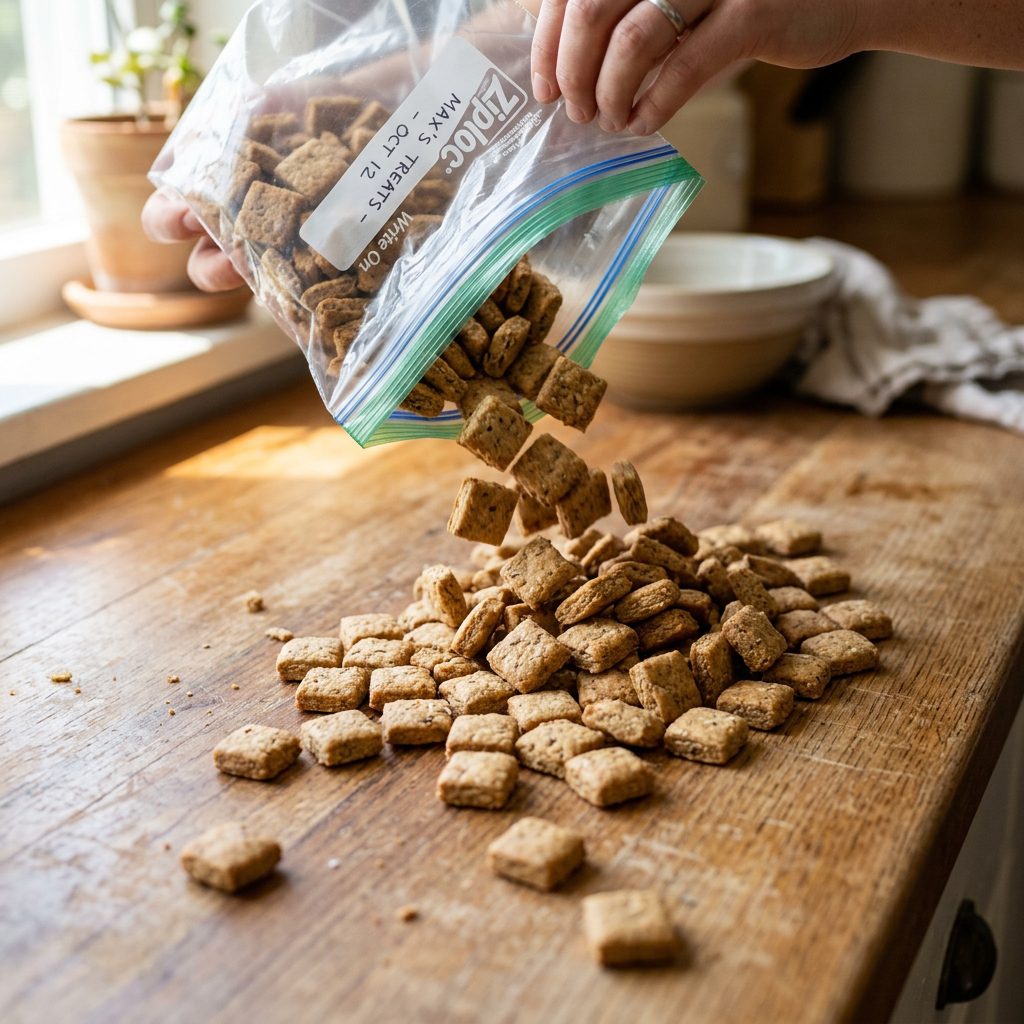
Bake for 12 to 15 minutes. Because they are so small, they cook incredibly fast. Pull them out and let them cool completely. Once cool, simply pick up the parchment paper and crumble the lines in your hands. They will instantly snap along the score lines you made, leaving you with roughly 400 perfectly uniform, square training treats!
Batch Cooking & Storage Secrets for the Savvy Owner
Because we are not using artificial chemical preservatives like the big commercial brands, these treats will not last for a year in a hot car. Real food spoils, which is actually a sign of quality nutrition! But don’t worry, managing your inventory is incredibly easy with a little batch-cooking strategy.
The Freezer Rotation System
This recipe yields a massive amount of treats. Unless you are running a dog training academy, you won’t use them all before they go bad in the fridge. Here is my system:
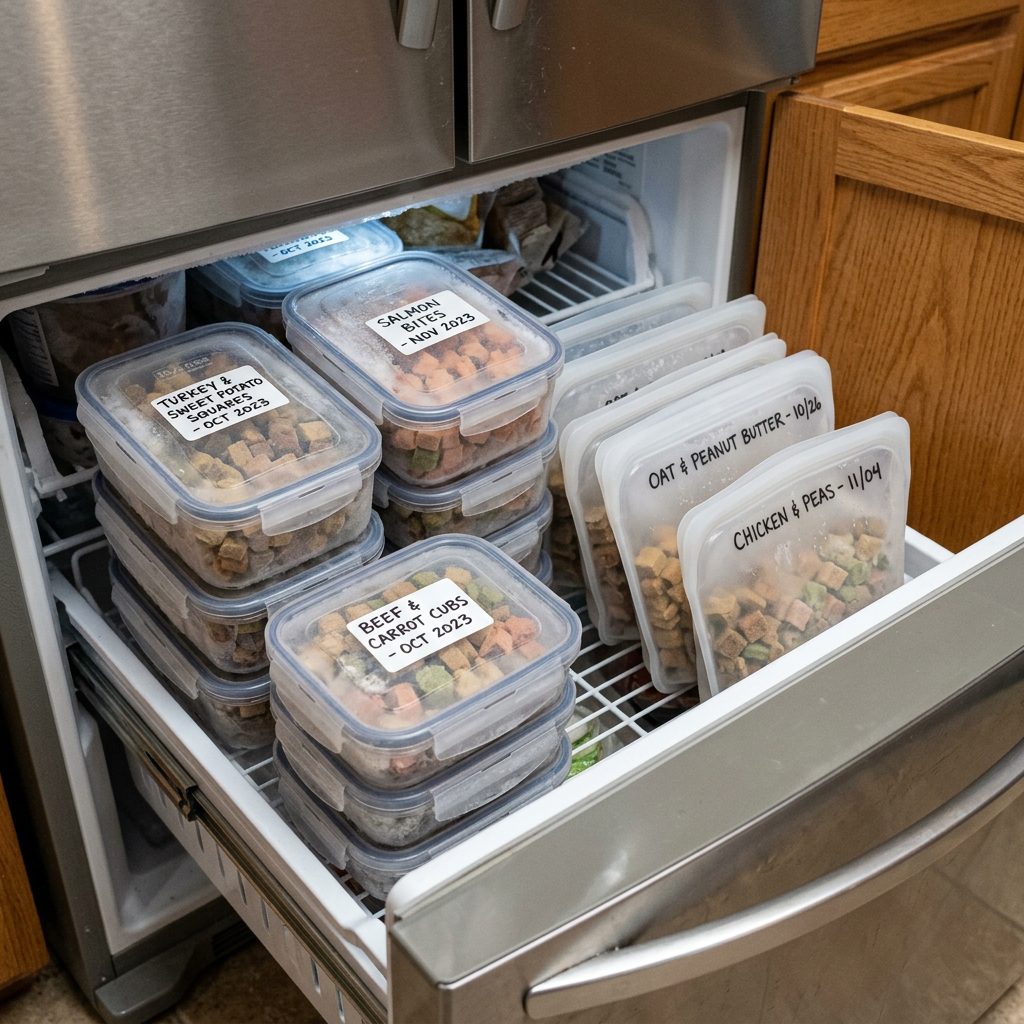
- The Active Stash: Keep about a quarter of the batch in an airtight container in the refrigerator. These will stay fresh for about 5 to 7 days. Grab a handful before your daily walks or training sessions.
- The Deep Freeze: Take the remaining three-quarters of the treats and put them in a fresh Ziploc bag or a vacuum-sealed bag. Toss them in the freezer. They will easily last for 3 to 4 months.
- The Pocket Thaw: Because these treats are so tiny, you don’t even need to defrost them in the microwave. Just grab a frozen handful, put them in your silicone training pouch or pocket, and by the time you walk to the park, they will be perfectly thawed and ready to use.
By dedicating just 10 minutes of active prep time on a Sunday afternoon, you can stock your freezer with enough high-value training currency to last you an entire month. That is the definition of working smarter, not harder.
Conclusion
There you have it. You are now equipped with the ultimate canine nutrition hack. You have bypassed the bloated marketing of the pet food industry, eliminated questionable chemical fillers from your dog’s diet, and saved a significant amount of money in the process. The Ziploc bag hack is more than just a recipe; it is a shift in how we approach our dogs’ daily rewards.
Training your dog requires consistency, patience, and highly motivating rewards. By providing a treat made from 100% real protein, you are giving your dog the biological fuel they crave, making them vastly more eager to work with you. Try this hack this weekend. Watch how your dog reacts to the smell of real, baking salmon, and watch how quickly they snap into a perfect ‘heel’ when they know what is in your pocket.
Stay savvy, keep hacking, and give your dog a scratch behind the ears for me.