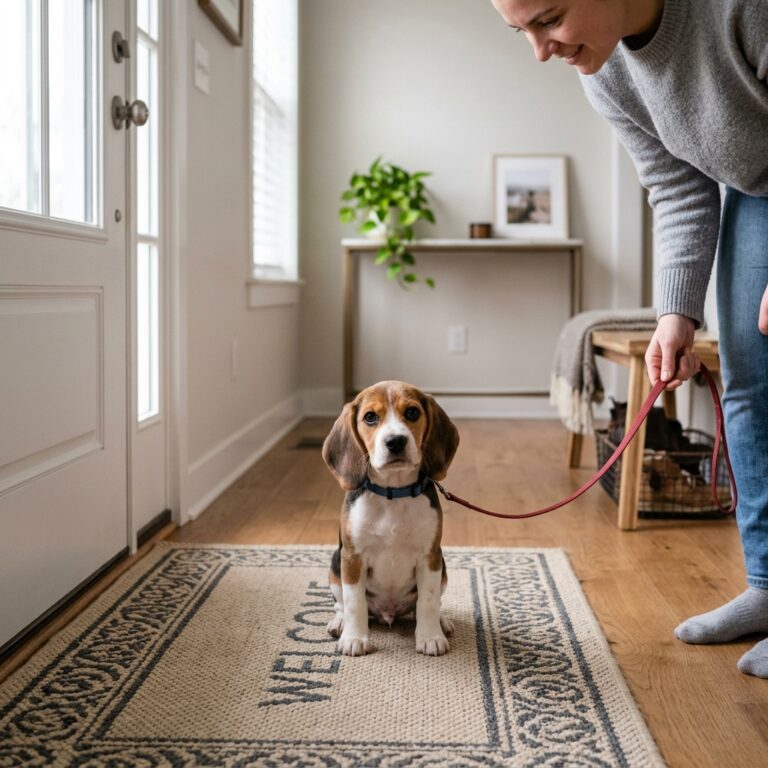
Raincoat Struggle? How to Train Your Puppy to Love Wearing Rain Gear Without Freezing
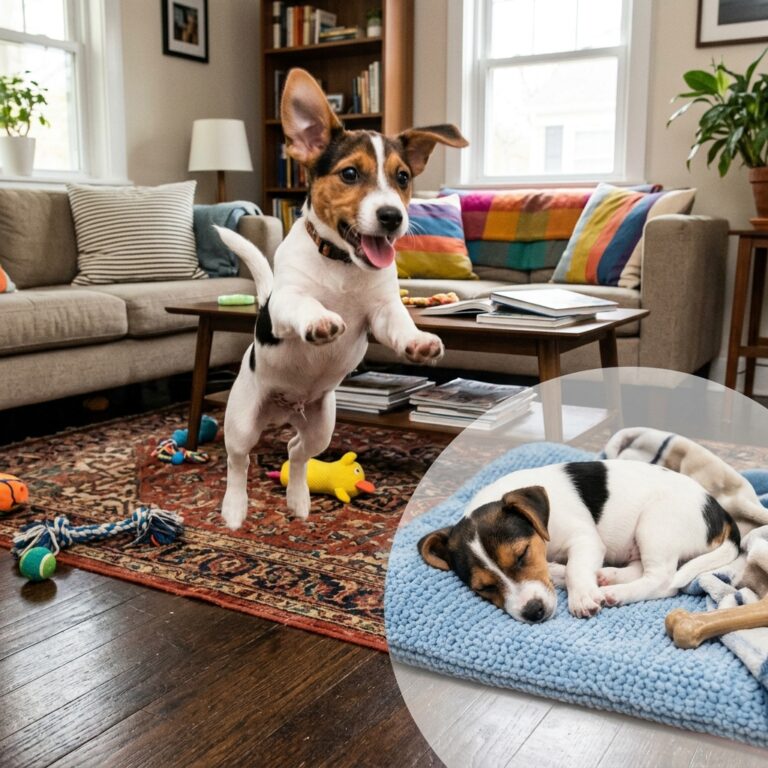
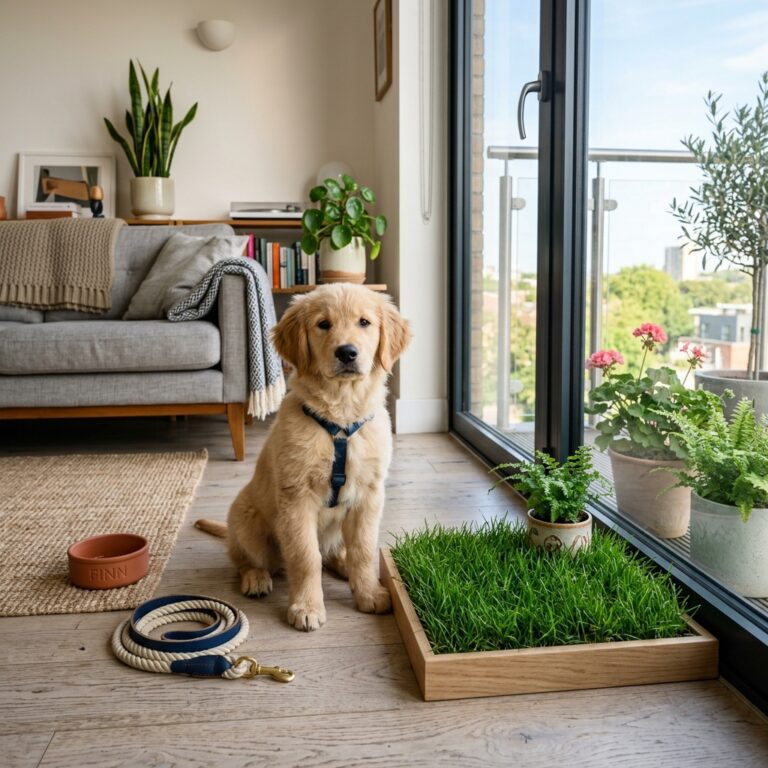
If you are a savvy dog owner, you already know the drill: the sky turns gray, the rain starts pouring, and it is time for your puppy’s bathroom break. You pull out that adorable, brightly colored little raincoat you bought, slip it over your dog’s head, and suddenly… they turn into a statue. The dreaded raincoat freeze. They refuse to walk, they look incredibly sad, and you are left wondering if it is even worth the effort to keep them dry.
First of all, take a deep breath. You are absolutely not alone in this! The raincoat struggle is an incredibly common hurdle for puppy parents. While we see a cute, functional piece of clothing that will save our furniture from wet dog smell, our puppies experience a bizarre, restrictive, and crinkly alien contraption that messes with their senses.
But do not throw that rain jacket in the donation bin just yet! With a little bit of patience, some high-value treats, and the magic of positive reinforcement, you can transform your puppy from a frozen statue into a puddle-jumping champion. In this comprehensive guide, we are going to break down exactly why your puppy hates their rain gear, the essential tools you need for success, and a foolproof, step-by-step training protocol to help your furry best friend learn to love their wet-weather wardrobe.
Why Does Your Puppy Hate the Raincoat? (Understanding the Freeze)
Before we can fix the problem, we have to understand the root cause. When a puppy freezes in a raincoat, they are not being stubborn or trying to make you late for work. They are experiencing a combination of sensory overload and physical restriction. Let us break down the main reasons your puppy is turning into a furry gargoyle.
- Sensory Overload: Raincoats are typically made of nylon, polyester, or PVC. These materials make a distinct swooshing or crinkling sound right next to your dog’s highly sensitive ears. Every time they move, the coat makes a noise that can be startling or annoying to a puppy who is not used to it.
- The Opposition Reflex: Dogs have a natural instinct called the opposition reflex. When they feel pressure against their body, their instinct is to push back or freeze. A snug raincoat applying pressure to their chest, back, and shoulders can trigger this involuntary response.
- Restricted Movement: If a raincoat does not fit perfectly, it can restrict the natural extension of your puppy’s front legs and shoulders. If it feels weird to walk, they simply will not walk.
- Static Electricity: Synthetic materials can build up static charge, especially in dry indoor air before you head outside. Your puppy might be experiencing tiny, uncomfortable static shocks when the coat rubs against their fur.
Expert Tip: Always evaluate the fit of the raincoat first. You should be able to easily slip two fingers between the raincoat and your puppy’s neck and chest. If the armholes cut into their armpits, the coat is too tight and will cause chafing and freezing.
Essential Tools for Rain Gear Training
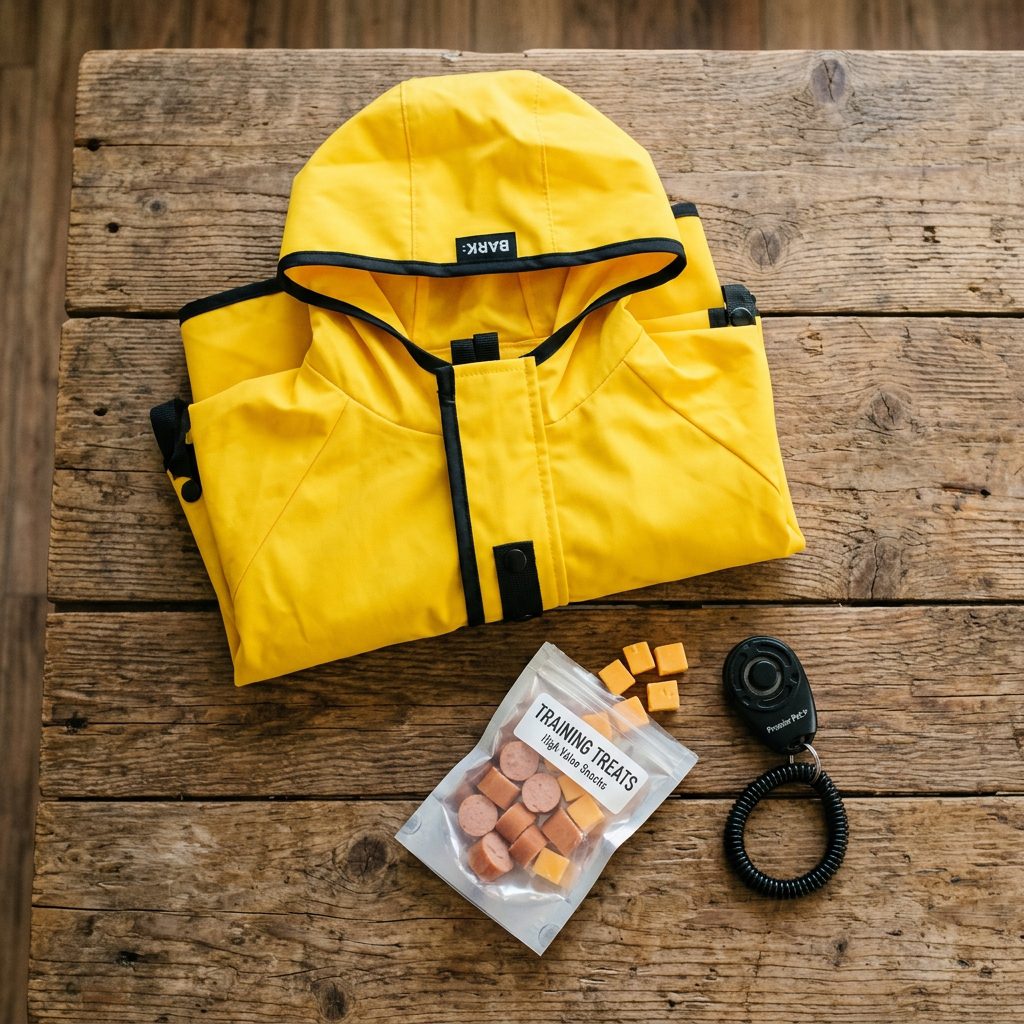
To set your puppy up for success, you need to gather the right tools before you even think about putting the coat on them again. Training a dog to accept handling and clothing requires a strategic approach, and having these items ready will make the process smooth and enjoyable for both of you.
Here is your raincoat training toolkit:
- High-Value Treats: Forget the dry kibble for this exercise. You need the good stuff. Think boiled chicken breast, tiny pieces of hot dog, freeze-dried liver, or a squeeze tube of dog-safe peanut butter. The reward must outweigh the weirdness of the coat.
- A Clicker (Optional but Recommended): If your dog is already clicker trained, this is the perfect time to use it. A clicker provides a precise marker signal that tells your dog exactly which behavior earned them the treat.
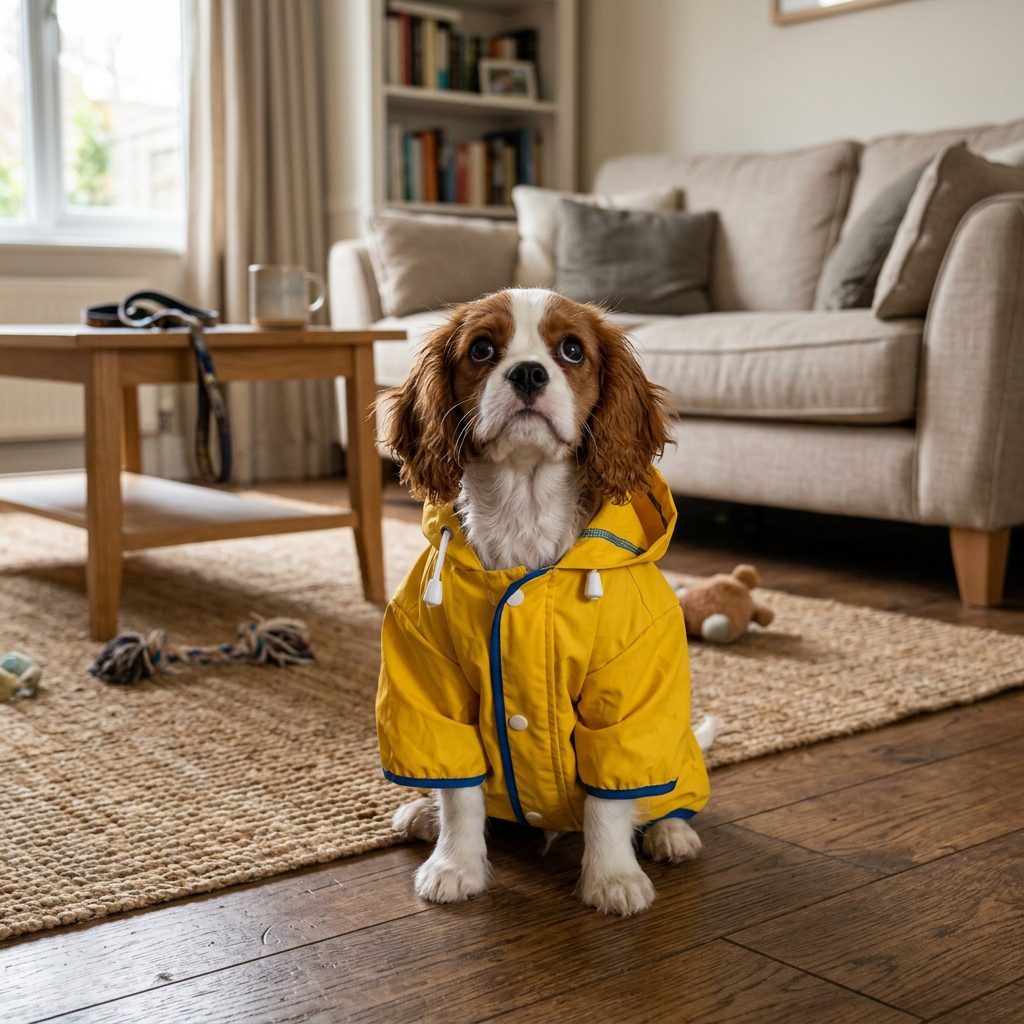
- The Right Raincoat: Not all raincoats are created equal. If your puppy is extremely sensitive, starting with a lightweight, minimalist coat might be better than a full-body suit.
Let us look at a breakdown of raincoat styles to ensure you have the right gear for your puppy’s comfort level:
| Raincoat Style | Best For | Pros | Cons |
|---|---|---|---|
| Poncho Style | Beginners & sensitive puppies | Very easy to put on, minimal restriction of shoulder movement, lightweight. | Provides less coverage for the belly and legs. |
| Full Coverage Suit | Heavy rain, snow, & long-haired breeds | Maximum protection from mud, keeps legs clean and dry. | Hardest to put on, highly restrictive, can cause the most intense freezing. |
| Underbelly Vest | Short-legged breeds (Corgis, Dachshunds) | Protects the chest and belly from splash-up, usually easy to buckle. | Leaves the back and hindquarters slightly exposed to heavy downpours. |
The Step-by-Step Desensitization Process
Now we get to the fun part: classical conditioning and desensitization. The goal here is to change your puppy’s emotional response to the raincoat from ‘Oh no, the restrictive crinkle monster’ to ‘Yay, the magic jacket that makes chicken rain from the sky!’
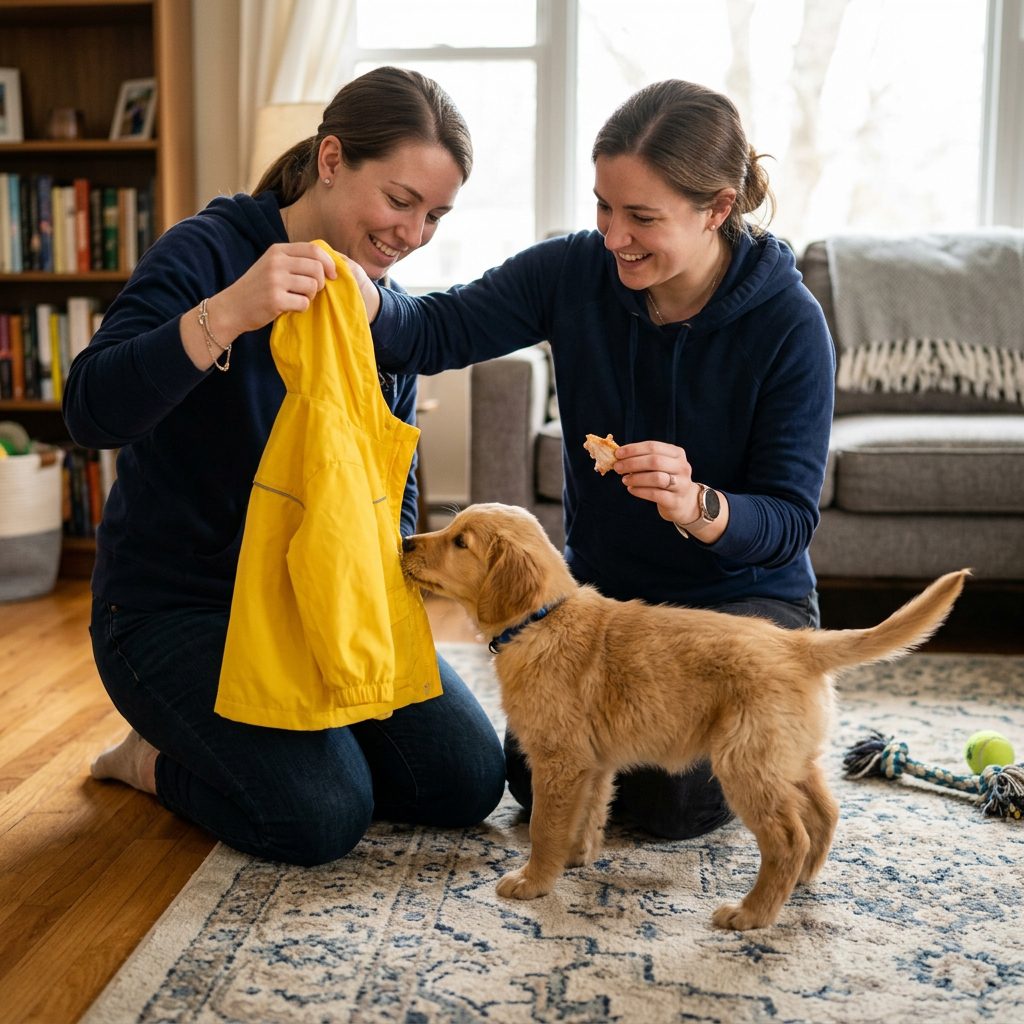
Step 1: Introduction and Sniffing
Do not try to put the coat on your dog yet. Bring the raincoat out and lay it on the floor. Allow your puppy to approach it and sniff it on their own terms. The moment they sniff the coat, say ‘Yes!’ (or click) and give them a high-value treat. Repeat this until your puppy sees the coat and immediately looks at you for a treat.
Step 2: The Crinkle Test
Pick up the raincoat and gently move it so it makes its natural crinkling sound. Immediately toss a treat to your puppy. We want them to associate the sound of the fabric with good things. Do this for a few minutes until they are totally unbothered by the noise.
Step 3: The Touch Protocol
Hold the raincoat in one hand. Gently touch the side of the coat to your puppy’s shoulder or back for just one second. Say ‘Yes!’, remove the coat, and treat. Gradually increase the time the coat rests on their back. If they flinch or back away, you have gone too fast. Go back to a shorter duration.
Step 4: The Head Hole (For Pullover Coats)
If your raincoat goes over the head, this is usually the scariest part for a dog. Hold the head hole open. Lure your puppy’s nose through the hole with a treat. Do not force the coat over their head; let them push their head through to get the food. Let them pull their head back out immediately. Practice this until they eagerly shove their head through the hole.
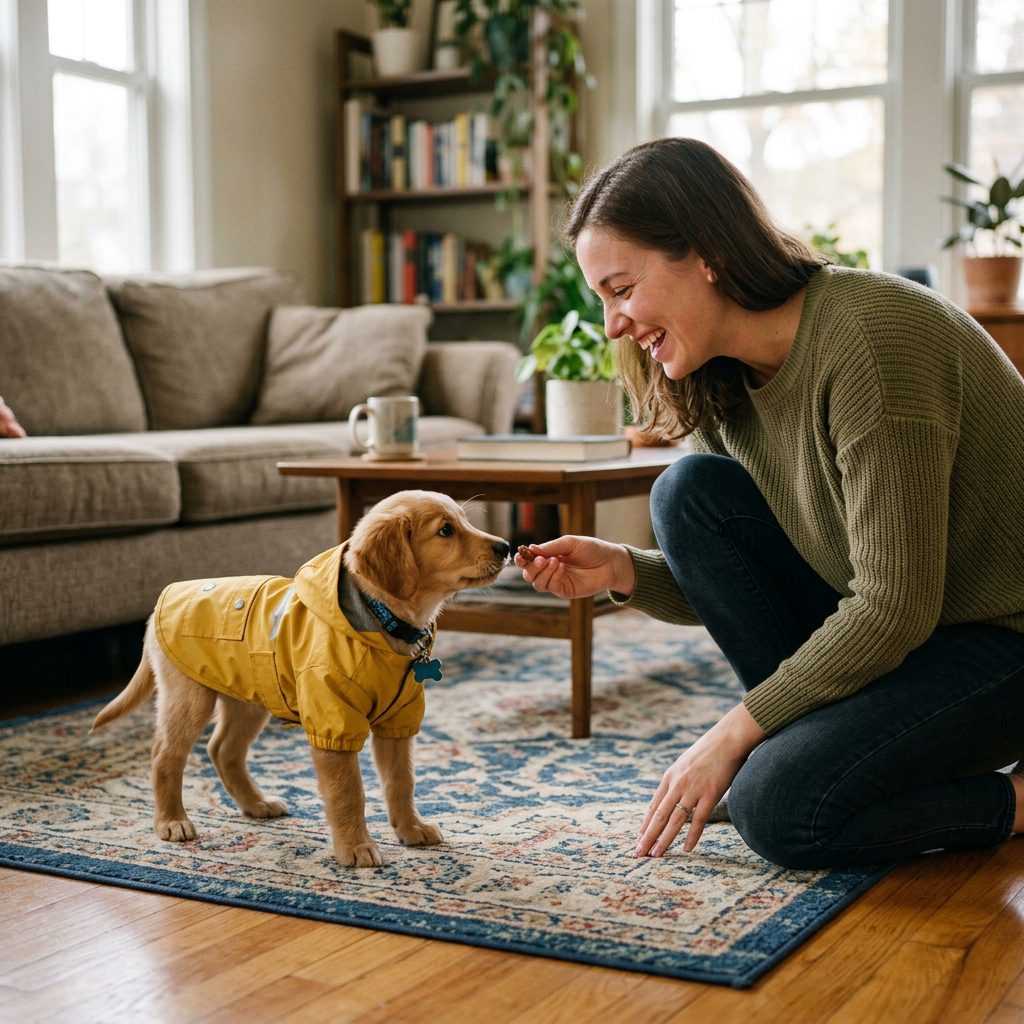
Step 5: Fastening and Treating
Once the coat is on, loosely fasten the straps. The very second the coat is fully on, start a jackpot party! Feed them a continuous stream of treats for about 10-15 seconds. Then, take the coat off. The treats stop the moment the coat comes off. The lesson? Coat ON = Amazing things happen. Coat OFF = Boring normal life.
Step 6: The First Indoor Steps
Put the coat on and take a few steps backward, patting your legs and using your happiest, most encouraging voice. Hold a treat right in front of their nose to lure them forward. When they take a single step in the coat, praise heavily and reward. Gradually increase the distance until they are walking comfortably around your living room.
Troubleshooting Common Raincoat Struggles
Even with the best training plan, puppies can be unpredictable. If you hit a roadblock, do not get frustrated. Training is rarely a perfectly straight line. Here are some common issues you might encounter and how to fix them.
My Puppy Tries to Bite or Chew the Coat
If your puppy treats the raincoat like a giant tug toy, they are likely over-aroused or anxious. To fix this, redirect their mouth. Give them something else to hold, like a favorite plush toy or a bully stick, while you put the coat on. You can also smear a lick mat with peanut butter and stick it to the wall; while they are busy licking, you can calmly buckle the coat.
My Puppy Still Freezes Completely
If the freeze happens, you have likely moved through the steps too quickly. Take the coat off and go back to Step 3 (The Touch Protocol). You need to build more positive associations before requiring them to wear it fully. Additionally, double-check the fit. If it is pinching their armpits, no amount of hot dogs will make them want to walk.
The ‘Wet Shake’ Inside the Coat
Sometimes, dogs will try to do a full-body shake to get the coat off, which can scare them if the coat makes a loud snapping noise. If they shake, just stay calm, wait for them to finish, and immediately reward them for settling down. This helps them realize the coat is secure and won’t hurt them.
Expert Tip: Keep training sessions incredibly short. 3 to 5 minutes max! It is much better to do three 3-minute sessions a day than one frustrating 15-minute session where both you and your puppy end up exhausted.
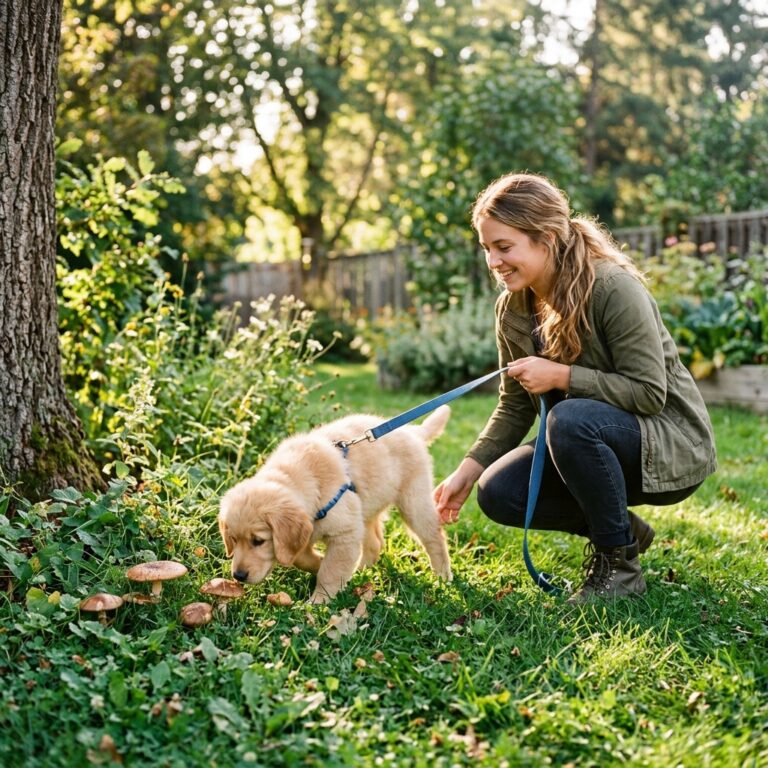
Moving the Training Outdoors: Facing the Rain
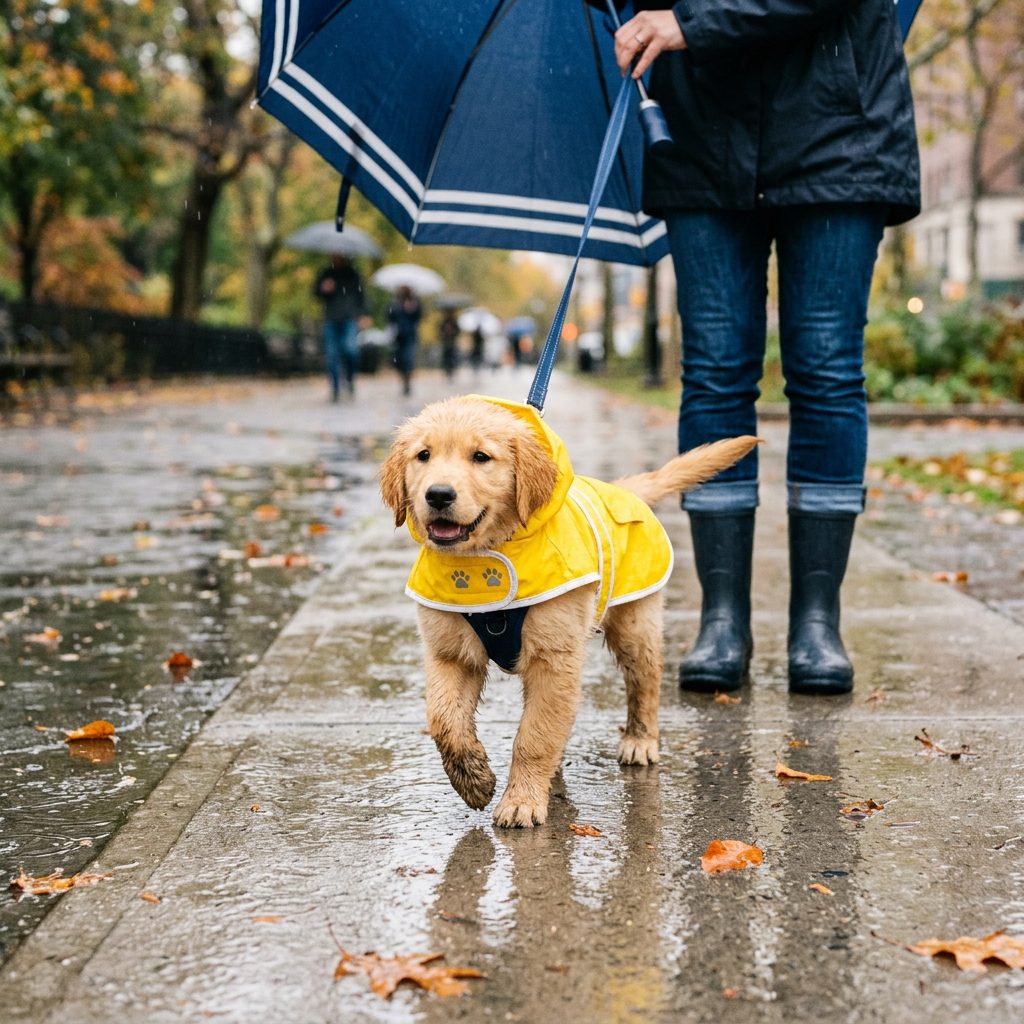
You have successfully conquered the living room. Your puppy is strutting around the house in their rain gear like they are walking the runway. Now, it is time for the ultimate test: taking the raincoat outside into the actual rain.
The transition from indoors to outdoors changes the environment completely. Now, your puppy is dealing with the feeling of the coat, the sound of the rain hitting the coat, wet paws, and a new environment. Here is how to make the transition successful:
- Start with a Dry Run: Do not wait for a hurricane to test the coat outside. Put the coat on your puppy on a dry, cool day and go for a normal, happy walk. This proves to them that the coat can be worn during their regular, fun outdoor routine.
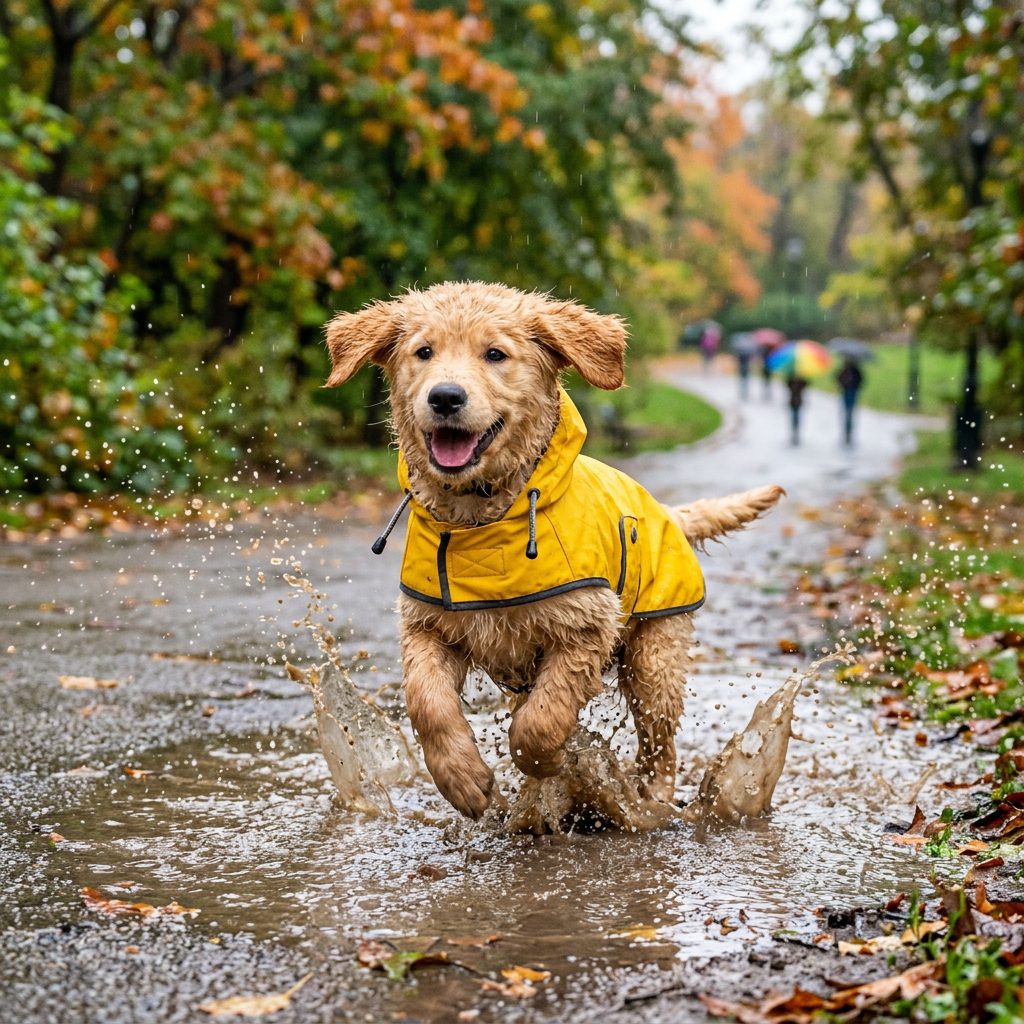
- The Light Drizzle: For their first actual rain experience in the coat, choose a day with light drizzle rather than a torrential downpour. Step outside with them, act incredibly excited, and immediately reward them for stepping onto the wet pavement.
- Make Puddles Fun: Many dogs hate getting their paws wet. If your dog is hesitant, step into a shallow puddle yourself! Splash a little bit and use an upbeat voice. Toss a treat near the puddle to encourage them to investigate.
- Keep it Short and Sweet: The first few rainy walks should be brief. Just long enough for a potty break and a quick sniff. When you go back inside, take the coat off, towel dry their paws, and give them a final jackpot reward.
By keeping the outdoor experience positive and brief at first, you build their confidence. Over time, they will associate the raincoat with going outside to explore, regardless of the weather.
Conclusion
Training your puppy to love wearing a raincoat is not an overnight process, but it is an incredibly rewarding one. By taking the time to understand your dog’s sensory experience, using high-value positive reinforcement, and breaking the process down into manageable steps, you are doing much more than just keeping your dog dry. You are actively building trust, strengthening your bond, and teaching your puppy that they can rely on you to keep them safe and comfortable in new situations.
Remember that every dog learns at their own pace. Some puppies might be ready to splash in puddles after two days of training, while others might need a couple of weeks to fully accept the crinkly jacket. Be patient, keep your training sessions short and upbeat, and never force the issue. Before you know it, the dreaded raincoat freeze will be a thing of the past, and you and your savvy pup will be ready to conquer even the gloomiest of rainy days together. Happy training, and stay dry out there!