No More Grooming Dramas! How to Desensitize Your Puppy to Grooming and Nail Trims
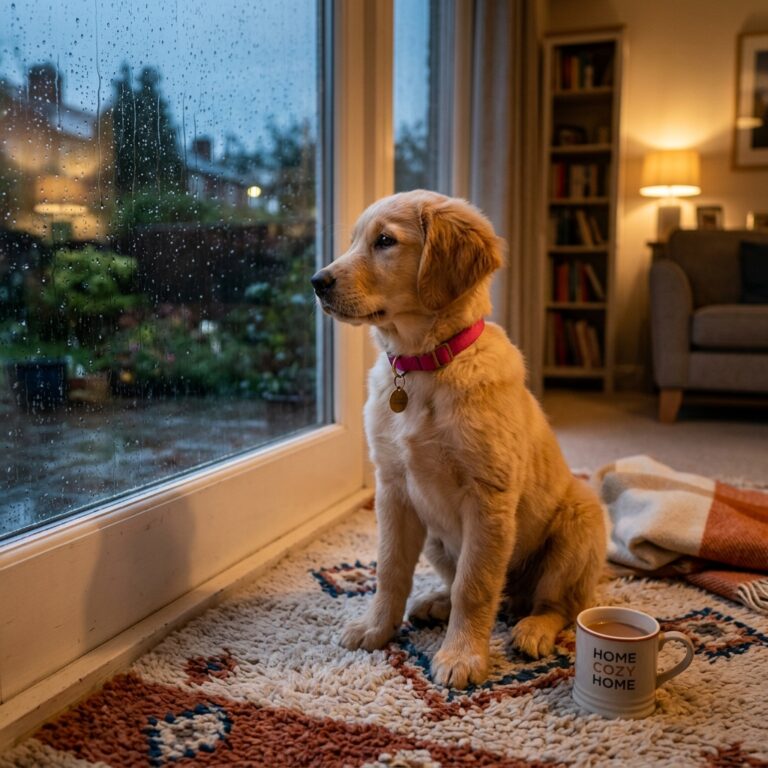
Welcome to the wonderful, wild world of puppy parenthood! If you are reading this, there is a very good chance you have already experienced the infamous ‘puppy alligator death roll.’ You know the one—you bring out the nail clippers or the slicker brush, and suddenly your sweet, cuddly little furball transforms into a thrashing, snapping, panicked creature. It is exhausting, it is stressful, and honestly, it can make you dread grooming day just as much as your dog does. But do not worry, savvy dog owners, because you are absolutely not alone in this struggle, and more importantly, it does not have to be this way!
Grooming is a non-negotiable part of your dog’s health and well-being. From keeping their coat free of painful mats to ensuring their nails do not overgrow and affect their joint alignment, routine maintenance is vital. However, puppies are not born knowing that a shiny metal clipper or a noisy hair dryer is harmless. To them, these strange tools are alien and terrifying. That is exactly where the magic of desensitization and counter-conditioning comes into play. By taking a proactive, patient, and positive approach, you can actually teach your puppy to not just tolerate grooming, but to actively look forward to it.
In this comprehensive guide, we are going to dive deep into the psychology of canine learning. We will walk you through exactly how to break down scary grooming tasks into bite-sized, highly rewarding steps. Whether you are dealing with a tiny Chihuahua who hates having their paws touched or a fluffy Goldendoodle who runs from the brush, the principles we cover here will set you up for a lifetime of stress-free grooming. Grab a handful of your dog’s absolute favorite treats, take a deep breath, and let us turn those grooming dramas into a thing of the past!
The Essential Grooming Toolkit Every Savvy Owner Needs
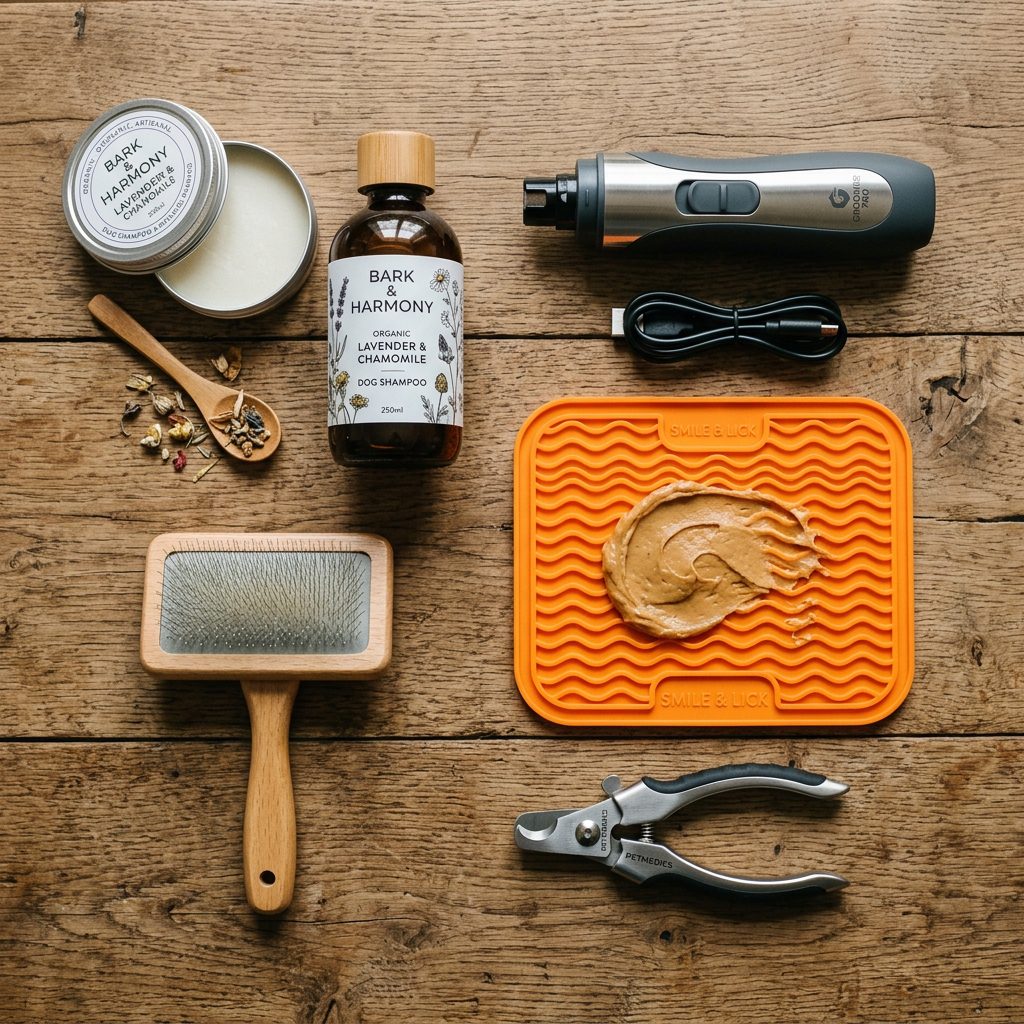
Before we even think about touching our puppies with a tool, we need to make sure we have the right equipment for the job. Using dull clippers or the wrong type of brush can cause physical discomfort, which instantly undoes all your hard training work. Setting yourself up for success means investing in high-quality tools that make the process as quick, painless, and efficient as possible.
Must-Have Tools for Stress-Free Sessions
Your toolkit should be tailored to your puppy’s specific coat type and size, but there are a few universal items every savvy owner should have on hand. First and foremost, you need a high-value reward system. Grooming time should equal jackpot time. Think boiled chicken, tiny cubes of cheese, or a lick mat smeared with dog-safe peanut butter. Next, you need the actual grooming implements.
| Grooming Tool | Best Used For | Pro Tip for Success |
|---|---|---|
| Guillotine or Scissor-style Clippers | Quick, precise nail trimming for small to medium breeds. | Ensure the blades are sharp; replace them annually to avoid crushing the nail. |
| Nail Grinder (Dremel) | Smoothing sharp edges and gradually shortening dark nails. | Introduce the sound and vibration slowly before touching it to the nail. |
| Slicker Brush | Detangling and removing loose undercoat on fluffy breeds. | Test the pressure on your own arm first to ensure you are not scratching the skin. |
| Lick Mat | Distracting your puppy and building positive associations. | Freeze the mat with yogurt or peanut butter to make it last longer during baths. |
| Styptic Powder | Stopping bleeding instantly if you accidentally cut the quick. | Always have this open and ready before you start trimming nails. |
Having everything organized and within arm’s reach is crucial. If you have to stop mid-session to go hunt for the styptic powder, you lose the rhythm and potentially allow your puppy’s anxiety to spike. Create a dedicated ‘grooming caddy’ that you can easily grab when it is time to practice.
Understanding Desensitization and Counter-Conditioning
To successfully change your puppy’s emotional response to grooming, you need to understand two foundational concepts in animal behavior: desensitization and counter-conditioning. While they sound highly technical, they are actually very straightforward and incredibly powerful when used together.
The Science of Changing Minds
Desensitization is the process of exposing your puppy to a scary stimulus (like the nail clippers) at such a low level that it does not trigger a fear response. You gradually increase the intensity of the exposure over time, always staying below the puppy’s threshold of fear. Counter-conditioning, on the other hand, is about changing the underlying emotion. We want to flip the script from ‘clippers equal scary’ to ‘clippers equal hot dogs.’
The golden rule of counter-conditioning is that the scary thing must predict the amazing thing. The clipper appears, and THEN the chicken rains from the sky. When the clipper goes away, the chicken stops.
Here is how you combine them into a practical training sequence:
- Identify the Trigger: Figure out exactly what scares your puppy. Is it the sight of the brush? The sound of the clippers? The feeling of their paw being squeezed?
- Find the Threshold: Determine how close or loud the trigger can be before your puppy shows signs of stress (lip licking, yawning, pulling away).
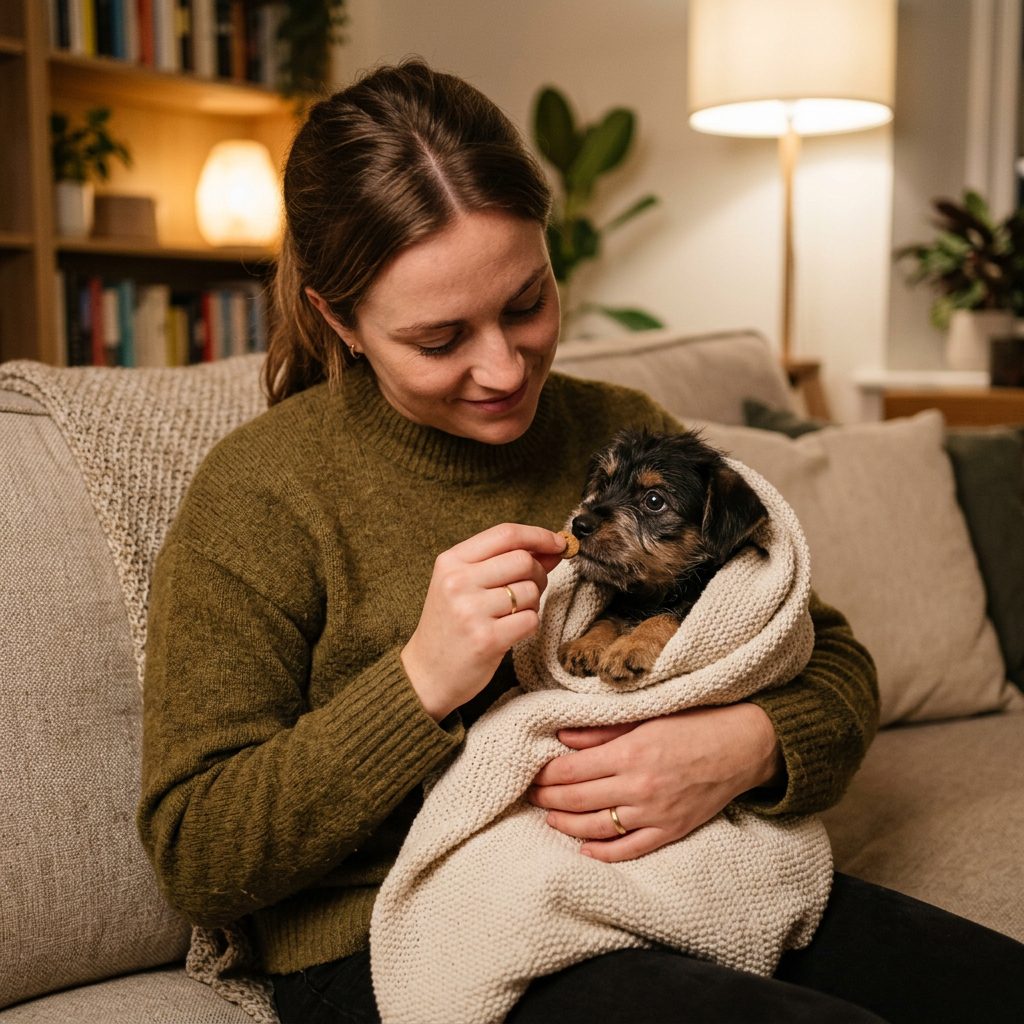
- Pair with High-Value Rewards: Present the trigger at a safe distance, immediately follow it with a high-value treat, then remove both.
- Gradually Increase Intensity: Over multiple short sessions, slowly bring the trigger closer, make it louder, or increase the duration of the touch, always rewarding heavily.
Patience is your best friend here. If you rush the process and push your puppy over their threshold, you risk setting your training back. Always end on a positive note, even if the session only lasts for thirty seconds!
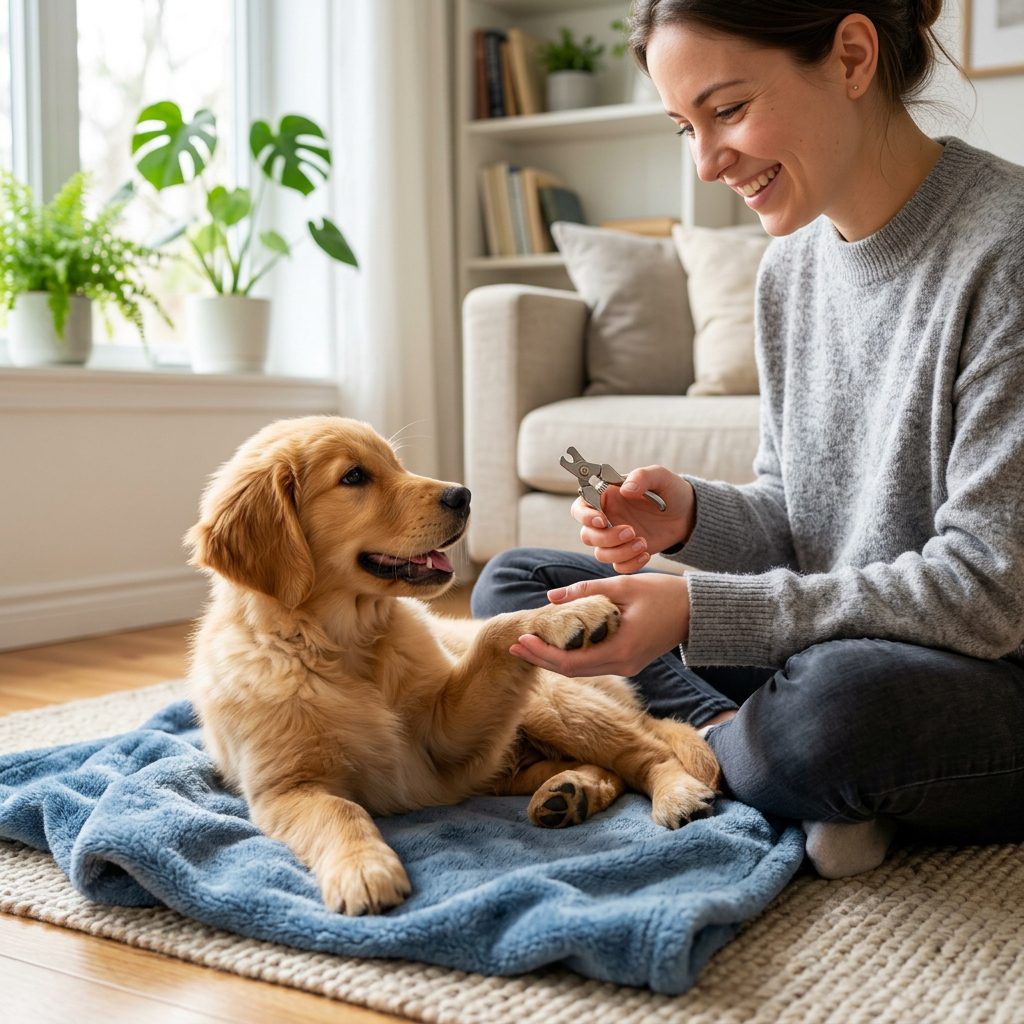
Conquering the Clipper: A Step-by-Step Guide to Nail Trims
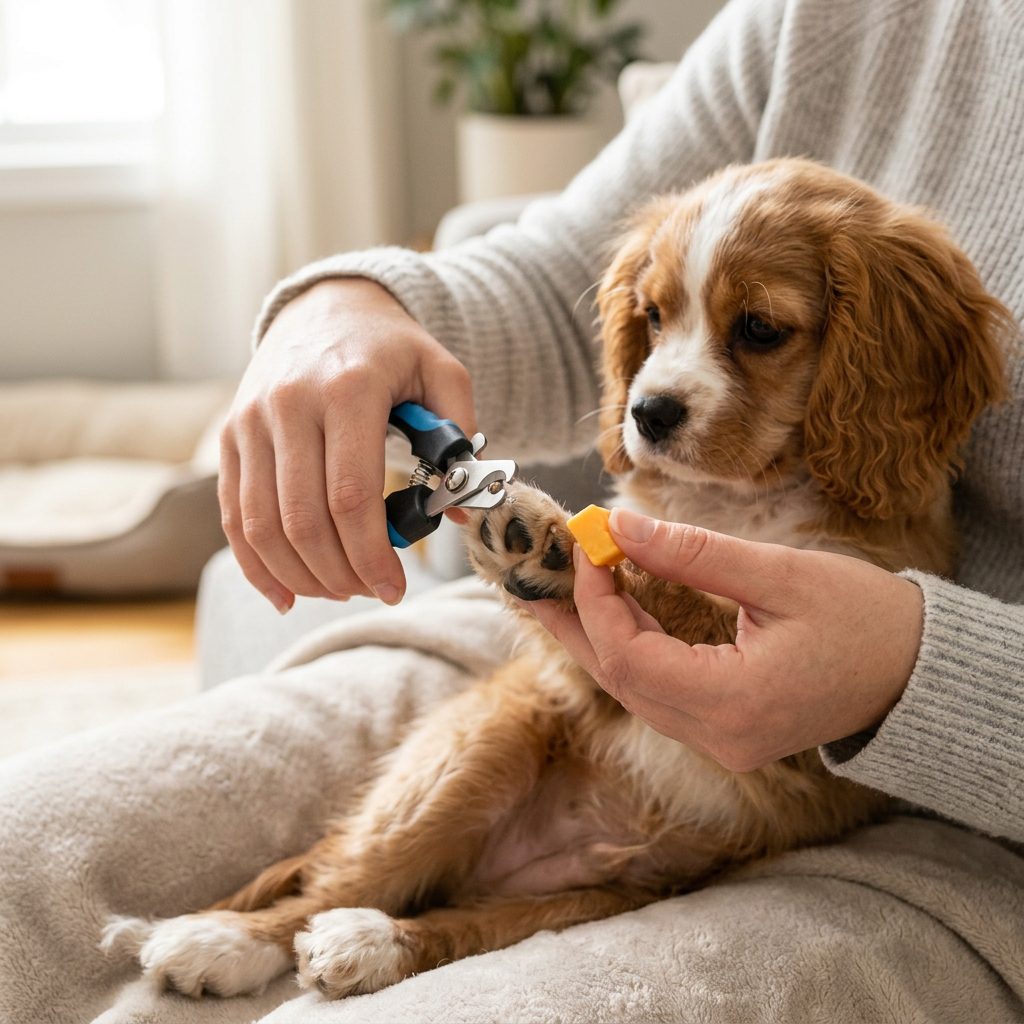
Nail trims are universally the most dreaded grooming task for both dogs and owners. Dogs naturally have sensitive paws, and the sensation of having their toes isolated and squeezed is inherently unnatural to them. Add in the loud ‘snip’ of the clipper and the potential for pain if the quick is cut, and it is no wonder puppies panic. Let us break this down into a foolproof, step-by-step schedule.
The 4-Week Paw Handling Protocol
Do not attempt to cut a nail on day one. Your goal is to build trust. Follow this progressive schedule, moving to the next phase only when your puppy is completely relaxed.
| Phase | Action Plan | Expected Puppy Reaction |
|---|---|---|
| Week 1: The Touch | Gently stroke the leg, slide hand down to the paw, treat. Do not squeeze. | Relaxed body, looking at you for the treat, no pulling away. |
| Week 2: The Squeeze | Hold the paw, gently isolate a single toe, apply light pressure, treat. | Willingly leaving the paw in your hand, tail wagging or neutral. |
| Week 3: The Tool Intro | Bring the clipper out. Tap the clipper against the nail (no cutting), treat. | Ignoring the tool, focusing entirely on the food reward. |
| Week 4: The Micro-Clip | Clip just the very tiny, sharp tip of one nail. Treat heavily. Stop. | Calm acceptance, expecting a massive reward after the ‘snip’ sound. |
Executing the Perfect Trim
When you are finally ready to make that first cut, positioning is everything. Small puppies can be tucked under your arm like a football, while larger breeds might do better standing or lying on their side. Hold the paw firmly but gently. If your dog has clear/white nails, look for the pink ‘quick’ inside the nail and cut a few millimeters below it at a 45-degree angle. If your dog has black nails, this is trickier. Make tiny, paper-thin sliver cuts until you see a solid black or grayish dot in the center of the nail—that is the start of the quick. Stop cutting immediately.
Remember, doing one nail a day is a perfectly valid strategy! You do not have to do all four paws in one sitting. A single successful nail trim followed by a jackpot of treats is far better than a wrestling match to get all twenty nails done.
Beyond the Paws: Brushing, Bathing, and Body Handling
While nail trims get the worst reputation, brushing, bathing, and ear cleaning can also cause major drama if not introduced correctly. The same principles of desensitization apply to every aspect of your puppy’s body.
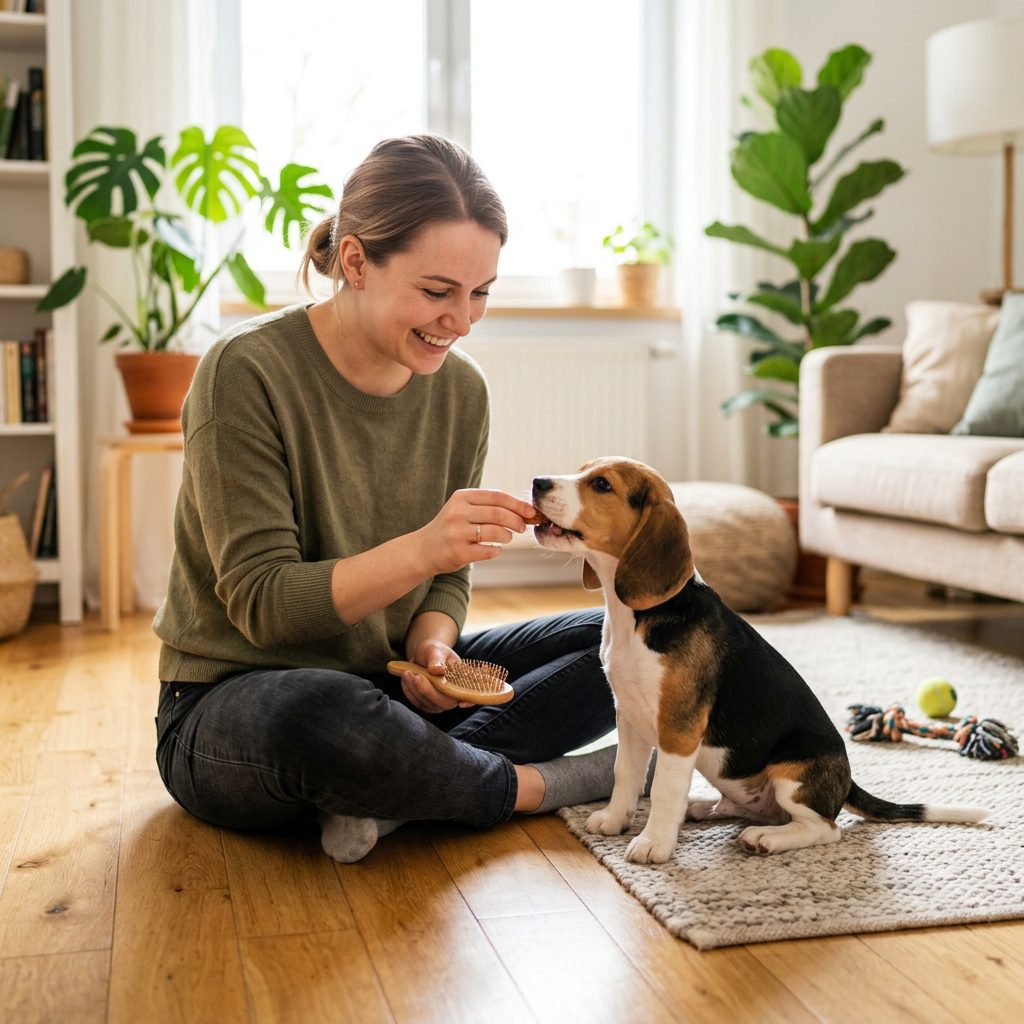
Brushing Without the Biting
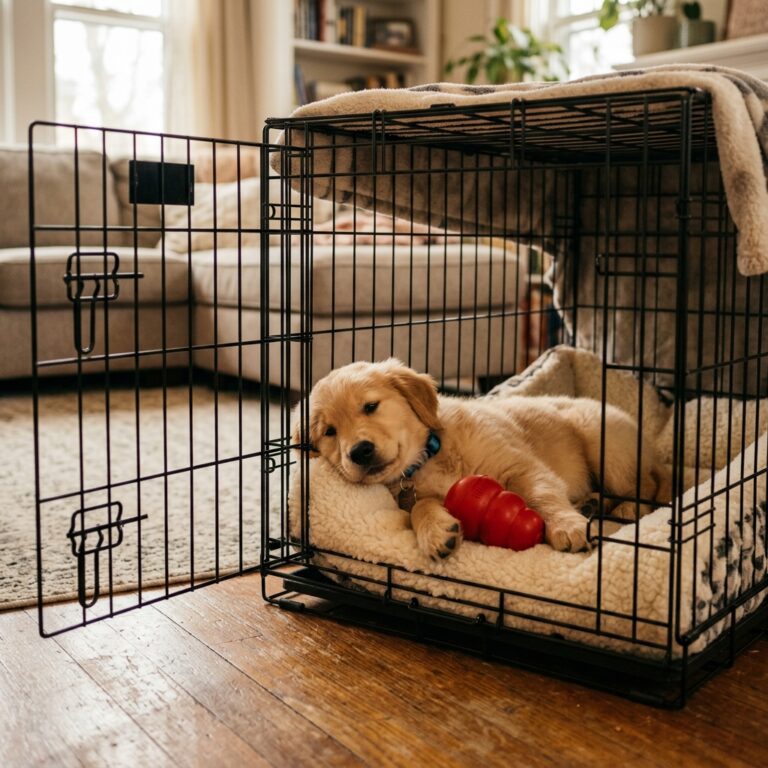
Many puppies view the brush as a fun chew toy or a terrifying monster. To combat this, start by using the back of the brush (the smooth side without bristles). Stroke your puppy with the smooth side while feeding them treats. Once they accept that, flip the brush over and do one gentle stroke with the bristles, followed by a treat. If your puppy tries to bite the brush, give them a stuffed Kong or a lick mat to keep their mouth occupied while you work.
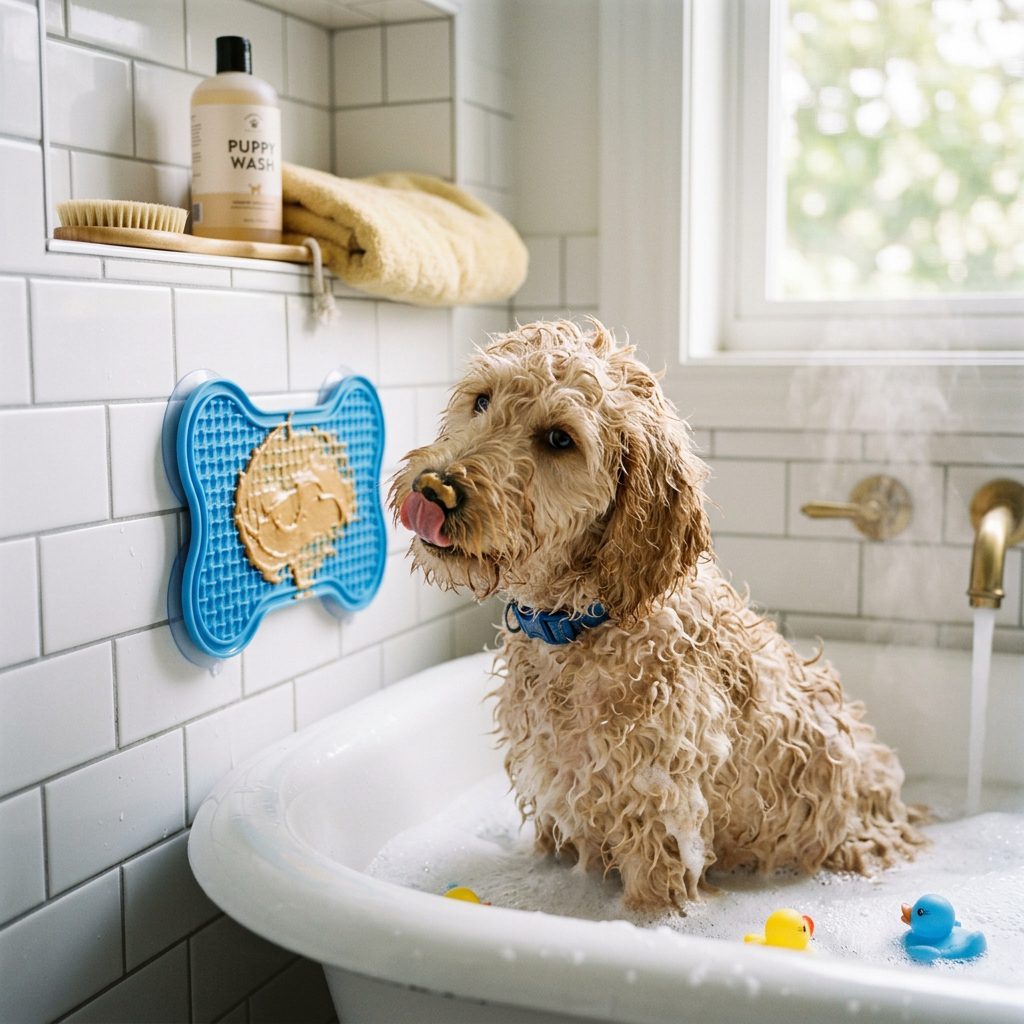
Stress-Free Bathing Basics
The bathtub can be a scary, slippery place. To make bath time a spa-like experience, follow these savvy tips:
- Use a Non-Slip Mat: Puppies panic when they cannot get their footing. A simple rubber bath mat provides traction and instant confidence.
- Ditch the Running Water: The sound of rushing water echoing in a tub is terrifying to a puppy. Fill the tub slightly before bringing the puppy in, and use a pitcher or a gentle handheld sprayer kept close to their skin to rinse them.
- Temperature Matters: Dogs run hotter than humans. Water that feels pleasantly warm to us might be too hot for them. Aim for lukewarm water.
- Smear the Walls: Smear dog-safe peanut butter directly on the tile wall or use a suction-cup lick mat to keep them happily distracted while you lather them up.
Ear Checks and Cleaning
Floppy-eared breeds are prone to infections, making regular ear handling essential. Start by gently flipping the ear flap back and feeding a treat. Progress to massaging the base of the ear. When introducing ear cleaner, do not squirt a cold stream of liquid directly into the canal—this startles most dogs. Instead, soak a cotton ball in the cleaner and gently wipe the inside of the ear flap and the easily accessible part of the canal.
Troubleshooting Common Grooming Mistakes
Even with the best intentions and the tastiest treats, things can sometimes go wrong. Training is rarely a perfectly linear journey. If you hit a roadblock, it is important to take a step back and analyze what is happening rather than forcing the issue.
Mistake 1: Moving Too Fast
This is the number one reason desensitization fails. Owners see a little bit of progress and immediately try to rush to the finish line. If your puppy was fine with you touching their paw yesterday, but pulls away today, you have moved too fast. Always go back to the last step where your puppy was completely comfortable and successful. Build up a heavier reinforcement history there before trying to advance again.
Mistake 2: Ignoring Body Language
Dogs communicate volumes before they ever resort to growling or snapping. Savvy owners must learn to read the subtle signs of stress. If your puppy is yawning excessively, licking their lips, panting when it is not hot, pinning their ears back, or showing the whites of their eyes (whale eye), they are telling you they are overwhelmed. Stop the session, ask them to do a simple trick they know well (like ‘sit’), reward them, and end on that positive note.
Mistake 3: The Accidental Quicking
It happens to the best of us. Despite your careful trimming, you cut the nail too short, and it bleeds. Your puppy yelps, and you feel terrible.
If you cut the quick, do not panic! Your puppy will feed off your energy. Stay calm, immediately apply styptic powder with firm pressure to stop the bleeding, and give your puppy a massive jackpot of high-value treats. Do not apologize profusely in a high-pitched, worried voice. Be upbeat, treat heavily, and end the session for the day.
The next time you attempt a nail trim, drop back to Phase 2 or 3 of your training protocol to rebuild their confidence before actually cutting a nail again.
Conclusion
Desensitizing your puppy to grooming and nail trims is not an overnight process. It requires consistency, patience, and a whole lot of high-value treats. But the time and effort you invest now, while they are young and impressionable, will pay massive dividends for the rest of their life. You are not just teaching them to tolerate a pair of clippers; you are building a deep foundation of trust and communication between you and your dog.
Remember to keep your sessions short—just two to three minutes a day is far more effective than an hour-long marathon session on the weekend. Celebrate the small victories, whether that is a successful single nail clip or just a calm reaction to the sight of the slicker brush. By taking it one paw, one brush stroke, and one treat at a time, you will absolutely banish those grooming dramas forever. You and your puppy have got this!