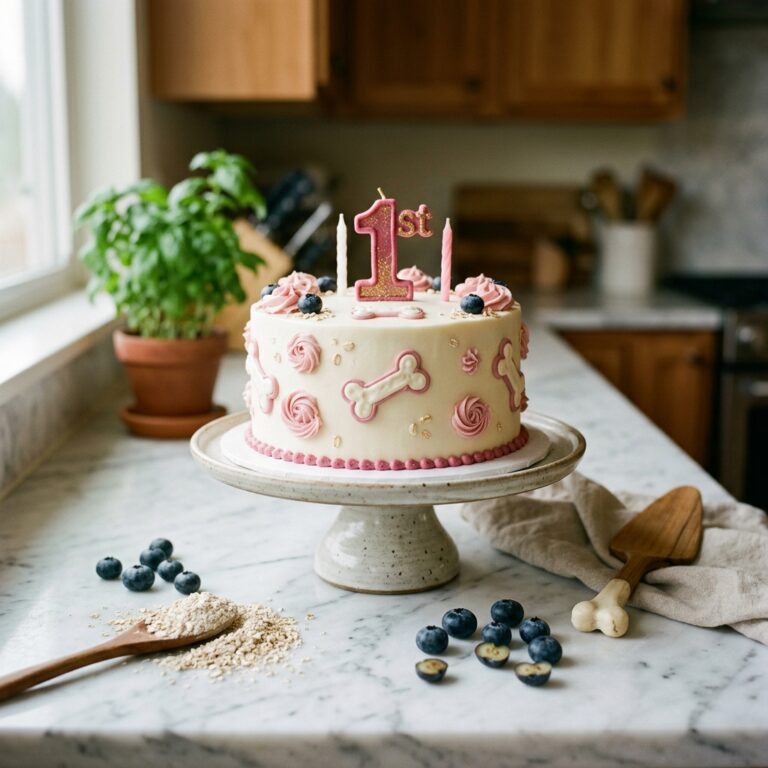
Never Collapse Again! The Professional Method for Layering a Dog Birthday Cake Like a Pro!
The Secret Science of the Dog-Safe Tiered Cake
Let’s be real: most dog birthday cakes you see on social media are a structural nightmare waiting to happen. You spend hours in the kitchen, sourcing ‘human-grade’ ingredients, only to have the whole thing slide into a heap of mush the moment you add the second layer. I’m the Canine Nutrition Hacker, and I’m here to tell you that the pet industry—and most Pinterest-style recipes—are failing you. They focus on the ‘cute’ without understanding the structural engineering required for canine-safe ingredients. Unlike human cakes, we can’t rely on massive amounts of gluten and sugar to act as the ‘glue.’ We have to be smarter. We have to be hackers. In this guide, I’m going to show you how to build a cake that is not only a nutritional powerhouse but is also solid enough to withstand a multi-tier build without a single collapse. We’re talking about dense, bio-available proteins, low-glycemic binders, and the ‘insider’ layering techniques used by professional pet pâtissiers. Get ready to level up your dog’s birthday game and save a fortune compared to those overpriced, filler-filled boutique cakes.
The Safety First Protocol: Don’t Poison the Party
Before we touch a single spatula, we need to address the elephant in the room. SAFETY DISCLAIMER: I am a savvy dog owner and nutrition hacker, not a veterinarian. While these ingredients are generally considered dog-safe, every dog is an individual. Always consult your vet before introducing new foods, especially if your dog has underlying health issues. We are avoiding the ‘Big Three’ killers: Xylitol (often hidden in peanut butters), Chocolate, and Excessive Sugar. Our goal is a cake that nourishes the body while celebrating the soul. We use oat flour or chickpea flour instead of white flour to keep the glycemic load low, ensuring your dog doesn’t have a massive insulin spike followed by a lethargic crash on their big day. We also avoid ‘mystery meats’ or low-quality fats that can trigger pancreatitis in sensitive pups. This is about professional-grade nutrition disguised as a celebration.
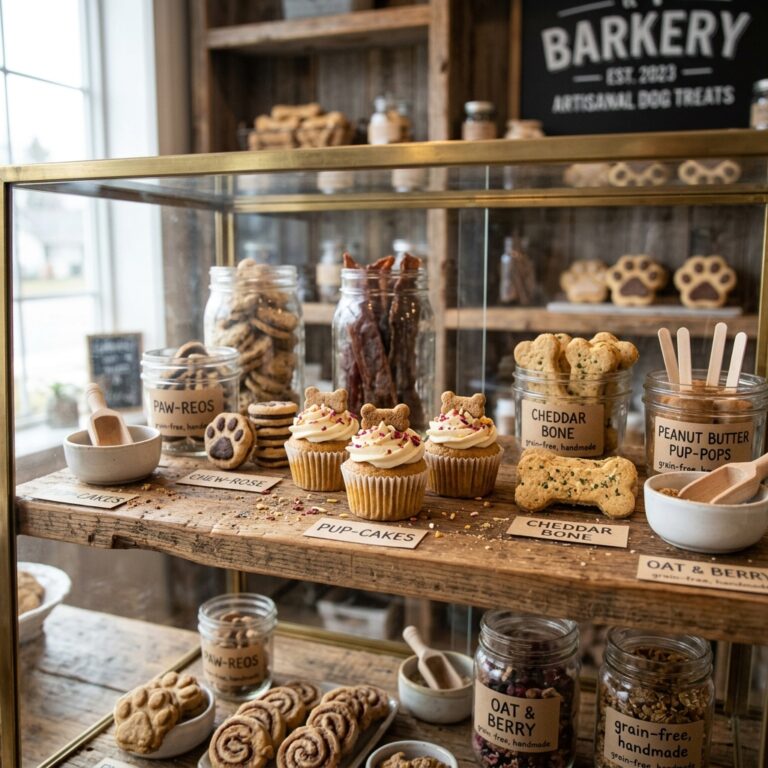
The Economics of the Bake: DIY vs. Boutique
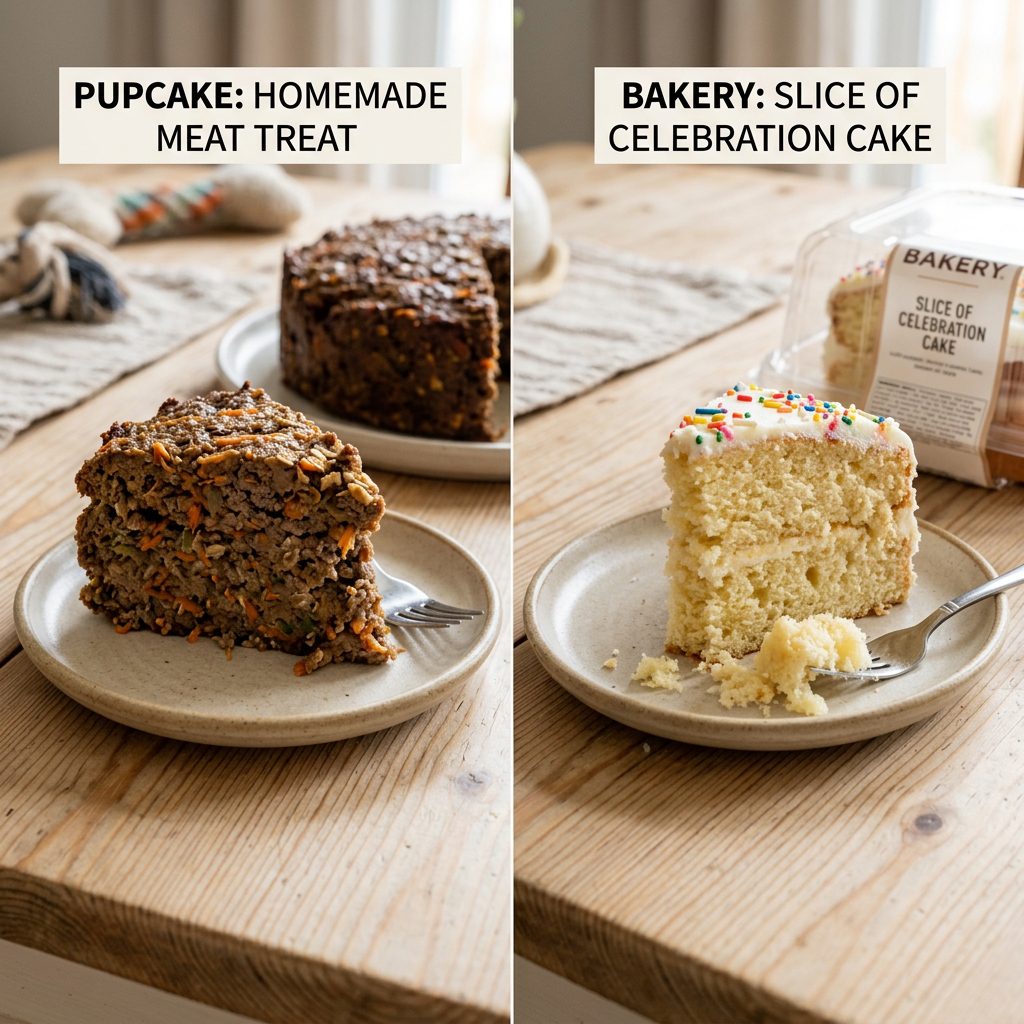
Why are you paying $65 for a cake that is 60% air and 30% wheat flour? As a hacker, I track the data. When you build the cake yourself using my professional layering method, you aren’t just getting a better product; you’re keeping your hard-earned cash. Let’s look at the breakdown. A high-end boutique dog cake often uses cheap fillers to maintain height. We use dense protein bases like ground turkey or beef mixed with organ meats for structural stability. Not only is this more ‘species-appropriate,’ but it also creates a much firmer foundation for layering.
| Feature | Hacker’s DIY Method | Boutique Pet Bakery |
|---|---|---|
| Primary Base | Lean Protein & Sweet Potato | Wheat Flour & Sugar Alcohols |
| Structural Integrity | High (Dense Crumb) | Low (Spongy/Airy) |
| Cost (6-inch Tiered) | $12.50 | $55.00 – $85.00 |
| Nutritional Value | Bio-available & Functional | Mostly Empty Calories |
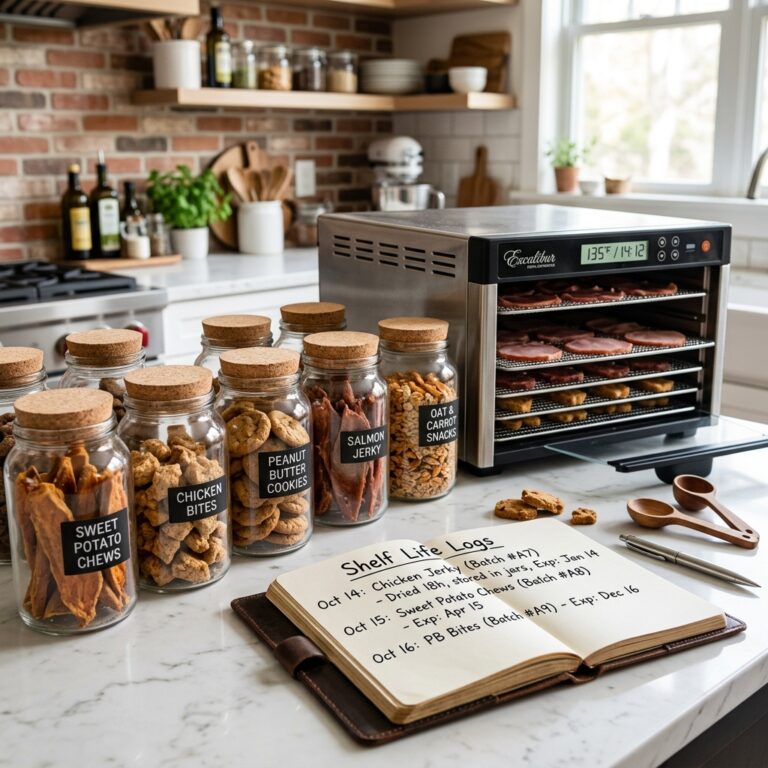
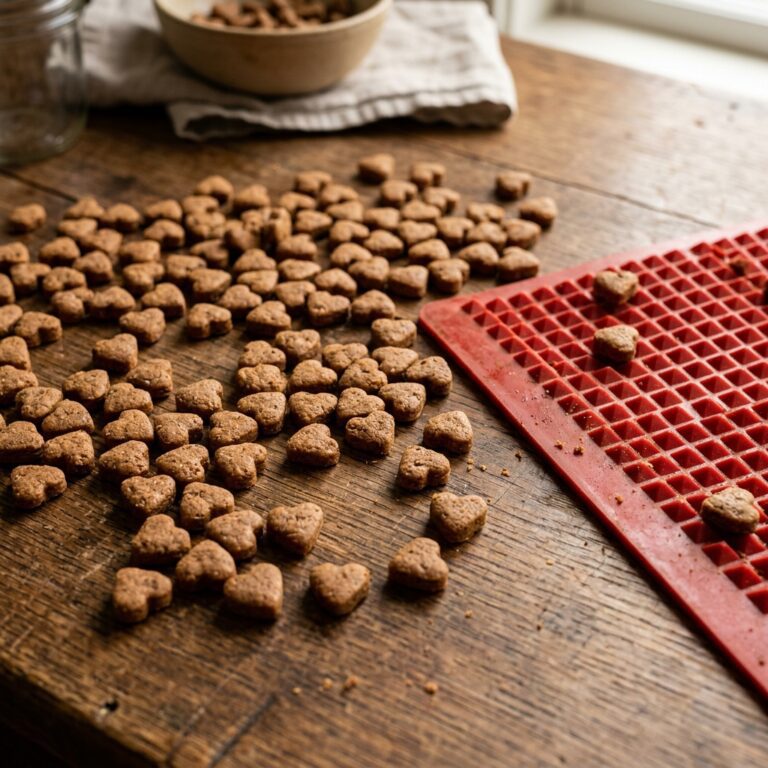
Hacker Tip: Buying your protein in bulk and dehydrating your own ‘cake toppers’ can save you an additional 15% on the total cost of the celebration.
The Structural Blueprint: The ‘Solid Gold’ Recipe
To prevent a collapse, your cake needs a Specific Gravity that can support weight. Most dog cake recipes are too moist. We need a 40/40/20 ratio: 40% Lean Protein, 40% Complex Carbohydrate (Binder), and 20% Fiber/Micronutrients.
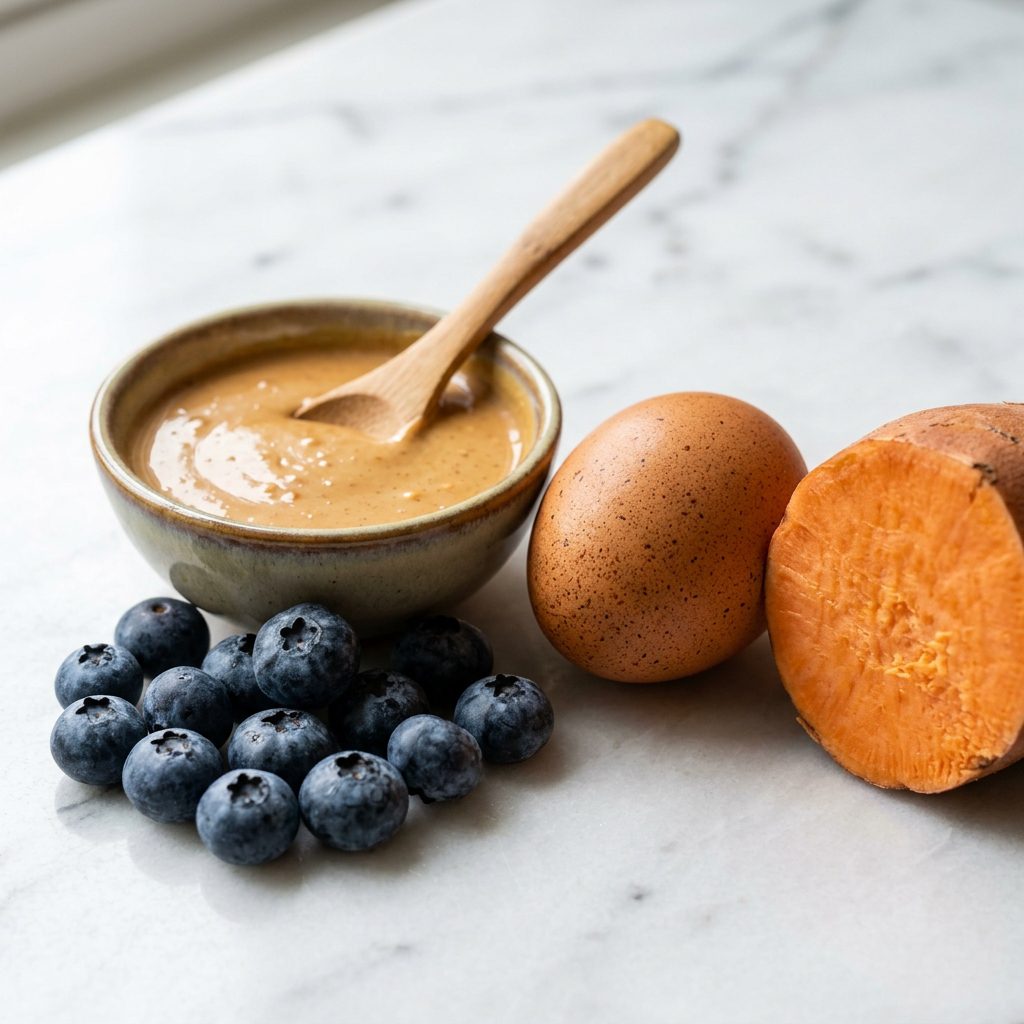
The Ingredients
- 2 lbs Lean Ground Turkey: The primary structural protein.
- 2 Cups Mashed Sweet Potato: The ‘cement’ that holds the protein fibers together.
- 1.5 Cups Oat Flour: Provides the dry matter needed for density.
- 2 Large Eggs: The protein-based binder that coagulates during baking.
- 1/2 Cup Unsweetened Applesauce: For moisture without the structural weakness of oil.
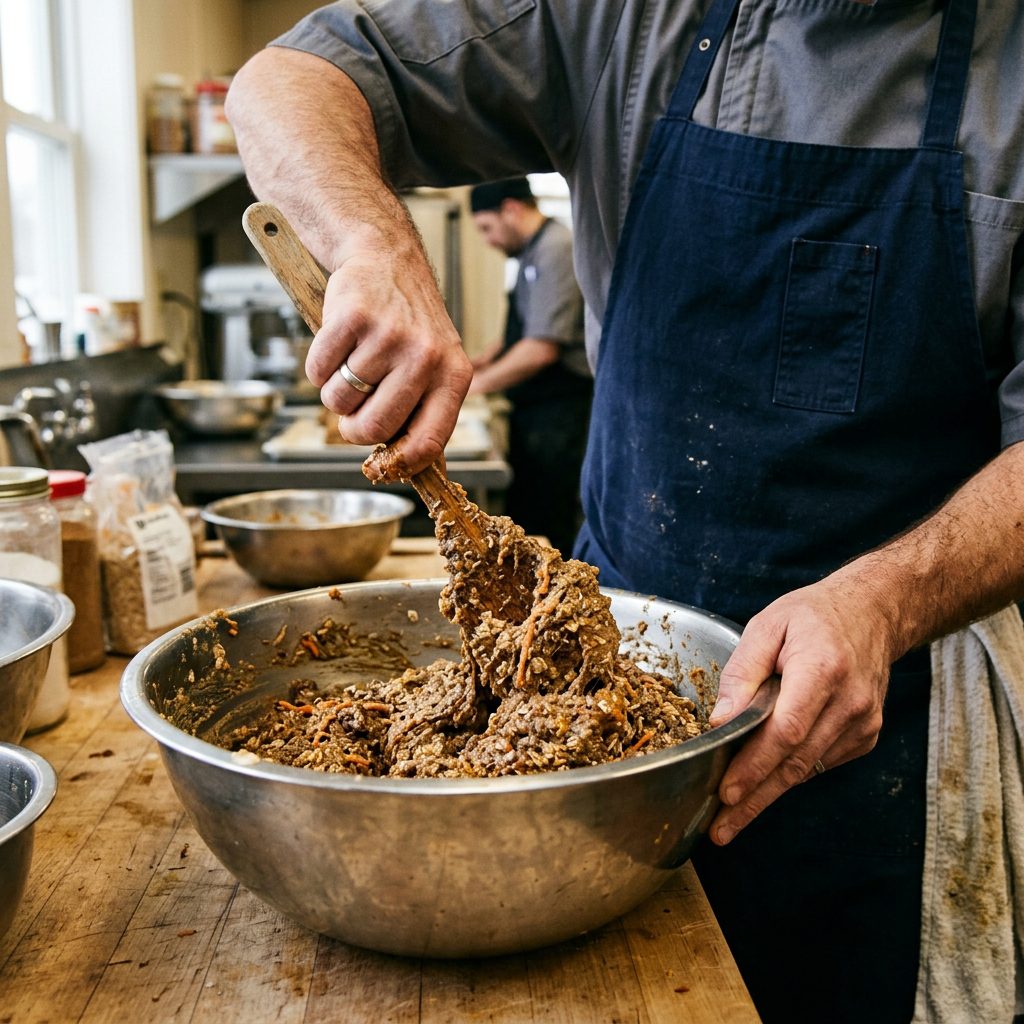
Mix these until you have a thick, dough-like consistency. If it feels like a standard human cake batter, it’s too thin! It should hold its shape even before it hits the oven. This is the secret to a cake that can stand three tiers high without a single dowel.
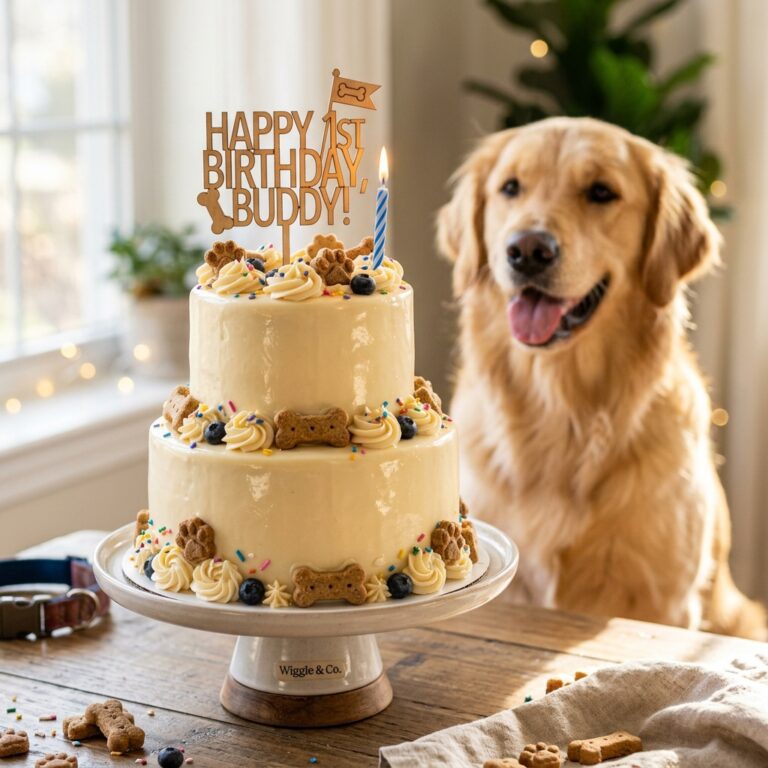
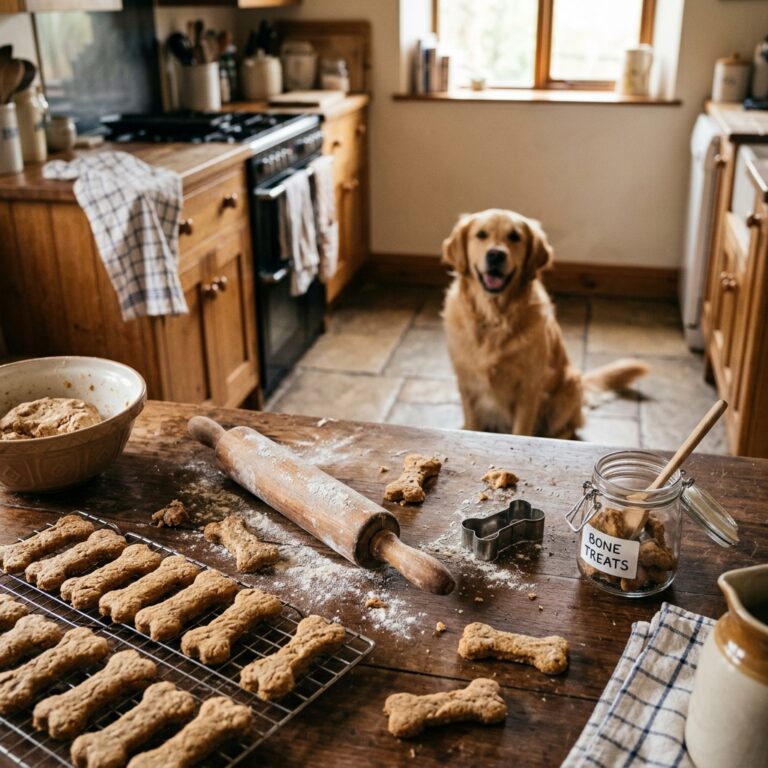
The Professional Layering Method: Step-by-Step
This is where the magic happens. Professional bakers use a technique called ‘crumb coating,’ but for dogs, we use Temperature Management.
The Hacker’s Layering Steps
- The Leveling: Once baked and cooled, use a serrated knife to cut the ‘dome’ off the top of each cake. A flat surface is non-negotiable.
- The Flash Freeze: Put your leveled layers in the freezer for 20 minutes. Cold layers don’t slide.
- The Friction Layer: Instead of slippery frosting, use a thin layer of mashed potato or thick Greek yogurt. This creates friction between the layers.
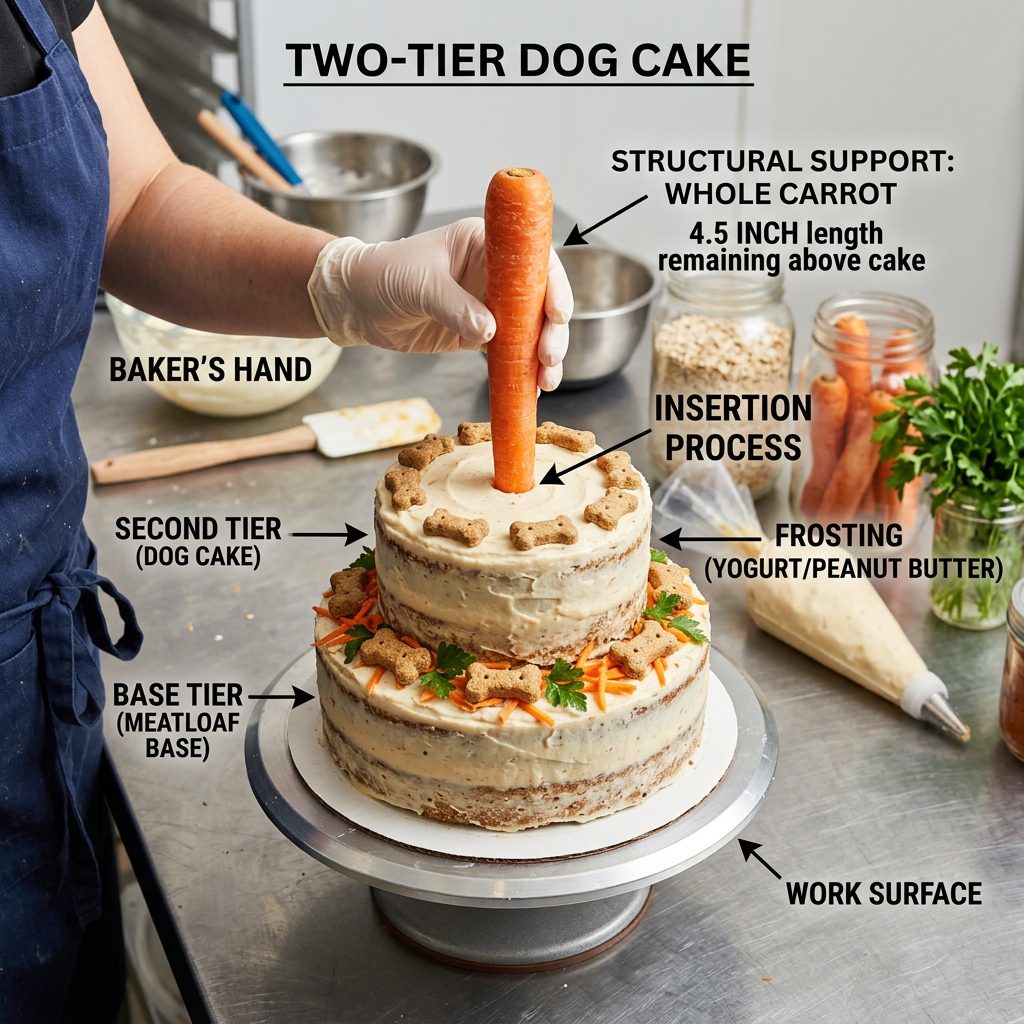
- The Center Anchor: For cakes over two tiers, use a thick carrot or a dehydrated bully stick as a natural, edible dowel through the center.
By using a ‘natural dowel’ like a long carrot, you provide internal support that prevents the top tiers from shifting during the ‘Happy Birthday’ song. It’s a professional secret that ensures your cake remains a masterpiece until the first bite.
The ‘Glue’ – Frosting without the Fail
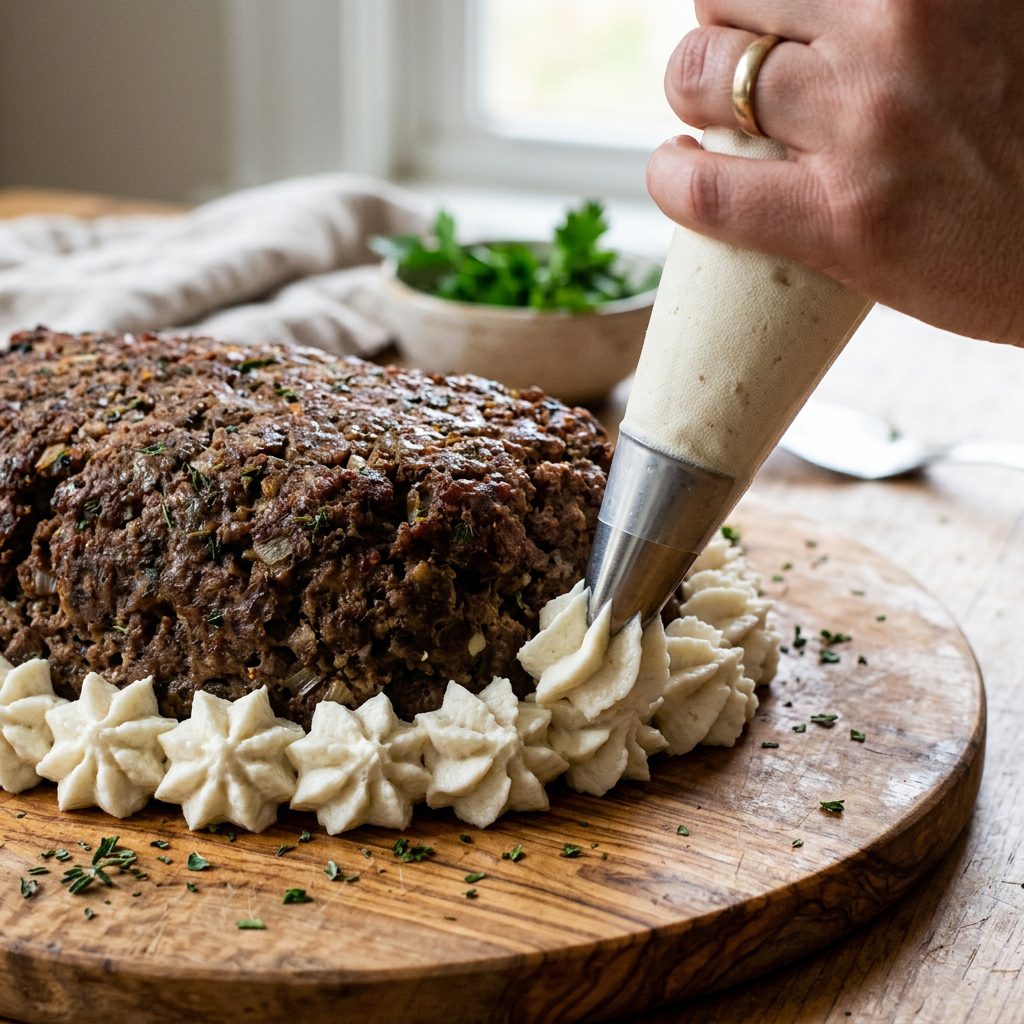
Forget the cream cheese frosting that melts at room temperature. We need something with structural viscosity. My go-to hacker frosting is a blend of steamed cauliflower purée and low-fat Greek yogurt.
Why this works:
- Cauliflower Purée: High in fiber, low in calories, and becomes incredibly stiff when chilled.
- Greek Yogurt: Provides the probiotics and the creamy white aesthetic we want.
Whisk them together until peaks form. If it’s too runny, add a teaspoon of tapioca starch. This frosting acts as a secondary sealant, locking in the moisture of the cake while providing a rock-hard exterior once refrigerated. This is how you get those sharp, professional edges that look like they came from a high-end bakery.
Batch Cooking & Storage Secrets
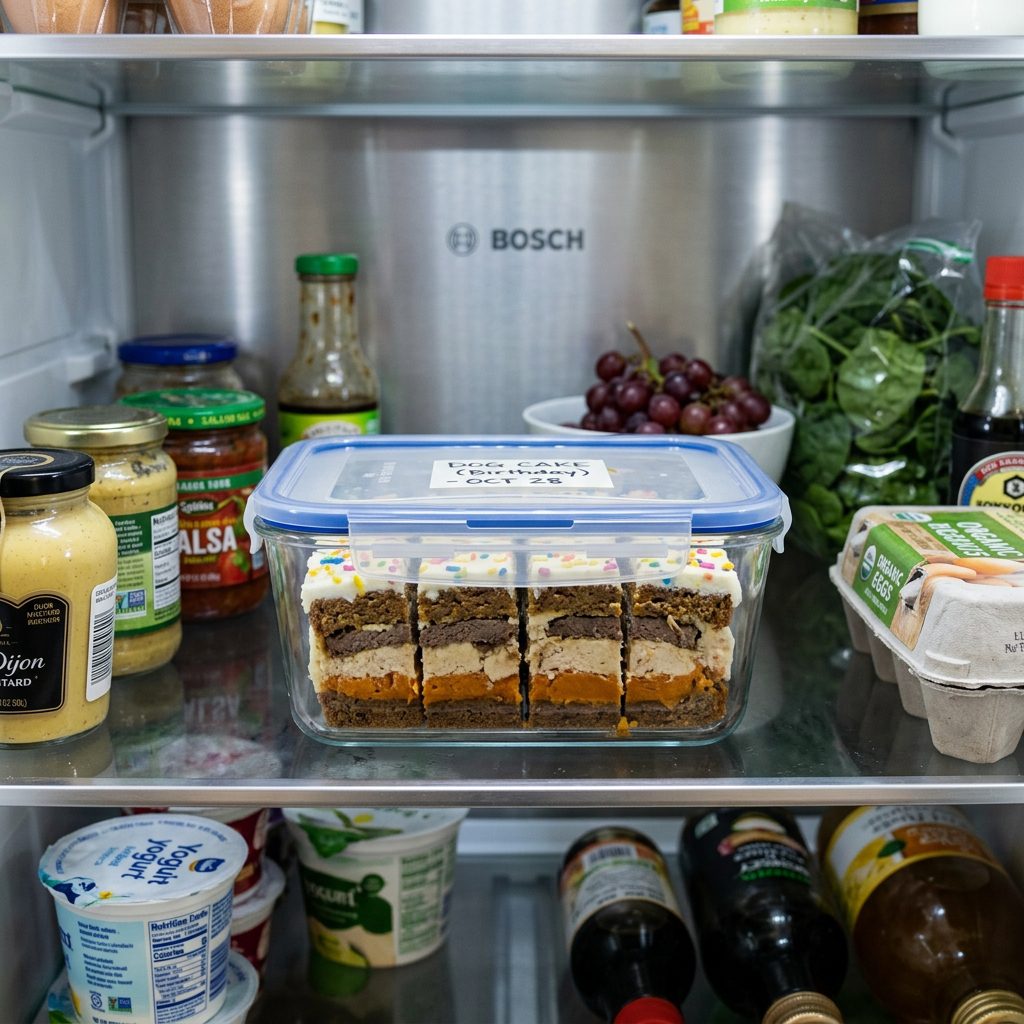
Don’t wait until the morning of the party. A pro hacker knows that a cake is structurally soundest 24 hours after baking. The 24-Hour Rule: Bake the layers, level them, and wrap them tightly in parchment paper. Store them in the fridge overnight. This allows the moisture to redistribute evenly, making the cake less likely to crumble when handled.
Freezer Longevity
If you have leftovers (unlikely, I know), this cake can be sliced and frozen for up to 3 months. Because we used high-quality proteins and complex carbs, it won’t turn into a soggy mess when thawed. Just pop a slice in the fridge the night before you want to serve it as a high-value meal topper.
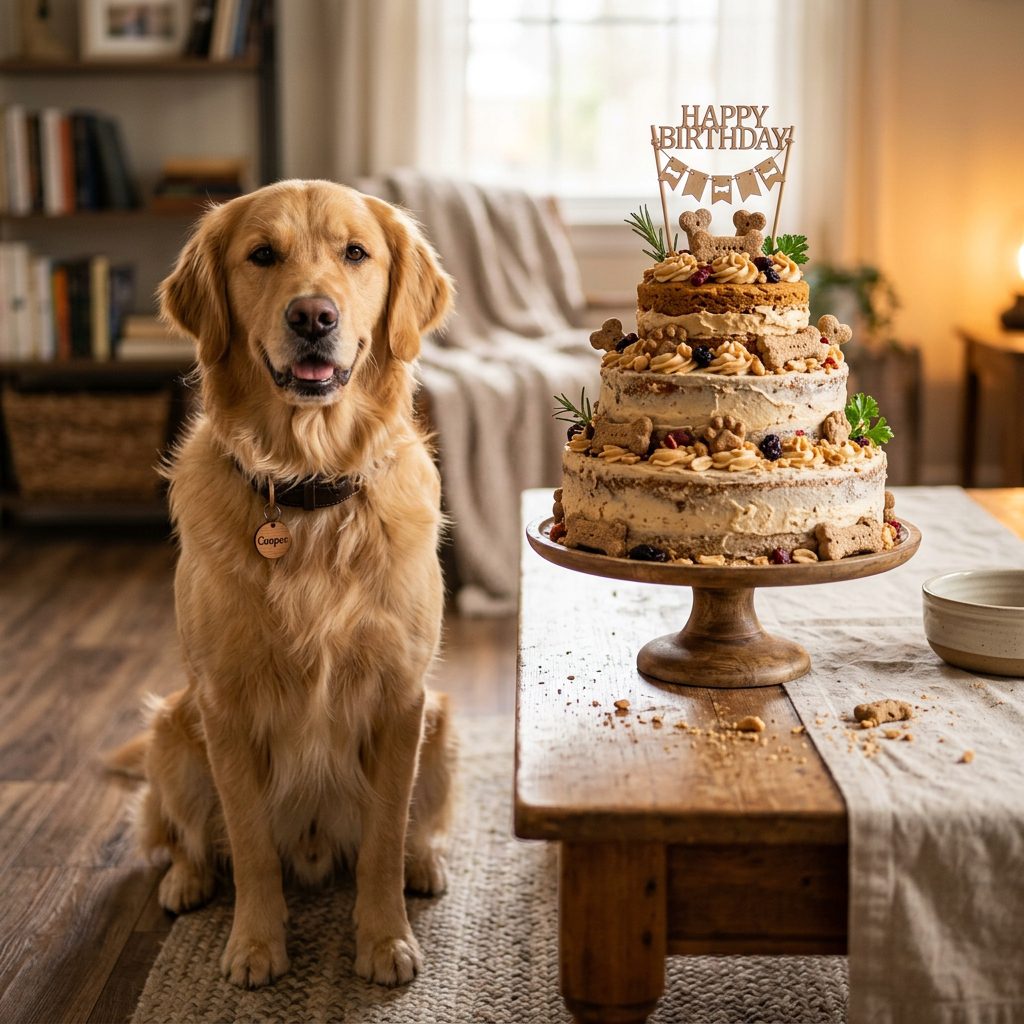
Conclusion
Celebrate Like a Pro
Building a multi-tier dog cake doesn’t require a culinary degree; it requires a hacker’s mindset. By focusing on density, structural binders, and temperature control, you’ve created something far superior to anything found in a pet store. You’ve saved $40 or more, avoided toxic fillers, and provided your dog with a nutrient-dense feast that honors their biology. Remember, the best part of the process isn’t just the ‘likes’ on social media—it’s the look in your dog’s eyes when they realize this masterpiece is actually for them. Now go forth, bake bold, and never let a cake collapse on your watch again!