How to Get Your Homemade Dog Treats Lab Tested Without Breaking the Bank
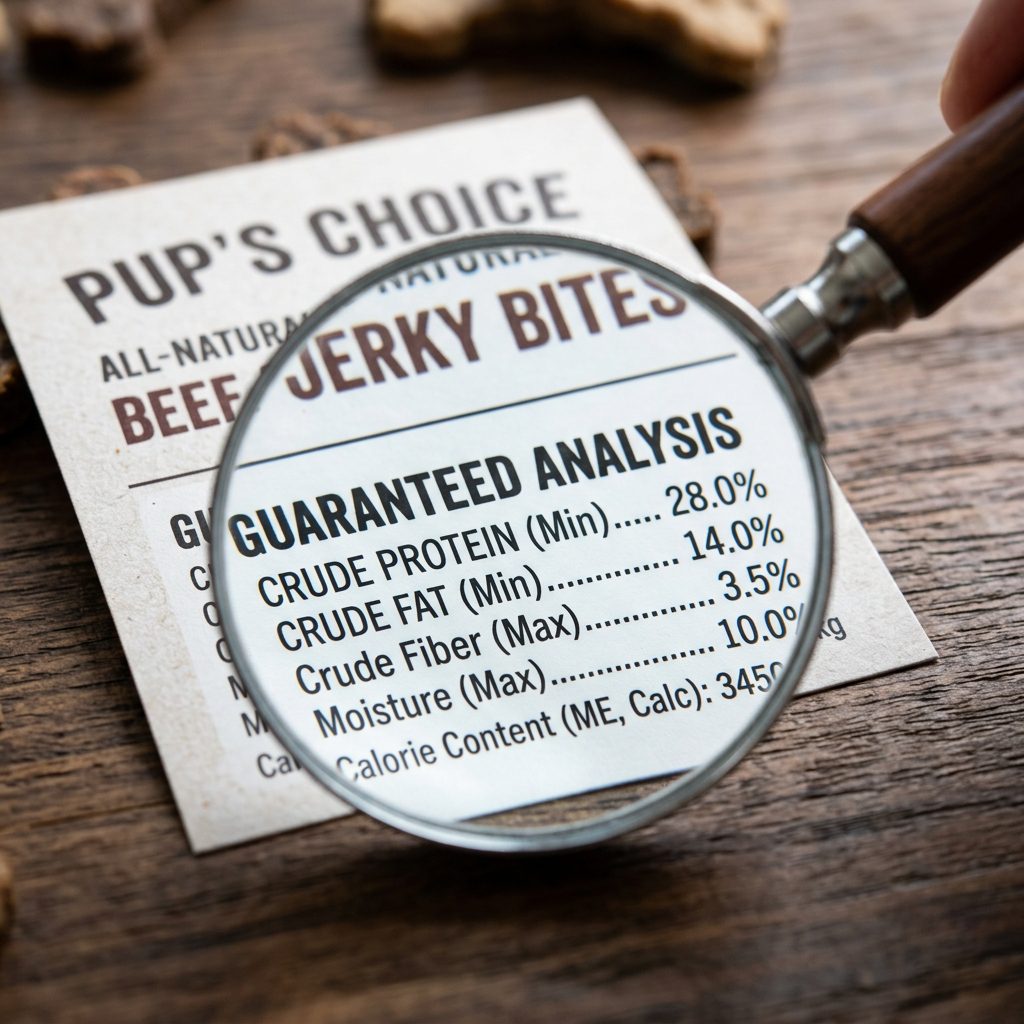
So, you’ve mastered the art of the peanut butter pumpkin cruncher. Your dog goes wild for them, your neighbor’s dog is literally doing backflips, and you’re thinking, ‘Hey, maybe I should sell these.’ But then you hit a wall: The Guaranteed Analysis. You look at the back of a commercial bag of treats and see those percentages—Crude Protein, Crude Fat, Crude Fiber—and you think you need a PhD and a million-dollar laboratory to get those numbers. Wrong.
As the Canine Nutrition Hacker, I’m here to tell you that the pet food industry wants you to think lab testing is an insurmountable barrier to entry. They want you to stay small. But I’m going to show you how to navigate the world of food science like a forensic investigator. We’re going to get your treats tested, your labels compliant, and your peace of mind secured, all without taking out a second mortgage. Whether you’re a hobbyist or an aspiring ‘pet-preneur,’ knowing exactly what is in your treats isn’t just about legal compliance; it’s about the safety and health of our four-legged family members.
Insider Secret: Most states don’t require expensive shelf-life studies for small-batch treats, but getting a basic ‘Proximate Analysis’ is the hack that separates the amateurs from the pros.
The ‘Guaranteed Analysis’ Myth: Why You Don’t Need a Million-Dollar Lab
When you start looking into ‘Guaranteed Analysis’ (GA), the first thing you’ll find are consultants trying to charge you $500 just to ‘formulate’ a recipe. Here is the truth: A laboratory doesn’t care if your recipe is a secret family heirloom or something you whipped up last Tuesday. They just care about the chemical composition. In the US, the AAFCO (Association of American Feed Control Officials) sets the standards, but your state’s Department of Agriculture is who actually enforces them.
The Safety Disclaimer
Disclaimer: I am a canine nutrition enthusiast and researcher, not a veterinarian or a licensed food safety inspector. Before selling any pet food, always check your local state laws regarding ‘Cottage Food’ or ‘Commercial Feed’ licenses. You must ensure your treats are balanced and safe for consumption.
The GA is essentially a snapshot of four main components: Crude Protein (Minimum), Crude Fat (Minimum), Crude Fiber (Maximum), and Moisture (Maximum). Notice the ‘min’ and ‘max’? This gives you a little wiggle room, but you need an initial baseline. You don’t need a full nutritional profile (which includes vitamins and minerals) unless you are claiming your treats are a ‘complete and balanced meal.’ Since these are treats, we only need the basics.
The Hacker’s Secret: University Labs vs. Private Labs
If you Google ‘food testing lab,’ you’ll find massive corporations like Eurofins or Silliker. They are great, but they are priced for companies like Purina. For the savvy dog owner, the University Agricultural Lab is your best friend. Many land-grant universities (like Texas A&M, Cornell, or the University of Missouri) have laboratories dedicated to testing animal feed for local farmers. Because they are state-funded, their prices are often 50-70% lower than private labs.
Why University Labs Win
- Transparent Pricing: Most have a PDF price list right on their website.
- Expertise: They deal with animal feed daily.
- Accessibility: You can often mail your samples directly to them.
When looking for a lab, you want to ask for a ‘Proximate Analysis’ or a ‘Standard Feed Package.’ This usually covers the big four (Protein, Fat, Fiber, Moisture) and sometimes ‘Ash’ (mineral content). Ash is important because it helps you calculate the total carbohydrate content by subtraction.
The Real Cost of Compliance: A Budget Breakdown
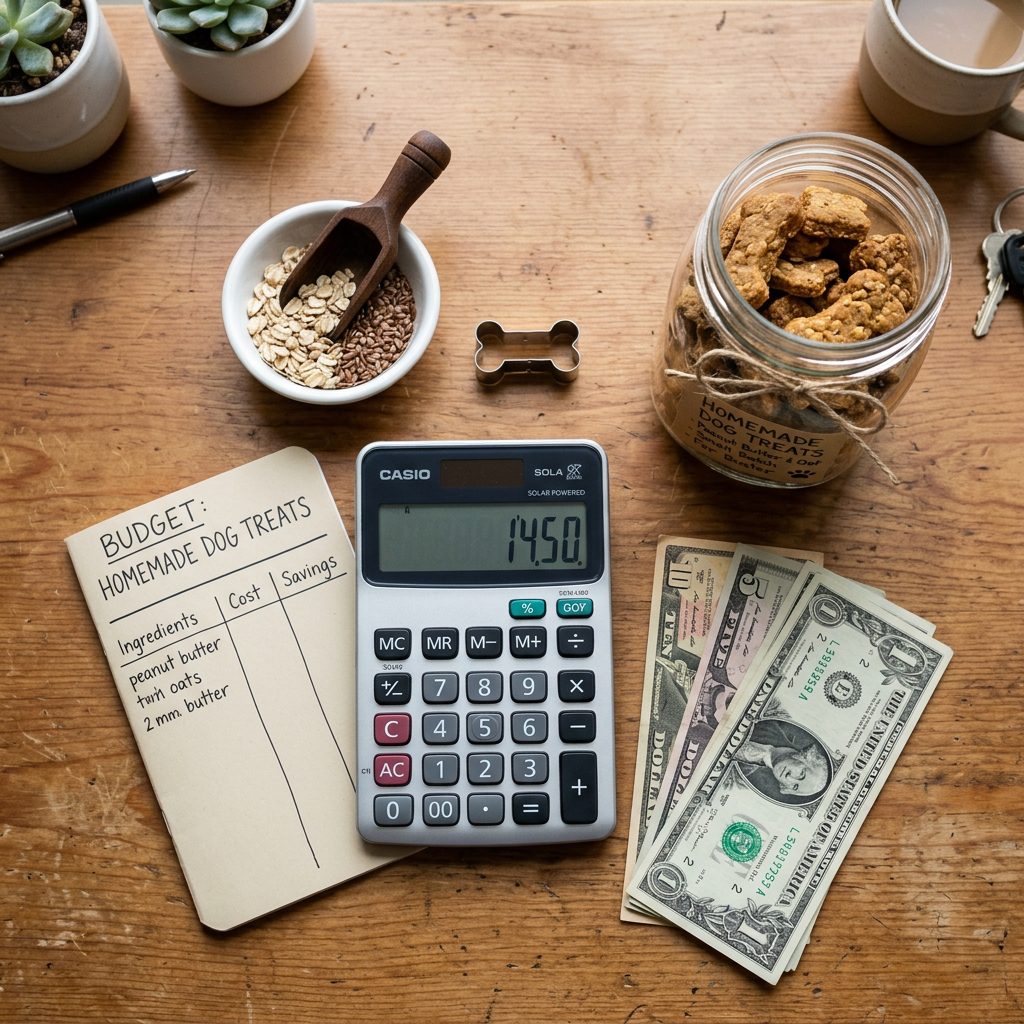
Let’s talk numbers. I’ve seen people quoted $300 for a single treat analysis. That is a rip-off. If you follow the hacker path, you can get it done for a fraction of that. Here is how the costs usually break down when you go through a state-affiliated or budget-friendly lab.
| Test Type | Private Lab Cost | University/Hacker Cost | Verdict |
|---|---|---|---|
| Standard Proximate Analysis | $150 – $250 | $35 – $65 | Hacker Win |
| Water Activity (Shelf Life) | $75 – $125 | $20 – $45 | Essential for Safety |
| Pathogen Screen (Salmonella/E.coli) | $100 – $150 | $50 – $80 | Optional but Recommended |
By choosing a university lab, you are saving roughly $150 per recipe. If you have five different treat flavors, that’s $750 saved. That’s money you can put back into high-quality ingredients like organic blueberries or grass-fed collagen.
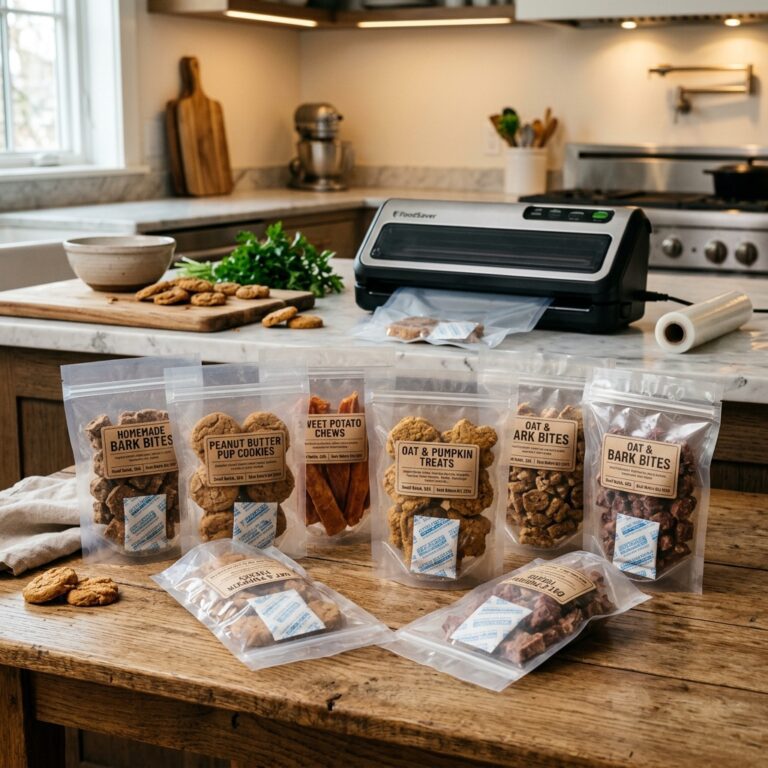
The Forensic Approach to Sampling and Shipping
The lab is only as good as the sample you send them. If you send one single treat, the data might be skewed. You need a representative sample. This means taking treats from different parts of the tray and even from different batches if possible.
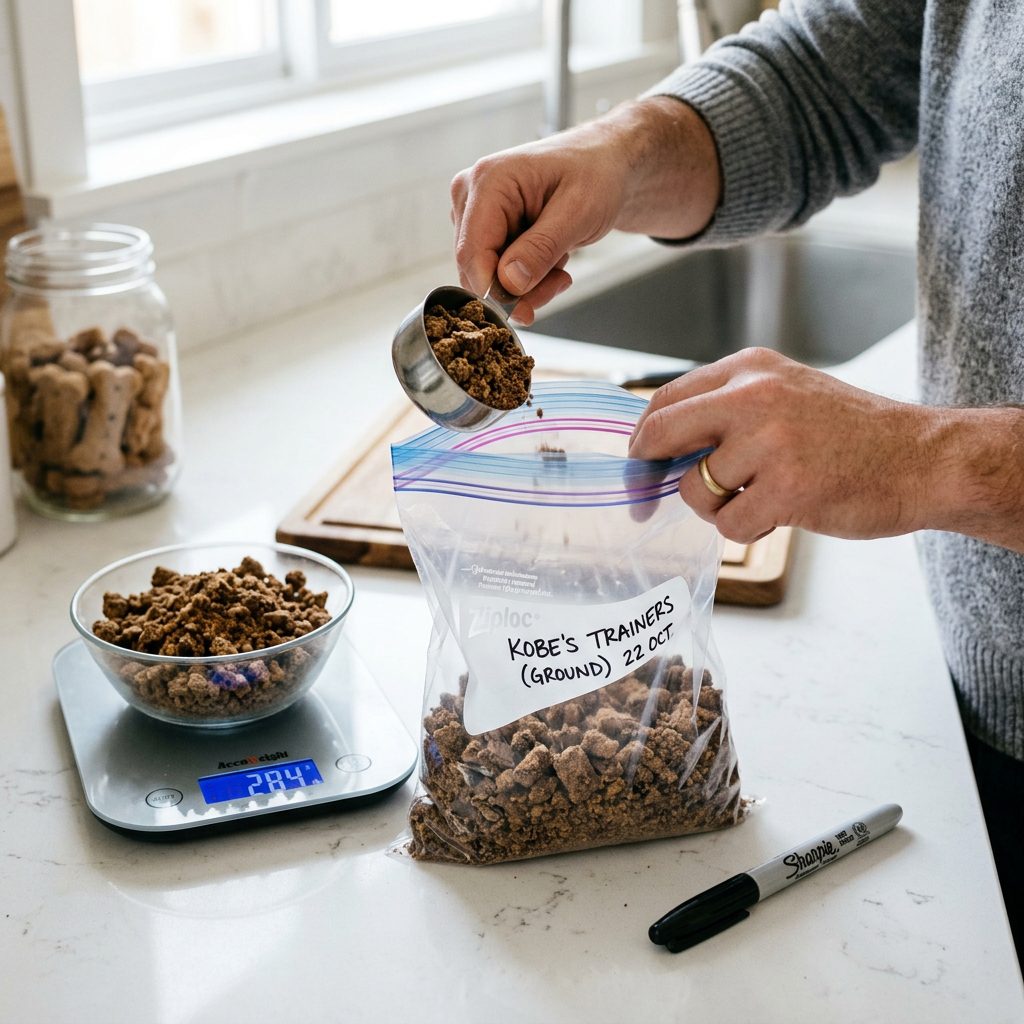
How to Prep Your Sample
- Grind it up: Most labs prefer the sample to be ground into a coarse meal. Use a clean coffee grinder or food processor.
- Double Bag: Use heavy-duty Ziploc bags. Squeeze out all the air to prevent moisture changes during shipping.
- Label Everything: Use a Sharpie. Include the recipe name, date, and your contact info.
- Shipping: Use a flat-rate USPS box. It’s the cheapest way to send heavy, dense samples.
Hacker Tip: Always keep a ‘control sample’ of the same batch in your freezer. If the lab results come back weird, you have a backup to re-test without baking a whole new batch.
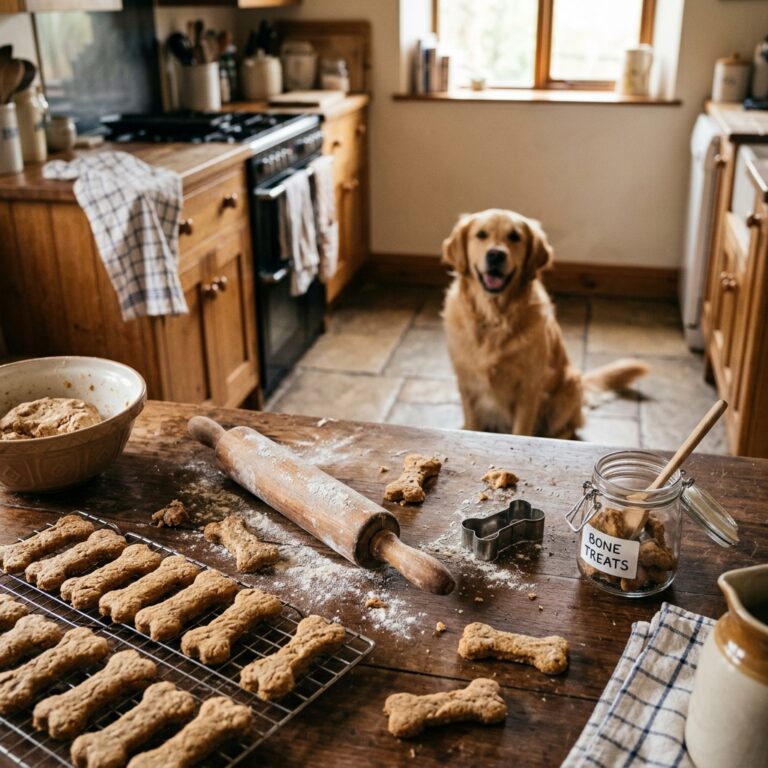
The Safe Chef Guide: A Control Recipe for Testing
Before you send your first sample, you need a stable recipe. Don’t test a recipe you’re still tweaking. Here is a ‘High-Protein Baseline’ recipe that is excellent for testing because it yields very consistent results.
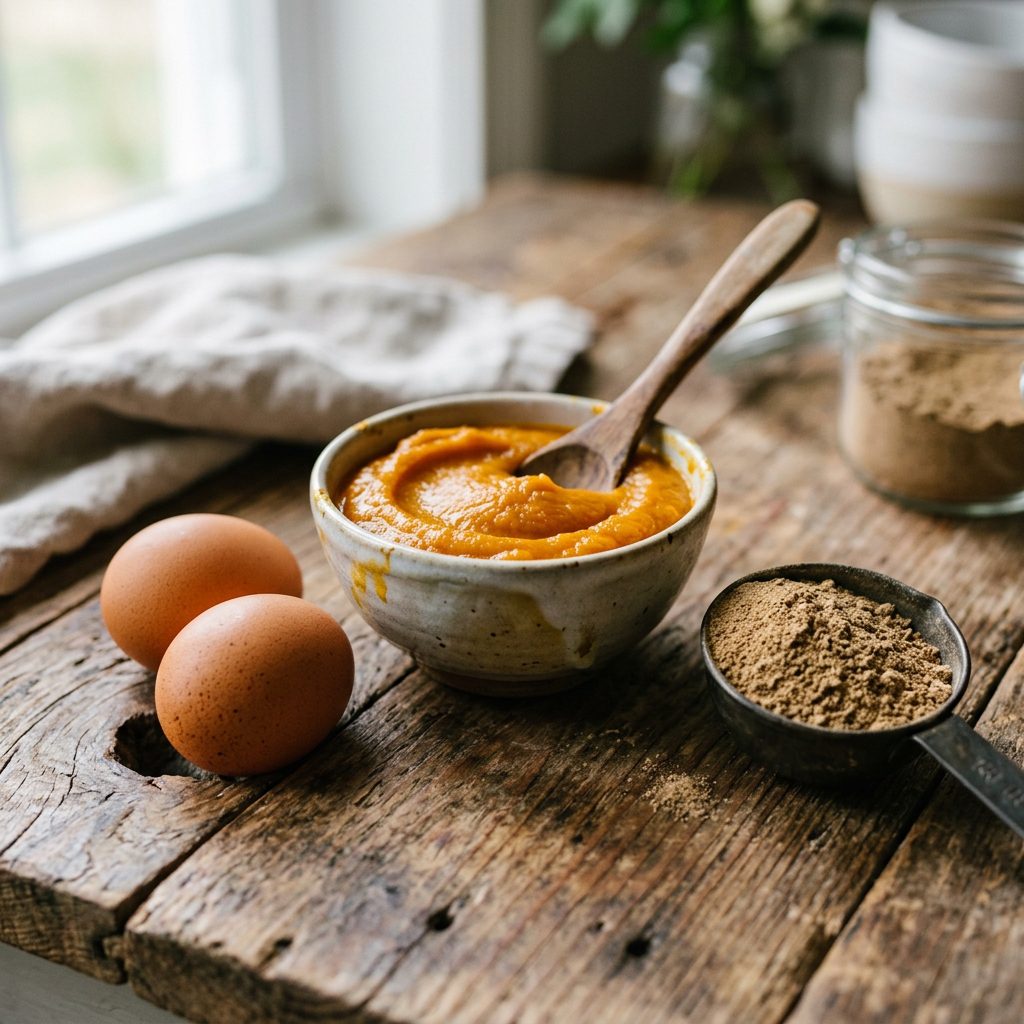
The ‘Hacker Baseline’ Recipe
- Protein: 1 cup Dried Liver Powder (Expose the fillers: skip the wheat flour, use oat or chickpea).
- Binder: 2 Large Eggs.
- Fiber/Veg: 1/2 cup Pureed Pumpkin (Not pumpkin pie filling!).
- Liquid: 1/4 cup Water (as needed).
Batch Cooking Tip: When making large batches for testing, bake them at a lower temperature (300°F) for a longer time. This ‘dehydrates’ the treat, lowering the Water Activity (aW). A lower aW means a longer shelf life and less chance of mold growing. This is the secret to making treats that last on a shelf without chemical preservatives.
Interpreting the Data: From Lab Speak to Label Speak

When you get your report back, it will look like a bunch of gibberish. You’ll see two columns: ‘As Fed’ and ‘Dry Matter.’ For your label, you use the ‘As Fed’ numbers. This is the nutritional content of the treat as the dog actually eats it.
Understanding the Big Four
- Crude Protein: This isn’t just about meat; it’s the total nitrogen content. If your protein is low, consider adding egg whites or a bit of high-quality fish meal.
- Crude Fat: Fat makes treats tasty, but too much can lead to rancidity. If your fat is over 15%, you’ll need to store treats in the fridge.
- Crude Fiber: This comes from your pumpkin, oats, or greens. It’s great for digestion.
- Moisture: This is the big one. If your moisture is above 10%, your treats are ‘soft’ and need refrigeration. If it’s below 10%, they are ‘shelf-stable’ (crunchy).
If your results show a moisture level of 12%, but you want to sell them as shelf-stable, you don’t need a new recipe—you just need to bake them 10 minutes longer next time. That’s the power of data!
Conclusion
Lab testing your homemade dog treats isn’t a hurdle designed to stop you; it’s a tool designed to empower you. By bypassing the high-priced corporate labs and utilizing university resources, you can provide professional-grade transparency to your customers (and your own pups) for less than the cost of a few bags of premium kibble. You’ve now got the ‘insider secrets’ to navigate the GA, the sampling process, and the math behind the moisture. Stop guessing, start testing, and let’s get those healthy treats into the paws of dogs everywhere. You’ve got the science; now go bake some magic!