No More Ruined Frosting: How to Package Dog Birthday Cakes for Transport Safely
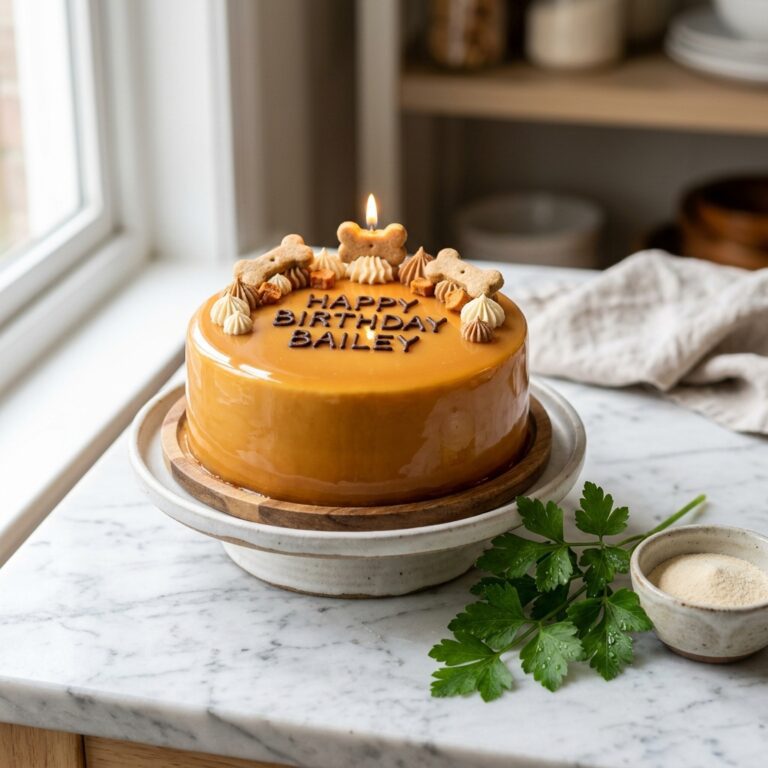
Listen up, savvy pack leaders. You have just spent three hours in the kitchen meticulously crafting a grain-free, organic turkey and sweet potato masterpiece for your dog’s birthday. You whipped up a beautiful dog-safe frosting, piped it perfectly, and it looks like it belongs in a high-end pet boutique. But then comes the ultimate test: the car ride. We have all been there. You hit one pothole, take one sharp turn, and suddenly your gorgeous creation looks like a smeared, sad lump of mashed potatoes on the side of a cardboard box.
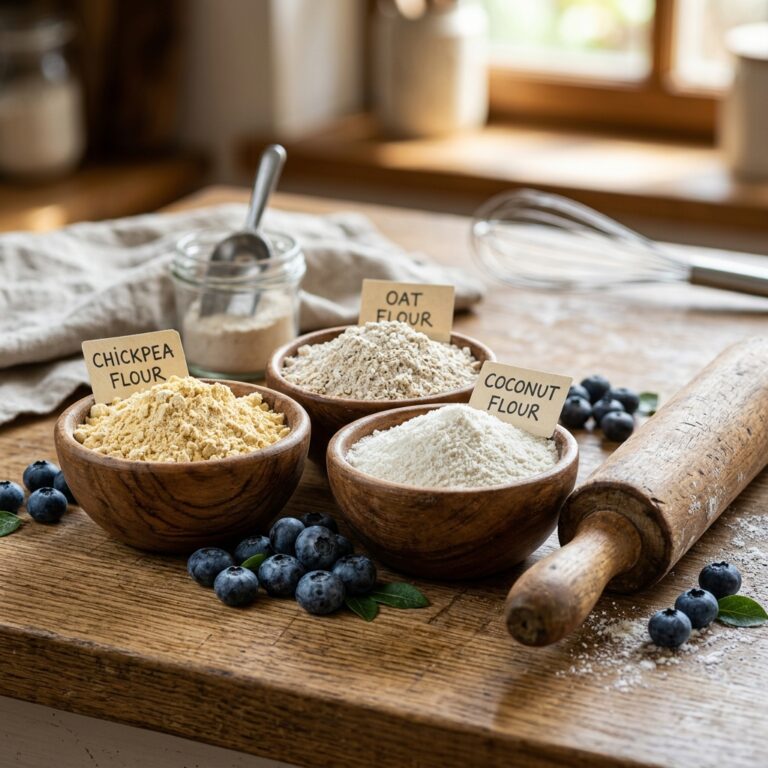
As your resident Canine Nutrition Hacker, I am here to tell you that ruined frosting is a choice. The commercial dog bakeries know exactly how to transport these fragile cakes, and today, I am leaking their insider secrets. We are not just talking about putting a cake in a box; we are talking about the forensic science of dog-safe structural integrity. Human cakes rely on powdered sugar and butter for stability, but since we are avoiding those toxic sugar-bombs for our pups, we have to get creative with moisture control, edible dowels, and hacker-level packaging.
Here is the insider secret: The survival of your dog’s cake depends 90% on what happens before it ever goes into the box.
If you are tired of showing up to the dog park party with a smashed cake, grab your mixing bowls. We are about to bulletproof your dog’s birthday cake so it survives the transport, looks incredible for the photos, and provides top-tier nutrition without a single filler ingredient.
The Safe Chef Guide: Engineering a Smudge-Proof Dog Frosting
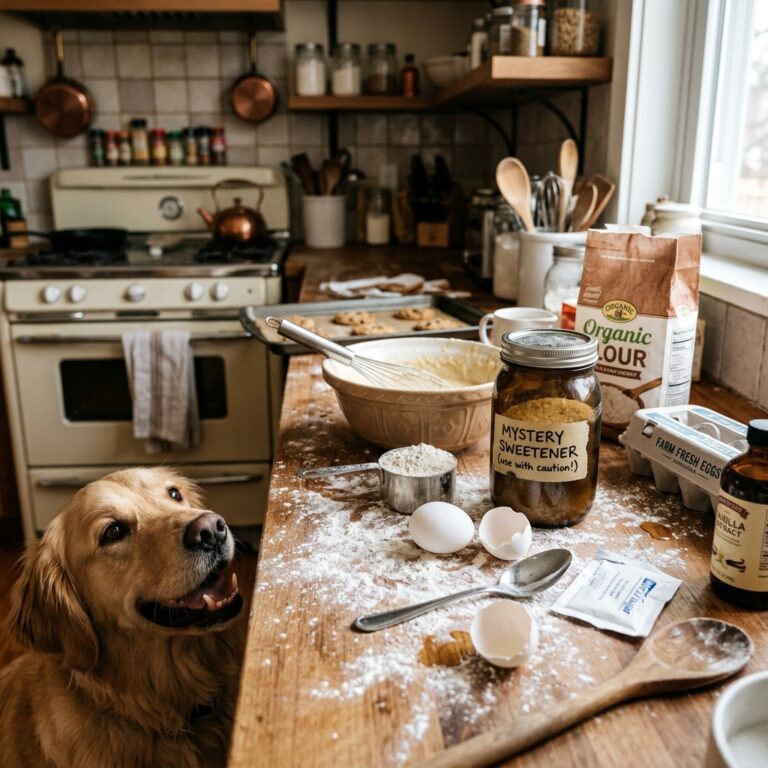
SAFETY DISCLAIMER: Before we dive in, remember that I am a savvy dog owner, not a veterinarian. Always ensure your homemade cake ingredients are safe for your specific dog, especially if they have allergies. Never use xylitol, artificial sweeteners, or chocolate. If you are feeding a dense cake, adjust your dog’s daily kibble intake to avoid an upset stomach.
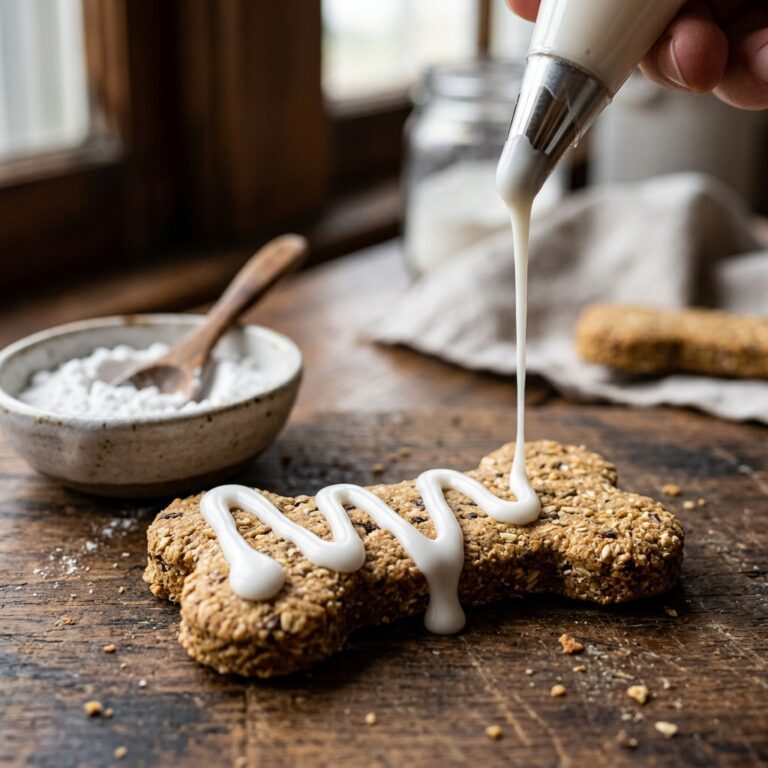
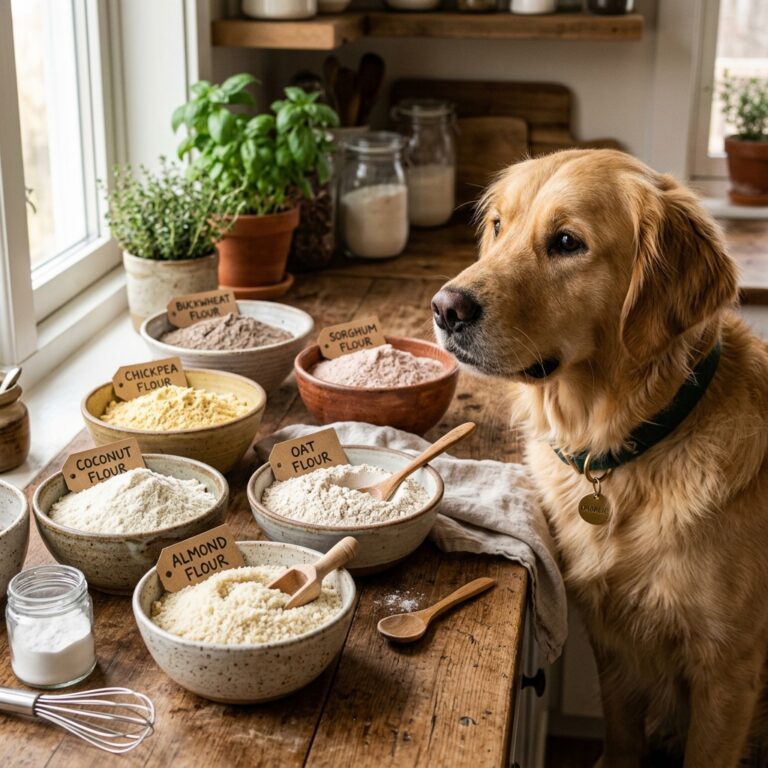
The biggest enemy of transporting a dog cake is the frosting itself. Traditional human buttercream crusts over and holds its shape because of the massive amounts of sugar. Dog-safe frostings—usually made from Greek yogurt, cream cheese, or mashed potatoes—are incredibly high in moisture. Moisture equals sliding, melting, and collapsing.
To hack your frosting for transport, you need to bind that moisture. If you are using Greek yogurt, you must strain it overnight in a cheesecloth to remove the whey. If you are using mashed potatoes, do not add any liquid (no water, no dog-safe broth) when mashing. You want a stiff, almost clay-like consistency.
Hacker Tip: Add a tablespoon of unflavored, dog-safe gelatin powder or tapioca starch to your yogurt or potato frosting. It acts as a natural cement, setting the frosting firm once chilled, making it nearly impervious to standard car vibrations.
Once your cake is frosted, it must go into the refrigerator for a minimum of four hours—preferably overnight. Never transport a room-temperature dog cake. The colder the cake, the more solid the fats and binders become, giving you a fighting chance during transport.
Edible Structural Integrity: The Dowel Hack
If you are making a multi-tiered cake, or even a tall single-tier cake out of heavy ingredients like ground meat or dense oat flour, you need internal support. Human bakers use wooden dowels or plastic straws. Do not use wood or plastic in a dog cake! When a pack of excited dogs dives into a cake, a hidden wooden stick is a massive choking and puncture hazard.
The savvy hacker solution? Edible doweling. You can create structural integrity that is 100% digestible and adds nutritional value.
- Bully Sticks: A thick, straight bully stick is the perfect center dowel. It is sturdy enough to hold tiers together and becomes a bonus treat for the birthday dog.
- Hard Dental Chews: Brands like Whimzees or rigid dental sticks can be cut to size and inserted vertically to stop layers from sliding laterally.
- Dehydrated Sweet Potato Spears: If you dehydrate them until they are rock hard, they work brilliantly as structural supports for lighter cakes.
Drive your edible dowel straight down the center of the chilled cake before you put it in the transport box. This ensures that even if you have to brake suddenly, the top layer of that heavy meat-cake is not going to slide off and smash against the cardboard.
The Packaging Hacker’s Toolkit: DIY vs. Pro Boxes
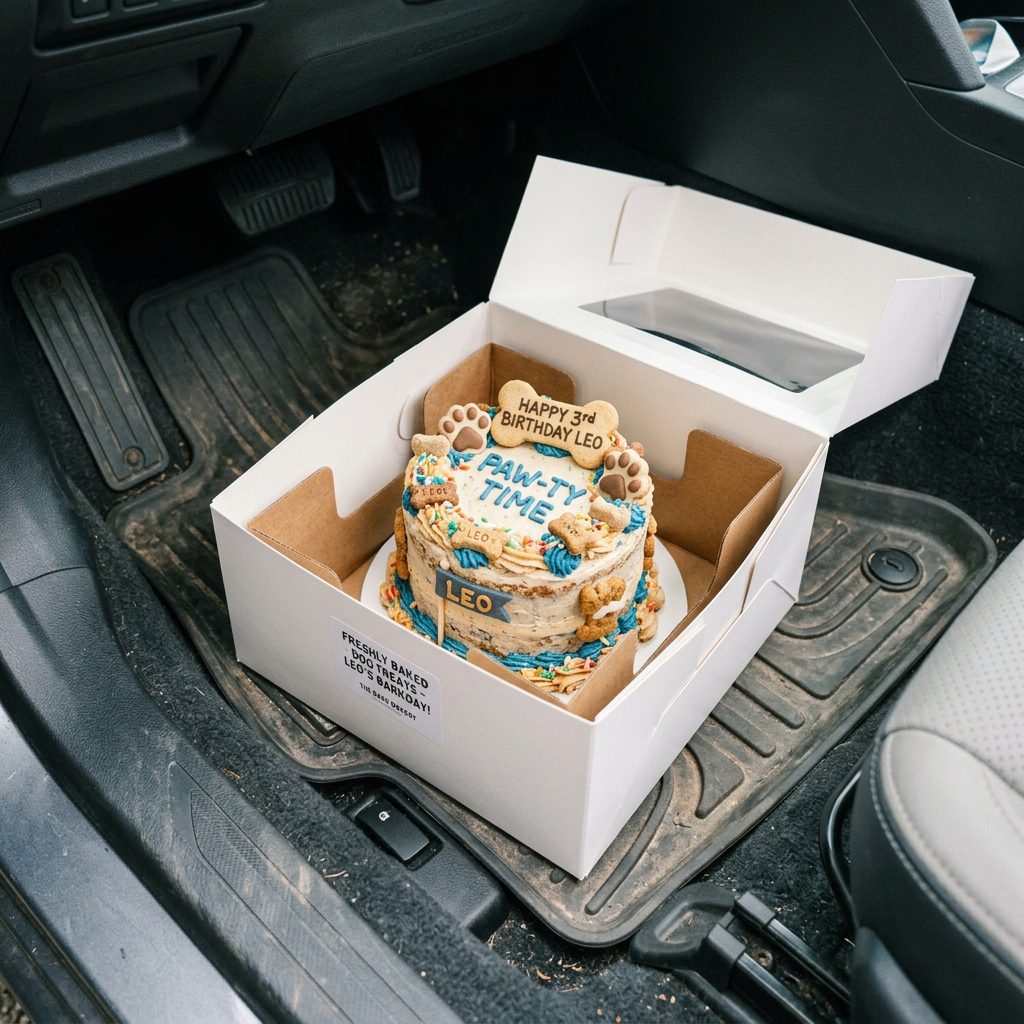
Now that the cake is structurally sound, let’s talk about the box. Dropping a small cake into a massive box is a rookie mistake. The cake will slide like a hockey puck. You need the box to hug the cake board exactly, with zero room for lateral movement.
If you don’t want to spend $20 on a professional cake carrier that you will use once a year, you can hack a standard cardboard box. The secret weapon? Non-slip silicone drawer liners. Cut a square of cheap non-slip shelf liner and place it at the bottom of your cardboard box. Place your cake board on top of it. It creates immense friction, stopping the board from moving even a millimeter.
Real Cost Breakdown: Packaging Methods
| Packaging Method | Cost Estimate | Slip Resistance | The Hacker Verdict |
|---|---|---|---|
| Standard Bakery Box (No modifications) | $1.50 | Low (High risk of sliding) | Rookie move. Guaranteed smashed frosting. |
| DIY Hacked Box (Cardboard + Non-Slip Mat) | $3.00 | High (Friction locks board in place) | The Sweet Spot. Cheap, effective, and disposable. |
| Professional Plastic Cake Carrier | $15.00 – $25.00 | Very High (Locking base) | Great if you bake monthly, overkill for an annual birthday. |
| The “Lap Hold” (Passenger holding it) | Free | Variable (Depends on human panic) | Dangerous. One sudden stop and the cake is on the windshield. |
Always use a box that loads from the front (a fold-down side) rather than dropping the cake in from the top. Dropping a heavy dog cake down into a box is the number one way you ruin the side frosting with your knuckles.
Climate Control: The Transport Protocol
You have chilled the cake, dowelled it with a bully stick, and locked it into a hacked grip-box. Now you have to physically move it. The interior of a car on a sunny day is a microwave for dog-safe frosting. Even a 15-minute drive can turn a beautifully piped yogurt border into a puddle.
- The Floorboard Rule: Never put the cake on a car seat. Car seats are angled backward, meaning your cake is immediately tilted, putting stress on the back frosting. The passenger side floorboard is the flattest surface in your vehicle.
- The AC Tunnel: Before you put the cake in the car, blast the floor AC vents on the coldest setting for five minutes. Create a refrigerated micro-climate down there. Keep the AC running on the floor during the entire drive.
- The Cooler Hack: If you are driving more than 30 minutes, place the bakery box inside a larger hard-sided cooler. Put a layer of flat ice packs at the bottom, lay a towel over them, and place the box on top. This guarantees a refrigerator-level environment.
Drive like you have an open pot of hot soup on your dashboard. Take corners slowly, brake early, and accelerate smoothly. Your dog doesn’t care if you are five minutes late to the paw-ty.
The Final Mile: Unboxing and Batch Storage
You made it. The cake arrived in one piece. But the danger isn’t over. Getting the cake out of the box is where many owners fumble. Because you used a box with a fold-down front flap, you can simply slide the cake board out horizontally. Do not try to lift it straight up by the edges of the board—heavy dog cakes will cause the board to bow in the middle, cracking your pristine frosting right down the center.
Once the photos are taken and the dogs have enjoyed their slices, you will likely have leftovers. Dog cakes made from real meats, veggies, and dairy do not have the preservatives of store-bought treats.
Insider Secret: Slice the remaining cake into individual portions immediately. Wrap each slice tightly in parchment paper (not plastic wrap, which traps moisture and ruins the frosting texture), and place them in an airtight freezer bag.
These slices will keep in the freezer for up to three months. When you want to give your dog a high-value treat, just pull a slice out and let it thaw in the fridge. You are essentially batch-cooking premium, filler-free dog food while celebrating a milestone.
Conclusion
Transporting a dog birthday cake doesn’t have to be a stressful, frosting-ruining nightmare. By thinking like a Canine Nutrition Hacker, you can bypass the fragile nature of dog-safe ingredients. You now know to bind your yogurt frosting with tapioca, use a bully stick as an edible dowel, hack a cheap cardboard box with a non-slip mat, and utilize the flat, cool environment of your car’s floorboard.
Your dog deserves the absolute best nutrition, free from the cheap corn gluten meals and artificial preservatives found in commercial shelf-stable cakes. Baking it yourself is the ultimate way to control their health, and now you have the skills to deliver that masterpiece flawlessly. So get back in the kitchen, whip up that sweet potato frosting, and drive to that dog park with absolute confidence. Your pack is going to be blown away.