The Secret Ingredient for Shiny Crack-Free Carob Frosting That Hardens Instantly!
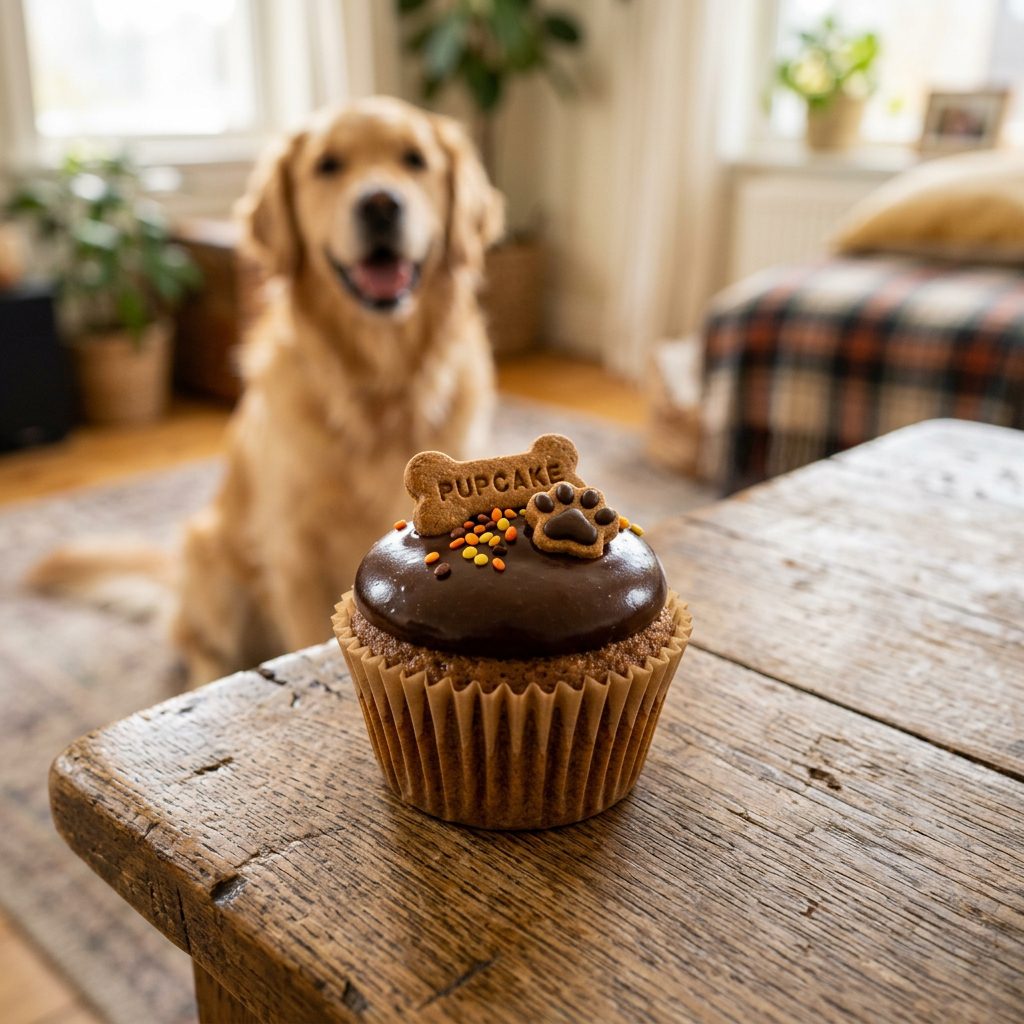
Welcome back to the kitchen, savvy dog parents! If you are anything like me, you treat your dog like royalty. You want the absolute best for them, especially when it comes time to celebrate their birthday, adoption anniversary, or just a random Tuesday because they learned a new trick. But let us talk about the elephant in the room when it comes to homemade dog treats: the frosting. We have all been there. You spend hours baking the perfect, healthy pupcake. You mix up a dog-safe frosting, carefully pipe it on, and get your camera ready for that perfect Instagram shot. But within minutes, tragedy strikes. The frosting either melts into a sad, sticky puddle of yogurt, or it dries out and cracks like a desert wasteland, leaving your beautiful creation looking like a certified Pinterest fail.
As the Canine Nutrition Hacker, I do not settle for mediocre, and neither should you. I have analyzed dozens of commercial dog bakery labels like a forensic scientist, exposing the artificial stabilizers, hidden sugars, and cheap fillers they use to get that perfect bakery finish. Today, we are bypassing all that garbage. I am going to share the ultimate insider secret to creating a shiny, crack-free carob frosting that hardens instantly. No more melting. No more cracking. Just a gorgeous, mirror-glaze finish that is actually packed with nutritional benefits for your furry best friend.
SAFETY DISCLAIMER: Before we dive into the hacker kitchen, remember that I am a savvy dog owner and nutrition hacker, not a veterinarian. This frosting is designed as a high-value treat, not a meal replacement. Because our secret ingredient involves healthy fats, you must introduce it slowly to avoid upsetting your dog’s stomach. If your dog has a history of pancreatitis or requires a strict low-fat diet, consult your vet before serving this to your pup.
Are you ready to elevate your dog treat game and save a fortune at the dog bakery? Let us get hacking.
The Anatomy of a Failed Dog Frosting (And the Enemy Ingredients)
To understand why our secret ingredient is a total game-changer, we first need to look at why traditional dog frostings fail so miserably. When you search for DIY dog frosting online, you are usually bombarded with the same three tired suggestions: cream cheese, Greek yogurt, or peanut butter mixed with a starch. Let us break down exactly why these are the enemies of a perfect finish.
1. The Dairy Disaster: Cream Cheese and Yogurt
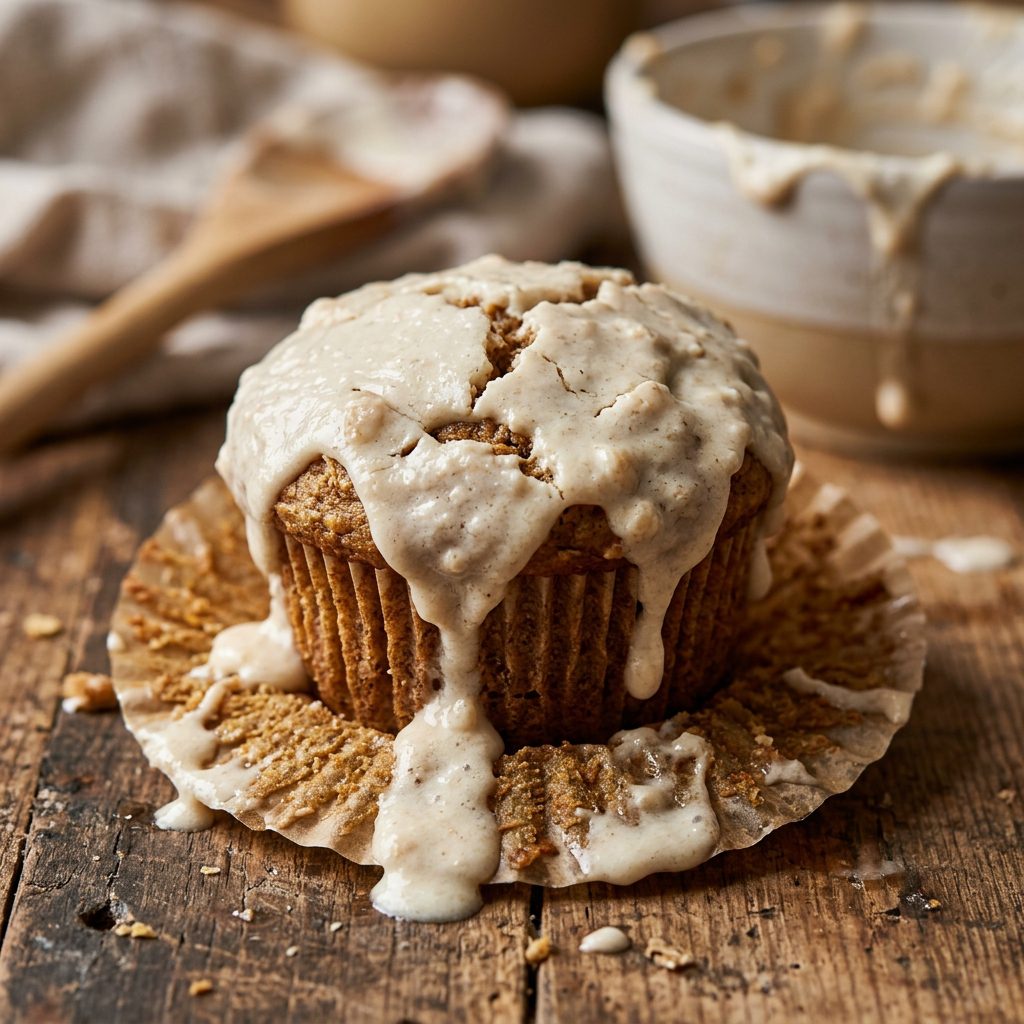
Cream cheese and yogurt are the most common go-to ingredients for dog frosting. While a dollop of plain Greek yogurt is a great probiotic treat, it is an absolute nightmare for cake decorating. Why? Because of the water content. When you expose dairy to room temperature, it begins to weep and melt. If you put it in the fridge to set, the cold air draws the moisture out of the dairy, causing it to shrink and crack on top of your cake. Furthermore, many adult dogs are lactose intolerant. Slathering a pupcake in heavy cream cheese is a one-way ticket to an upset stomach and a messy backyard cleanup.
2. The Sticky Trap: Peanut Butter
We all know dogs go crazy for peanut butter, but using it as a frosting base is a rookie mistake. Commercial peanut butters are often loaded with added sugars, hydrogenated oils, and sometimes even xylitol (a deadly toxin for dogs). Even if you use 100% pure peanuts, the natural oils separate, making the frosting heavy, greasy, and impossible to pipe cleanly. It never truly sets, meaning the moment your dog goes in for a bite, it is smeared all over your floors and their snout.
3. The Desert Mud: Potato and Tapioca Starch
Some commercial dog cake mixes include a frosting packet made of dehydrated yogurt and potato starch. You add water, mix it up, and it looks great for about five minutes. But starch-based frostings dry out rapidly. As the water evaporates, the starch contracts, leaving massive, unsightly cracks across your pupcake. It completely lacks that professional, appetizing shine.
It is time to ditch these flawed methods. We need an ingredient that is solid at room temperature, melts beautifully, and hardens quickly without losing moisture. We need a biological hack.
The Hacker’s Holy Grail: The Secret Ingredient Revealed
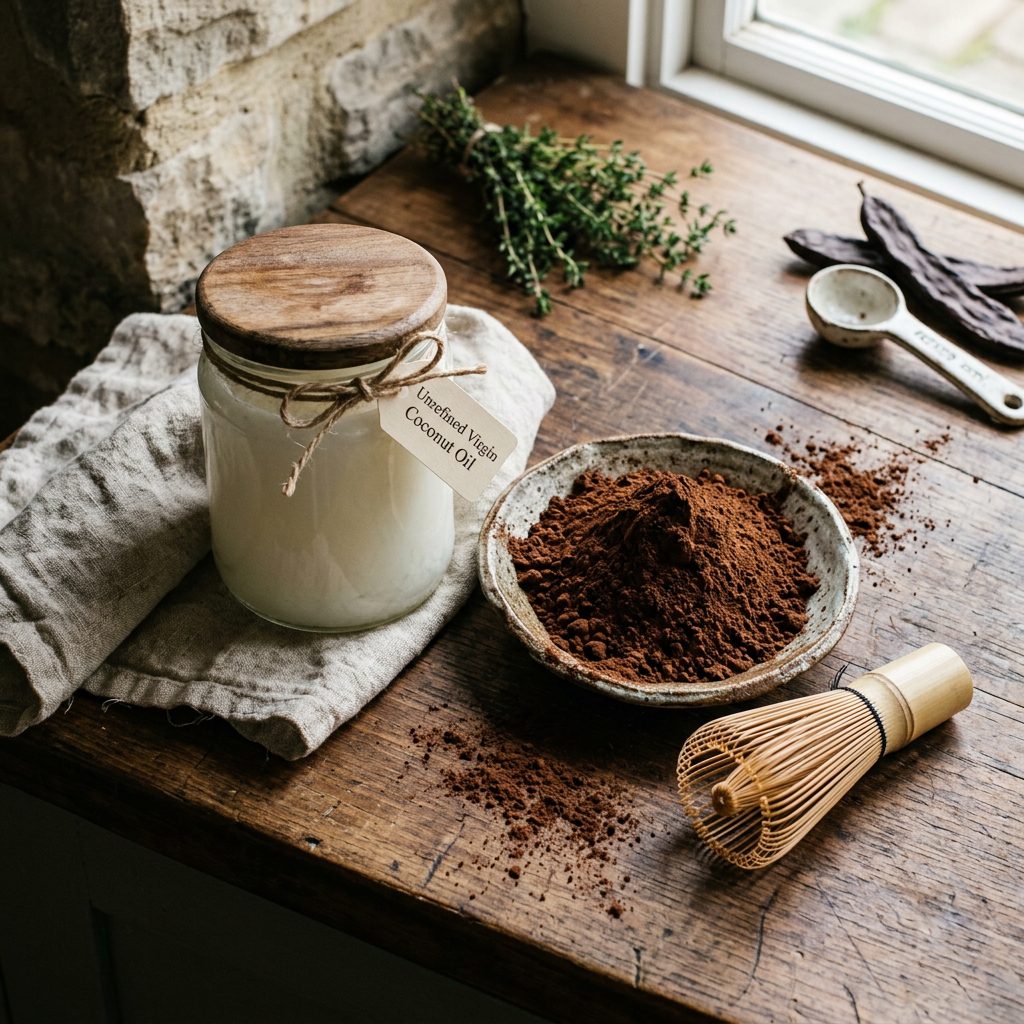
Drumroll, please. The secret to a flawless, shiny, crack-free carob frosting that hardens instantly is a two-ingredient “Magic Shell” hack using 100% Pure Roasted Carob Powder and Unrefined Virgin Coconut Oil. That is it. No artificial stabilizers, no dairy, no starches. Just two powerhouse ingredients that work together through simple kitchen science.
Why Coconut Oil is the Ultimate Stabilizer
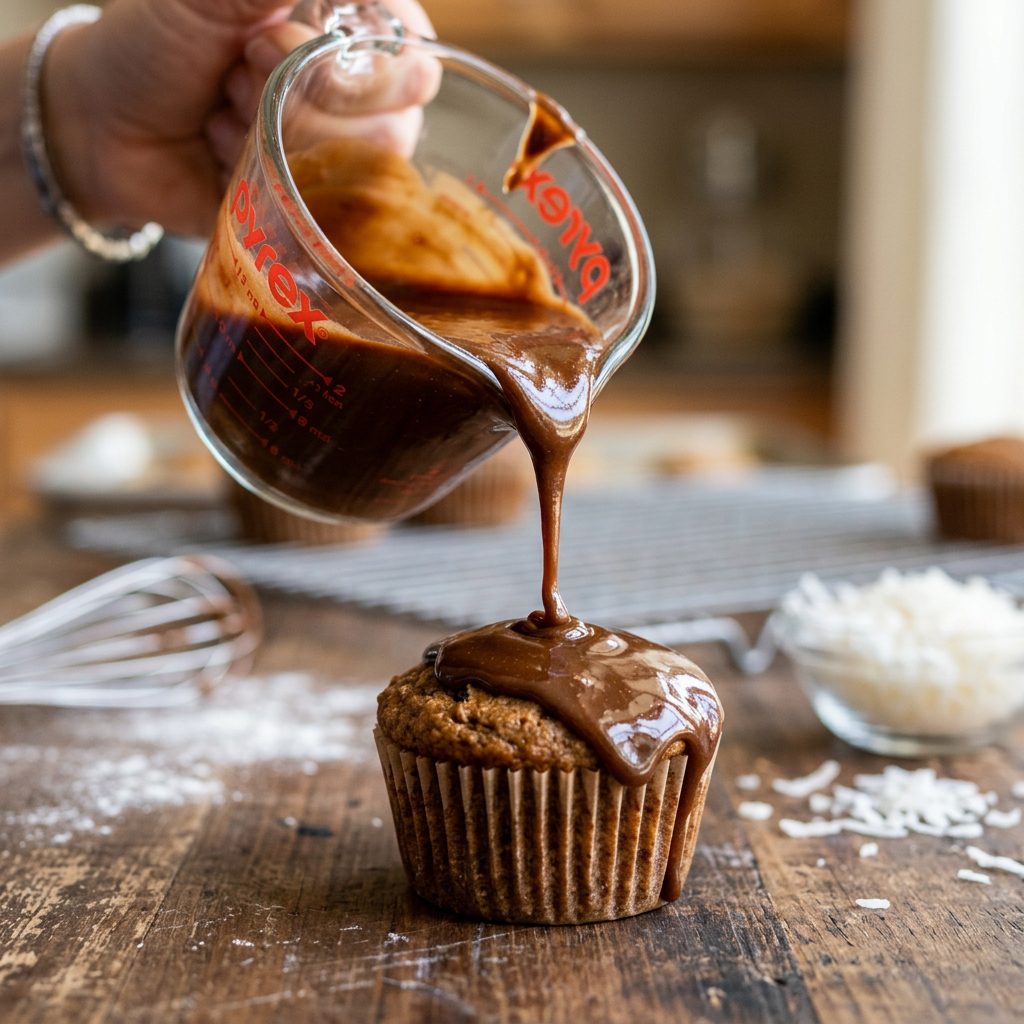
The magic lies entirely in the lipid structure of coconut oil. Coconut oil has a melting point of exactly 76 degrees Fahrenheit (24 degrees Celsius). Below this temperature, it is a firm, white solid. Above it, it is a clear liquid. By melting the coconut oil and whisking in the carob powder, you create a smooth, liquid chocolate-like glaze. But here is the hacker secret: when you pour this warm glaze over a cold or frozen pupcake, the coconut oil rapidly drops below 76 degrees and hardens instantly.
Because there is no water in this mixture—only fat and powder—there is absolutely nothing to evaporate. No evaporation means zero shrinkage. Zero shrinkage means zero cracks. The fat content also naturally reflects light, giving you a stunning, mirror-like shine that will make your homemade treats look like they cost $10 apiece at a luxury dog boutique.
The Nutritional Powerhouse: Carob and Coconut
We do not just use these ingredients because they look pretty; we use them because they are functional superfoods for your dog.
- Carob Powder: Unlike chocolate, which contains the deadly compound theobromine, carob is 100% safe for dogs. It is extracted from the pod of the carob tree and is naturally sweet, high in fiber, and packed with vitamins A, B, and D, as well as calcium and magnesium. It supports healthy digestion and gives that rich, chocolatey look without the emergency vet visit.
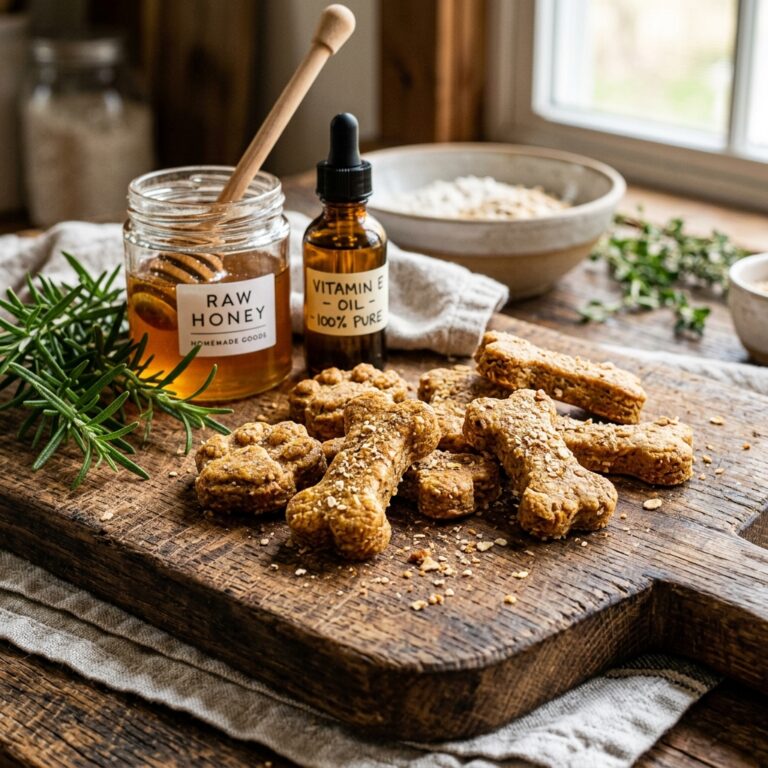
- Unrefined Virgin Coconut Oil: This is a medium-chain triglyceride (MCT) superhero. MCTs are healthy fats that go straight to the liver to be converted into usable energy. Coconut oil promotes a healthy, shiny coat from the inside out, supports cognitive function in senior dogs, and contains lauric acid, which has natural antibacterial and antifungal properties.
The Safe Chef Guide: The Actionable Recipe
Now that you know the science, let us get into the execution. This recipe is incredibly simple, but the ratios are critical for achieving that perfect snap and shine. Do not substitute the coconut oil for liquid oils like olive or canola, or the hack will fail completely.
Ingredients You Will Need:
- 1/2 cup Unrefined Virgin Coconut Oil: (Make sure it is solid at room temperature. If your house is very warm and it is liquid, measure it as a liquid).
- 1/2 cup 100% Pure Roasted Carob Powder: (Check the label to ensure there are no added sugars or dairy powders).
- Optional Hacker Upgrade: 1 teaspoon of pure, dog-safe bone broth powder for an extra savory kick that dogs go wild for.
The Step-by-Step Hacker Method:
- Prep the Base: This is the most crucial step. Your pupcakes or dog cookies MUST be cold. Bake your treats ahead of time, let them cool completely, and then place them in the freezer for at least 30 minutes before you start making the frosting. The freezing cold surface is what causes the coconut oil to flash-freeze and harden instantly.
- Melt the Oil: Place the coconut oil in a microwave-safe bowl and heat in 15-second intervals until completely melted and clear. Alternatively, use a double boiler on the stove for a gentler melt.
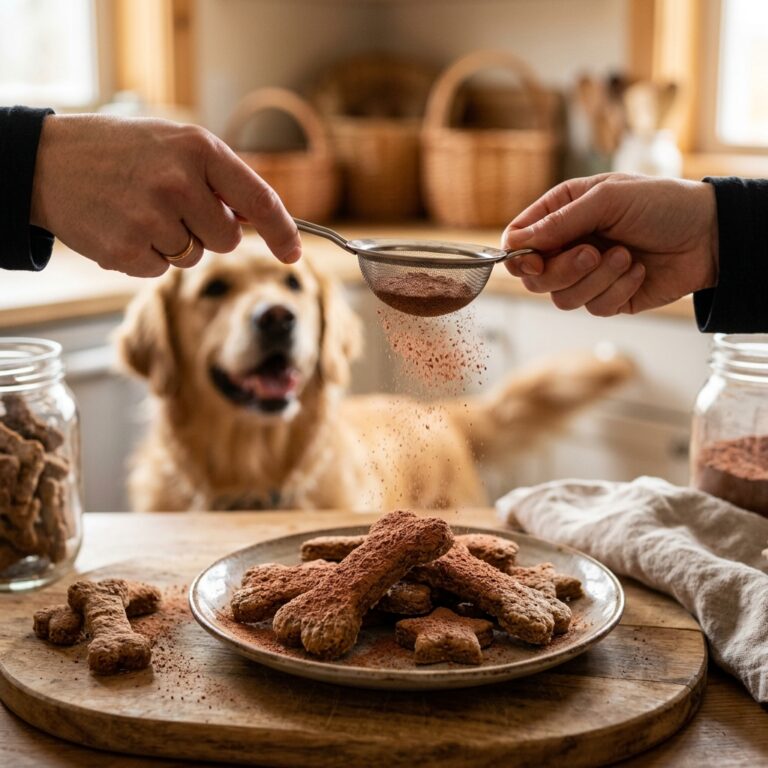
- Sift and Whisk: Sift the carob powder into the melted coconut oil to prevent any lumps. Whisk vigorously until the mixture is completely smooth, glossy, and resembles melted dark chocolate.
- The Temperature Check: Let the mixture sit for about 2-3 minutes. You want it warm and pourable, but not boiling hot, otherwise it will melt the surface of your treat before it has a chance to set.
- The Application: Remove your frozen treats from the freezer. You can either dip the tops of the treats directly into the bowl of frosting, or use a spoon to pour the frosting over the top. Watch in amazement as it hardens within seconds, leaving a flawless, shiny shell!
Nutritional Analysis & Real Cost Breakdown
As savvy dog owners, we do not just care about the ingredients; we care about the budget. The pet industry is notorious for marking up “boutique” dog treats to astronomical prices. Let us look at the cold, hard numbers and see exactly how much money you are saving by hacking this recipe at home.
| Metric | DIY Carob Magic Frosting | Store-Bought Boutique Bakery Frosting |
|---|---|---|
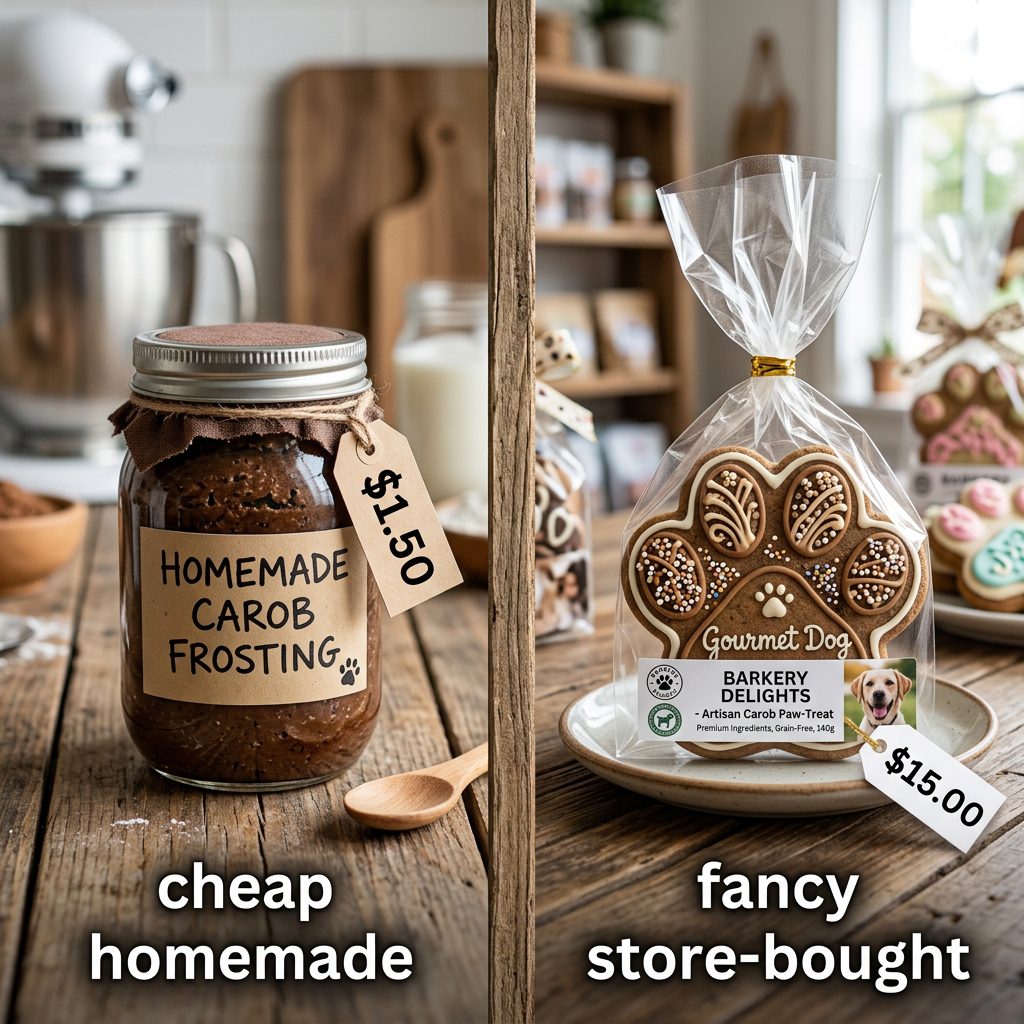
| Cost Per Batch (approx. 12 treats) | $1.50 – $2.00 | $15.00 – $25.00 |
| Ingredient Count | 2 (Pure, Whole Foods) | 10+ (Includes Preservatives & Fillers) |
| Hardening Time | Instant (Under 10 seconds) | 2 to 4 Hours |
| Sugar Content | Zero Added Sugar | Often contains molasses, honey, or fructose |
| The Verdict | The Clear Winner | Overpriced and Over-processed |
By investing in a jar of high-quality coconut oil and a bag of carob powder, you can make dozens of batches of this frosting for a fraction of the cost of a single trip to the dog bakery. Plus, you have 100% control over what goes into your dog’s body. No mystery “natural flavors,” no hidden preservatives, just pure, functional nutrition.
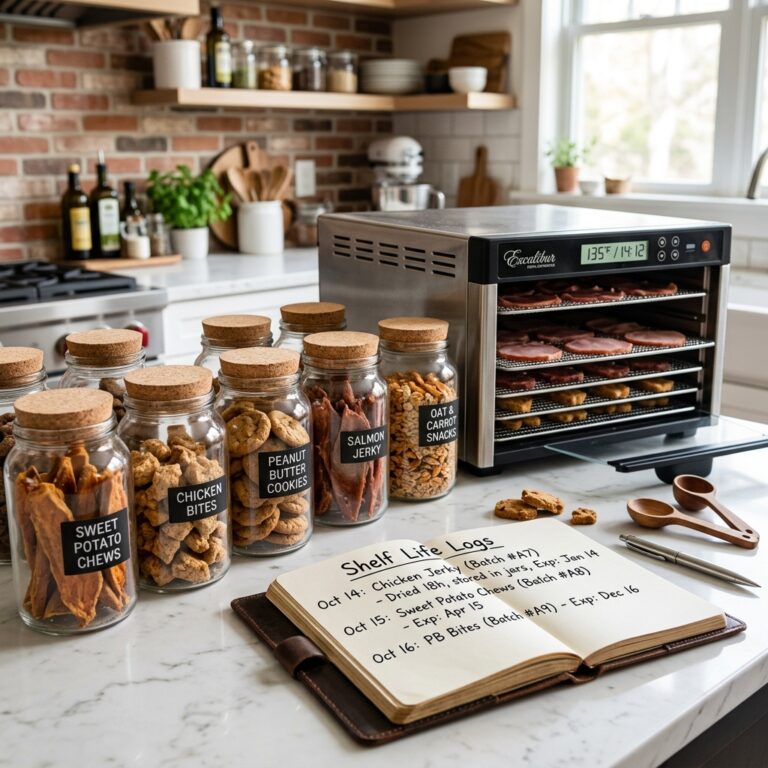
Batch Cooking, Storage, and Troubleshooting
One of the best parts about this hacker recipe is its incredible shelf life. Because there is no water and no dairy, this frosting does not spoil easily. Here are my insider secrets for batch cooking, storing, and fixing any issues you might run into.
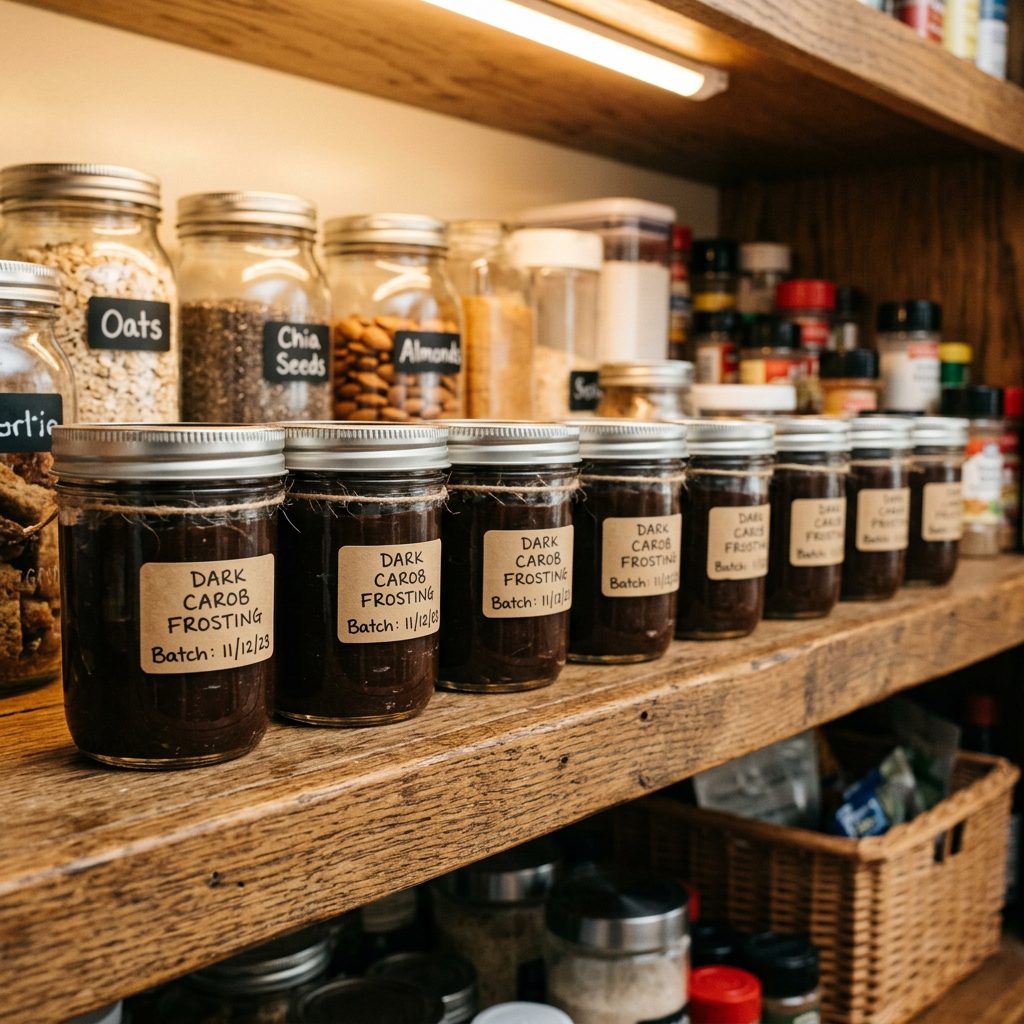
How to Store Leftover Frosting
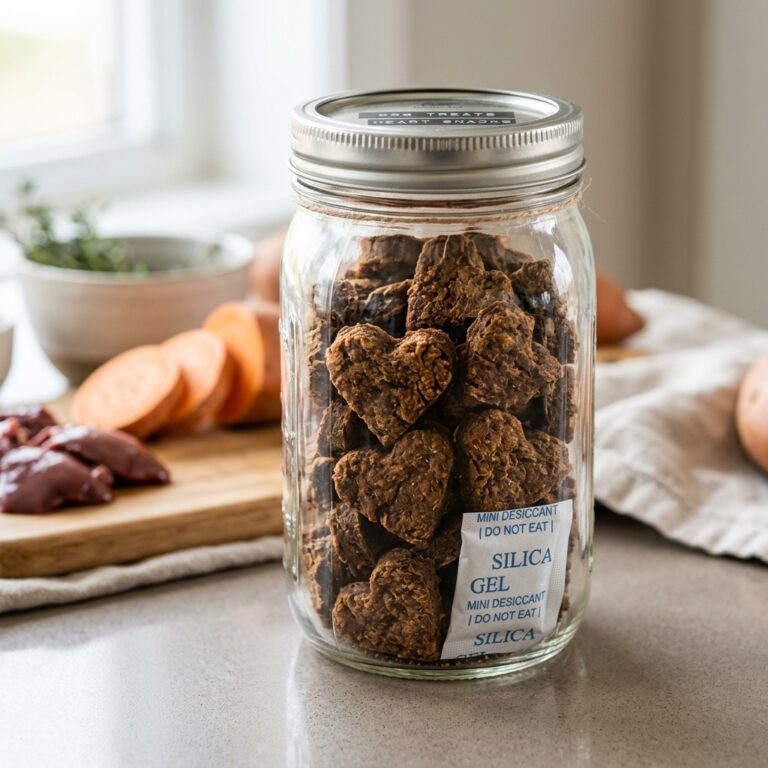
Never waste a drop of this liquid gold! If you have leftover frosting after dipping your treats, simply pour it into a small, airtight glass mason jar. Leave it on your counter at room temperature. It will naturally solidify back into a hard paste as it cools. It will keep in the pantry for months—essentially the shelf life of the coconut oil itself.
How to Reheat and Reuse
When you are ready to bake your next batch of treats, simply take the mason jar, remove the metal lid, and pop it in the microwave for 15-20 seconds. Give it a good stir, and it is perfectly glossy and ready to use again. It is the ultimate meal-prep hack for dog treats.
Troubleshooting: The Hacker’s Fix-It Guide
- Issue: The frosting is too thin and runny.
The Fix: Your coconut oil might be too hot, or you need slightly more carob powder. Let the mixture cool for a few more minutes to thicken up, or whisk in an extra tablespoon of carob powder. - Issue: The frosting looks dull, not shiny.
The Fix: You likely skipped the freezing step! The rapid temperature change is what creates the mirror glaze shine. Ensure your treats are ice-cold before dipping. - Issue: The frosting is clumpy.
The Fix: You did not sift the carob powder. Carob loves to clump. If you are already mixing and see lumps, use a small immersion blender for 5 seconds to smooth it out instantly.
Conclusion
Your Dog Deserves the Best (And You Deserve an Easy Bake)
There you have it, the ultimate insider secret to perfect dog treats. By ditching the dairy, skipping the starches, and utilizing the biological magic of coconut oil and carob powder, you can create a shiny, crack-free frosting that hardens instantly. Not only will your pupcakes look like they came straight out of a luxury dog bakery, but you will be feeding your best friend functional, healthy ingredients that support their coat, brain, and digestion.
Being a Canine Nutrition Hacker is all about taking control of your dog’s diet, cutting through the marketing fluff, and using smart kitchen science to make life easier and healthier. So, the next time your dog’s birthday rolls around, skip the expensive boutique treats. Freeze those pupcakes, whip up a batch of this magic shell carob frosting, and watch your dog’s eyes light up.
Now get into the kitchen, start hacking, and do not forget to snap a photo of that perfect, mirror-glaze finish before your dog devours it in three seconds flat!