Bite-Free Collar: How to Train Your Squirmy Puppy to Sit Still for Their Collar and Tags
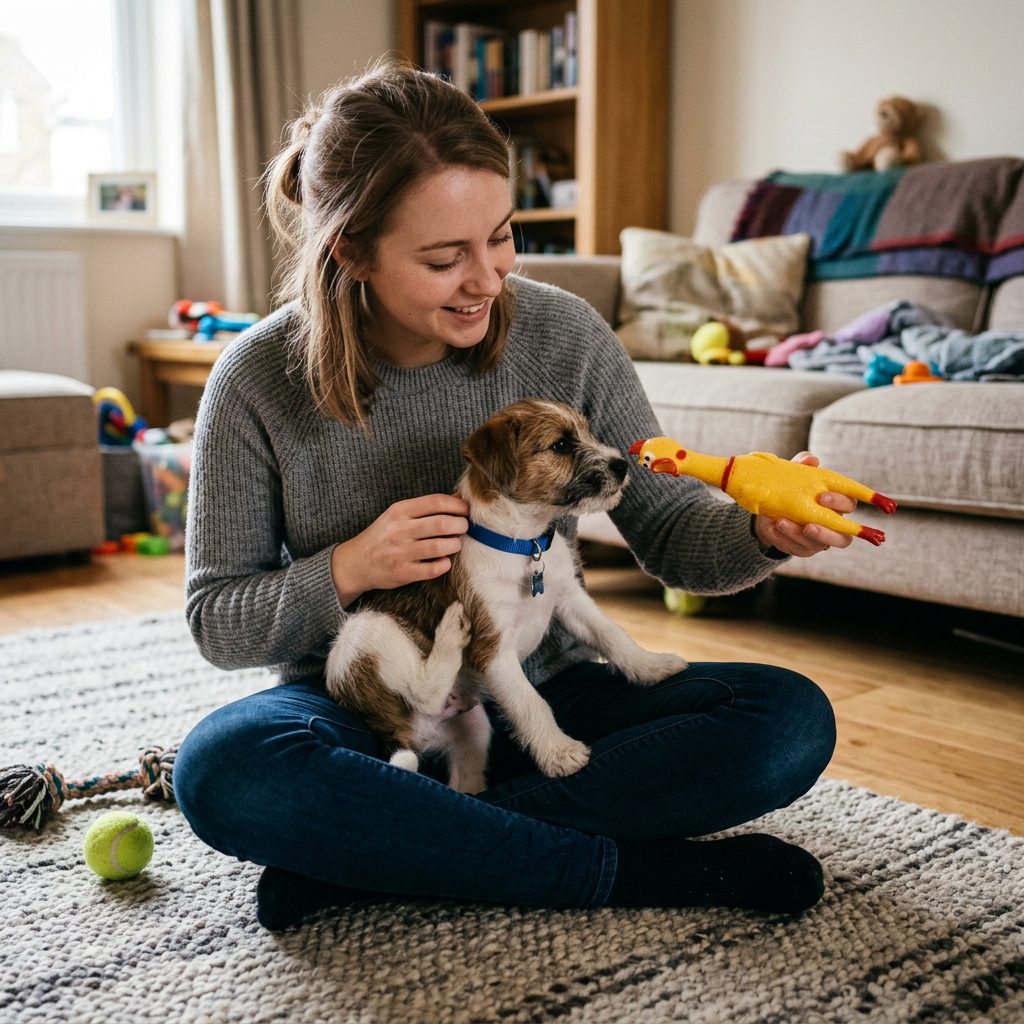
Welcome to puppyhood! If you are reading this, you are likely dealing with a little furball that transforms into a snapping, squirming land shark the second you bring out their new collar.
First off, take a deep breath. You are not alone, and your puppy is not broken. To a dog who has spent their entire short life completely naked, a collar feels weird, restrictive, and sometimes like a fun new chew toy. But as savvy dog owners, we know that wearing a collar and ID tags is a non-negotiable safety requirement.
In this comprehensive guide, we are going to walk through the exact, step-by-step positive reinforcement method to train your squirmy puppy to not just tolerate, but actually love putting on their collar. Grab your treat pouch, and let’s get started!
Why Does Your Puppy Hate the Collar?
Before we dive into the training steps, it helps to understand exactly why your puppy is reacting this way. Puppies explore the world with their mouths, and when a strange, dangling object comes near their face, their first instinct is to bite it.
Sensory Overload
Imagine wearing a stiff, itchy turtleneck that you cannot take off. That is what a collar feels like to a puppy at first. The sensation of nylon or leather rubbing against their fur is entirely alien.
The “Game” of Keep-Away
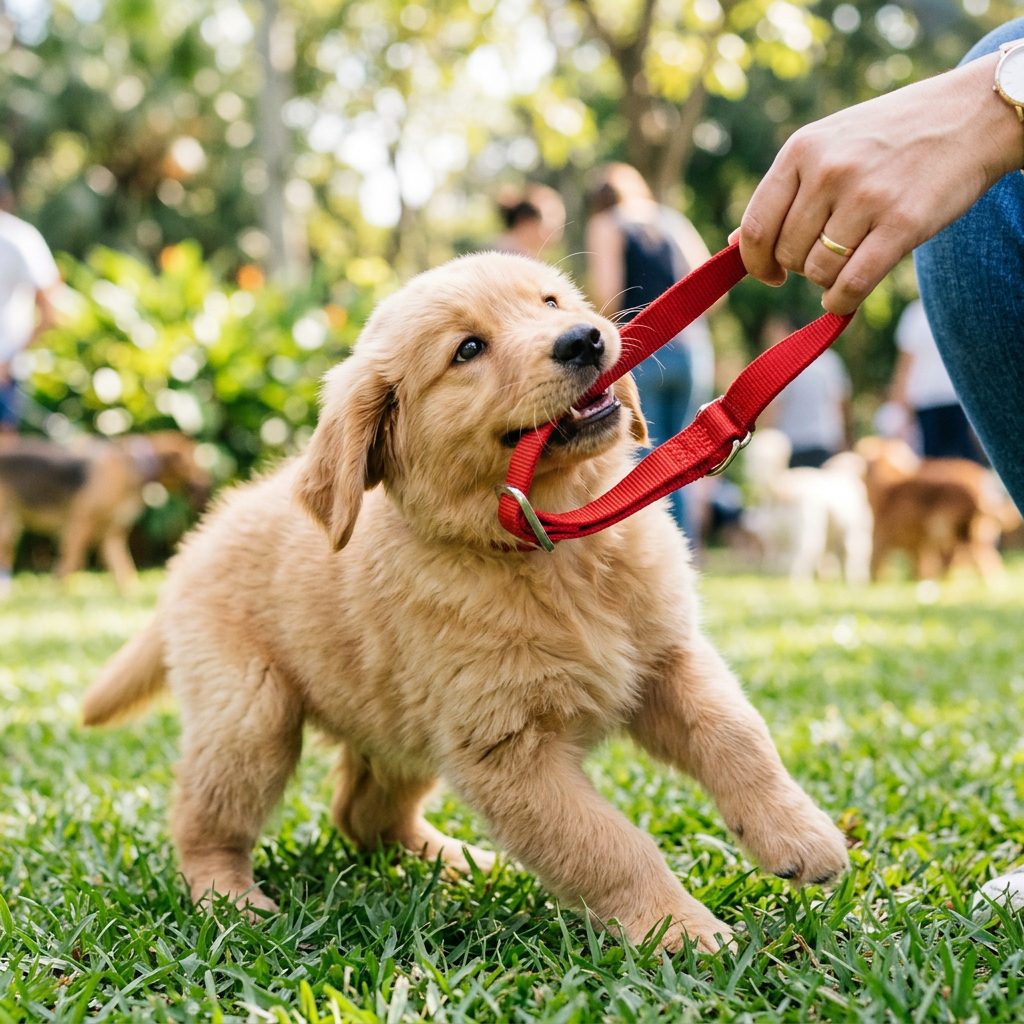
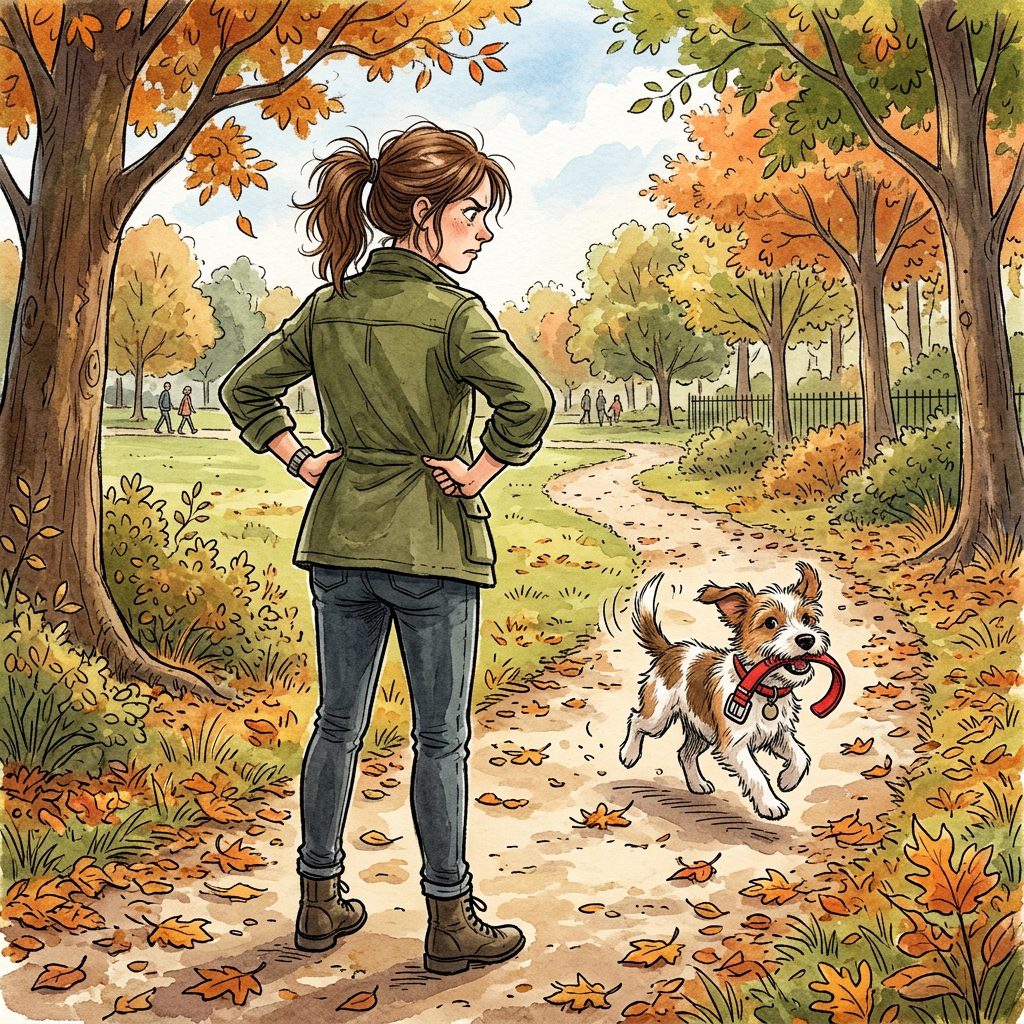
If you have ever chased your puppy around the living room trying to slip the collar over their head, congratulations—you have accidentally taught them that the collar means playtime! Squirming and running away becomes a highly rewarding game of tag.
Remember: Your puppy isn’t being stubborn or dominant. They are simply experiencing a new stimulus and reacting in the only way a baby dog knows how. Patience is your best friend here.
The Essential Collar Training Toolkit
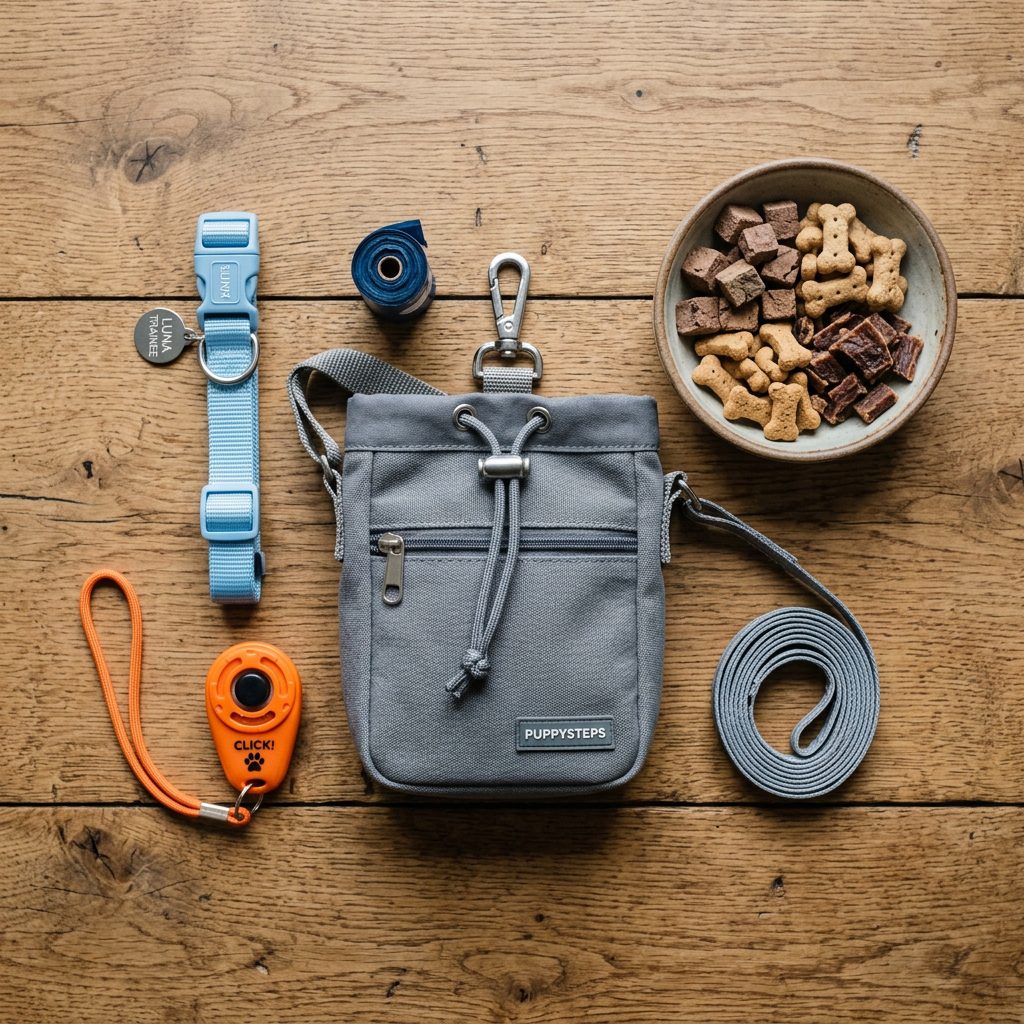
Set yourself up for success by gathering the right tools before you even start the training session. Having everything within arm’s reach ensures you can reward your puppy at the exact right moment.
What You Will Need
- High-Value Treats: Ditch the dry kibble for this. You need something irresistible like boiled chicken, tiny cubes of cheese, or freeze-dried liver.
- A Clicker (Optional but Recommended): If you use clicker training, this is a great time to implement it to mark the exact moment of calm behavior.
- The Right Collar: A heavy, bulky collar will only make things worse. Start with a lightweight, flat nylon collar.
Let’s look at a quick breakdown of collar types so you can choose the best starter option for your pup:
| Collar Type | Best For | Pros | Cons |
|---|---|---|---|
| Flat Nylon | Everyday wear and training | Lightweight, inexpensive, highly adjustable | Can fray over time, easily chewed if left loose |
| Rolled Leather | Long-haired or double-coated breeds | Prevents fur matting, very durable | Heavier, more expensive, stiffer at first |
| Martingale | Breeds with narrow heads (e.g., Greyhounds) | Prevents slipping out safely | Not safe for tying out or unsupervised wear |
The Bite-Free Collar Method: Step-by-Step
Now for the fun part. We are going to break the process down into microscopic steps. Do not move on to the next step until your puppy is completely relaxed and successful at the current one. This might take a few days, and that is perfectly okay!
Step 1: Introduction and Sniffing
Hold the collar in your hand and let your puppy investigate it. The moment they look at it or sniff it without biting, say “Yes!” and give them a treat. Repeat this until they associate the sight of the collar with incoming snacks.
Step 2: The Collar Touch
Gently touch the collar to the side of your puppy’s neck for just one second. Say “Yes!”, remove the collar, and treat. We are teaching them that the collar touching them is a magical button that produces chicken.
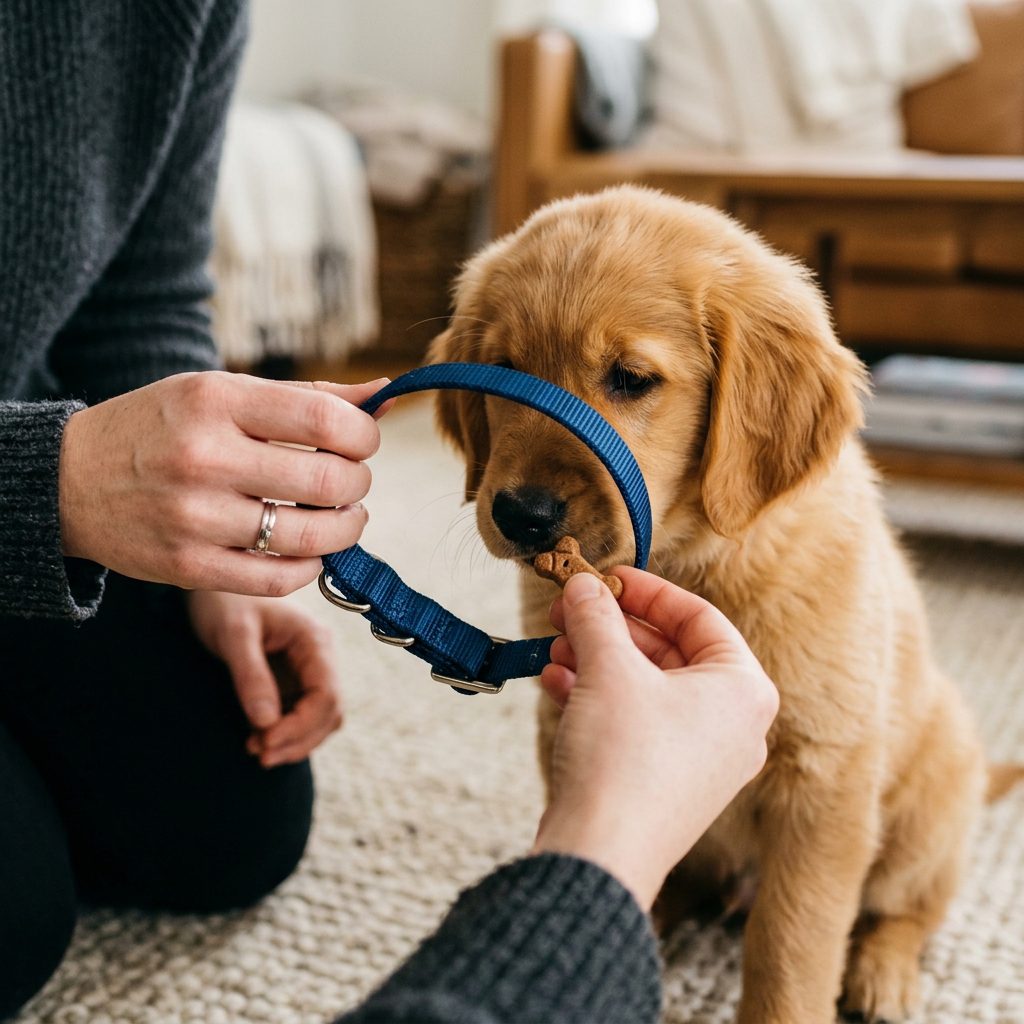
Step 3: The Neck Drape
Drape the collar over the back of their neck without buckling it. Feed a continuous stream of tiny treats while it rests there for 3 to 5 seconds. If they squirm or try to bite, you have moved too fast. Go back to Step 2.
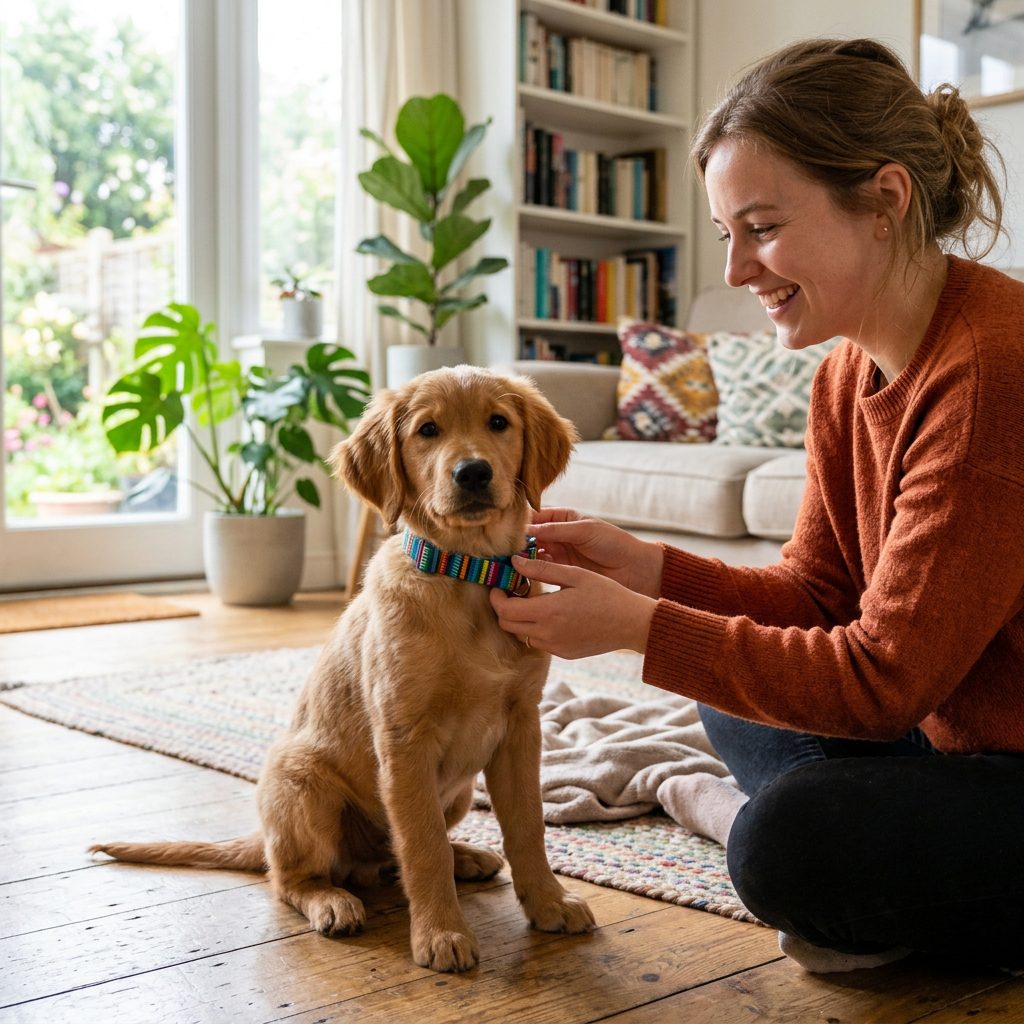
Step 4: The Fasten and Treat
This is the big moment. Bring the ends of the collar together and buckle it. The split second it clicks, give a jackpot reward (three or four treats in a row). Leave it on for exactly one minute while you play their favorite game or feed them their dinner, then take it off.
Step 5: Adding the Jingling Tags
Tags can be terrifying. The metallic jingle right next to their ears is startling. Before attaching tags to the collar, hold them in your hand and gently jingle them behind your back. Treat your puppy for remaining calm. Gradually bring the sound closer over a few sessions before finally attaching them to the collar.
Pro Tip: If the tags are driving your puppy crazy, try taping them together with a piece of clear tape for the first week to mute the sound, or purchase a silicone tag silencer.
Troubleshooting Common Collar Training Issues
Even with the best positive reinforcement strategy, bumps in the road happen. Here is how to handle the most common collar-related meltdowns.
The Constant Scratcher
It is completely normal for a puppy to scratch at a new collar. Their neck is sensitive! However, if they are obsessively scratching to the point of distress, check the fit. You should be able to comfortably slip two fingers between the collar and your dog’s neck. If it is too tight, it is pinching; if it is too loose, it is rubbing and chafing.
The Alligator Roll
If your puppy drops to the floor and starts doing the “alligator roll” to get the collar off, immediately redirect their attention. Grab a highly engaging squeaky toy or start a training session with basic commands like “Sit” or “Touch.” You want to distract them from the sensation on their neck. Once they are distracted and happy, casually remove the collar and end the session.
Fear of the Buckle Sound
Some puppies are sound-sensitive and hate the *click* of a plastic buckle. You can desensitize them to this by clicking the buckle behind your back, far away from their head, and immediately tossing a treat. Do this twenty times, and soon that click will sound like a dinner bell.
Common Mistakes to Avoid
When we get frustrated, we tend to make mistakes that can set our puppies back weeks in their training. Here are a few pitfalls to watch out for.
Rushing the Process
The biggest mistake savvy dog owners make is expecting too much, too soon. Putting the collar on and leaving it on for 24 hours straight on day one is a recipe for a stressed-out puppy. Build up the duration slowly. Five minutes here, ten minutes there, always associated with fun things like meals and play.
Leaving a Loose Collar On Unsupervised
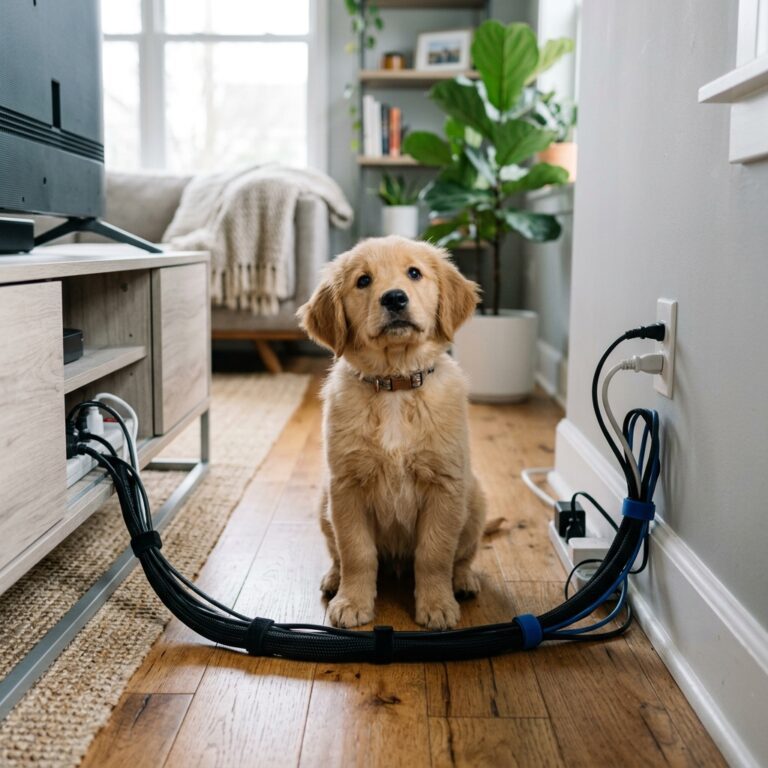
A loose collar is a severe hazard. Puppies can easily get their lower jaw stuck underneath a loose collar while trying to bite it off, leading to panic and potential injury. Always ensure the two-finger rule is met, and consider using a breakaway collar when they are in their crate.
| Do This | Don’t Do This |
|---|---|
| Keep training sessions under 5 minutes to prevent frustration. | Force the collar over their head or wrestle them to put it on. |
| Use high-value, smelly treats specifically reserved for collar training. | Chase them if they run away with the collar—this makes it a game. |
| Desensitize them to the sound of tags before attaching them. | Leave a collar on unsupervised if your puppy is actively trying to chew it. |
Conclusion
Training your squirmy puppy to sit still for their collar and tags doesn’t have to be a daily wrestling match. By understanding their perspective, breaking the process down into manageable steps, and utilizing the power of positive reinforcement, you can turn collar time into an experience your puppy actually looks forward to.
Remember, savvy dog ownership is all about patience and clear communication. Grab those high-value treats, take it one step at a time, and before you know it, your little land shark will be proudly sporting their new accessories. Happy training!