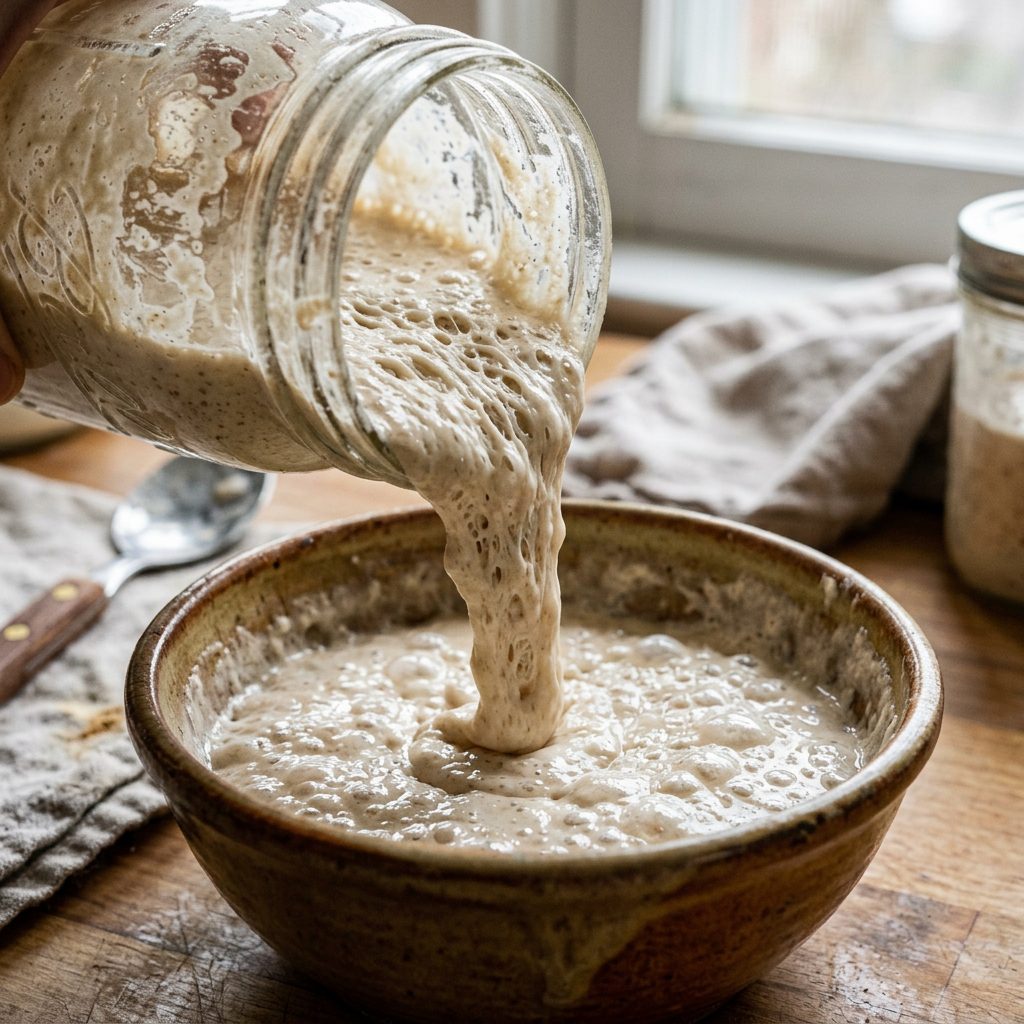
Don’t Waste It! The Ultimate Sourdough Starter Leftover Dog Treat Recipe
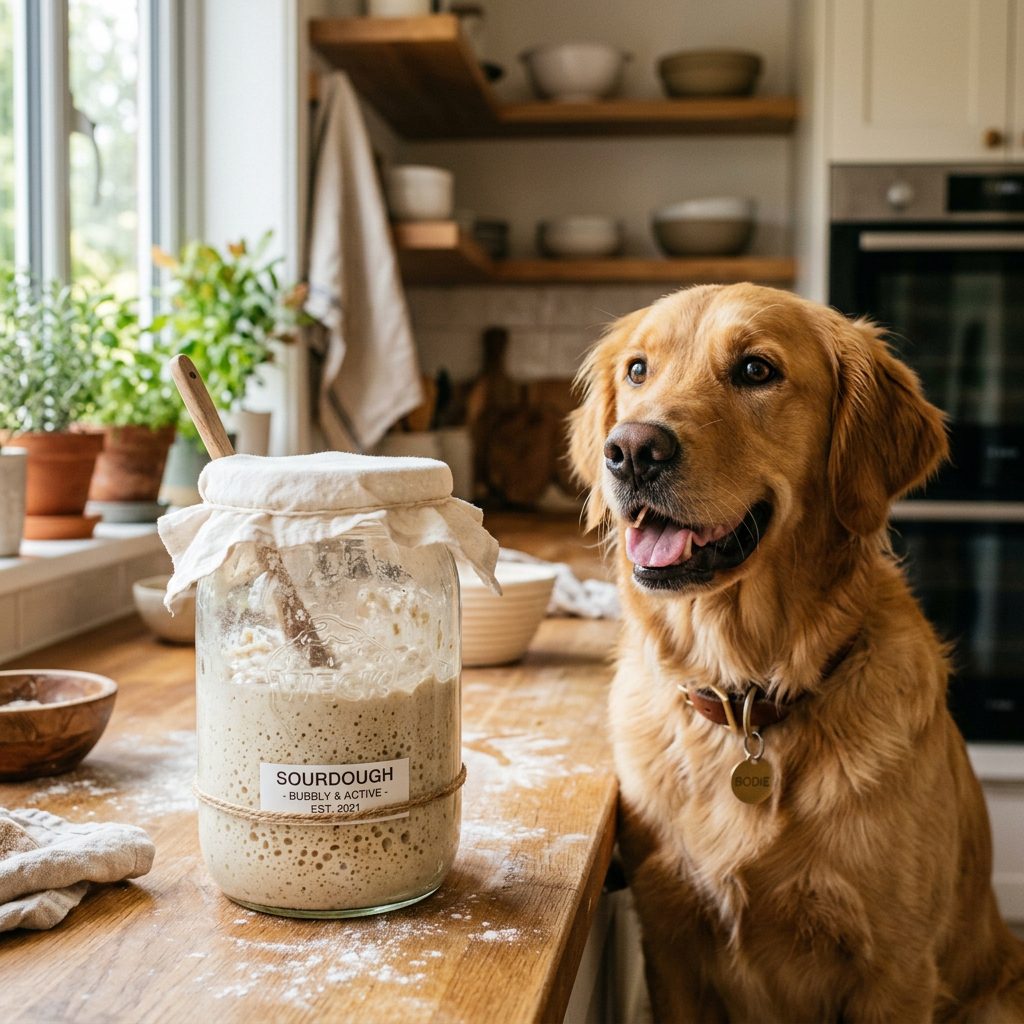
Hey there, fellow dog lovers and kitchen scientists! If you are anything like me, you probably jumped on the sourdough baking bandwagon and now find yourself chained to a bubbling jar of fermented flour and water. You know the drill: feed the starter, wait for it to rise, and then comes the heartbreaking part—scooping out half of that precious, time-intensive mixture and tossing it right into the trash just to keep the ratios balanced. As a savvy dog owner and your resident Canine Nutrition Hacker, watching perfectly good, gut-friendly ingredients go into the garbage absolutely kills me. We analyze ingredient labels like forensic scientists to avoid paying premium prices for cheap fillers like corn gluten meal, yet here we are, throwing away a nutritional goldmine right in our own kitchens.
Well, no more! Today, we are putting an end to the sourdough waste. We are going to transform that tangy, probiotic-rich discard into the ultimate homemade dog treat. Not only is this going to save you serious cash compared to buying those overpriced boutique dog biscuits at the pet store, but it is also going to give you complete control over exactly what goes into your furry best friend’s body. Commercial treats are notorious for hiding artificial preservatives, mystery meat meals, and sugar under clever marketing jargon. By utilizing your sourdough discard, we are taking back control. Grab your mixing bowls and let us dive into the science, the savings, and the ultimate recipe that will have your dog drooling by the oven door.
The Secret Power of Sourdough Discard for Dogs
Before we get our hands doughy, let us talk about why sourdough discard is actually a fantastic addition to your dog’s diet. As the Canine Nutrition Hacker, I do not just throw ingredients into a bowl without knowing exactly what they do on a cellular level. Sourdough starter is essentially a wild yeast and lactic acid bacteria culture. When flour and water ferment, magic happens.
Breaking Down Phytic Acid
One of the biggest issues with commercial dog biscuits that use heavy amounts of unfermented grains is phytic acid. Phytic acid is an anti-nutrient found in grains that binds to essential minerals like zinc, iron, and calcium, preventing your dog’s body from fully absorbing them. The long fermentation process of a sourdough starter actively breaks down this phytic acid, essentially pre-digesting the grains and making those vital nutrients highly bioavailable to your dog.
Gut Health and Digestibility
We are constantly hearing about probiotics for dogs, and for good reason. A healthy gut microbiome is the foundation of a strong immune system. While the baking process will kill off the live probiotics in the sourdough discard, the fermentation process leaves behind powerful prebiotics and beneficial metabolites. These prebiotics act as premium fuel for the good bacteria already living in your dog’s digestive tract. Plus, the breakdown of gluten during fermentation makes these treats incredibly gentle on sensitive stomachs. If your dog gets gassy or experiences loose stools from standard wheat-based treats, these fermented wonders might just be the solution you have been searching for.
Hacker Tip: Even though sourdough discard is pre-digested and gentle, always introduce any new treat slowly into your dog’s diet to monitor how their unique digestive system responds!
The Safe Chef Guide: Essential Rules and Toxic Ingredients to Avoid
Alright, let us pause for a crucial reality check. SAFETY DISCLAIMER: I am a savvy dog owner and nutrition hacker, not a veterinarian. While these treats are a fantastic, healthy addition to your dog’s routine, they are meant for supplemental feeding only and should not replace a complete and balanced daily diet. Always consult with your holistic or traditional vet if your dog has specific medical conditions like pancreatitis or severe grain allergies.
The Enemy Ingredients
When we make DIY treats, the beauty is in the customization, but that also means the responsibility falls entirely on us to keep things safe. When you are raiding your pantry to flavor these sourdough discard treats, you must be hyper-vigilant.
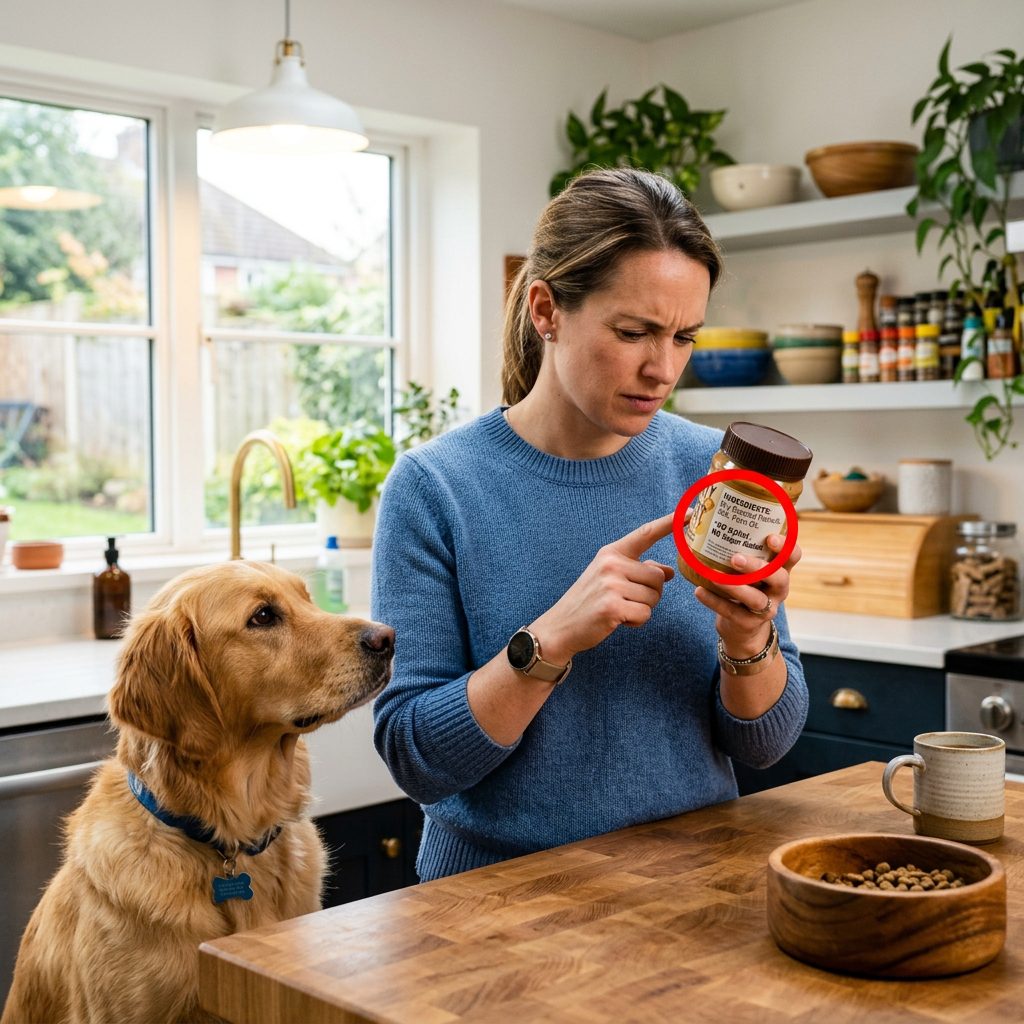
- Xylitol (Birch Sugar): This is the absolute biggest threat in the DIY treat world. It is an artificial sweetener commonly hidden in peanut butter. It is highly toxic to dogs and can cause a rapid, fatal drop in blood sugar. Always read your peanut butter label like your dog’s life depends on it, because it does. The only ingredients should be peanuts and maybe a little salt.
- Garlic and Onions: While humans love a savory garlic sourdough cracker, these alliums destroy canine red blood cells and lead to anemia. Keep them far away from your dog’s dough.
- Excess Salt and Sugar: Your dog does not need sweet or salty treats. Their palate is perfectly satisfied by the natural flavors of meats, fats, and dog-safe veggies. Skip the added sodium and refined sugars completely.
- Macadamia Nuts and Raisins: Never use these as mix-ins. Both are highly toxic to dogs and can cause neurological issues or acute kidney failure.
Hero Ingredients to Add
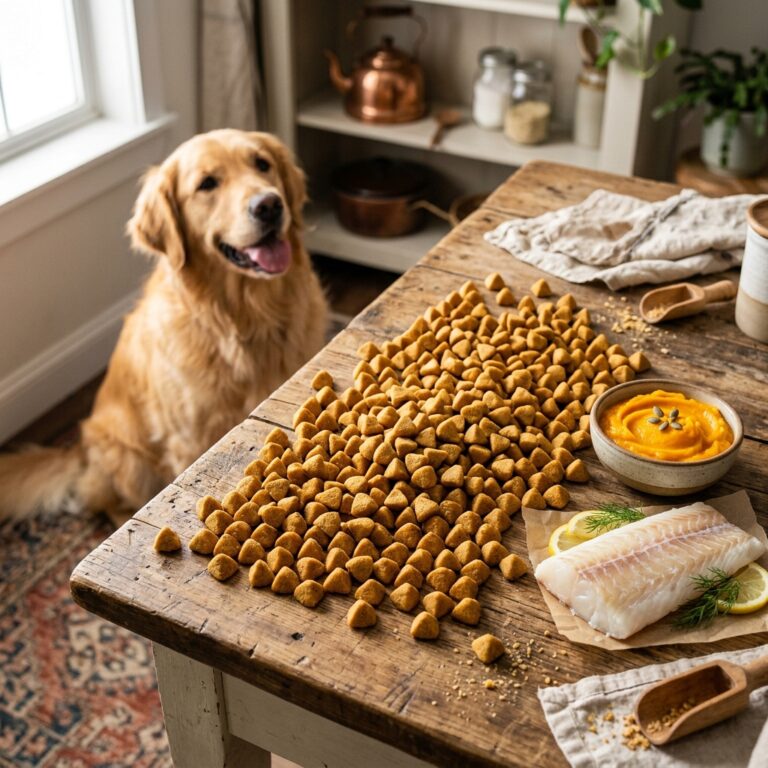
Instead of the bad stuff, we are going to pack these treats with functional, health-boosting add-ins. Think pure canned pumpkin (not pie filling!) for digestive fiber, bone broth for joint-supporting collagen, or a dash of Ceylon cinnamon for anti-inflammatory benefits.
The Real Cost Breakdown: DIY vs. Premium Store-Bought
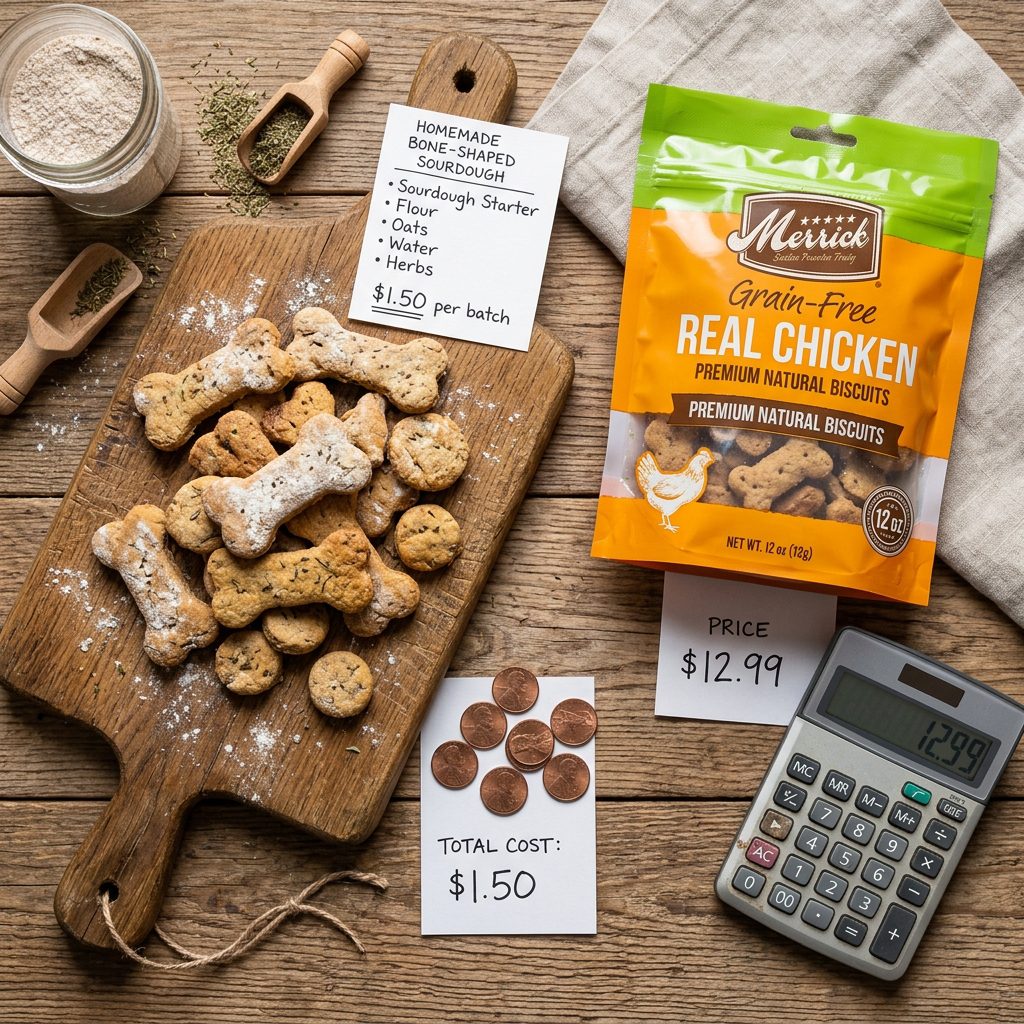
Let us talk numbers, because being a Canine Nutrition Hacker is just as much about protecting your wallet as it is about protecting your dog’s health. Have you looked at the price of premium, limited-ingredient, gut-healthy dog treats lately? They are astronomically priced. Brands slap the words ‘artisanal’ or ‘probiotic’ on a tiny 8-ounce bag and suddenly charge you $15. It is highway robbery.
By utilizing the sourdough discard you were already going to throw away, your base ingredient is essentially free. You are only paying for the binding flour (like oat or whole wheat) and your flavor agents (like dog-safe peanut butter or pumpkin). Let us look at the forensic breakdown of what it costs to treat a medium-to-large 50lb dog over the course of a month, assuming you give them about two treats a day.
| Treat Category | Primary Ingredients | Cost Per Batch/Bag | Approx. Cost Per Day (50lb Dog) | The Hacker’s Verdict |
|---|---|---|---|---|
| DIY Sourdough Discard Treats | Sourdough discard, oat flour, pure peanut butter, egg | $2.50 (mostly for the oat flour & peanut butter) | $0.15/day | Absolute Winner. Complete control over ingredients, utilizes waste, highly digestible. |
| Premium Boutique Bakery Treats | Organic wheat, peanut butter, preservatives, vague ‘probiotics’ | $14.99 (8oz bag) | $1.20/day | Overpriced hype. You are paying for fancy packaging and marketing buzzwords. |
| Cheap Grocery Store Biscuits | Wheat flour, meat by-products, BHA/BHT, artificial colors | $4.00 (large box) | $0.30/day | Dangerous fillers. Full of inflammatory ingredients and questionable chemical preservatives. Avoid. |
As you can see, spending just 20 minutes in the kitchen saves you a massive amount of money while delivering a product that is vastly superior in quality. You are saving over a dollar a day compared to boutique treats, which adds up to nearly $400 a year. That is money you can put toward high-quality joint supplements or fresh food toppers for their main meals!
The Ultimate Sourdough Discard Dog Treat Recipe
Alright, it is time to put on your chef’s hat. This recipe is highly adaptable, but I am giving you the absolute best base formula. We are using oat flour because it is naturally gluten-free (which balances the gluten in your wheat-based starter) and is fantastic for canine digestion. If you do not have oat flour, you can easily make your own by blending plain, unflavored rolled oats in a food processor until fine.
The Hacker’s Ingredient List
- 1 Cup Sourdough Discard: Unfed is perfectly fine, right from the fridge.
- 2 Cups Oat Flour: Plus a little extra for dusting your rolling surface.
- 1/2 Cup Natural Peanut Butter: CRITICAL: Must be Xylitol-free! Only peanuts and salt.
- 2 Large Eggs: For binding and a great source of bioavailable protein and healthy fats.
- 1 Tablespoon Bone Broth or Water: Just in case the dough is a little too dry.
Step-by-Step Action Plan
- Preheat and Prep: Preheat your oven to 350 degrees Fahrenheit (175 degrees Celsius). Line two large baking sheets with parchment paper. Do not use non-stick sprays, as they often contain soy lecithin or propellants we do not want our dogs eating.
- The Wet Mix: In a large mixing bowl, combine your sourdough discard, dog-safe peanut butter, and the two eggs. Whisk them together until you have a smooth, sticky, wet mixture.
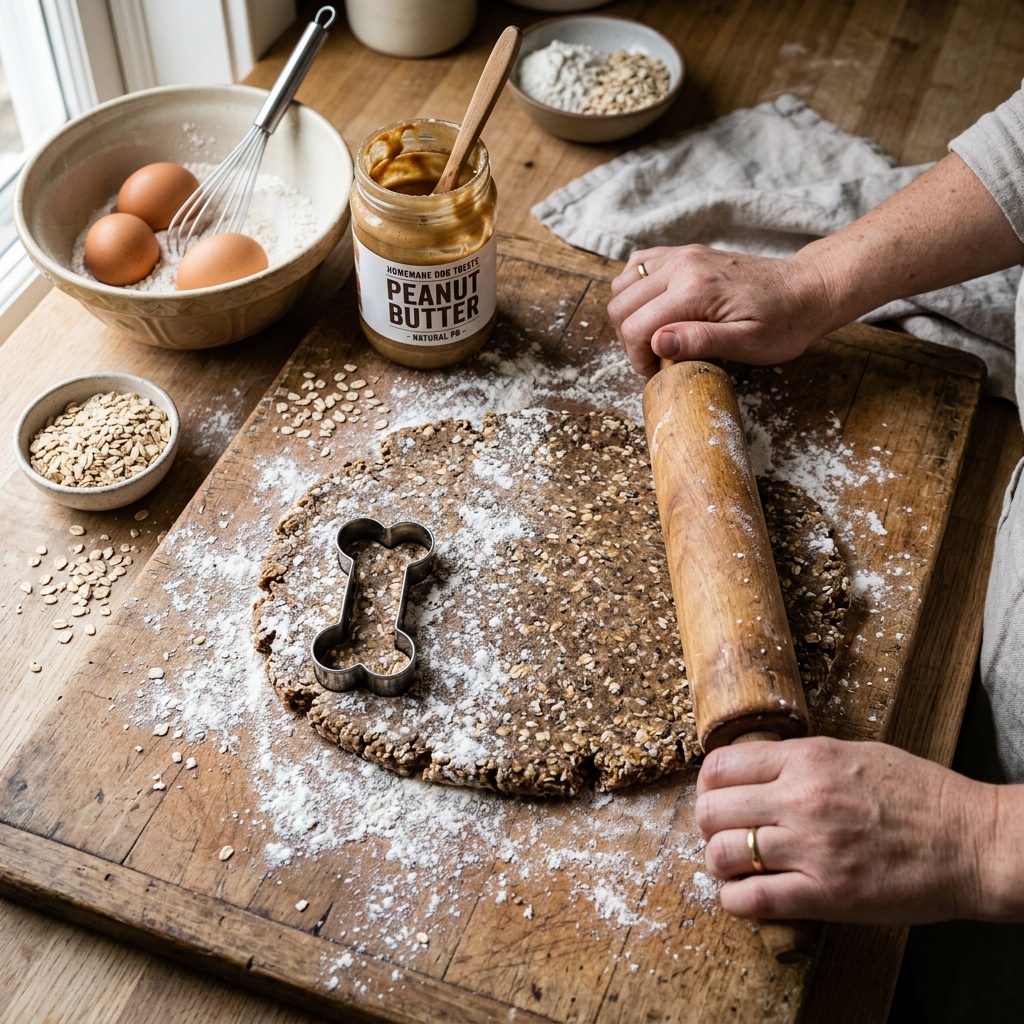
- Incorporate the Flour: Gradually add the oat flour into the wet mixture, about a half cup at a time. Use a sturdy wooden spoon or your hands to mix. You are looking for a consistency similar to Play-Doh. It should be pliable but not overly sticky. If it is too crumbly, add a teaspoon of bone broth or water at a time. If it is too wet, add a sprinkle more oat flour.
- Roll It Out: Lightly dust your kitchen counter or a large cutting board with oat flour. Turn the dough out and roll it to about 1/4 inch thickness. The thinner you roll them, the crunchier they will be (which is great for scraping plaque off teeth!).
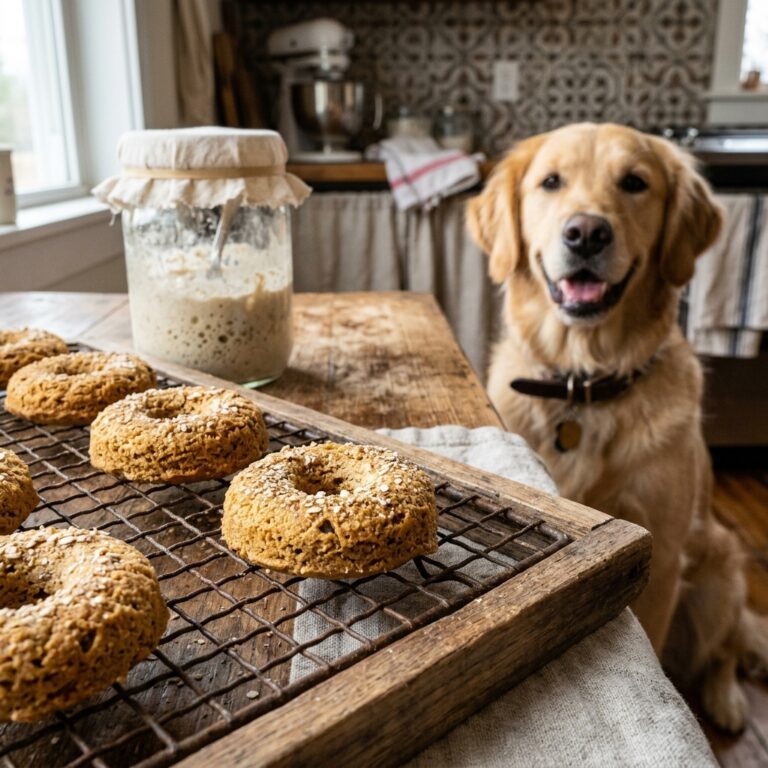
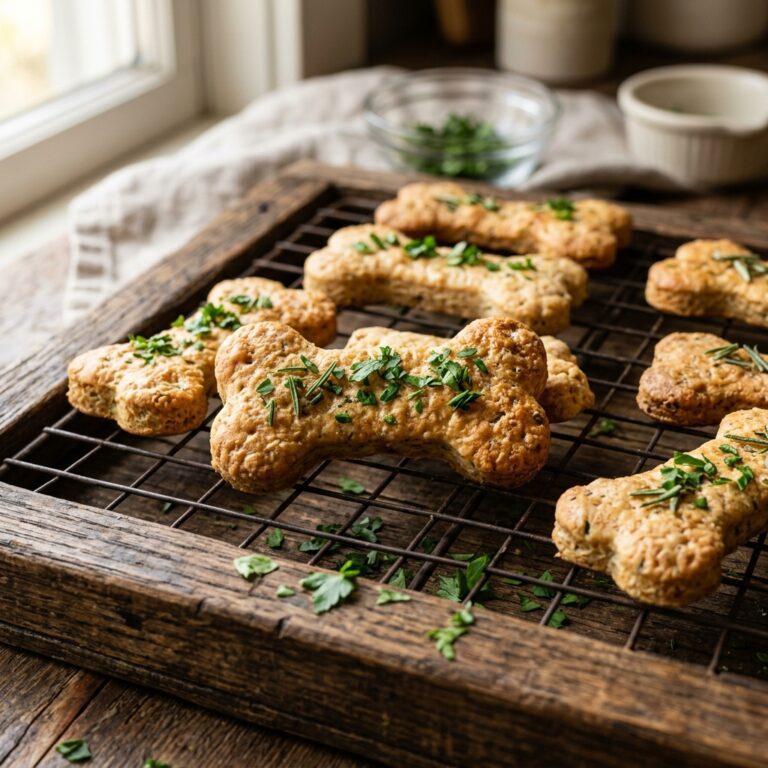
- Cut the Shapes: Use a bone-shaped cookie cutter, or just a pizza cutter to slice the dough into small, training-sized squares to save time. Place the treats on your parchment-lined baking sheets. They do not spread much, so you can pack them relatively close together.
- Bake to Perfection: Bake for 20 to 25 minutes. If you want them extra crunchy for a longer shelf life, turn the oven off after 25 minutes and leave the treats inside as the oven cools down to dehydrate them completely.
- Cool Completely: Let them cool entirely on a wire rack before letting your dog taste-test. Warm treats can hold moisture and spoil faster in storage.
Batch Cooking and Storage Hacker Tips
One of the biggest mistakes DIY dog treat makers make is improper storage. Because we are Canine Nutrition Hackers, we do not use chemical preservatives like BHA, BHT, or ethoxyquin (which are often found in cheap commercial treats to keep them on shelves for years). Because our treats are made from fresh, whole foods, they will mold if left in a warm, humid environment.
The Countertop vs. The Fridge
If you baked your treats until they are completely rock-hard and dehydrated (using the oven-cooling method mentioned in the recipe), they can be stored in an airtight container on the countertop for about one week. However, if you left them a little soft and chewy for a senior dog or a puppy, they contain higher moisture and must be stored in the refrigerator. In the fridge, soft treats will last for about two to three weeks.
The Freezer Hacker Method
My absolute favorite strategy is batch cooking. Since you probably generate sourdough discard every week, you can easily end up with more treats than your dog should eat. Enter the freezer. These treats freeze incredibly well. You can freeze them in two ways:
- Freeze the Baked Treats: Let the baked treats cool completely, then toss them into a freezer-safe silicone bag or airtight container. They will last up to 6 months! You can give them to your dog straight from the freezer on a hot summer day for a cooling crunch, or let them thaw on the counter for 10 minutes.
- Freeze the Raw Dough: If you want the house to smell amazing later, roll the dough into a log, wrap it tightly in parchment paper and then place it in a freezer bag. When you are ready to bake, let the dough thaw in the fridge overnight, slice it into rounds, and bake as directed.
Hacker Tip: Throw a food-safe silica gel packet (you can buy these online or save them from human food packages) into your airtight treat jar on the counter. It will absorb ambient moisture and significantly extend the shelf life of your crunchy treats!
Conclusion
There you have it—the ultimate hack for zero-waste sourdough baking that directly benefits your four-legged best friend. By taking a few extra minutes to mix that discard with some dog-safe pantry staples, you are bypassing the overpriced, filler-heavy commercial treat industry and delivering gut-supporting, highly digestible nutrition right to your dog’s bowl. You have learned how to avoid toxic ingredients, you have seen the undeniable cost savings in our breakdown, and you are now armed with a foolproof recipe that will make you a hero in your dog’s eyes.
Remember, being a savvy dog owner is all about making informed, proactive choices. Stop throwing away that fermented gold! Give this recipe a try this weekend, and I guarantee your dog will be waiting by the oven door every time you feed your starter from now on. Stay vigilant, keep reading those ingredient labels, and happy baking, my fellow Canine Nutrition Hackers!