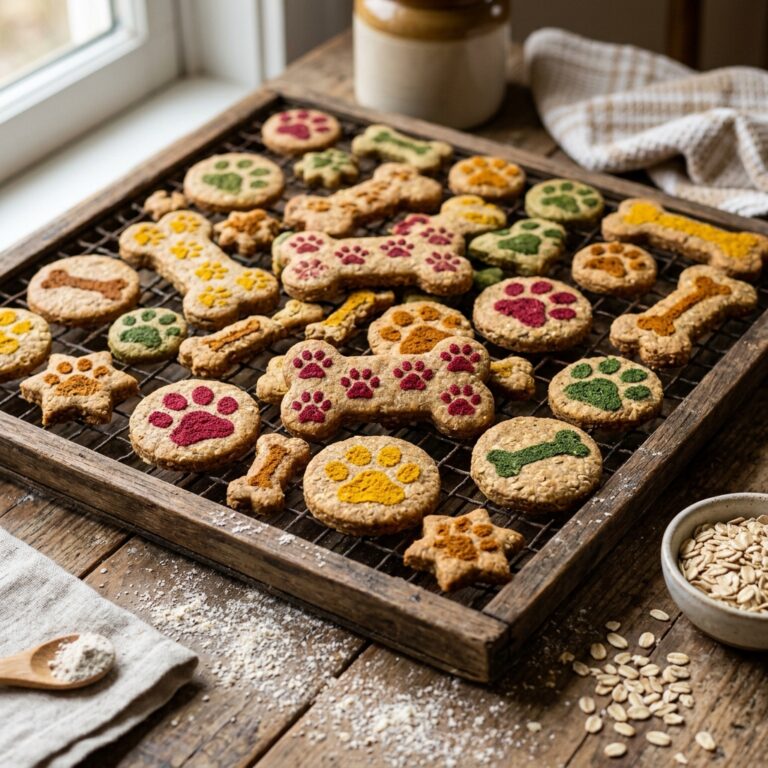
The Foolproof Oven Method to Dry Dog Treats So They Last for Months Without Mold
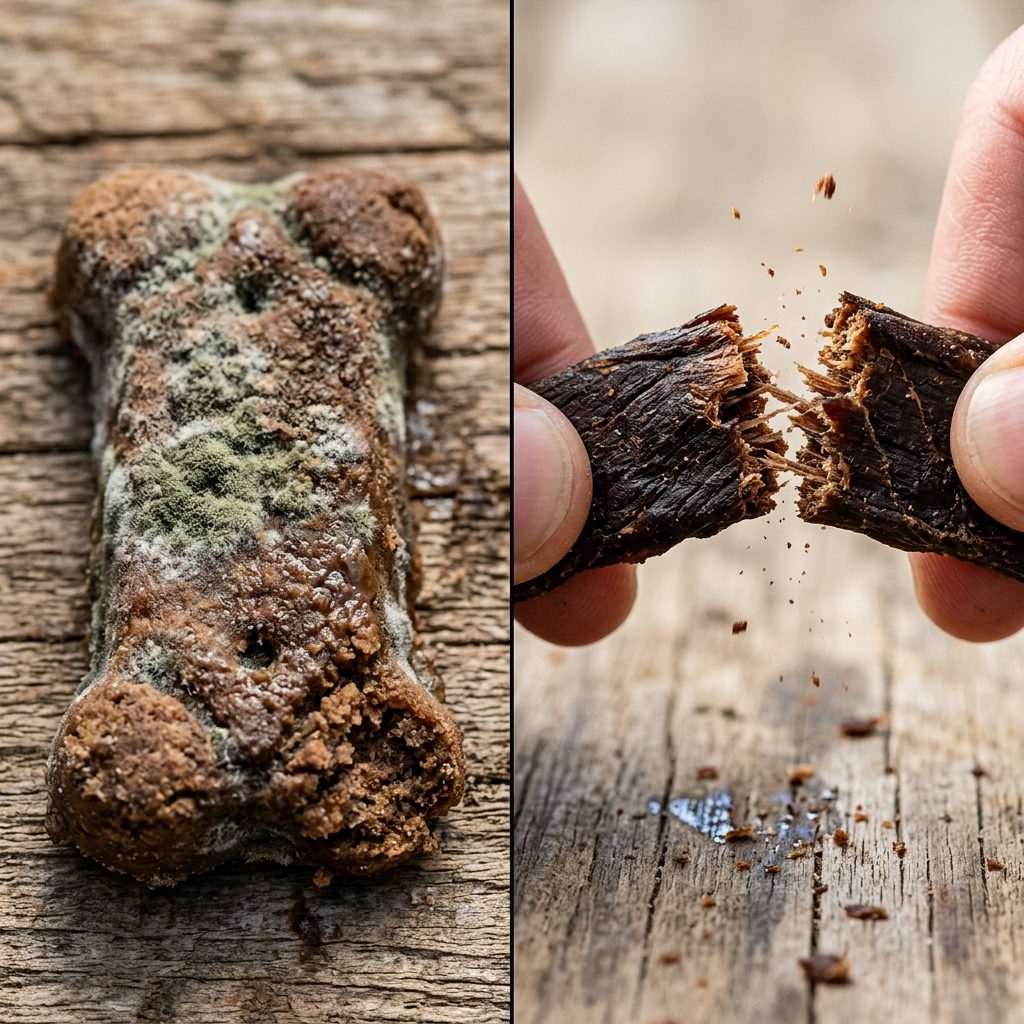
Welcome back to the kitchen, savvy dog owners. If you are reading this, you already know the truth about commercial dog treats. You know that the center aisles of the pet store are packed with overpriced bags of fillers, artificial dyes, and sketchy preservatives like BHA, BHT, and ethoxyquin. You decided to take matters into your own hands and bake your dog a batch of fresh, wholesome treats. You felt like a champion. But then, three days later, you reached into the cookie jar and pulled out a fuzzy, green, moldy disaster. Sound familiar?
Disclaimer: I am a savvy dog owner and nutrition hacker, not a veterinarian. While these treats are incredibly healthy, they are meant for supplemental feeding and training, not as a complete meal replacement. Always consult your vet if your dog has specific dietary restrictions.
As the Canine Nutrition Hacker, I refuse to let good ingredients (and good money) go to waste. The reason your homemade treats are molding is simple: moisture. Commercial brands keep their soft treats shelf-stable by pumping them full of chemical humectants like propylene glycol (yes, the stuff related to antifreeze) and industrial preservatives. We do not want that garbage anywhere near our dogs. Instead, we are going to use the oldest, safest, and most effective preservation method known to mankind: dehydration. And you do not need a fancy, expensive dehydrator to do it. Today, I am going to walk you through the absolute foolproof oven method to dry your homemade dog treats so they last for months without a single speck of mold.
The Enemy: Moisture, Water Activity, and The Mold Equation
Before we start slicing and dicing, we need to understand exactly what we are fighting. In the food science world, there is a term called Water Activity (Aw). This is not just the water content of the food; it is the amount of “free” water available for microorganisms like mold, yeast, and bacteria to use for growth. When you bake a standard dog biscuit at 350 degrees for 20 minutes, you are cooking the dough, but you are not removing enough free water to lower the Aw to a safe level.
Mold spores are everywhere. They are in the air in your kitchen, on your countertops, and on the ingredients themselves. The moment that baked, moist treat cools down and sits in a sealed container or a plastic bag, you have created a humid micro-climate. It is a luxurious sauna for mold spores, and they will multiply rapidly.
Insider Secret: Commercial pet food companies aim for a Water Activity level below 0.6 to prevent mold without using heavy chemical preservatives. Our goal with the oven-drying method is to hit that exact same metric naturally.
To beat the system, we have to change our mindset from “baking” to “drying.” Baking uses high heat to cause chemical reactions (like caramelization and gluten development) quickly. Drying uses low, consistent heat combined with steady airflow to gently evaporate the free water over several hours. By mastering this low-and-slow technique in your standard kitchen oven, you strip the mold of the one thing it needs to survive: water.
The Real Cost Breakdown: Saving Money Like a Pro
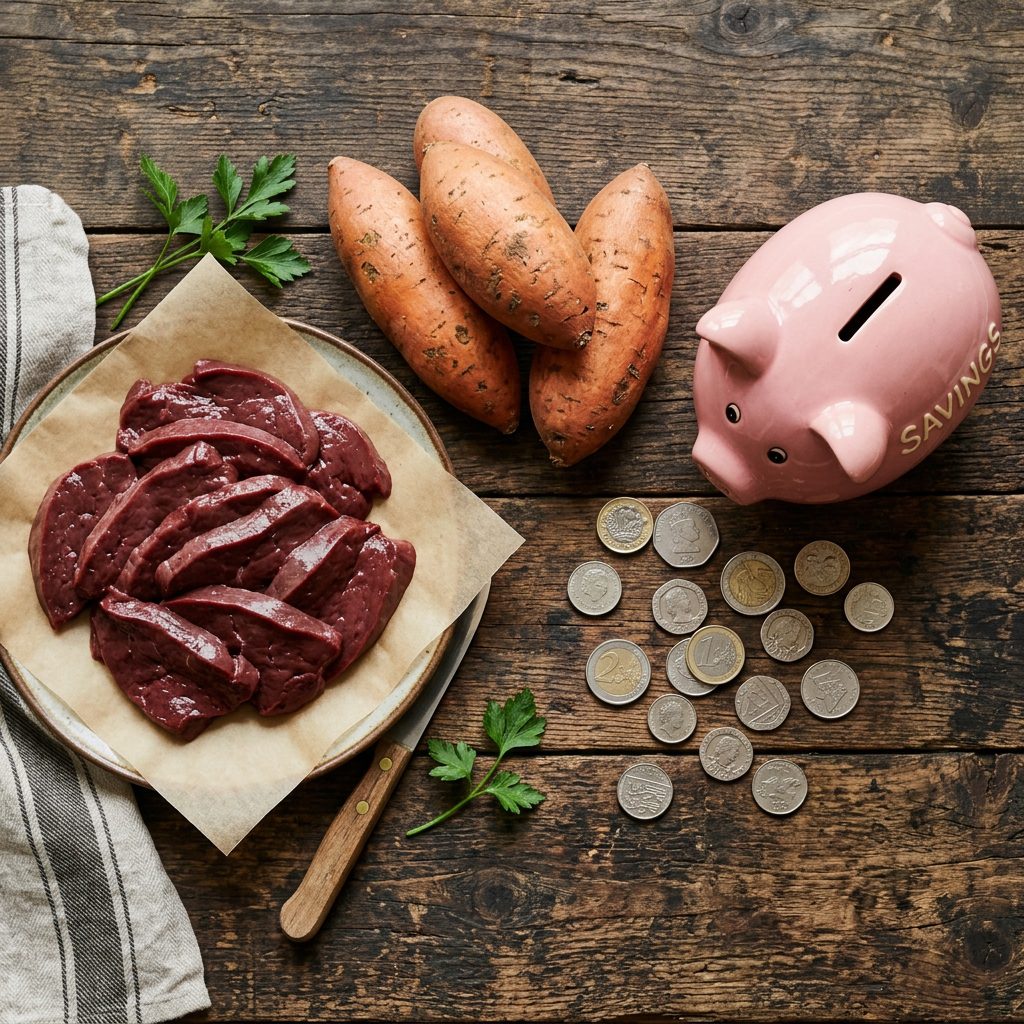
Let us talk numbers, because being a savvy dog owner means protecting your wallet just as fiercely as you protect your dog’s health. If you walk into a boutique pet store right now, a bag of single-ingredient, artisanal beef liver jerky or sweet potato chews will cost you a small fortune. You are paying for the fancy craft paper packaging, the marketing, and the retail markup.
When you utilize the foolproof oven method, you are buying the raw ingredients at grocery store prices and doing the processing yourself. The savings are not just noticeable; they are astronomical. Let us look at the forensic breakdown of what you are actually spending versus what you are saving.
| Treat Type (16 oz Yield) | Premium Store-Bought Cost | DIY Oven-Dried Cost | Money Saved |
|---|---|---|---|
| Single-Ingredient Beef Liver Jerky | $35.00 – $45.00 | $4.50 – $6.00 | ~$34.50 per batch |
| Dehydrated Sweet Potato Chews | $20.00 – $25.00 | $2.00 – $3.00 | ~$19.50 per batch |
| Chicken Breast Strips | $30.00 – $40.00 | $5.00 – $7.00 | ~$29.00 per batch |
If you make just one batch of beef liver jerky and one batch of sweet potato chews a month, you are saving over $600 a year. That is money you can put toward high-quality core nutrition, joint supplements, or an emergency vet fund. This method does not just save your treats from the trash can; it literally pays you for your time.
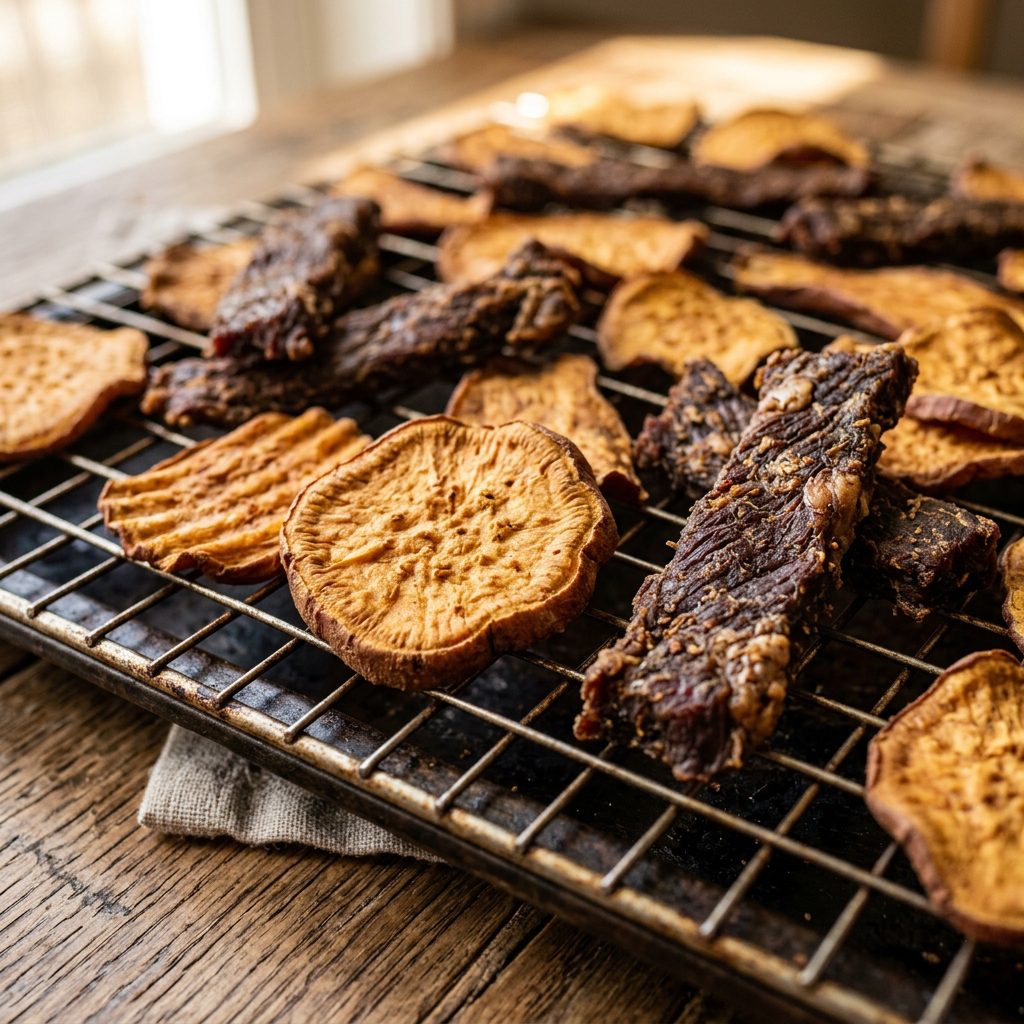
The Actionable Recipe: The Low-and-Slow Oven Hack
Alright, let us get into the kitchen. This is the exact step-by-step methodology to transform cheap, raw ingredients into premium, shelf-stable dog treats. For this example, we will focus on lean meats like chicken breast or beef round, and dense vegetables like sweet potatoes. The rules apply universally.
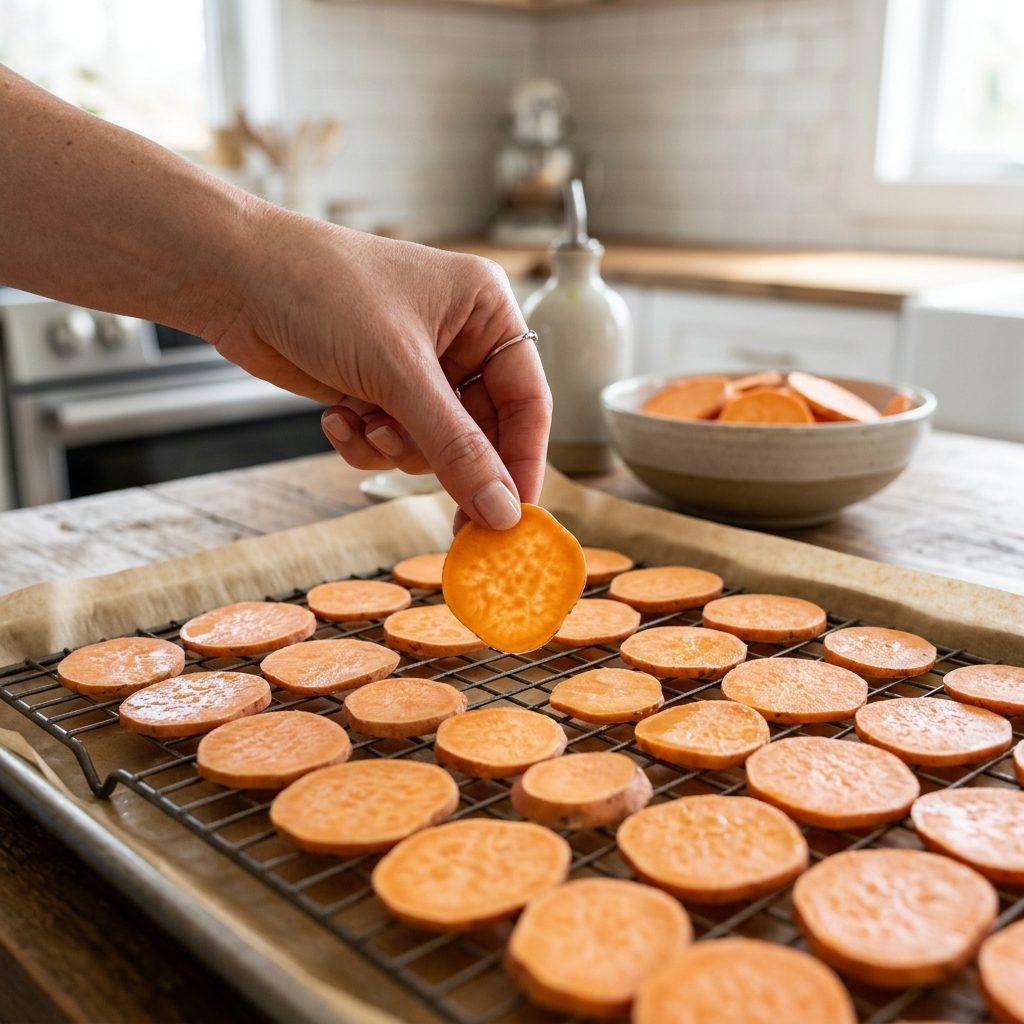
Step 1: The Chill and Slice
Uniformity is the secret to even drying. If one piece is thick and another is paper-thin, half your batch will burn while the other half molds. Hacker Tip: Place your raw meat in the freezer for 45 to 60 minutes before slicing. This firms up the proteins, allowing you to slice incredibly thin, even strips. Aim for about 1/8 to 1/4 inch thick. For sweet potatoes, use a mandoline slicer if you have one.
Step 2: The Rack Setup
Do not just lay your slices directly on a baking sheet. The moisture needs to escape from the bottom as well as the top. Place wire cooling racks on top of your baking sheets. Lay the slices on the wire racks, ensuring no pieces are touching. Airflow is your best friend here.
Step 3: The Temperature Hack
Set your oven to its absolute lowest temperature setting. For most standard home ovens, this is between 150°F and 170°F (65°C to 75°C). If your oven runs hot, you might end up cooking the outside of the meat too fast, sealing the moisture inside (a phenomenon known as “case hardening”). We want slow evaporation, not cooking.
Step 4: The Wooden Spoon Trick
This is the most critical step of the entire foolproof method. Your oven is designed to trap heat and moisture. If you close the door completely, you are just creating a steam room. To allow the evaporating moisture to escape, crack the oven door open about an inch or two. Take a wooden spoon and wedge it in the door frame to keep it propped open. This creates a continuous draft, pulling dry air in and pushing moist air out.
Step 5: The Waiting Game
Patience is mandatory. Depending on the thickness of your slices and the humidity in your home, sweet potatoes can take 4 to 6 hours, while meat jerky can take 6 to 10 hours. Flip the pieces halfway through the drying time to ensure even exposure. Do not rush this process by turning up the heat.
The Snap Test: Knowing When They Are Truly Done
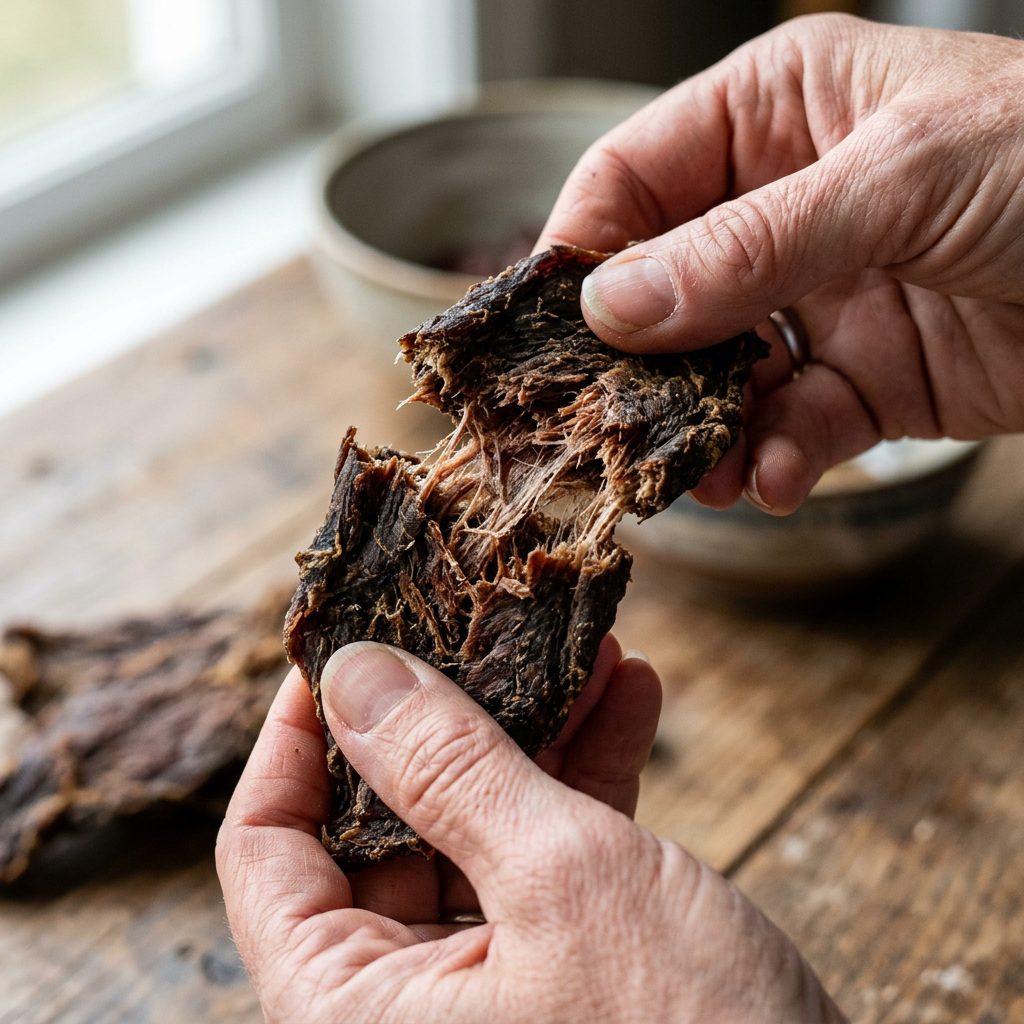
How do you know when the water activity is low enough to prevent mold? You cannot just look at them; you have to feel them. This is where we use the “Snap Test.”
Take a piece of your jerky or sweet potato out of the oven and let it cool completely on the counter for about 10 minutes. Warm treats will always feel more pliable than they actually are. Once cooled, try to bend it in half. If it bends, bows, or feels rubbery, it still holds too much moisture. Put it back in the oven.
If it bends slightly and then splinters, it is getting close. But what we are looking for is a clean, sharp snap. The treat should break cleanly in half, and the inside should look completely dry and fibrous, with no dark, moist spots in the center. For meat jerky, it should look like leather. For sweet potatoes, it should feel like a hard potato chip.
Insider Secret: The Conditioning Phase. Even after the snap test, moisture can be unevenly distributed. To guarantee a mold-free lifespan, we “condition” the treats. Place the cooled treats loosely in a large glass jar. Shake the jar once a day for a week. If you see any condensation on the glass, put the treats back in the oven for another hour. If the glass stays clear, your treats are perfectly dehydrated and shelf-stable.
Batch Cooking Secrets: Storing for Months
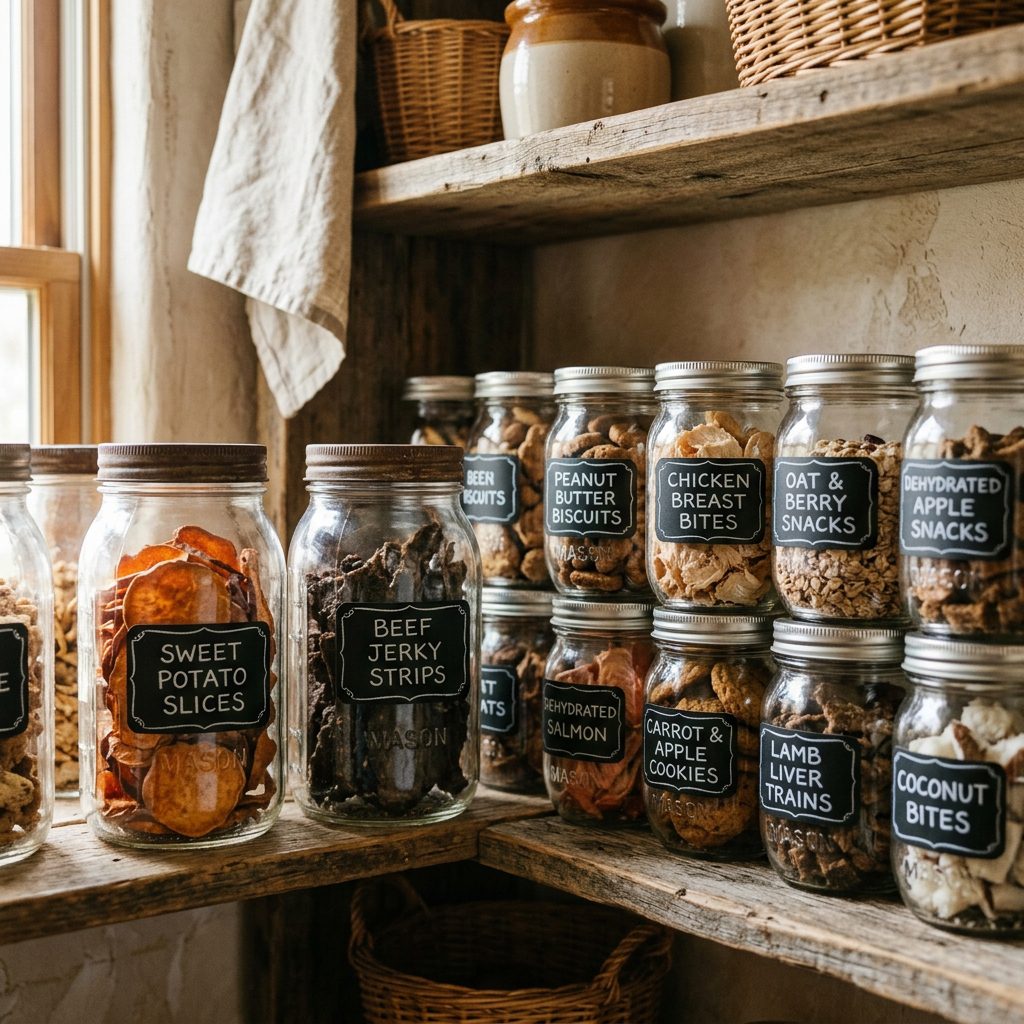
Now that you have spent hours creating the perfect, moisture-free treats, you need to protect your investment. Improper storage can undo all your hard work by allowing environmental humidity to seep back into the treats.
- Ditch the Plastic Bags: Plastic zip-top bags are slightly porous and can let moisture in over time. Always store your fully dried and conditioned treats in airtight glass containers, like Mason jars. Glass creates an impermeable barrier against humidity.
- Use Desiccant Packets: You know those little “Do Not Eat” silica gel packets that come in shoe boxes? You can buy food-grade silica gel packets in bulk online for pennies. Toss one into your Mason jar. It acts as an insurance policy, absorbing any ambient moisture that sneaks in when you open the jar to reward your dog.
- The Oxygen Absorber Hack: If you are making massive batches to last for 6 months or more, use food-grade oxygen absorbers instead of silica gel. Drop one in the jar and seal it tight. It removes the oxygen, making it impossible for aerobic bacteria or mold to survive, and keeps the fats in meat jerky from going rancid.
- Freeze the Bulk: If you made a massive 5-pound batch of jerky, keep a two-week supply in a jar on the counter, and vacuum seal the rest to store in the deep freezer. Because there is no moisture in the treats, they will not get freezer burn, and they will thaw in minutes when you need to refill your counter jar.
By controlling the environment, you are extending the shelf life of your treats from a few days to upwards of six months. No preservatives, no mold, just pure, nutrient-dense rewards for your dog.
Conclusion
There you have it. The foolproof oven method is not just a recipe; it is a fundamental shift in how you manage your dog’s nutrition. By understanding the science of water activity, utilizing the low-and-slow oven hack with the wooden spoon trick, and mastering the art of conditioning and storage, you have completely eliminated the threat of mold.
You are no longer at the mercy of expensive boutique pet stores or the chemical-laden treats in the grocery aisle. You have taken control. You are saving hundreds of dollars a year, and most importantly, you know exactly what is going into your dog’s body. So, fire up that oven, prep those baking racks, and start hacking your dog’s treats today. Your wallet, and your dog, will thank you.