Stop the Mold! How to Dry Dog Treats for Long Shelf Life (No Preservatives Needed)
SAFETY DISCLAIMER: I am The Canine Nutrition Hacker, a passionate, research-obsessed dog owner, not a veterinarian. Always consult your holistic vet before making major dietary changes. Remember that treats should only make up 10% of your dog’s daily caloric intake, and homemade diets require specific supplements to be complete and balanced.
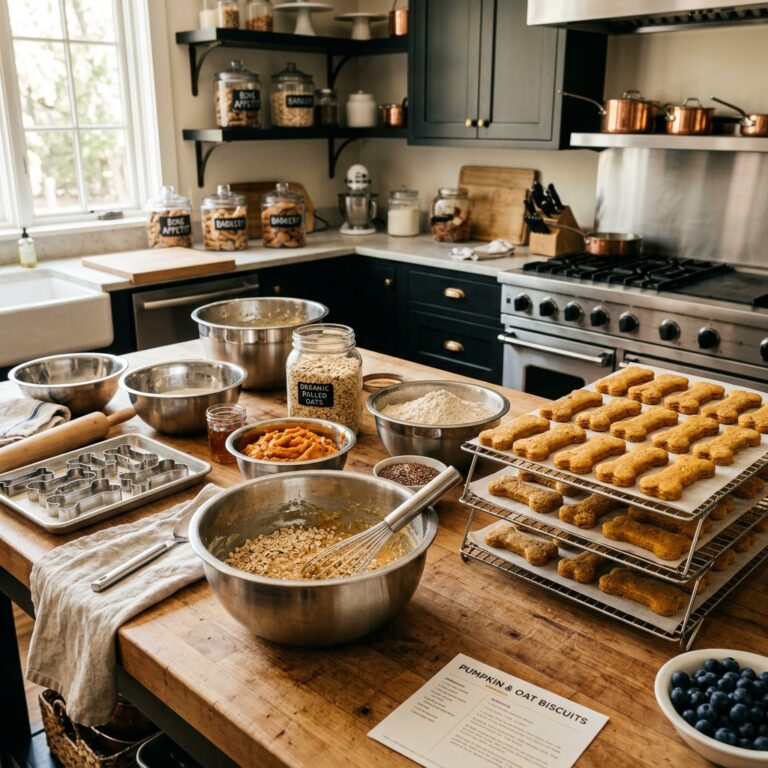
Hey there, savvy dog owners! We have all been there. You spend your Sunday afternoon carefully mixing and baking a beautiful batch of homemade, organic dog treats. You feel like an absolute rockstar pet parent. You toss them into a cute glass jar on the kitchen counter, and just three days later? Boom. A fuzzy green and white layer of mold has completely taken over your masterpiece. It is incredibly frustrating, it is a massive waste of your hard-earned money, and frankly, it is a total buzzkill.
So, what do the massive commercial pet food conglomerates do to stop this from happening on store shelves? They pump their treats full of synthetic chemical preservatives. We are talking about ingredients like BHA, BHT, and ethoxyquin—chemicals that have been heavily debated and are things you probably wouldn’t want anywhere near your own plate, let alone your best friend’s bowl. But as canine nutrition hackers, we do not settle for toxic fillers or questionable shortcuts. We use science. We use the absolute oldest, safest preservation method known to mankind: dehydration.
Today, I am going to show you exactly how to dry your dog treats to achieve a shelf life that rivals the store-bought stuff, completely preservative-free. We are going to expose the moisture monster, break down the real costs, and give you the insider secrets to batch-cooking safe, healthy, and perfectly preserved snacks for your pup.
The Moisture Monster: Why Your Treats Are Molding
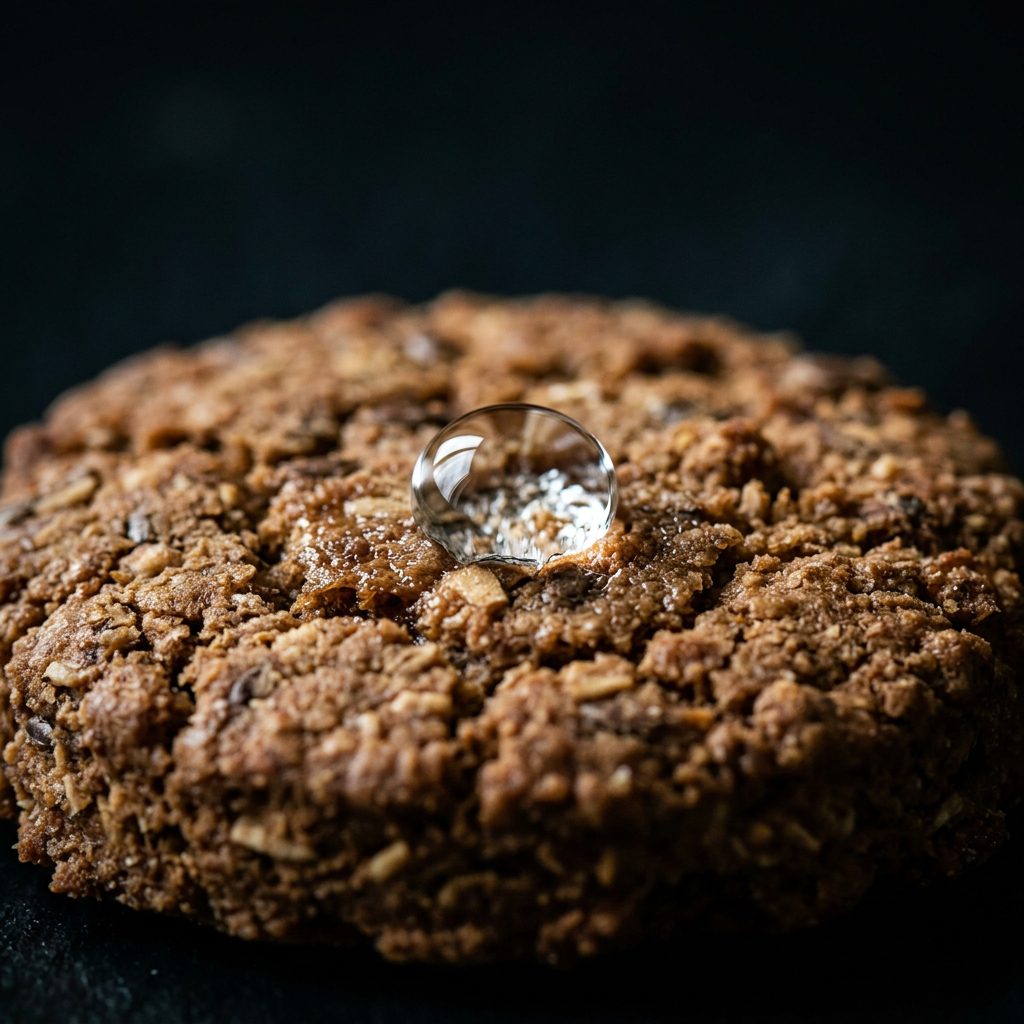
Let us get right down to the science of why your beautiful homemade treats are turning into science experiments. The enemy here is not the ingredients you are using; it is Water Activity (Aw). In the food science world, water activity is the measure of free moisture in a product that is available for bacteria, yeast, and mold to grow. If your treats are soft, chewy, and moist, they have a high water activity. Mold spores, which are naturally in the air all around us, land on that moist treat and think they have found an all-you-can-eat buffet.
Commercial brands get around this by using humectants (like propylene glycol—yikes!) to bind the water, or aggressive synthetic preservatives to kill the mold spores outright. But we do not want that junk in our dogs’ bodies.
Hacker Tip: To naturally stop mold in its tracks without chemicals, you must reduce the moisture content of your treats to below 10%. At this level, mold simply cannot survive. Dehydration is your ultimate weapon against the moisture monster.
When you bake a traditional dog biscuit, the outside might feel hard and crunchy, but the inside often retains a hidden pocket of moisture. That trapped moisture slowly migrates to the surface while sitting in your airtight jar, creating the perfect humid microclimate for mold. To fix this, we have to change our mindset from “baking” to “drying.” It is a low-and-slow game, and patience is your best friend.
The Real Cost Breakdown: DIY Dehydrated Treats vs. Premium Store-Bought
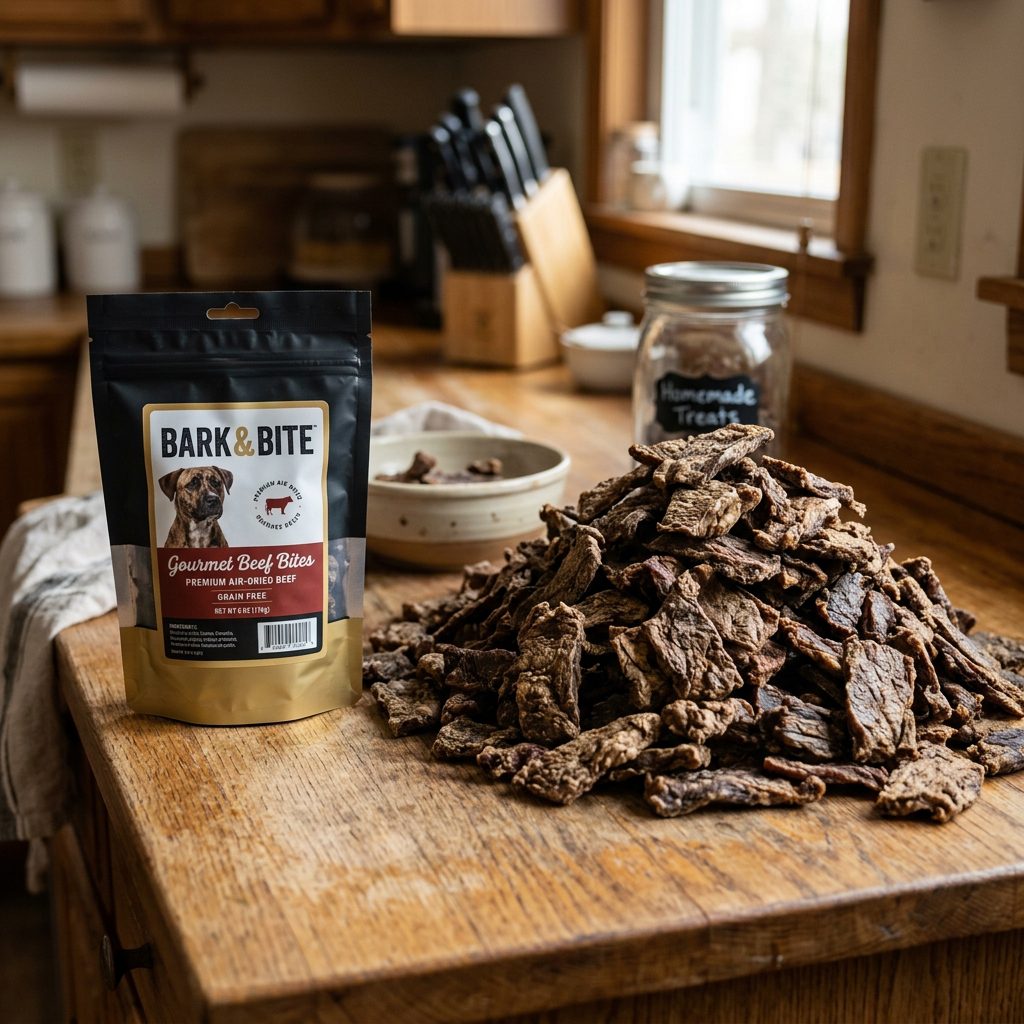
Before we get our hands dirty in the kitchen, let us talk numbers. As a savvy dog owner, you want the absolute best nutrition for your dog, but you also do not want to go bankrupt buying premium, single-ingredient treats from boutique pet stores. Let us do a forensic cost analysis comparing homemade dehydrated beef jerky to a popular premium store-bought brand.
Store-bought single-ingredient beef jerky for dogs often costs an absolute premium because you are paying for the packaging, the marketing, the shipping, and the brand name. When you buy a lean beef roast on sale at your local grocery store and dry it yourself, the savings are astronomical.
| Comparison Factor | Store-Bought Premium Jerky | DIY Dehydrated Beef Jerky |
|---|---|---|
| Primary Ingredient | Beef (Source unknown) | 100% USDA Human-Grade Lean Beef |
| Preservatives | Mixed Tocopherols or Rosemary Extract (if lucky) | None (Zero, Zilch, Nada) |
| Cost Per Ounce | $3.50 – $5.00 / oz | $0.40 – $0.60 / oz |
| Cost Per Day (50lb Dog) | $2.50/day | $0.45/day |
| The Hacker Verdict | Overpriced convenience | Ultimate nutritional control & massive savings |
By investing a little bit of time on a weekend, you are saving hundreds of dollars a year, and you know exactly what is going into your dog’s body. No mystery meats, no unpronounceable chemicals, just pure, unadulterated protein.
Method 1: The Oven-Bake Hack (For the Everyday Hacker)
You do not need a fancy, expensive dehydrator to start preserving your dog treats today. Your standard kitchen oven can do the trick if you know how to hack it. The goal here is not to cook the treats—it is to dry them out completely.
Step-by-Step Oven Drying
- Bake as Usual First: If you are making a dough-based biscuit (like oat and pumpkin), bake them at their normal temperature (e.g., 350°F) until they are fully cooked through.
- The Cool Down: Turn the oven off and let it cool down to its lowest possible setting, usually around 150°F to 170°F.
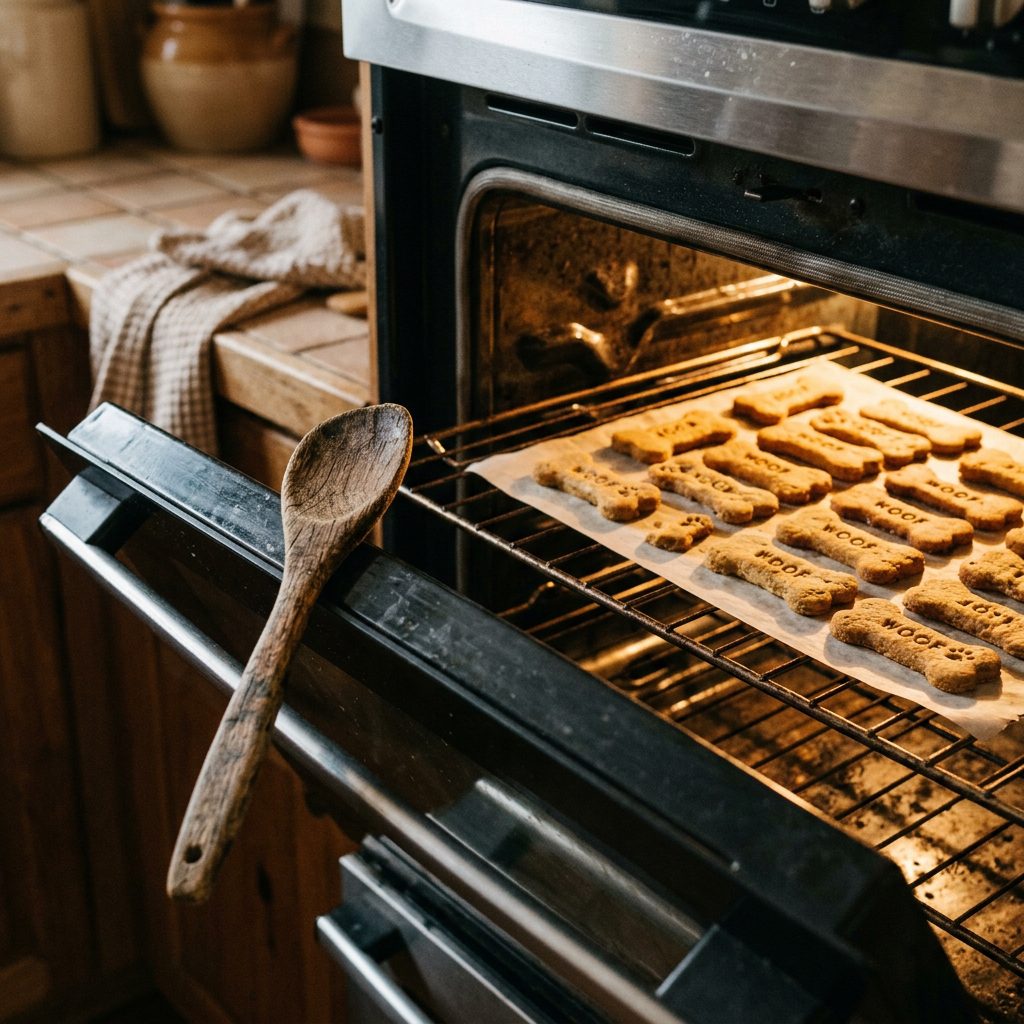
- The Low-and-Slow Dry: Place the cooked treats back into the oven on wire cooling racks. Do not place them directly on a solid baking sheet; air needs to circulate 360 degrees around the treat.
- Crack the Door: This is the most critical step! Prop the oven door open about an inch or two using a wooden spoon. This allows the evaporated moisture to escape. If you leave the door closed, you are just creating a sauna, and the treats will never dry properly.
- Wait it Out: Leave them in the propped oven for 3 to 4 hours, or even overnight, depending on the thickness of the treat.
Insider Secret: The thinner you roll your dough or slice your meat, the faster and more thoroughly it will dry. Aim for 1/4 inch thickness maximum for the best results.
Method 2: The Dehydrator Domination (For the Pro Hacker)
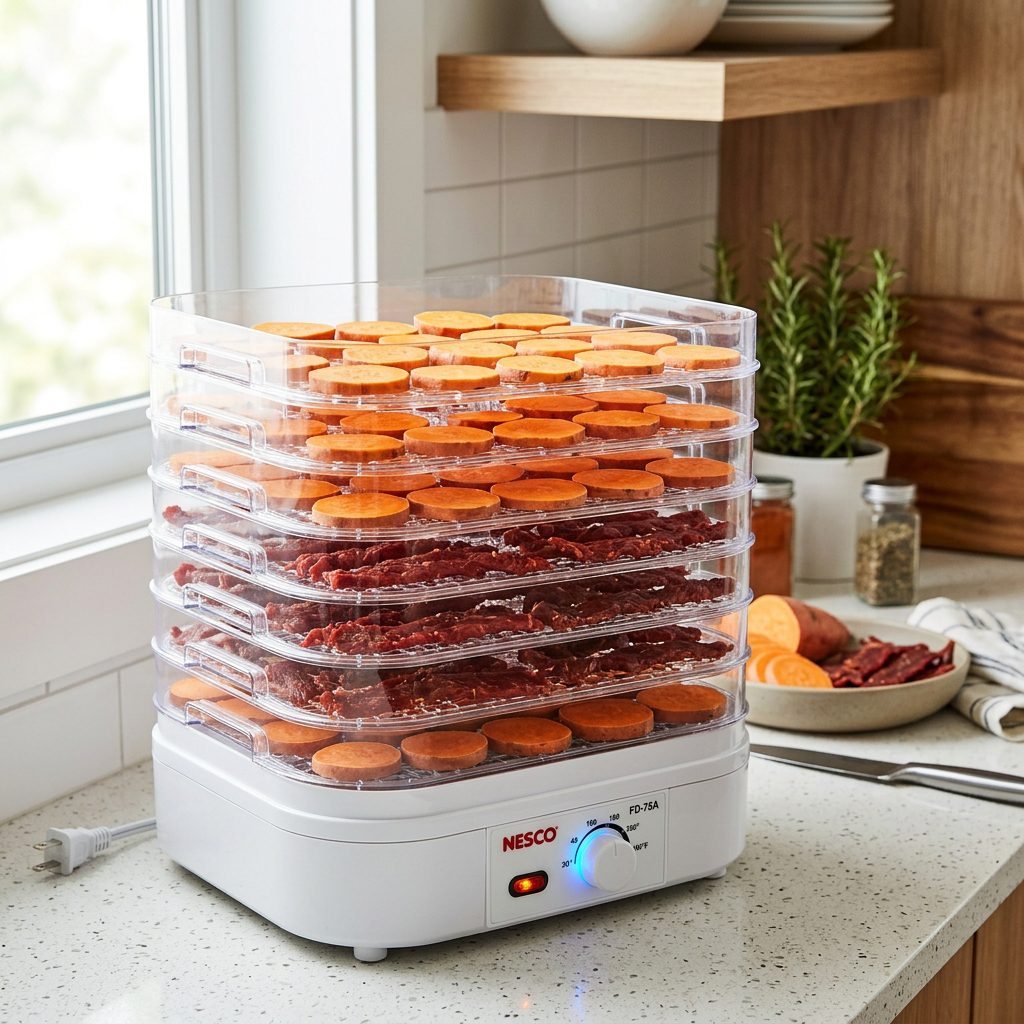
If you are serious about making your own dog treats, investing in a dedicated food dehydrator is a game-changer. It is energy-efficient, frees up your oven, and provides the exact, constant airflow needed to safely dry raw meats and dense vegetables.
The Actionable Recipe: 1-Ingredient Sweet Potato Chews
Sweet potatoes are fantastic for a dog’s digestion, but store-bought sweet potato chews can be ridiculously expensive. Let us make them at home safely.
- Step 1: Wash and peel two large organic sweet potatoes.
- Step 2: Slice them lengthwise into 1/4 inch thick strips. Consistency is key here so they all dry at the same rate.
- Step 3: Arrange the slices on your dehydrator trays, ensuring none of the pieces are touching or overlapping. Airflow is your best friend.
- Step 4: Set your dehydrator to 130°F (54°C).
- Step 5: Let it run for 8 to 12 hours. Check them at the 8-hour mark.
Drying Raw Meat: If you are making chicken or beef jerky, safety is paramount. Always slice meat against the grain for an easier chew. Set your dehydrator to its highest setting (usually 160°F or 71°C) to ensure any potential pathogens like Salmonella or E. coli are destroyed while the meat dries. Lean meats work best; fat does not dehydrate and will turn rancid quickly. Trim all visible fat before drying!
The “Snap Test” and Batch Cooking Storage Secrets
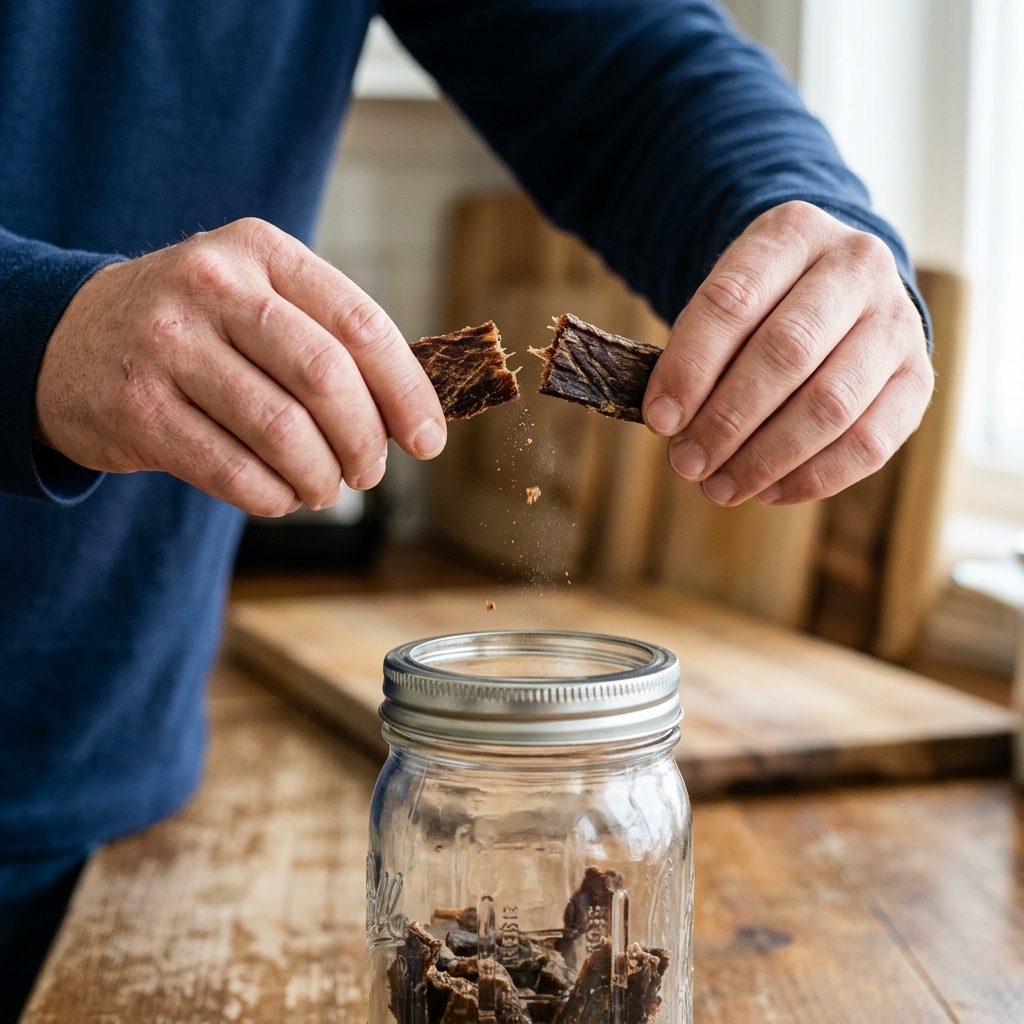
How do you actually know when your treats are fully dehydrated and safe from the mold monster? You perform the Snap Test. Take a treat out of the oven or dehydrator and let it cool completely to room temperature (warm treats will always feel slightly pliable). Once cool, try to bend it in half. It should not bend, bow, or squish. It should snap cleanly in half with a sharp, audible crack. If there is any bend to it, it needs more time in the dehydrator.
Batch Cooking and Storage Hacks
Now that you have a massive pile of perfectly dried, preservative-free treats, how do you store them so they last for months?
- The Mason Jar Method: Store fully dried treats in airtight glass mason jars. Glass is non-porous and infinitely better than plastic bags, which can let trace amounts of moisture in over time.
- Silica Gel Packets: Buy a pack of food-safe silica gel desiccants online. Toss one packet into the bottom of your mason jar before sealing it. This little packet acts as an insurance policy, absorbing any residual moisture that might have snuck in.
- Vacuum Sealing: For the ultimate long-term storage, vacuum seal your dried treats in portion-sized bags. Removing the oxygen prevents fat oxidation (rancidity) and keeps the treats tasting fresh.
- The Freezer Vault: If you batch-cook a massive amount of treats (say, a 3-month supply), keep one week’s worth in a jar on the counter and throw the rest into the freezer. Freezing halts all degradation. You do not even need to thaw them; dogs love the extra crunch of a cold treat!
By mastering the art of the dry, you are empowering yourself to take total control over your dog’s diet. You are saving money, ditching the toxic chemicals, and providing your best friend with the absolute highest quality rewards possible. Now get into that kitchen and start hacking your dog’s nutrition!
Conclusion
There you have it, pack leaders. The secret to stopping mold in its tracks isn’t a complex chemical equation; it is simply mastering the art of moisture removal. By taking the time to properly dehydrate your homemade dog treats, you are completely eliminating the need for shady commercial preservatives like BHA and ethoxyquin. Whether you use the oven-hack method or invest in a dedicated dehydrator, you are taking a massive step toward better canine health and keeping more money in your wallet.
Remember to always trim the fat off your meats, keep your slices uniform, and never skip the Snap Test. Armed with these insider secrets, you can confidently batch-cook healthy, delicious, and incredibly long-lasting treats that your dog will go absolutely crazy for. Stay savvy, keep hacking that nutrition, and give your pup a homemade treat from me!