Fearless Floof: How To Teach A Scared Puppy To Use The Doggy Door
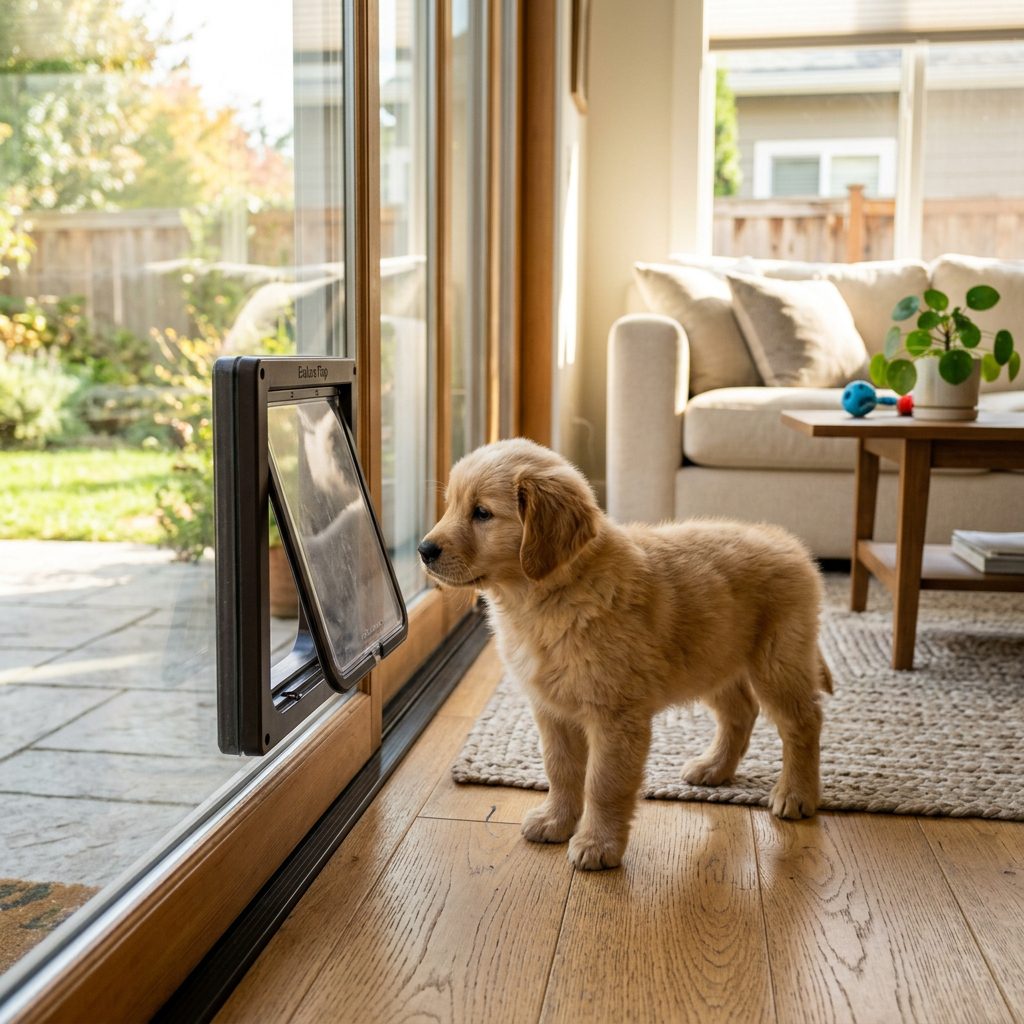
Welcome to the wonderful, messy, and endlessly entertaining world of puppy parenthood! If you are reading this, you have likely reached a very specific milestone in your dog ownership journey. You have successfully installed a brand-new, ultra-convenient doggy door. You envisioned a future of uninterrupted Netflix binges, sleeping in on Saturday mornings, and no more playing doorman for your furry best friend. But there is just one tiny, adorable problem: your puppy is absolutely terrified of it.
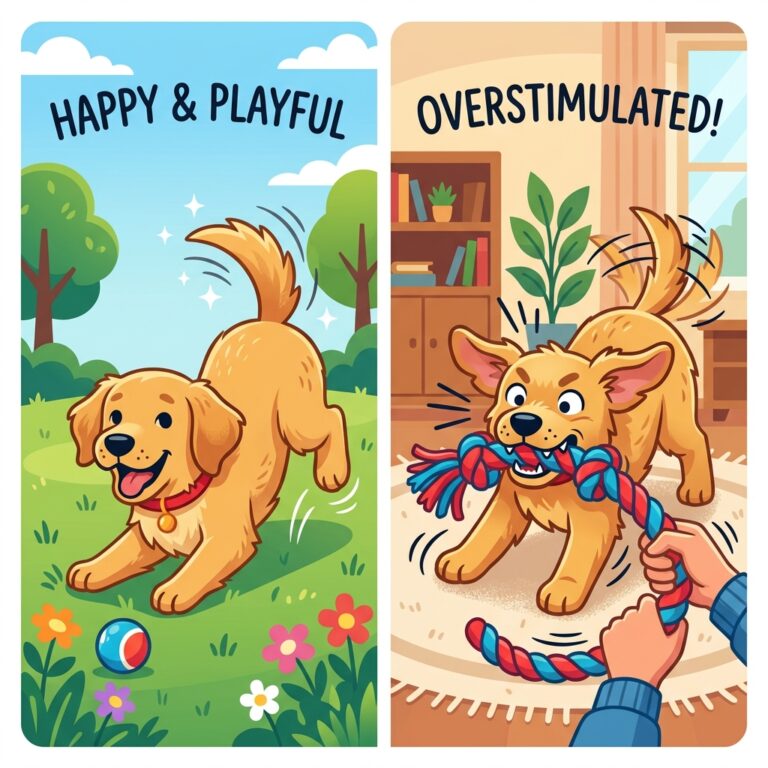
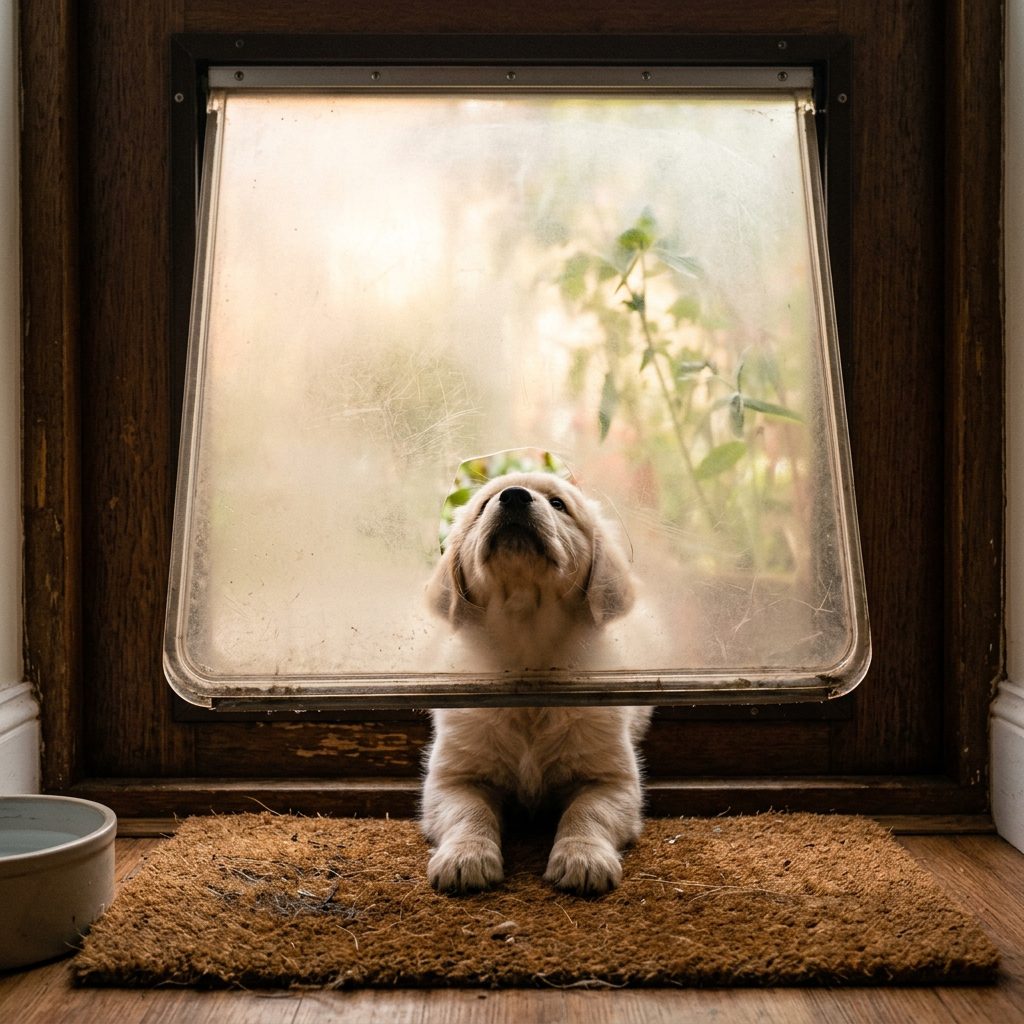
To you, it is a convenient portal to the backyard. To your puppy, it is a mysterious, heavy, noise-making forcefield that might just swallow them whole. If your little floof is putting on the brakes every time they get near the flap, take a deep breath. You are not alone, and your puppy is not broken. Fear of the dog door is incredibly common, especially during a puppy’s natural fear periods.
As a canine behavior specialist, I see this exact scenario all the time. Savvy dog owners know that forcing a dog into a scary situation only creates more anxiety. Instead, we need to rely on patience, empathy, and a healthy dose of positive reinforcement. In this comprehensive guide, we are going to break down exactly how to transform your scared puppy into a fearless floof who navigates the doggy door with the confidence of a seasoned pro. Grab some high-value treats, and let’s get started!
Understanding Why Your Puppy is Terrified of the Door
Before we can fix the problem, we need to understand the ‘why’ behind the behavior. Dogs do not experience the world the same way we do. When we look at a dog door, we understand its mechanical function. A puppy, however, is relying purely on their senses, and a standard doggy door presents a major sensory overload.
The Sensory Experience of a Dog Door
- Visual Blockade: Most dog door flaps are tinted or opaque. Dogs are natural predators who like to see where they are going. Stepping blindly through a barrier into the unknown goes against their survival instincts.
- The Noise Factor: That plastic flap makes a distinct ‘smack’ when it closes. If your puppy accidentally bumped it and it snapped back on their tail or nose, that sound is now associated with a negative, startling event.
- Tactile Sensations: The feeling of a heavy plastic or rubber flap dragging along their back and tail can be incredibly unnerving for a dog who is not used to being touched in that way.
Remember: Your puppy isn’t being stubborn; they are experiencing genuine hesitation. Acknowledging their fear is the first step in building the trust required to overcome it.
Puppies also go through specific ‘fear impact periods’ during their development—typically around 8 to 11 weeks of age, and again around 6 to 14 months. During these windows, things that previously seemed harmless can suddenly become terrifying. If your dog door introduction coincided with one of these periods, their fear response will be heightened. This is why a slow, positive approach is absolutely mandatory.
Setting Up for Success: Tools and Prep Work
Training a scared puppy requires the right environment and the right tools. You cannot simply use your dog’s everyday kibble and expect them to conquer their phobias. We need to bring out the big guns. Setting up for success means creating a low-stress environment where your dog feels safe making choices.
The Doggy Door Training Toolkit
Before you even bring your puppy near the door, make sure you have everything you need. Here is a breakdown of the essential tools for this training exercise.
| Tool / Item | Purpose and Best Practices |
|---|---|
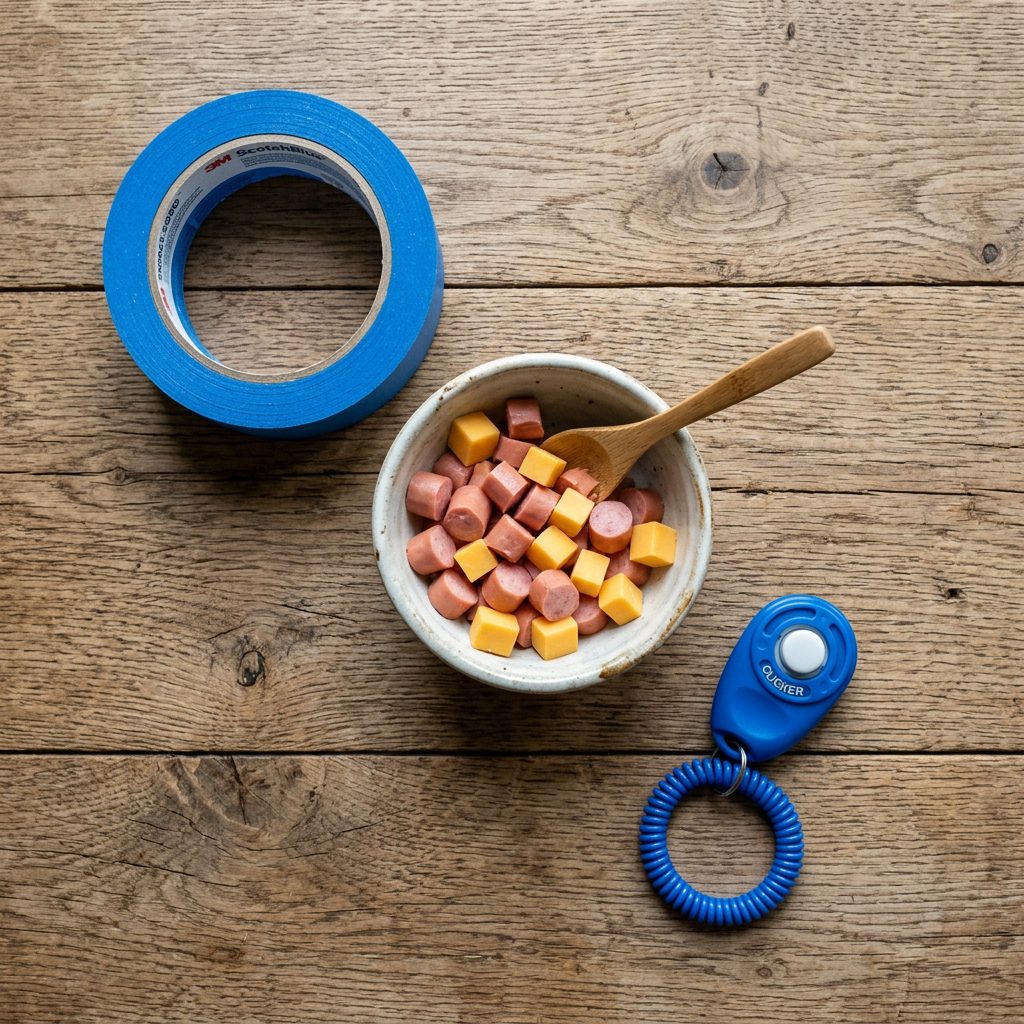
| High-Value Treats | Forget dry biscuits. You need smelly, irresistible treats like boiled chicken, bits of hot dog, freeze-dried liver, or string cheese. Cut them into pea-sized pieces. |
| Painter’s Tape | Crucial for pinning the flap open. Painter’s tape won’t damage your door frame and holds the flap securely out of the way during Phase 1. |
| A Clicker (Optional) | If your dog is clicker trained, this is the perfect time to use it. It helps mark the exact moment your dog makes a brave choice (like sniffing the door). |
| A Training Partner | Having a human on the inside and a human on the outside makes luring much easier and creates a fun, game-like atmosphere for the puppy. |
Once you have your tools, pick a time when your puppy is slightly hungry (before mealtime is great) and has plenty of energy. Ensure the backyard is free of distractions—no other dogs playing, no loud lawnmowers, and no toys scattered around. We want the dog door to be the sole focus of their attention. Finally, check the door itself. Make sure the locking panel is completely removed and that the flap swings freely without catching.
The Step-by-Step Guide to Doggy Door Mastery
Now comes the fun part: the actual training. The secret to this process is breaking the intimidating dog door down into tiny, manageable, and highly rewarding steps. We are going to use a technique called ‘successive approximation,’ which means we reward the puppy for getting closer and closer to the final goal.
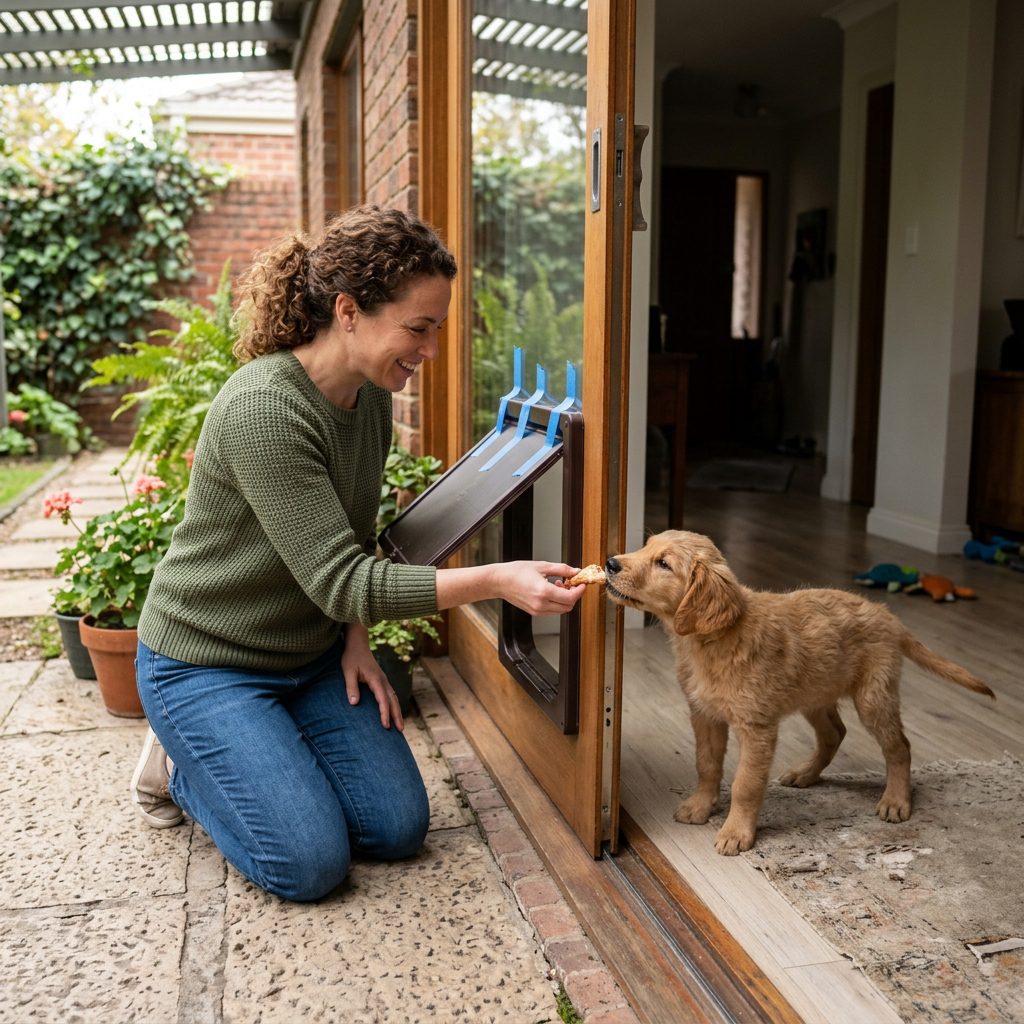
Phase 1: The Open Portal
Do not start with the flap down. That is a recipe for disaster. Take your painter’s tape and tape the flap securely to the top of the door frame so there is just an open hole. Have your training partner sit on the outside while you sit on the inside with the puppy. Toss a high-value treat through the hole. If your puppy steps through to get it, throw a massive party! Praise them, give them another treat, and have your partner lure them back inside. Repeat this 10 to 15 times until your puppy is happily darting back and forth through the open hole like it’s a game.
Phase 2: The Invisible Barrier
Once the open hole is no longer scary, lower the taped flap so it hangs down about a quarter of the way. Your puppy can still see through the bottom, but the flap will gently brush against their back as they pass through. Lure them through with a treat just like in Phase 1. If they hesitate, hold the treat right at the opening so they have to stretch their neck through. Reward any forward movement. The goal here is to desensitize them to the feeling of the flap touching their fur.
Phase 3: The Touch and Push
Lower the flap so it is about halfway down. Now, your puppy has to use their nose or head to physically push the flap out of the way to get through. This is often the hardest step. Stand on the opposite side of the door. Hold the flap open just a tiny crack with your finger so they can see the treat in your hand. Encourage them to push. Patience is vital here. Let them figure it out. When they finally push through, jackpot them with a handful of treats! Keep practicing until they confidently push the half-lowered flap.
Phase 4: Solo Flights
Finally, remove the tape entirely. The flap is fully down. Prop it open a fraction of an inch with your finger and call your puppy. As they push through, let the flap gently fall behind them. Do this a few times, gradually providing less and less help with your finger until they are pushing the heavy flap entirely on their own. Congratulations, you have a fearless floof!
Troubleshooting: When Your Puppy Hits a Roadblock
Even with the best training plan, setbacks happen. Dog training is rarely a perfectly linear journey. Sometimes your puppy will take two steps forward and one step back. If your floof suddenly decides the door is scary again, do not panic. Here are the most common roadblocks and how savvy dog owners can navigate them.
Common Doggy Door Mistakes and Solutions
- The ‘One-Way’ Dog: Many puppies will happily go outside but refuse to come back in. This is usually because the lighting is different, or the flap looks heavier from the outside. If this happens, simply go back to Phase 2. Tape the flap halfway up on the outside and practice exclusively on coming indoors until their confidence returns.
- The Tail Pinch: If the flap closes too quickly and pinches their tail, they might regress entirely. If this happens, do not force them back through immediately. Give it a rest for the day. The next day, start all the way back at Phase 1 with the flap fully taped up to rebuild their trust in the doorway.
- Losing Interest: If your puppy walks away from the training session, your treats might not be high-value enough, or the session has gone on too long. Keep training sessions short—no more than 5 to 10 minutes at a time. Always end on a positive, successful note.
Crucial Warning: Never, ever shove, push, or drag your puppy through the doggy door. Forcing them through will destroy their trust in you and permanently cement their fear of the door. It must always be their choice to move forward.
If your puppy is exceptionally timid, you might need to spend several days on each phase. Let your dog set the pace. It is much better to take two weeks to train them properly than to rush the process and create a lifelong phobia.
Dog Door Safety and Long-Term Best Practices
Teaching your puppy to use the door is a massive victory, but as a responsible pet parent, your job isn’t quite done. An open portal to the outdoors requires some ongoing management to keep your home secure and your furry friend safe. Now that your floof is fearless, let’s talk about best practices for long-term dog door usage.
Choosing the Right Door for Your Lifestyle
If you haven’t permanently installed a door yet, or if you are considering an upgrade, it is worth looking at the different technologies available today. The type of door you choose can greatly impact both your dog’s experience and your home’s security.
| Dog Door Type | Pros | Cons |
|---|---|---|
| Standard Flexible Flap | Very affordable, easy to install in doors or walls, easy for small dogs to push. | Poor insulation in extreme weather, can blow open in high winds, accessible to neighborhood wildlife. |
| Rigid / Insulated Flap | Excellent energy efficiency, durable against aggressive chewers, seals tightly against weather. | Heavier and harder for timid puppies to learn to push, can pinch tails if not careful. |
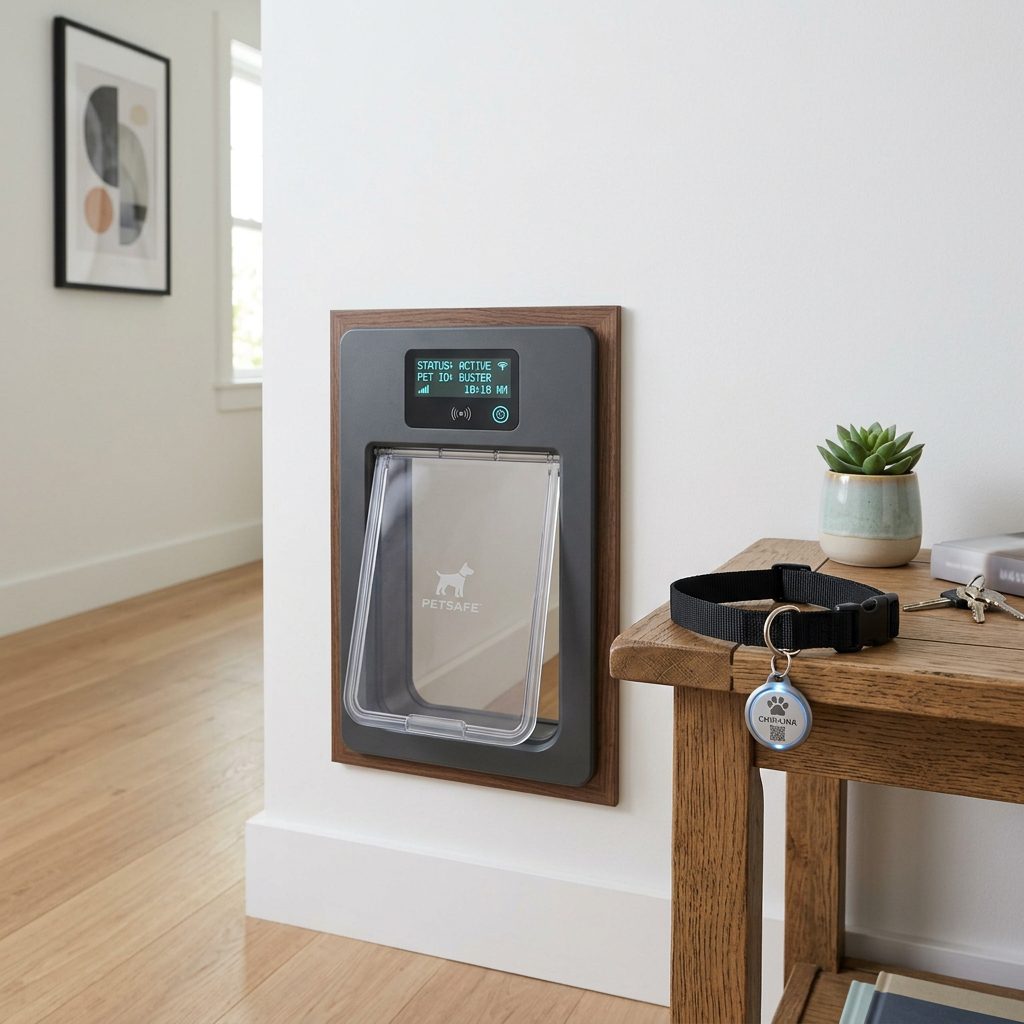
| Microchip / Smart Door | Maximum security; only opens for your specific dog’s microchip or collar tag. Keeps wildlife out. | Most expensive option, requires batteries or a power source, mechanical whirring sound can scare some dogs. |
Safety Rules to Live By
Regardless of the door type you choose, establish some ground rules. First, always utilize the locking slide panel at night or when you are away from home for extended periods. This prevents nocturnal wildlife (like raccoons or skunks) from inviting themselves into your kitchen. Second, ensure your backyard is fully puppy-proofed. A dog door gives them unsupervised access to the yard, so double-check that all fences are secure, toxic plants are removed, and pool areas are safely fenced off.
Finally, keep the flap clean! A dirty, muddy flap becomes opaque and sticky, making it harder to push and scarier to look through. Wipe it down weekly with a pet-safe cleaner so your dog always has a clear view of their outdoor kingdom.
Conclusion
Transforming a scared puppy into a fearless floof takes time, high-value treats, and an abundance of patience. By understanding your dog’s sensory experience, breaking the training down into bite-sized, positive steps, and knowing how to troubleshoot setbacks, you are setting your puppy up for a lifetime of confidence and independence. Remember, there is no ticking clock on this training. Whether it takes two days or two weeks, the moment your dog confidently trots through that flap on their own will make all the effort entirely worth it.
So, grab your painter’s tape, chop up some hot dogs, and start making the doggy door the most rewarding spot in your house. Before you know it, you will be enjoying that uninterrupted cup of coffee while your dog happily lets themselves out to patrol the backyard. You’ve got this, and more importantly, your puppy has got this. Happy training!