The Secret 3-Ingredient Dog Cake Icing That Hardens Like Professional Bakeries
The Boutique Dog Bakery Secret Exposed
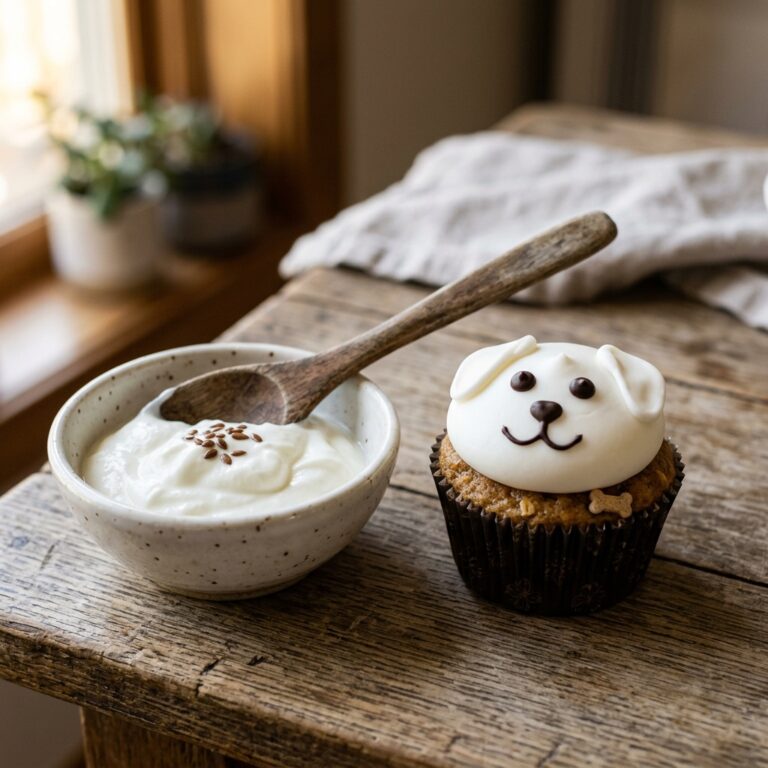
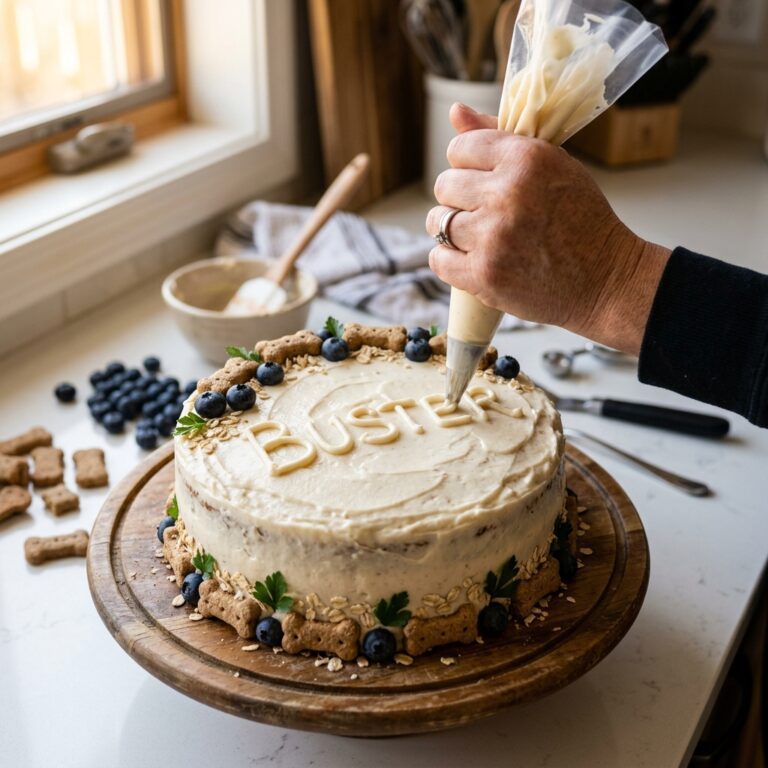
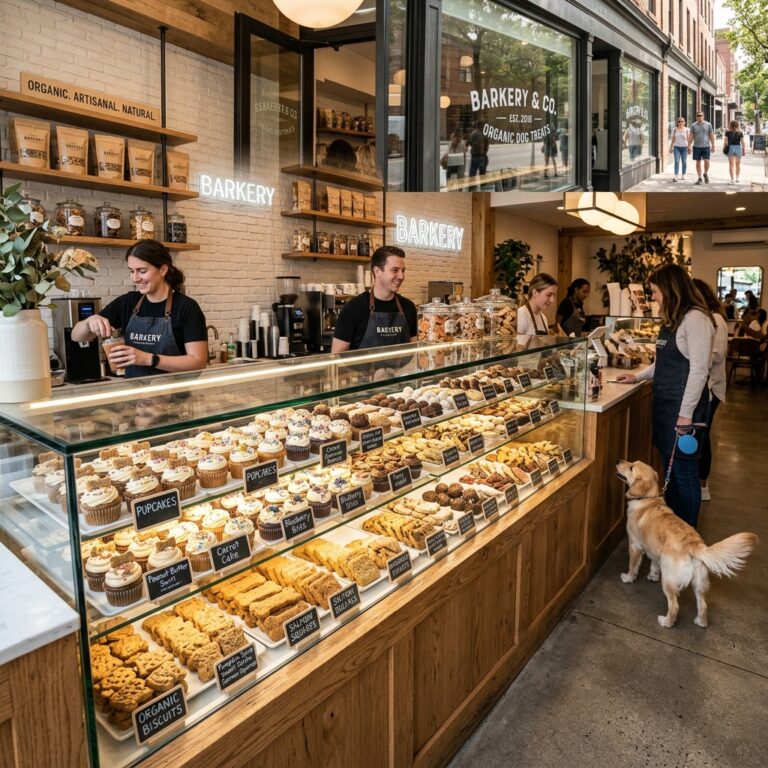
Let’s be real: we’ve all walked past those high-end dog boutiques and seen those perfectly decorated dog cakes. You know the ones—they have intricate piping, vibrant colors, and icing that looks as hard and smooth as a royal icing on a wedding cake. Then, you look at the price tag. $45 for a 4-inch cake? Absolutely not. As the Canine Nutrition Hacker, my mission is to tear down the curtain and show you that you’re being overcharged for ingredients that cost pennies. Most of those ‘professional’ icings are either loaded with sugar (bad for Fido) or use a ‘secret’ hardening agent that I’m about to give you for free. Forget the runny, messy yogurt smears that soak into the cake and leave a puddle on your floor. We’re talking about a 3-ingredient masterpiece that hardens enough to touch, stack, and photograph for the ‘gram without the sticky mess.
The Safe Chef Guide: Safety First Protocol
Is This Safe for Your Dog?
Before we break out the mixing bowls, let’s talk shop. I am a canine nutrition enthusiast and a forensic label reader, but I am not your veterinarian. While this recipe uses ingredients generally recognized as safe for dogs, every dog is an individual. If your pup has a history of pancreatitis, severe dairy allergies, or diabetes, you must consult your vet before introducing new treats.
The Golden Rules of DIY Treats
- Moderation is Key: Even the healthiest icing is a ‘treat,’ not a meal replacement. Treats should never exceed 10% of your dog’s daily caloric intake.
- Ingredient Quality: Always use plain, unsweetened ingredients. Xylitol (Birch Sugar) is a common sweetener in human foods and is lethal to dogs. Check your yogurt labels twice!
- Supplementation: This icing is for decoration. It doesn’t provide a balanced mineral profile, so don’t go substituting it for their dinner.
The Forensic Breakdown: Store-Bought vs. Hacker-Made
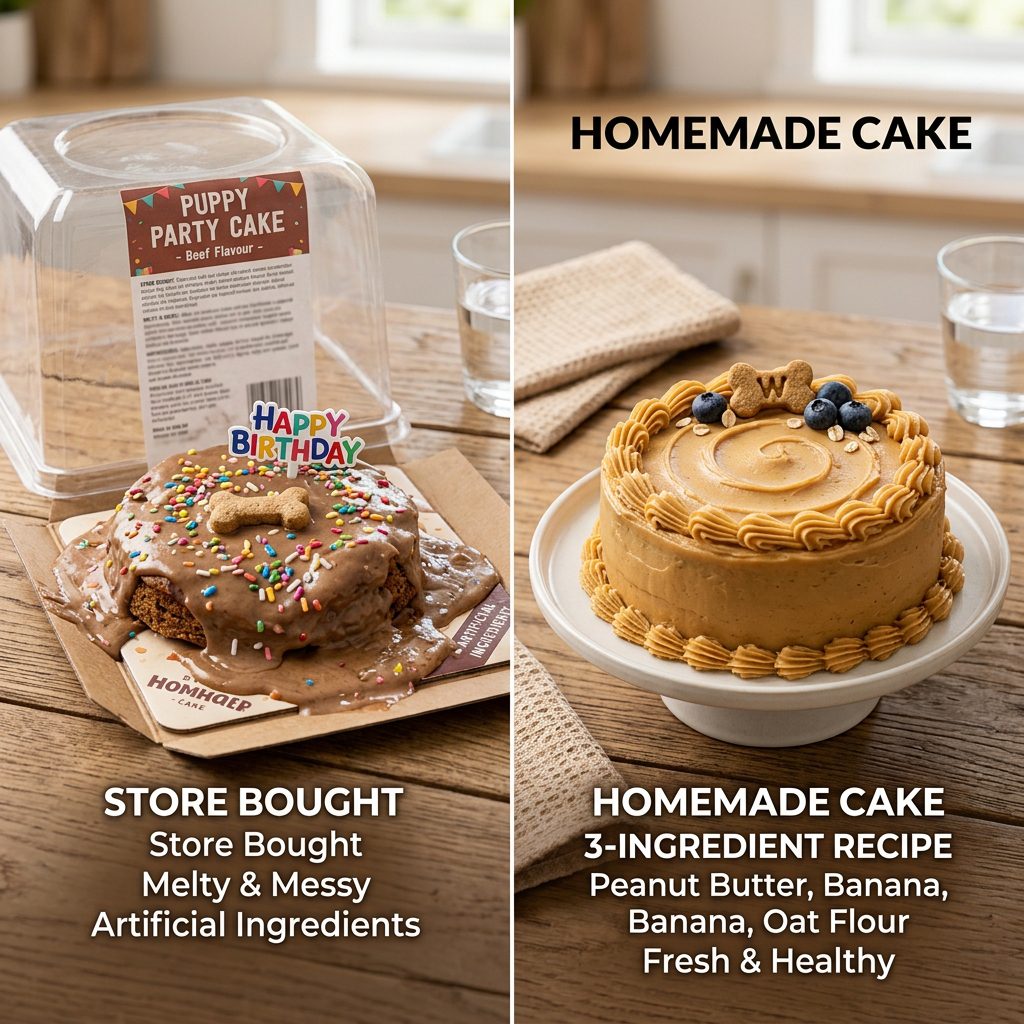
Why Most Commercial Dog Icings Are a Rip-Off
I’ve analyzed the ‘First 5 Ingredients’ on several popular ‘Dog Cake Mix’ boxes found in big-box pet stores. You’d be shocked at what they sneak in there. We see things like ‘Hydrogenated Vegetable Oil’ (trans fats), ‘Corn Syrup Solids’ (pure sugar), and ‘Artificial Colors.’ They charge you a premium for shelf-stability, not for nutrition. My 3-ingredient hack is cleaner, cheaper, and frankly, better-looking.
Cost Analysis: DIY vs. Boutique
| Metric | Boutique/Store-Bought | The Hacker’s 3-Ingredient Icing |
|---|---|---|
| Primary Ingredient | Sugar or Hydrogenated Oil | Plain Greek Yogurt / Tapioca |
| Hardening Speed | Instant (Chemicals) | 30-60 Minutes (Natural Starch) |
| Cost Per Batch | $12.00 – $18.00 | $1.45 |
| Nutritional Value | Low (Empty Calories) | Moderate (Probiotics & Fiber) |
| Verdict | Overpriced & Unhealthy | The Clear Winner |
Hacker Tip: Most ‘hard’ dog icings in stores are actually just ‘Yogurt Chips’ melted down. Those chips are almost 50% sugar. Avoid them if you want to keep your dog’s teeth and waistline in check.
The Master Recipe: The Secret Hardening Formula
The 3 Ingredients You Need
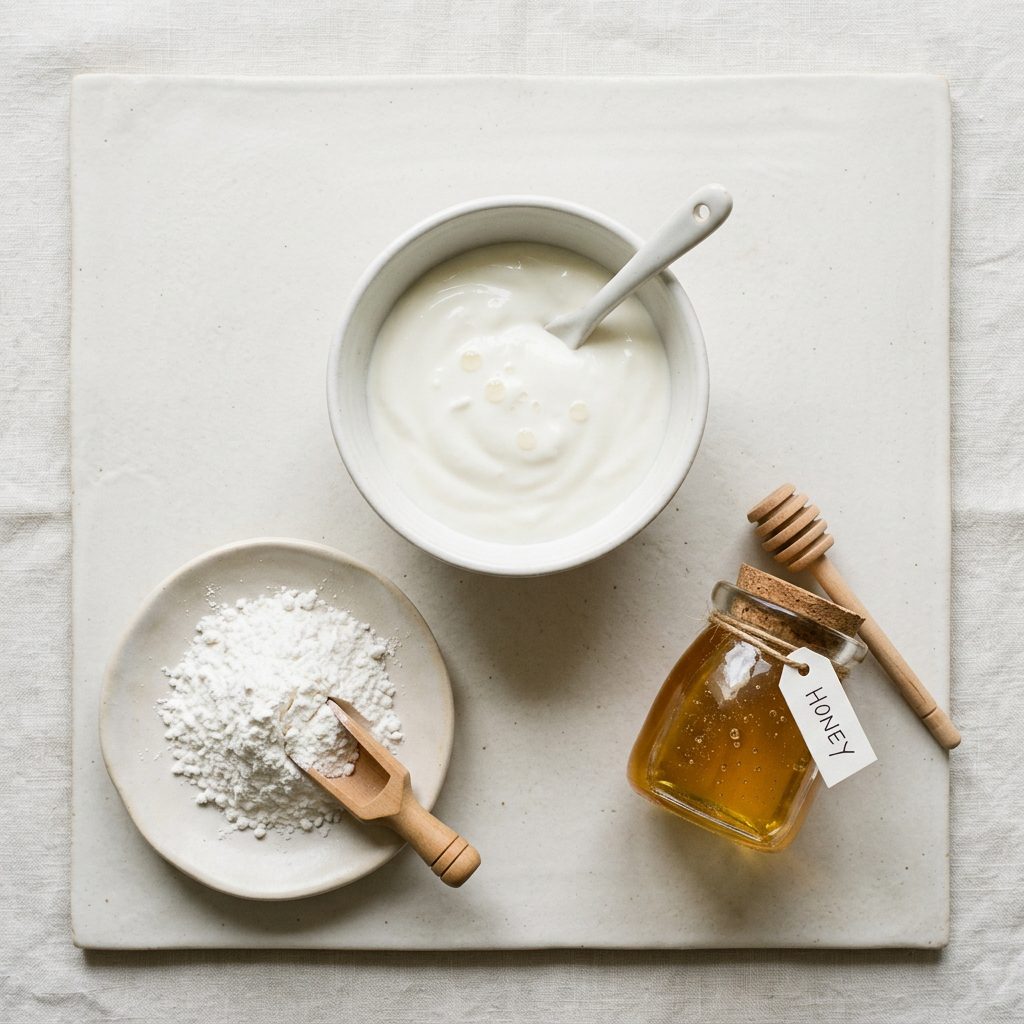
The secret to the ‘hardening’ effect isn’t magic; it’s Tapioca Starch. Unlike cornstarch, which can be a bit heavy on the grain-sensitive tummies, tapioca starch (derived from the cassava root) provides a smooth, elastic-yet-firm finish that dries to a matte touch. Combined with the protein of Greek yogurt, it creates a structure that mimics professional royal icing.
The Ingredients List
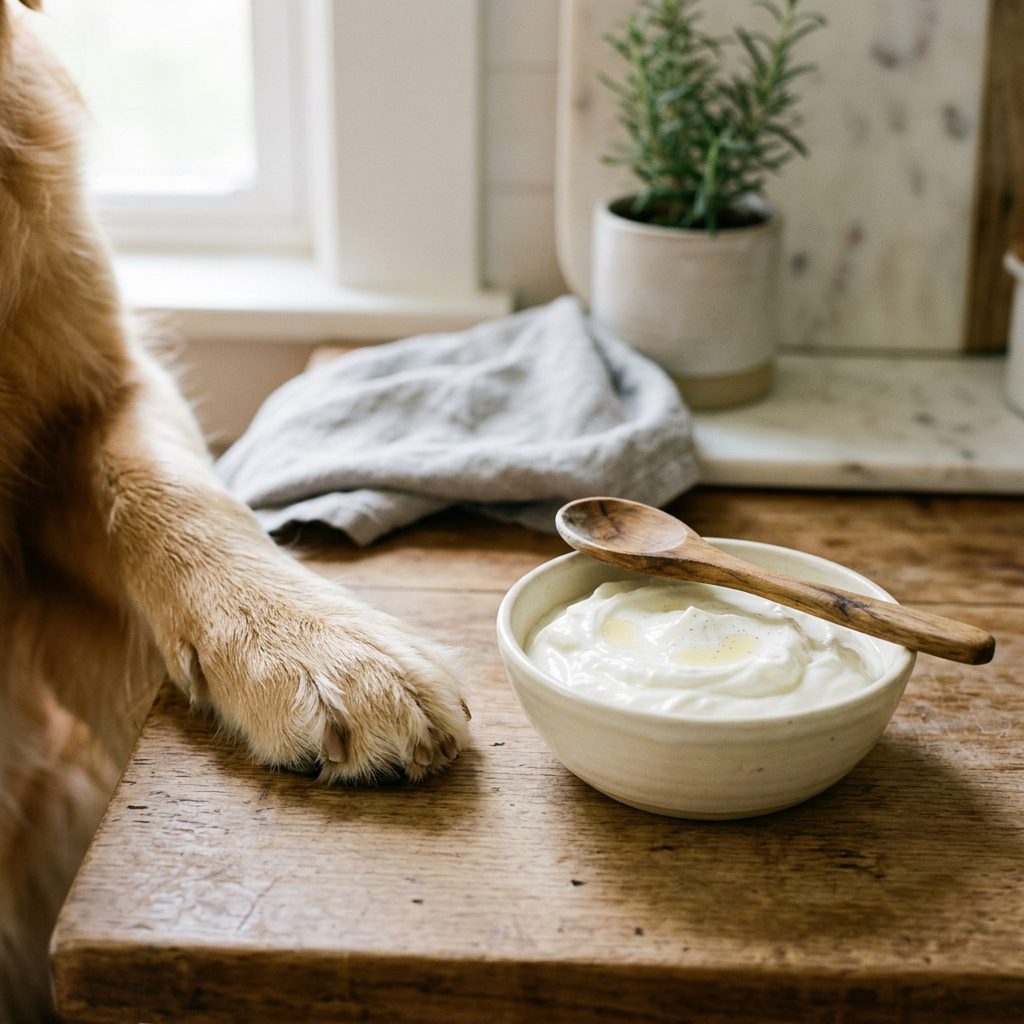
- 1/2 Cup Plain Non-Fat Greek Yogurt: Ensure it is 100% plain with NO added sugars or artificial sweeteners. Greek yogurt is thicker and has more protein than regular yogurt.
- 1/2 Cup Tapioca Starch (Tapioca Flour): This is your hardening agent. It’s grain-free and easy on the gut.
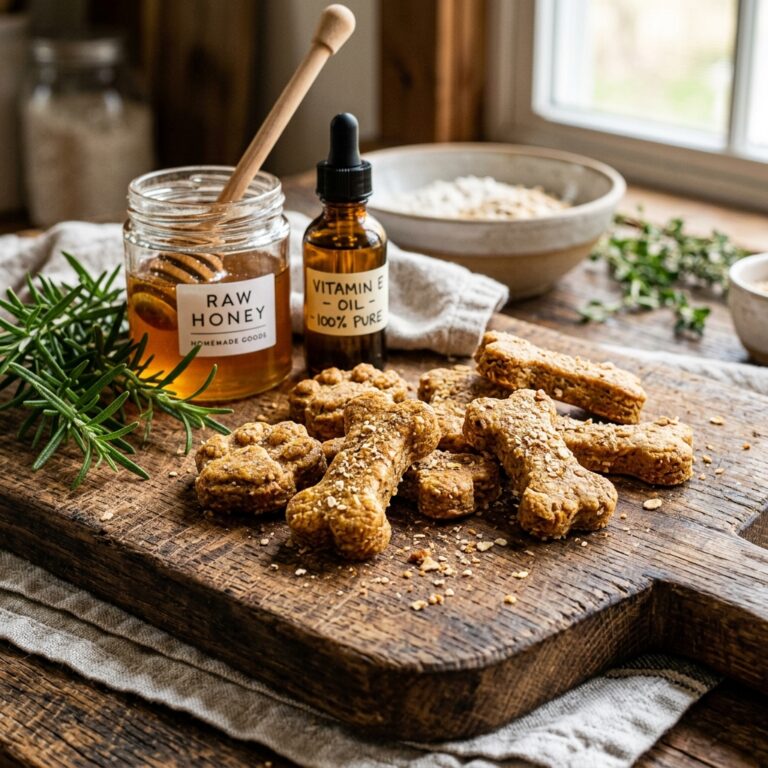
- 2-3 Teaspoons Water or Raw Honey: Use water for a pure white finish, or honey if you want a slightly tackier, sweeter ‘glue’ for adding sprinkles (dog-safe ones, of course).
The Instructions
- Step 1: In a small glass bowl, whisk the yogurt until it’s completely smooth. No lumps allowed!
- Step 2: Slowly sift in the tapioca starch. Do not dump it all at once or you’ll get ‘starch clumps’ that are impossible to work with.
- Step 3: Add your liquid (water or honey) one teaspoon at a time. You are looking for the consistency of thick glue. If it’s too runny, add a pinch more starch. If it’s too thick to pipe, add a drop of water.
- Step 4: Apply to a completely cooled cake. If the cake is even slightly warm, the icing will melt.
- Step 5: Let it sit in the fridge for 45-60 minutes. The starch will hydrate and the icing will set firm.
The ‘Professional Look’ Hack: Natural Dyes
Exposing the Artificial Color Myth
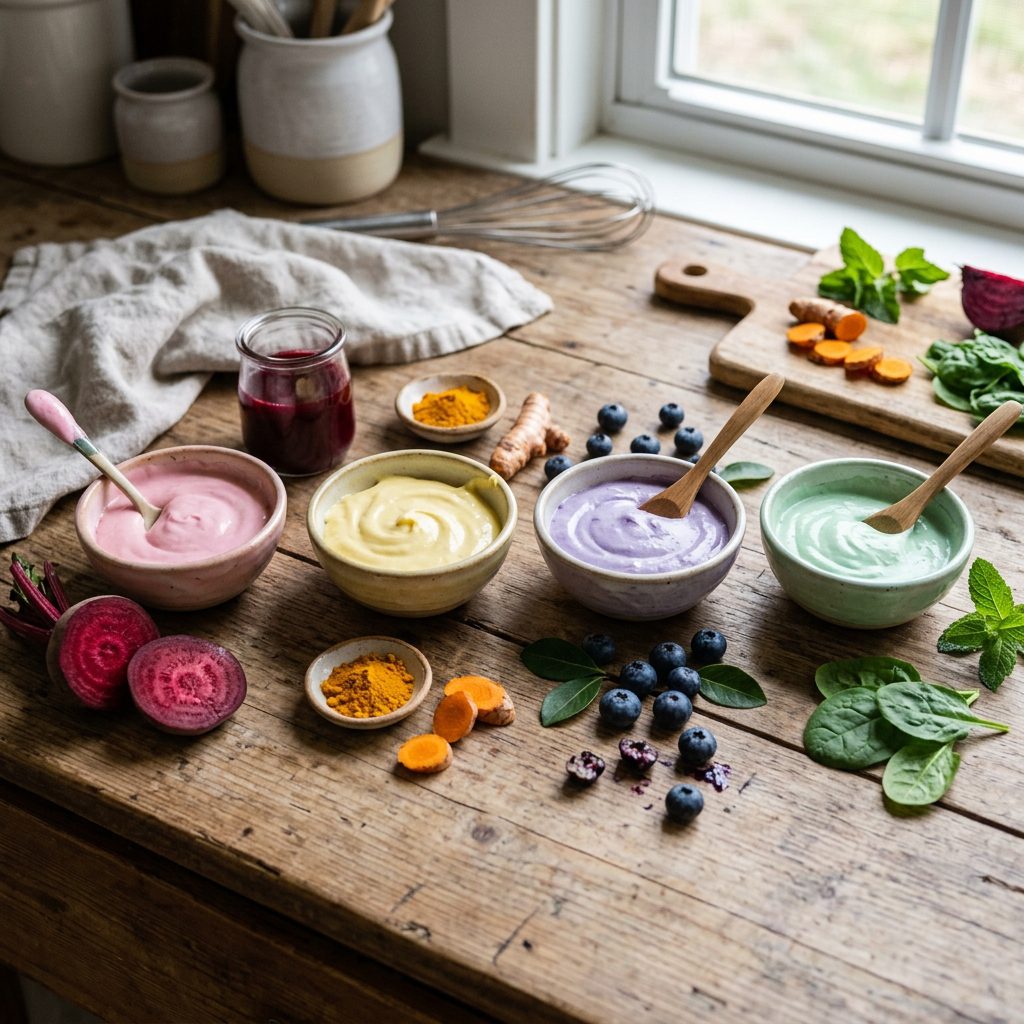
Professional bakeries often use Red 40 or Yellow 5 to get those bright colors. We don’t do that here. Your dog doesn’t care if the cake is neon green, but their body certainly does. You can achieve ‘Professional’ aesthetics using superfoods already in your pantry.
The Hacker’s Color Palette
- Pink/Red: A teaspoon of Beet Juice or Beet Powder. A little goes a long way!
- Yellow/Gold: A pinch of Turmeric. Bonus: It’s great for joint health!
- Purple: Muddled Blueberries (strained to remove skins).
- Green: A tiny bit of Spirulina or Spinach juice.
Insider Secret: If you want a ‘Pure White’ icing that looks like snow, stick to the Greek Yogurt and Tapioca. If you use regular yogurt, it will have a slightly translucent, yellowish tint once it dries.
Storage and Troubleshooting
How to Keep It Perfect
Because this is a fresh-food-based icing, it behaves differently than the chemical-laden store stuff. Here is how to ensure your hard work doesn’t go to waste.
Storage Tips
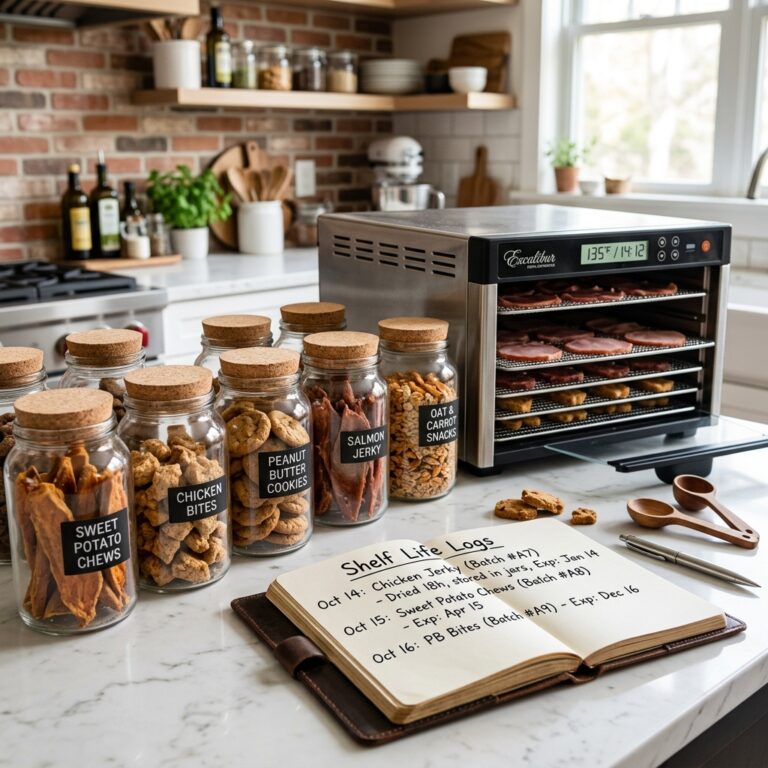
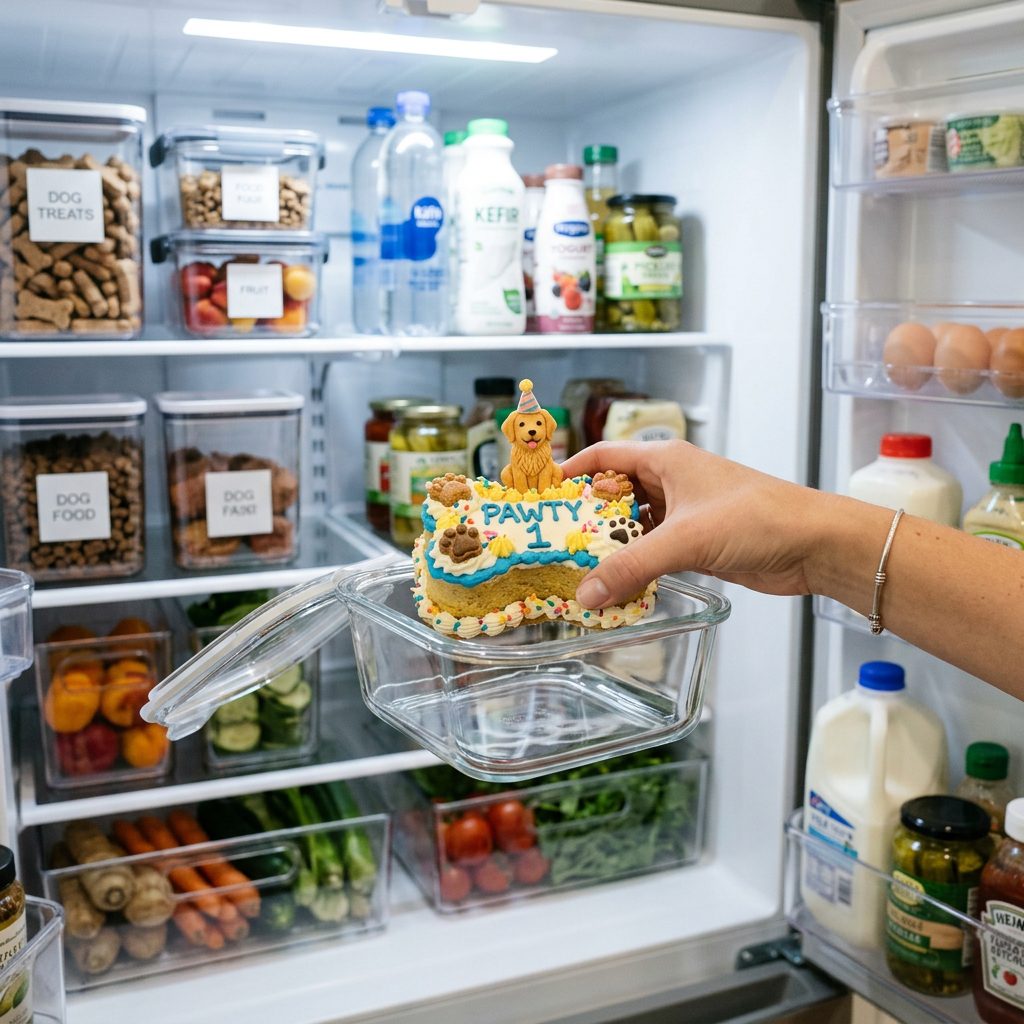
- The Fridge is Your Friend: Once the icing has hardened, keep the cake in an airtight container in the refrigerator. It will stay firm for 3-5 days.
- Do Not Freeze: Freezing can cause the starch to break down upon thawing, leading to a ‘weeping’ effect where the icing gets watery.
- The ‘Crack’ Factor: If you notice the icing cracking, it means you used too much starch. Next time, add a half-teaspoon more honey to give it some flexibility.
Batch Cooking Tip
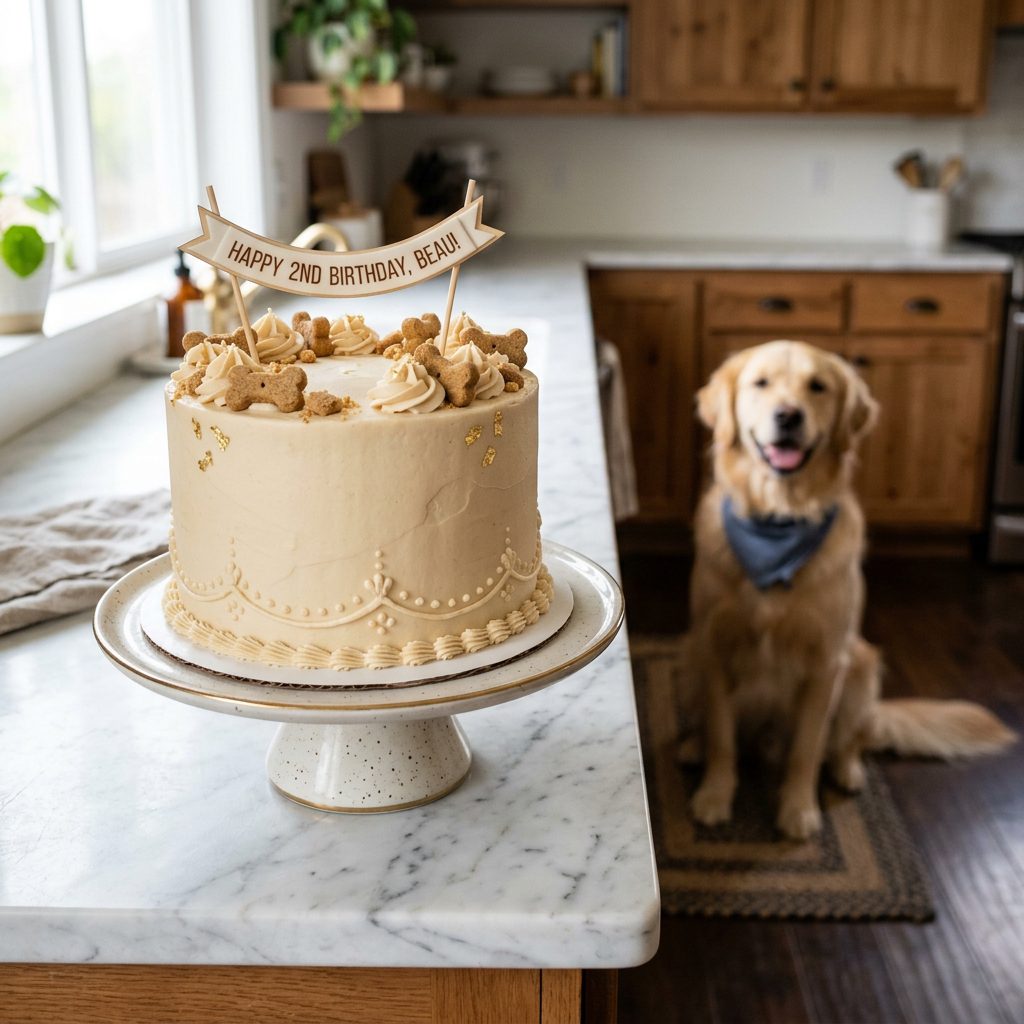
If you’re a ‘Dog Birthday Party’ planner, you can pre-mix the dry starch and honey/water into a paste and keep it in the fridge. Just fold in the fresh yogurt right before you’re ready to decorate to ensure the probiotics are as active as possible.
Conclusion
You’re Now a Canine Cake Pro
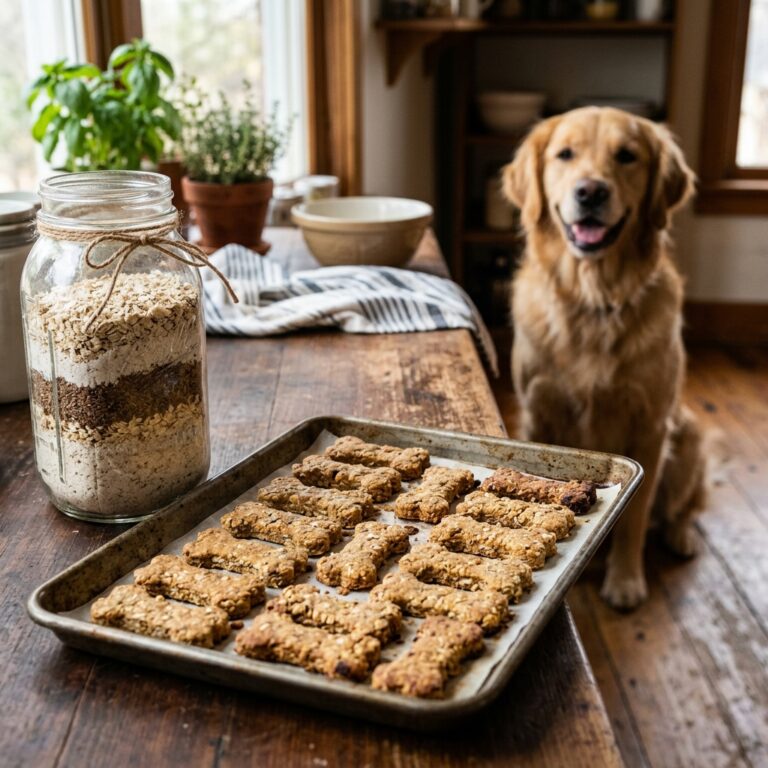
There you have it. No more spending $50 on a cake that your dog gulps down in thirty seconds. By using the Tapioca-Yogurt Method, you’re providing a treat that is visually stunning, budget-friendly, and nutritionally superior to anything you’ll find on a commercial shelf. You’ve successfully hacked the dog bakery industry. Now, go grab your whisk, find a dog-safe cake recipe (I recommend a simple peanut butter and carrot base), and show off those decorating skills. Your dog—and your wallet—will thank you. Happy Baking!