Cheaper Than the Store: How to Make Thick and Chewy Sweet Potato Dog Jerky at Home
Hey there, fellow dog lovers and label-reading fanatics. Welcome back to the hacker’s kitchen. If you’ve walked down the treat aisle at your local big-box pet store lately, you’ve probably noticed something alarming: the price of a simple bag of sweet potato dog treats has skyrocketed. We are talking premium steak prices for what is essentially a root vegetable. As a savvy dog owner who analyzes ingredient labels like a forensic scientist, I couldn’t sit back and let the pet food industry drain our wallets for something we can make better, safer, and infinitely cheaper at home.
Today, we are diving deep into the ultimate canine nutrition hack: making your own thick and chewy sweet potato dog jerky. No mystery preservatives, no artificial colors, and absolutely no cheap fillers. Just pure, unadulterated nutrition that your dog will go absolutely wild for.
SAFETY DISCLAIMER: Before we get our hands dirty, remember that I am a Canine Nutrition Hacker, not a veterinarian. While sweet potatoes are a fantastic, healthy snack, treats should never make up more than 10% of your dog’s daily caloric intake. Always consult your vet before introducing new foods, especially if your dog has a history of diabetes or specific dietary restrictions. This recipe is a supplemental treat, not a complete and balanced meal replacement.
Now that we have the ground rules set, let’s expose the store-bought treat industry and get cooking. Prepare to save some serious cash while upgrading your dog’s snack game.
The Great Pet Store Rip-Off: Forensic Ingredient Analysis
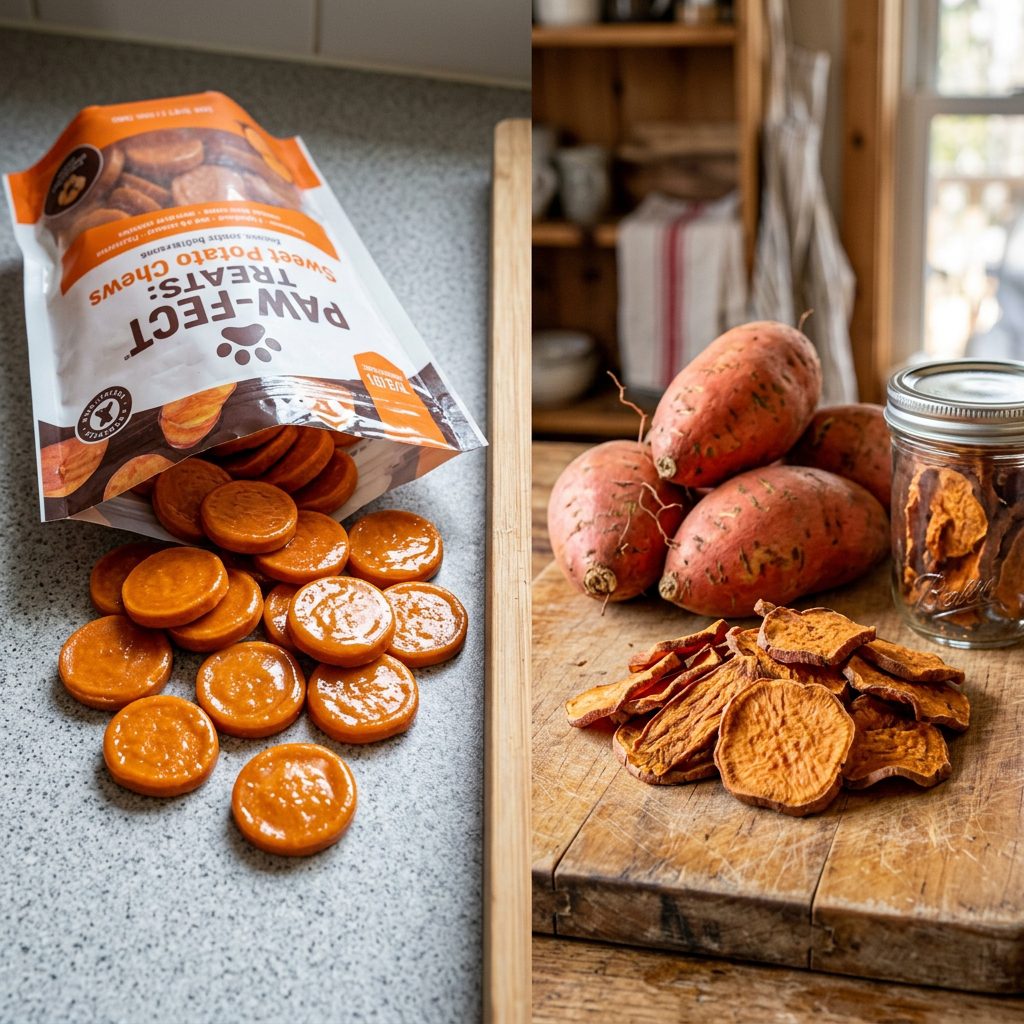
Let’s do some quick math and forensic label reading. Have you ever flipped over a bag of commercial sweet potato dog treats? You’d think the ingredient list would just say “Sweet Potatoes.” But more often than not, you are going to find a laundry list of unnecessary additives. The industry loves to pump these treats full of vegetable glycerin to keep them artificially chewy on the shelf for years. They also sneak in potassium sorbate and various chemical preservatives to prevent mold. Why pay a premium for chemicals when you can control the entire process?
Let’s look at the real cost breakdown. A standard 16-ounce bag of premium store-bought sweet potato treats can easily run you upwards of $25.00. Meanwhile, a pound of fresh, organic sweet potatoes at your local grocery store costs around $1.50. Even factoring in the electricity for your oven or dehydrator, the savings are astronomical. We are talking about reducing your treat budget by over 90%.
| Feature | Premium Store-Bought Jerky | DIY Nutrition Hacker Jerky |
|---|---|---|
| Primary Ingredient | Sweet Potato (Often imported) | Fresh, Local Sweet Potato |
| Hidden Fillers | Vegetable Glycerin, Syrups | Absolutely None |
| Preservatives | Potassium Sorbate, Calcium Propionate | None (Safe Storage Methods Used) |
| Cost Per 16oz | $24.99 – $29.99 | $1.50 – $2.50 |
| Verdict | Overpriced and Over-processed | Cost-Effective and Pure |
When you look at the data side-by-side, it becomes instantly clear that making these at home isn’t just a fun weekend project; it’s a vital strategy for the budget-conscious, health-focused dog owner.
Why Sweet Potatoes? The Hero Ingredient Explained
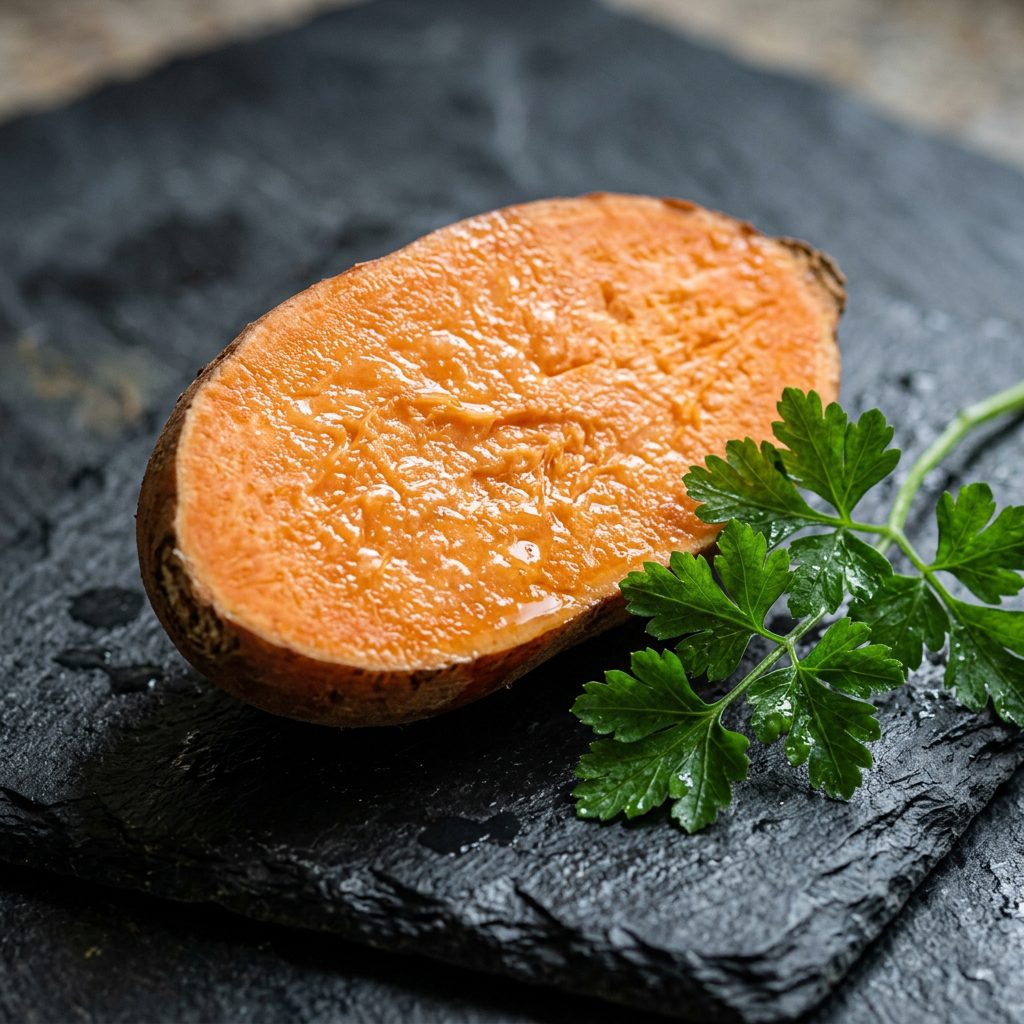
As a nutrition hacker, I don’t just pick ingredients because they are cheap; I pick them because they pack a massive nutritional punch. Sweet potatoes are a bona fide superfood for our canine companions. But what exactly makes them so beneficial?
- Dietary Fiber Powerhouse: Sweet potatoes are incredibly rich in dietary fiber, which is essential for healthy digestion. If your dog occasionally suffers from loose stools or anal gland issues, the fiber in sweet potatoes helps firm things up and keeps their gastrointestinal tract moving smoothly.
- Beta-Carotene Bonanza: That brilliant orange color isn’t just for show. It indicates a massive amount of beta-carotene, a precursor to Vitamin A. This powerful antioxidant is crucial for maintaining healthy vision, vibrant skin, and a shiny coat.
- Low Glycemic Index (When Prepared Correctly): Unlike regular white potatoes or cheap corn fillers found in commercial kibble, sweet potatoes provide a slow, steady release of energy. This helps prevent the massive blood sugar spikes that can lead to canine obesity and diabetes.
- Essential Vitamins and Minerals: They are loaded with Vitamin C, Vitamin B6, potassium, and calcium, supporting everything from immune function to bone health.
By dehydrating them slowly, we concentrate these nutrients and flavors, creating a high-value training treat that your dog’s biology will actually thank you for.
Choosing Your Arsenal: Ingredients and Prep Tools

To execute this hack flawlessly, you need the right tools. Don’t worry, you don’t need a commercial kitchen, but having a few specific items will make the difference between paper-thin, crispy chips (which crumble and make a mess) and the thick, chewy jerky we are aiming for.
The Ingredient List
This is the easiest shopping list you will ever write. You need exactly one ingredient: Fresh Sweet Potatoes. Look for firm potatoes without bruises or soft spots. I prefer the Beauregard or Jewel varieties because of their high moisture content and natural sweetness. If you want to get fancy, you can look into safe “Hacker Upgrades” which we will discuss later, but for the base recipe, keep it simple.
The Tool Kit
- A Sharp Chef’s Knife or a Mandoline Slicer: Precision is key here. A mandoline slicer is the ultimate hacker tool for this job because it guarantees uniform thickness. If your slices are uneven, some will burn while others remain raw in the middle.
- Cutting Board: A sturdy, non-slip board to protect your counters.
- Parchment Paper: Crucial if you are using an oven. Do not use wax paper, or you’ll have a smoky disaster on your hands.
- Baking Sheets or a Food Dehydrator: A dedicated food dehydrator is amazing and highly recommended if you plan to batch-cook treats regularly. However, a standard kitchen oven works perfectly fine if you utilize the lowest temperature setting.
Insider Secret: If you are using a knife, aim for slices that are exactly 1/4 inch to 1/3 inch thick. Any thinner, and they turn into brittle chips. Any thicker, and they take over 12 hours to dehydrate and risk molding from trapped internal moisture.
The Blueprint: Thick and Chewy Sweet Potato Jerky Recipe
It is time to execute the blueprint. Follow these steps meticulously, and you will yield the perfect batch of thick, chewy sweet potato jerky every single time. This is the exact method I use to bypass the pet store markup.
- Wash and Scrub: Thoroughly wash your sweet potatoes to remove all dirt. You do not need to peel them! The skin is packed with extra fiber and nutrients, and it helps the jerky hold its shape during the drying process.
- The Precision Slice: Using your mandoline or knife, slice the sweet potatoes lengthwise or into rounds. Remember our golden rule: 1/4 inch to 1/3 inch thickness. Uniformity is your best friend here.
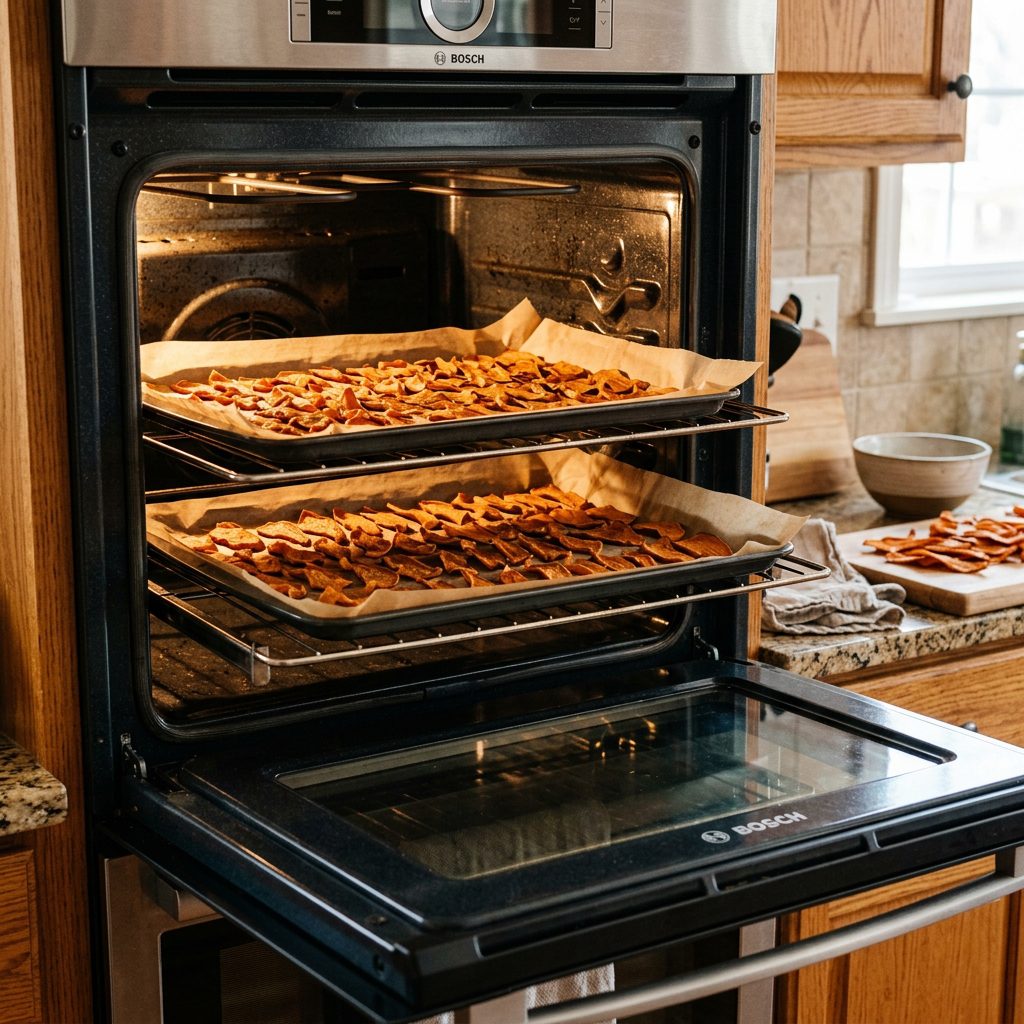
- The Setup (Oven Method): Preheat your oven to its lowest possible setting. For most ovens, this is between 175°F and 200°F. Line your baking sheets with parchment paper and arrange the slices so they are close but not overlapping. Airflow is critical.
- The Setup (Dehydrator Method): If you have a dehydrator, arrange the slices on the mesh trays. Set the temperature to 130°F to 140°F.
- The Slow Bake: Place them in the oven. Bake for approximately 3 hours, then flip every single slice. This ensures even dehydration. Continue baking for another 2 to 3 hours. If you are using a dehydrator, this process will take between 6 to 8 hours total, and flipping isn’t always necessary depending on your machine’s airflow.
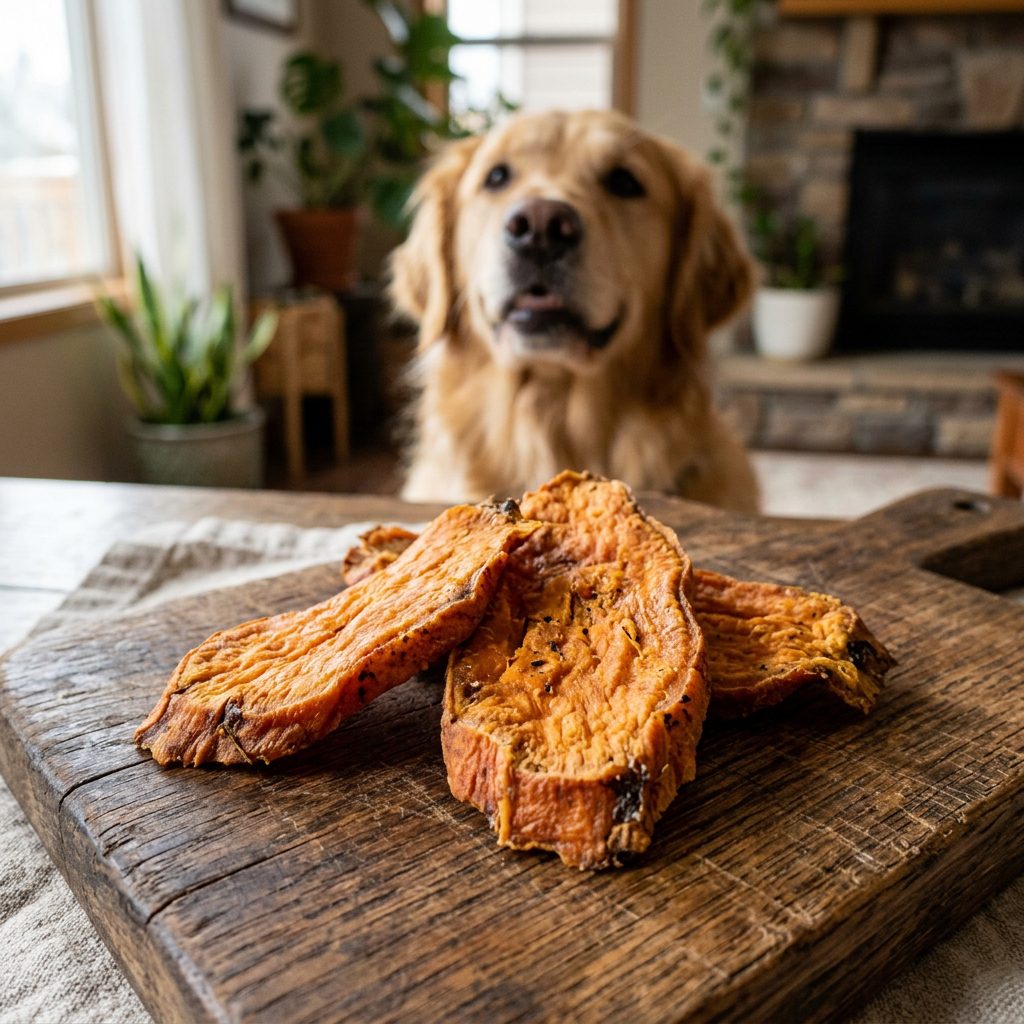
- The Bend Test: You’ll know they are done when they are shrunken, dry to the touch, but still pliable. Take a slice and bend it. It should bend completely in half without snapping. If it snaps, it’s a chip. If it squishes, it needs more time.
- The Cool Down: This is a critical, often skipped step. Let the jerky cool completely on a wire rack for at least 2 hours before storing. Residual heat creates condensation in your storage container, which leads to rapid mold growth.
Hacker Upgrades: Flavor Boosts for Picky Eaters
While plain sweet potato is usually a massive hit, some dogs are notoriously picky. As a nutrition hacker, you can safely elevate this basic recipe to create high-value training treats without compromising the health profile. Here are a few vet-approved additions you can use before the dehydration process.
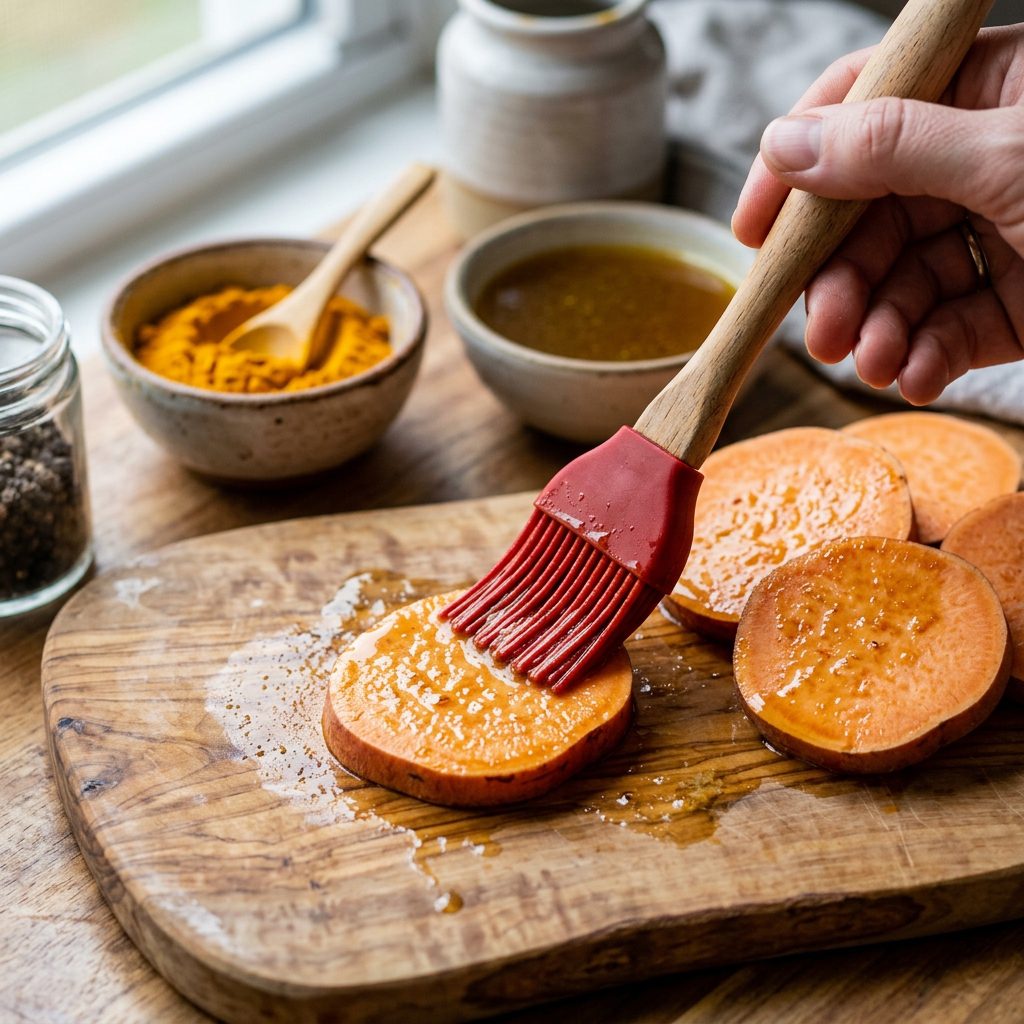
The Bone Broth Glaze
If your dog is a hardcore carnivore who turns their nose up at veggies, try a bone broth glaze. Lightly brush the raw sweet potato slices with a high-quality, dog-safe bone broth (ensure it has zero onions or garlic). As the potato dehydrates, it will absorb the savory meat flavor, creating an irresistible aroma.
The Anti-Inflammatory Dusting
For senior dogs suffering from joint stiffness, you can create a functional treat. Lightly dust the raw slices with a tiny pinch of organic Ceylon cinnamon and a micro-dash of turmeric. Both spices have fantastic anti-inflammatory properties. Just ensure you are using Ceylon cinnamon, not standard Cassia cinnamon, in small, safe quantities.
The Coconut Oil Shine
For an extra boost to their skin and coat, you can lightly mist the slices with melted, unrefined coconut oil before baking. This will slightly change the texture, making them a bit richer, and adds healthy medium-chain triglycerides (MCTs) to their diet.
Batching and Storing: Maximizing Your Output
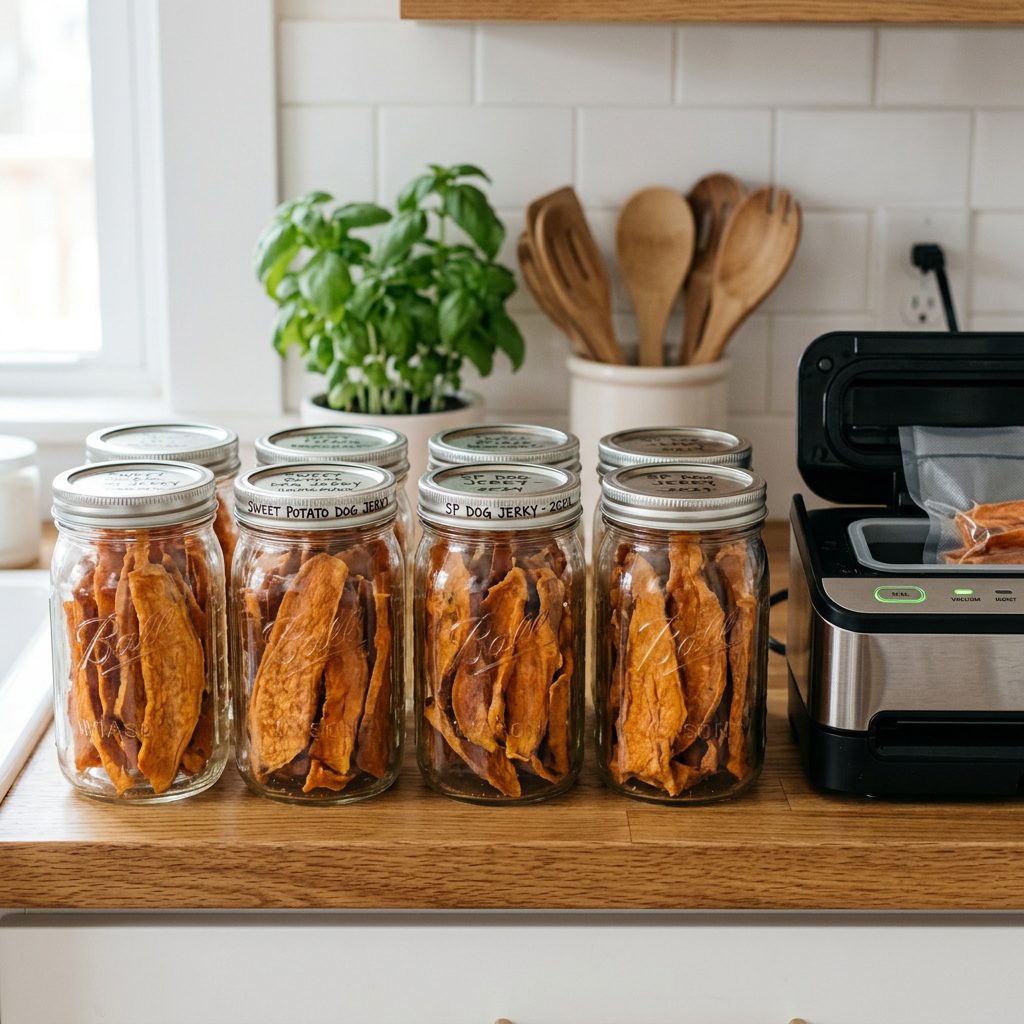
Because we are completely eliminating dangerous chemical preservatives like potassium sorbate, the way you store your homemade jerky is the most important part of this entire process. Moisture is the enemy of longevity. If you leave chewy, moisture-rich treats sitting on the counter in a plastic bag, they will mold within a week.
Hacker Tip: The secret to massive savings is batch cooking. Buy 5 to 10 pounds of sweet potatoes when they are on sale, dedicate a Sunday afternoon to dehydrating, and utilize your freezer to lock in freshness for months.
Here is the definitive guide to storing your DIY jerky:
- Short-Term Storage (1-2 Weeks): Place the completely cooled jerky in an airtight glass mason jar or a vacuum-sealed container. Keep this container in the refrigerator. The cool temperature drastically slows down any potential mold growth.
- Long-Term Storage (Up to 6 Months): Divide the jerky into portion-sized ziplock bags, squeeze out as much air as possible (or use a vacuum sealer), and toss them in the freezer. When you need a new batch, simply pull a bag out and let it thaw in the fridge overnight. Dogs also love eating them straight out of the freezer on a hot summer day!
Always do a visual and sniff test before feeding a stored treat to your dog. If you see any white fuzz or smell anything sour, toss the batch immediately. It’s better to be safe and lose a $1.50 batch of potatoes than risk an upset canine stomach.
Conclusion
There you have it. You’ve just bypassed the overpriced, filler-heavy commercial pet treat industry and leveled up your dog’s nutrition game. By taking control of the ingredients and the process, you are not just saving hundreds of dollars a year; you are actively investing in your dog’s long-term health and happiness. Making thick and chewy sweet potato dog jerky at home is the ultimate low-effort, high-reward canine nutrition hack.
Your dog is going to be obsessed with the chewy texture and sweet flavor, and you are going to be obsessed with the savings. Next time you are at the grocery store, grab a few extra sweet potatoes, fire up that oven, and treat your best friend to the quality they actually deserve. Don’t forget to share this guide with your fellow dog owners—friends don’t let friends buy overpriced, chemically preserved dog treats. Happy hacking, and happy snacking to your pups!