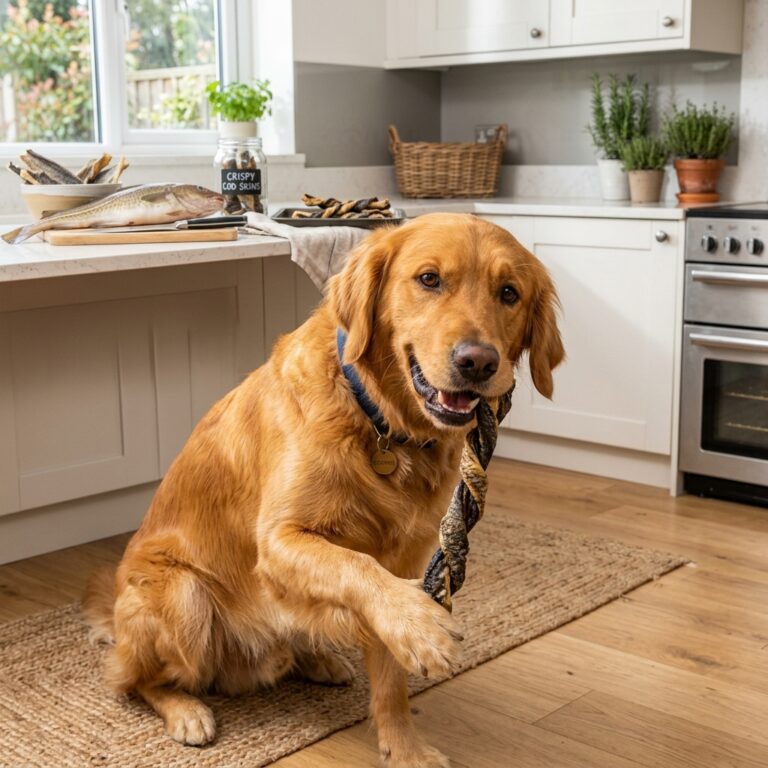
The Longest-Lasting Chew: How to Dehydrate Beef Tendons to Keep High-Energy Dogs Busy
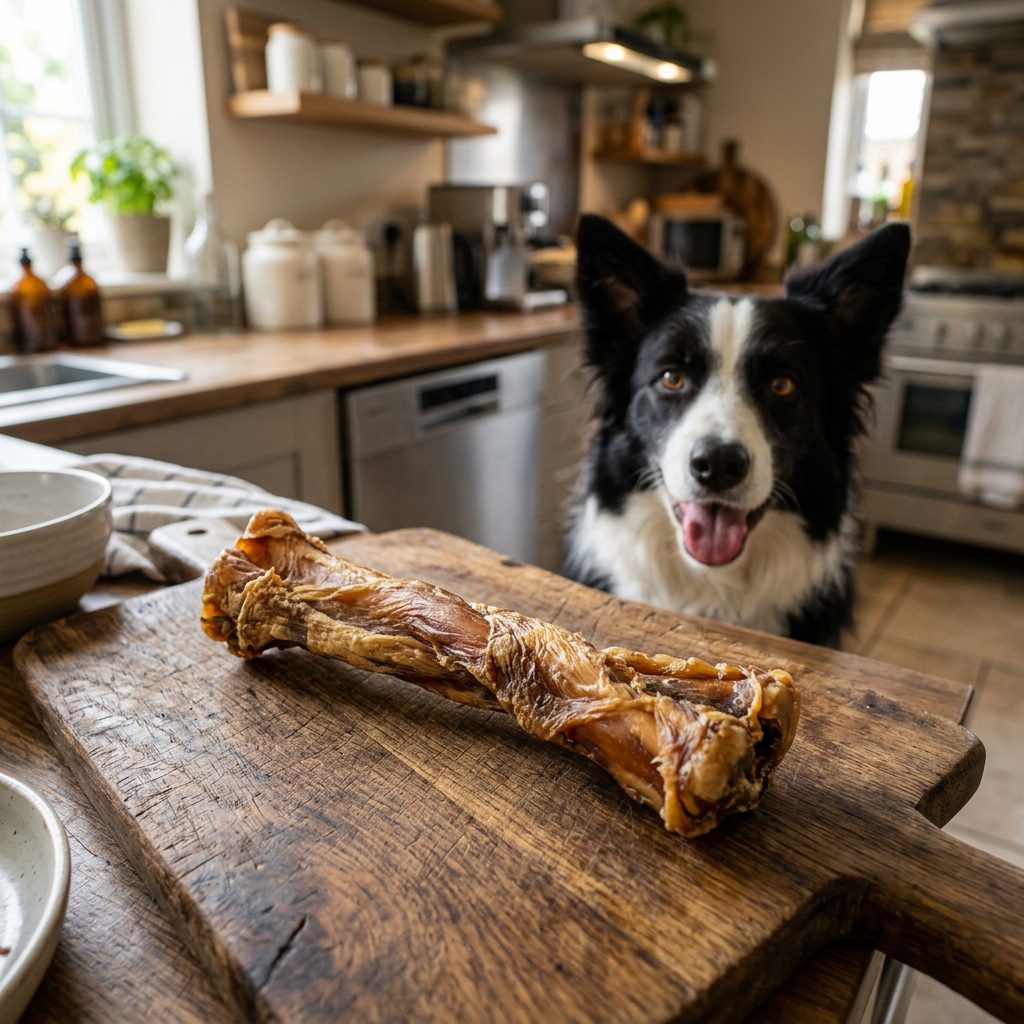
If you have a high-energy dog, you know the struggle. You buy a so-called “long-lasting” chew at the pet store for $12.00, and your furry piranha has it demolished in exactly four minutes. It’s frustrating, it’s expensive, and frankly, it’s a waste of money. As the Canine Nutrition Hacker, I’m tired of seeing savvy owners get fleeced by big-box brands selling chemically-treated rawhide or overpriced ‘gourmet’ tendons.
Today, we are going behind the scenes of the pet treat industry to reclaim our kitchen and our wallets. We’re talking about beef tendons—the holy grail of natural dog chews. They are packed with collagen, low in fat, and when prepared correctly, they offer the kind of mechanical chewing action that cleans teeth and burns off mental energy. Best of all? When you DIY, you control the quality and slash the price by over 70%.
Insider Secret: Most commercial ‘natural’ chews are treated with bleach or artificial preservatives to make them look uniform on the shelf. By dehydrating them yourself, you’re providing a single-ingredient powerhouse with zero hidden nasties.
Safety First: The Safe Chef Disclaimer
Before we dive into the raw details, let’s get the legalities out of the way. I am a passionate canine nutrition researcher and a savvy dog owner, but I am not a veterinarian. Dehydrating meat at home is a safe and rewarding process, but it requires strict adherence to temperature and hygiene standards to prevent bacterial growth like Salmonella or Listeria.
- Always wash your hands and sanitize all surfaces after handling raw beef.
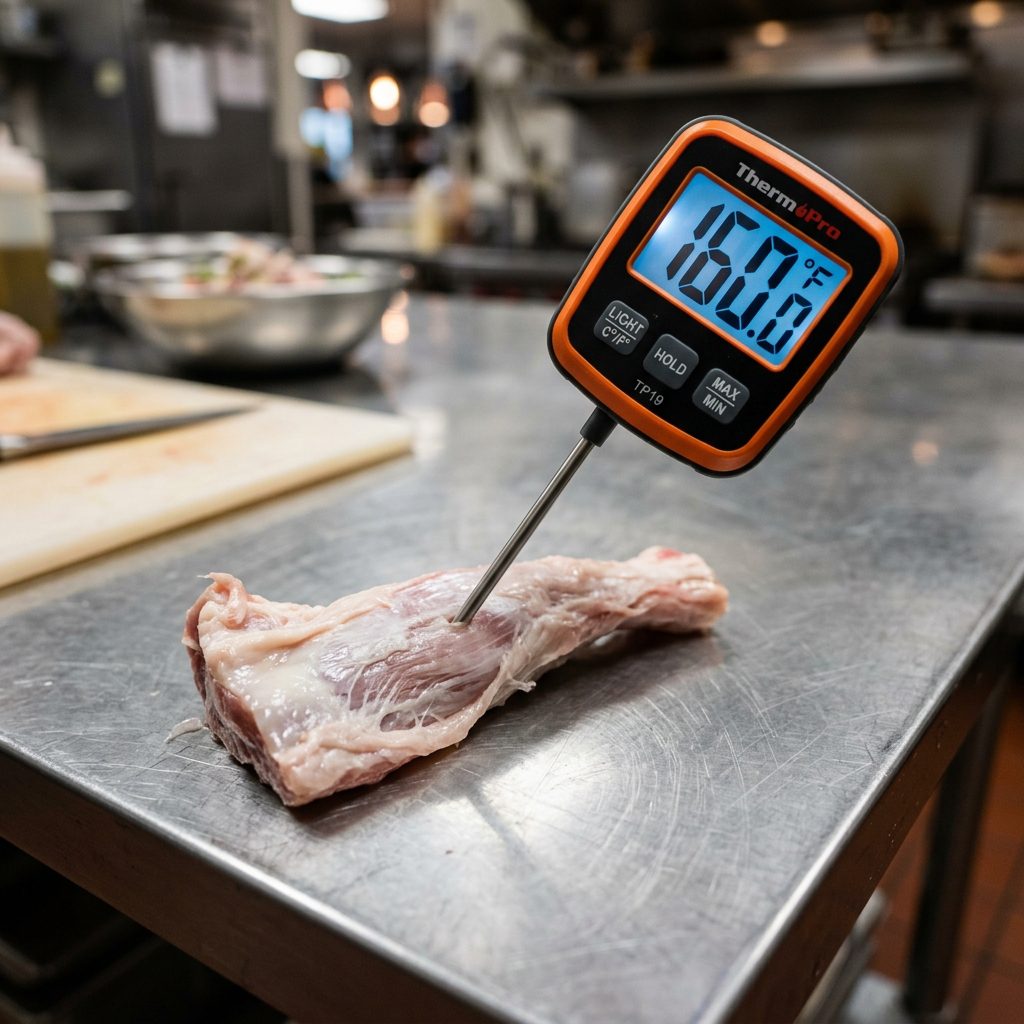
- Ensure your dehydrator or oven reaches a consistent temperature of at least 160°F (71°C) to kill pathogens.
- Supervise your dog whenever you introduce a new chew to ensure they don’t try to swallow large chunks.
- If your dog has a history of pancreatitis or specific beef allergies, consult your vet before adding tendons to their routine.
The Economics of the Chew: DIY vs. Store-Bought
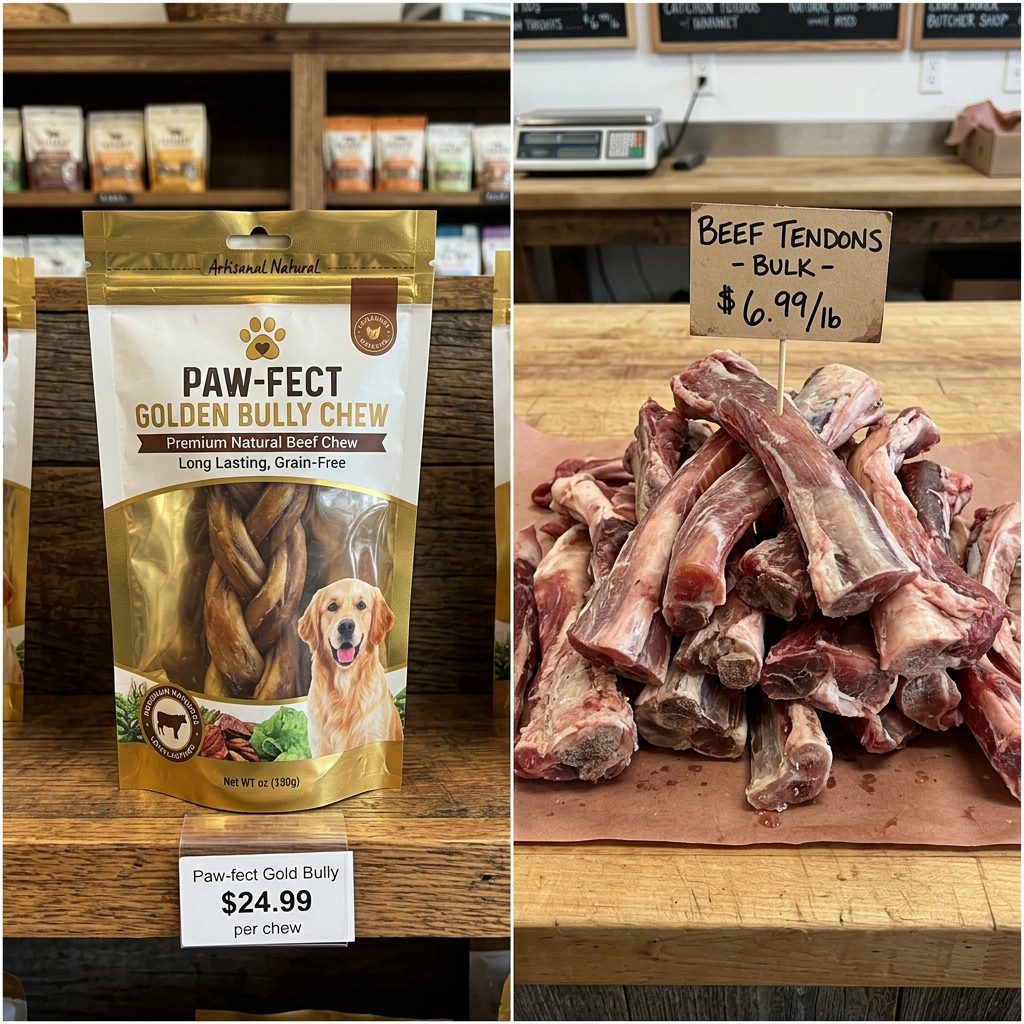
Let’s talk numbers. If you go to a premium pet boutique, a single 6-inch beef tendon will set you back anywhere from $8 to $15. If you have a dog that needs two of these a week, you’re looking at over $1,000 a year just on chews. That’s insane.
By sourcing raw beef tendons from a local butcher or an ethnic grocery store (look for ‘paddywhack’ or Achilles tendons), you can usually find them for $3.00 to $5.00 per pound. One pound typically yields 4 to 6 substantial chews.
| Metric | Store-Bought Premium | Hacker DIY Method |
|---|---|---|
| Cost Per Chew | $10.00 – $12.00 | $0.80 – $1.50 |
| Ingredients | Tendon, often smoke flavor/preservatives | 100% Beef Tendon |
| Processing | High-heat industrial drying | Low & Slow Dehydration (Nutrient Dense) |
| Chemicals | Possible bleach/irradiation | None |
As you can see, the savings are astronomical. You aren’t just saving money; you’re upgrading the quality of the protein your dog consumes.
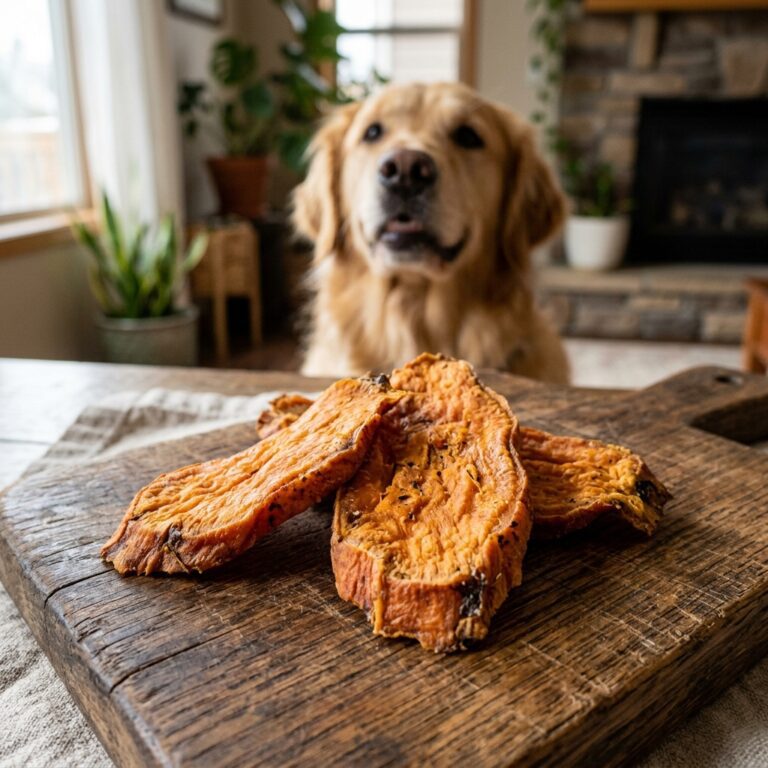
Sourcing the ‘White Gold’: Where to Find Raw Tendons
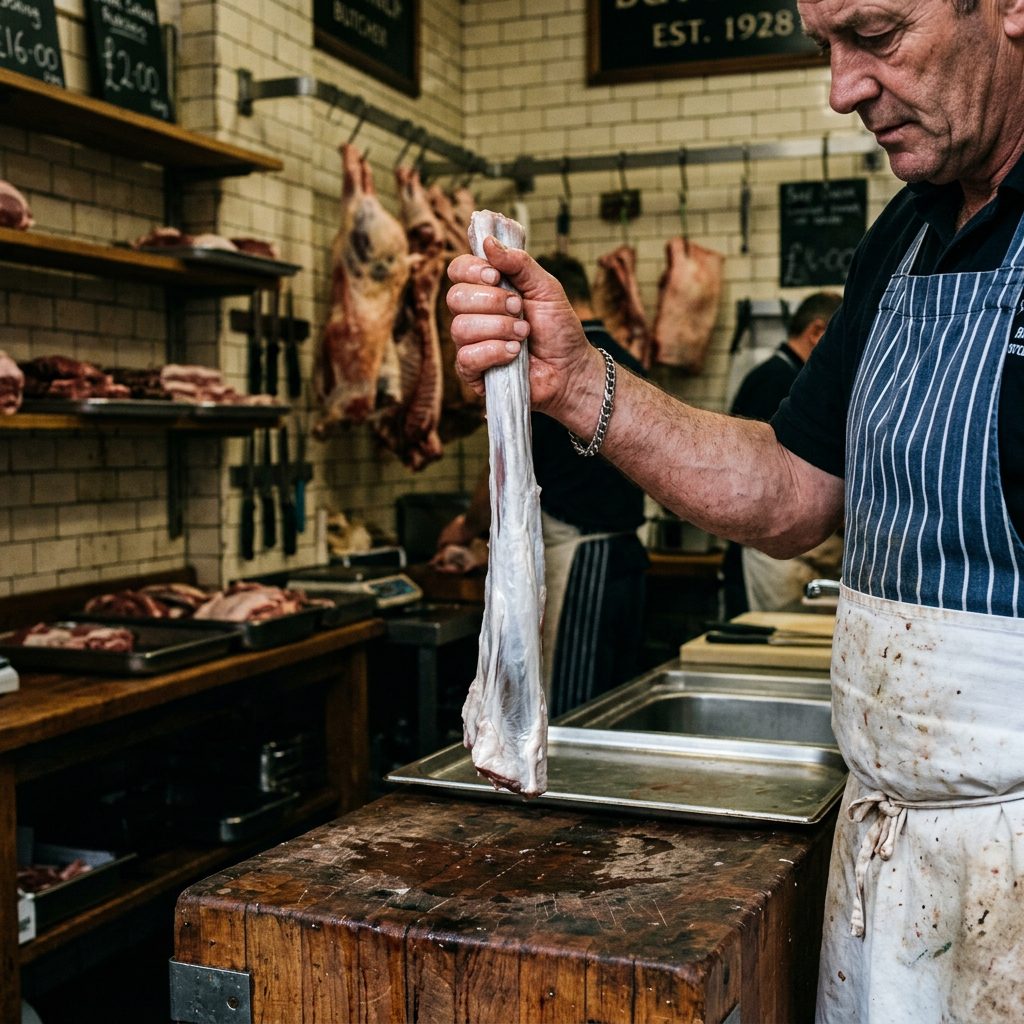
Finding the Right Cut
You won’t usually find beef tendons sitting next to the ribeye at your local supermarket. To get the good stuff, you need to know where to look. I call them ‘White Gold’ because of their high collagen content and their value to a dog owner.
Top 3 Sourcing Spots:
- Asian Supermarkets: Markets like H-Mart or 99 Ranch are gold mines. Beef tendons are a staple in many Asian cuisines (like Pho), so they are readily available and very cheap.
- Local Custom Butchers: Call your local butcher and ask if they save the ‘Achilles tendons’ or ‘paddywhack’ (the nuchal ligament). Often, these are discarded or sold for pennies as rendering scraps.
- Restaurant Supply Stores: If you have the freezer space, buying in 10-20lb cases will bring your cost down to the absolute minimum.
Hacker Tip: Look for tendons that are white or cream-colored with minimal fat attached. While a little fat is okay, too much will cause the chew to go rancid faster during storage.
The Dehydration Protocol: Step-by-Step
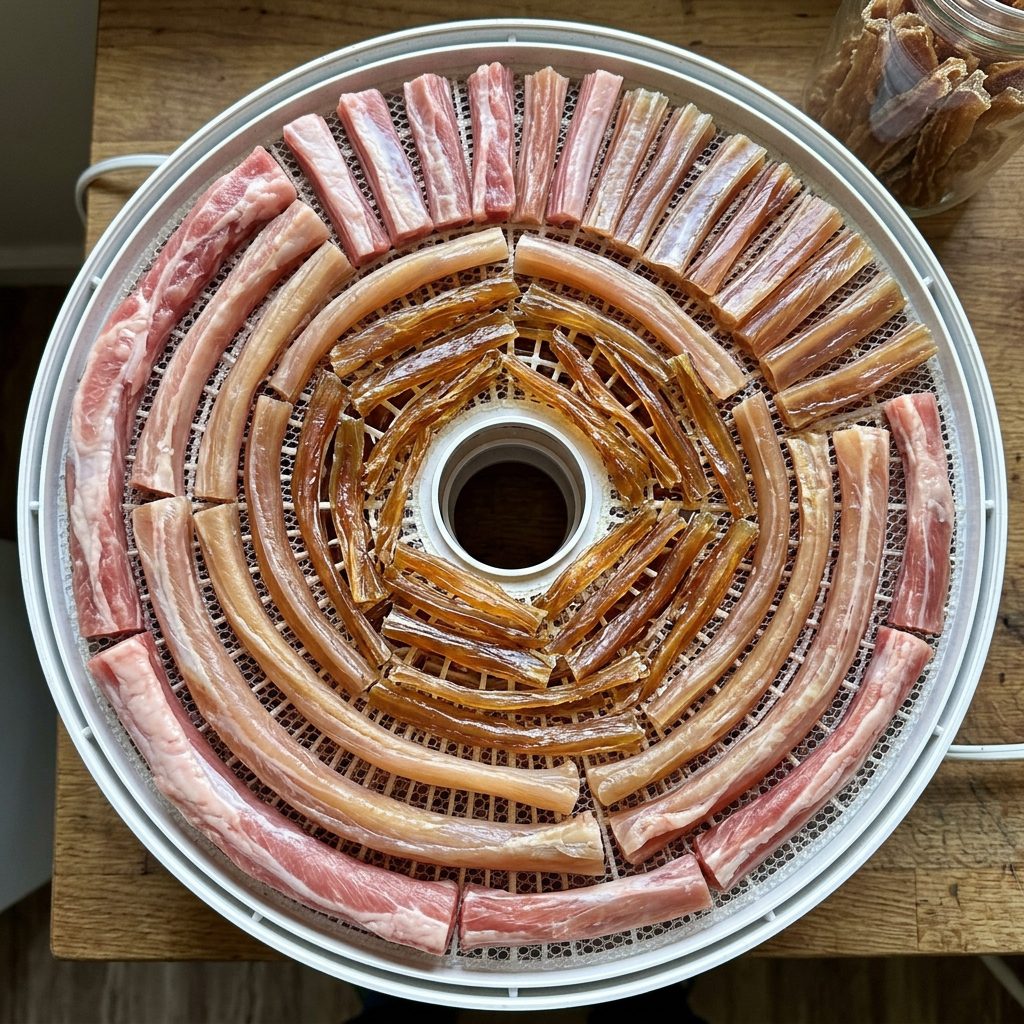
Preparation and Equipment
To do this right, you need a dehydrator with a temperature control. While an oven can work on its lowest setting (usually 170°F), a dehydrator provides better airflow, which is the secret to that ‘shatter-proof’ texture dogs love.
The Recipe Process:
- The Semi-Freeze: Put your raw tendons in the freezer for about 45 minutes. This makes them firm and much easier to trim or slice if they are excessively thick.
- The Trim: Use a sharp knife or kitchen shears to remove any large chunks of hanging fat. Leave the silvery membrane intact—that’s the good stuff!
- The Layout: Place the tendons on your dehydrator trays. Crucial: Do not let them touch. Air must circulate around every square inch of the meat.
- The Temperature: Set your dehydrator to 160°F (71°C). This is the ‘sweet spot’ that ensures safety while preserving the structural integrity of the collagen.
- The Wait: Dehydrate for 24 to 36 hours. Yes, you read that right. Tendons are dense. If they are still flexible or ‘squishy’ in the middle, they aren’t done. They should be hard as a rock and translucent.
If you are using an oven, prop the door open slightly with a wooden spoon to allow moisture to escape, and check them every 4 hours after the 12-hour mark.
Storage and The ‘Snap Test’
How to Know They Are Done
The biggest mistake beginners make is taking the treats out too early. Moisture is the enemy of shelf-life. To check for doneness, perform the Snap Test: Let a chew cool to room temperature (about 10 minutes), then try to bend it. It should have zero give. If it feels like a piece of wood, you’ve succeeded.
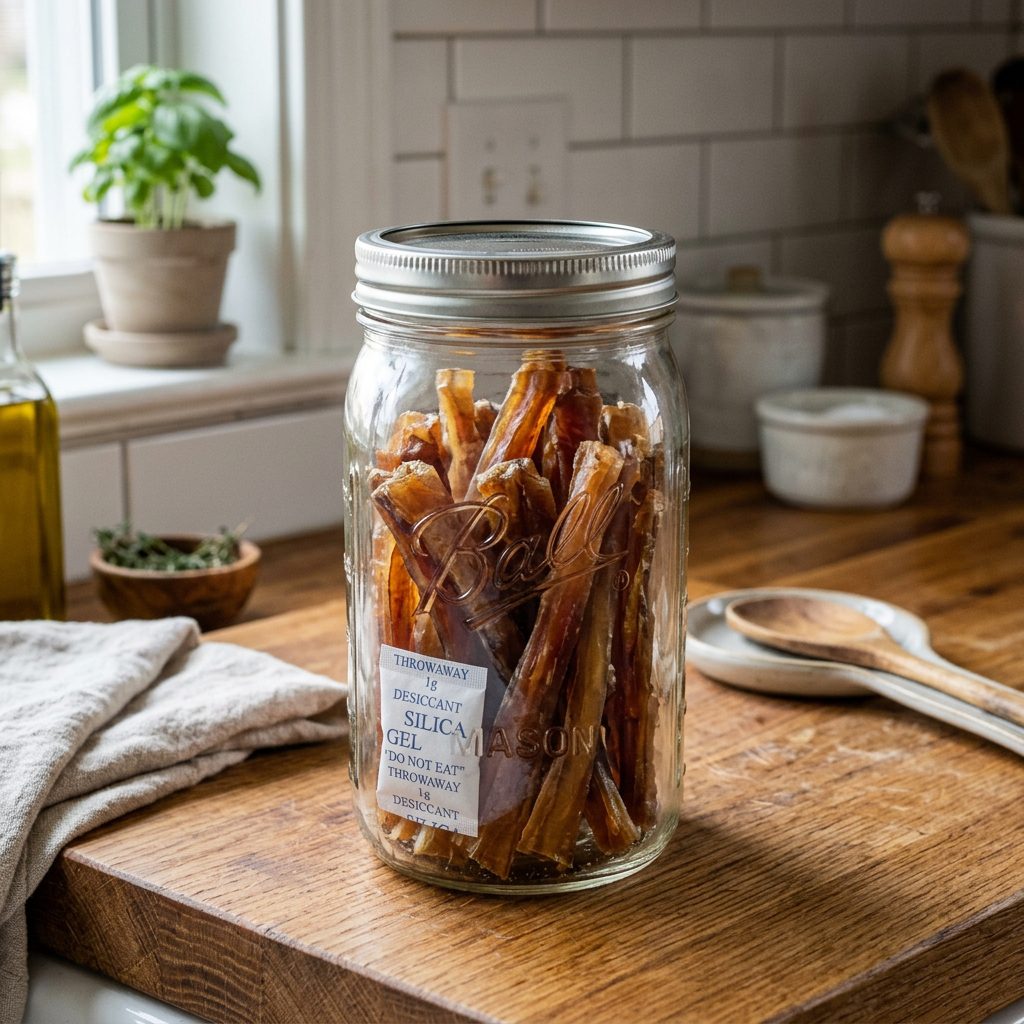
Storage Best Practices:
- Cooling: Let the chews cool completely on a wire rack before bagging. Putting warm treats in a bag creates condensation, which leads to mold.
- Short-Term: Store in an airtight glass jar or silicone bag in a cool, dark pantry for up to 2 weeks.
- Long-Term: Because we aren’t using chemical preservatives, I recommend storing the bulk of your batch in the freezer. They will last for 6 months and stay perfectly fresh.
Insider Secret: Throw a food-grade oxygen absorber or a silica gel packet into your storage jar. It’s a pro move that keeps the chews ‘crunchy’ and prevents any moisture spoilage.
Conclusion
There you have it—the blueprint for the ultimate long-lasting dog chew. By taking control of the process, you’ve bypassed the ‘pet food tax’ and provided your dog with a high-quality, collagen-rich treat that keeps them occupied and happy. No more $12.00 receipts for four minutes of chewing. You’re now officially a Canine Nutrition Hacker.
Remember, the first time you try this, start with a small batch to get a feel for your dehydrator’s timing. Once you master the beef tendon, the world of DIY dog treats is your oyster. Your dog—and your bank account—will thank you.