The Healthy Alternative: Dehydrated Venison Jerky Dog Treats You Can Make At Home
Welcome to the inner circle of canine nutrition hacking. If you are tired of flipping over a bag of premium dog treats only to find a paragraph of unpronounceable chemicals, you are in the exact right place. We all want to reward our dogs, but the commercial pet treat industry is a minefield of empty fillers, artificial preservatives, and mystery meats. Today, we are taking the power back. We are tackling one of the most notoriously overpriced items in the boutique pet store: venison jerky. Disclaimer: I am a nutrition hacker and savvy dog owner, not a veterinarian. While these single-ingredient treats are a fantastic, healthy addition to your dog’s diet, always consult your vet before introducing new foods, especially if your dog has underlying health conditions like kidney disease that require strict protein management. As a savvy owner, you know that the best way to control what goes into your dog’s body is to make it yourself. But we aren’t just baking generic peanut butter biscuits today; we are crafting high-value, biologically appropriate, dehydrated venison jerky that will make your dog’s eyes bug out—all while saving you a small fortune. Let’s get to work.
The Dark Side of Commercial Jerky Treats
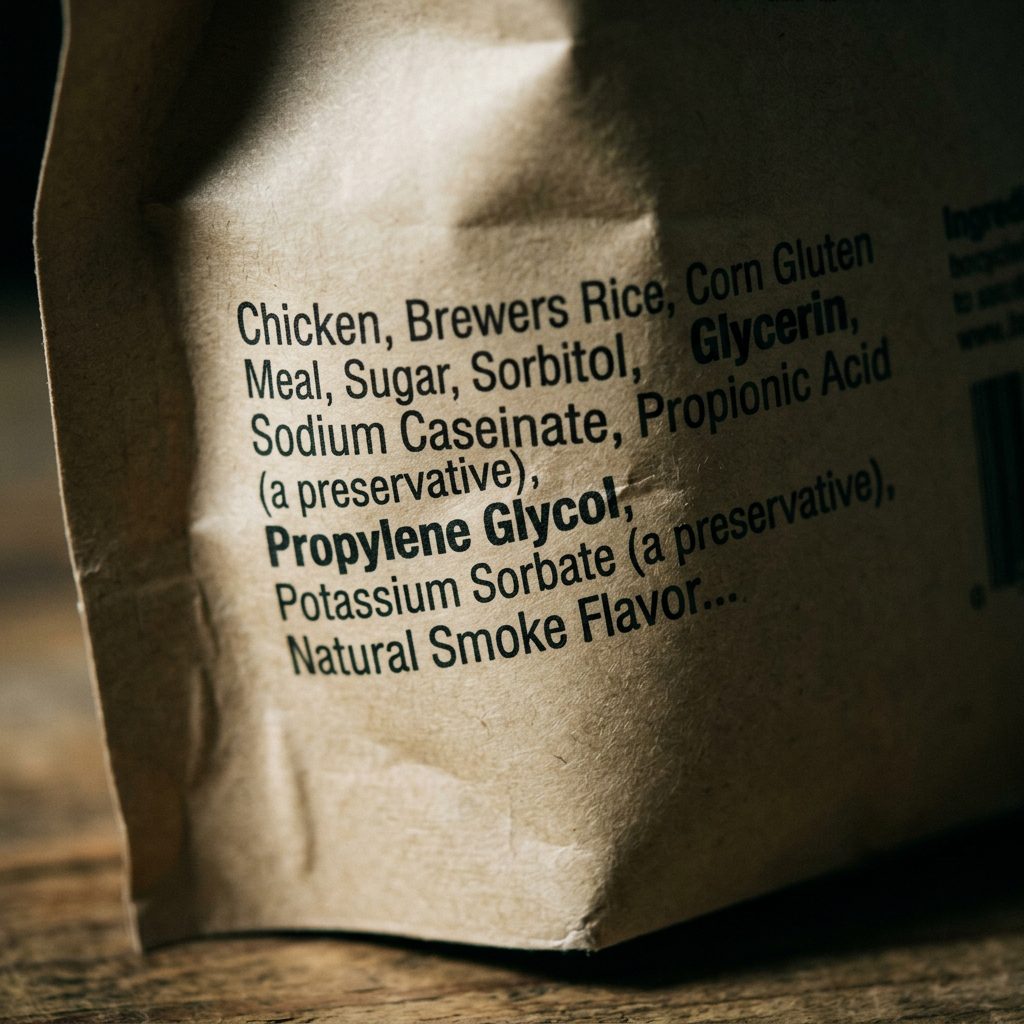
Before we dive into the kitchen, we need to talk about why we are doing this. If you walk into any big-box pet store and grab a bag of jerky, you are likely holding a product that is more chemistry experiment than meat. Let’s do a forensic review of the typical first five ingredients in commercial jerky: Meat (often vaguely labeled), Soy Flour, Propylene Glycol, Sugar, and Animal Fat. Do you see the problem? Propylene glycol is used to keep the jerky soft and chewy on the shelf for years. Sugar is an addictive filler that spikes your dog’s insulin and rots their teeth. Even the premium brands that boast 100% real meat often use vegetable glycerin to artificially inflate the moisture content and weight of the product, meaning you are paying meat prices for syrupy fillers.
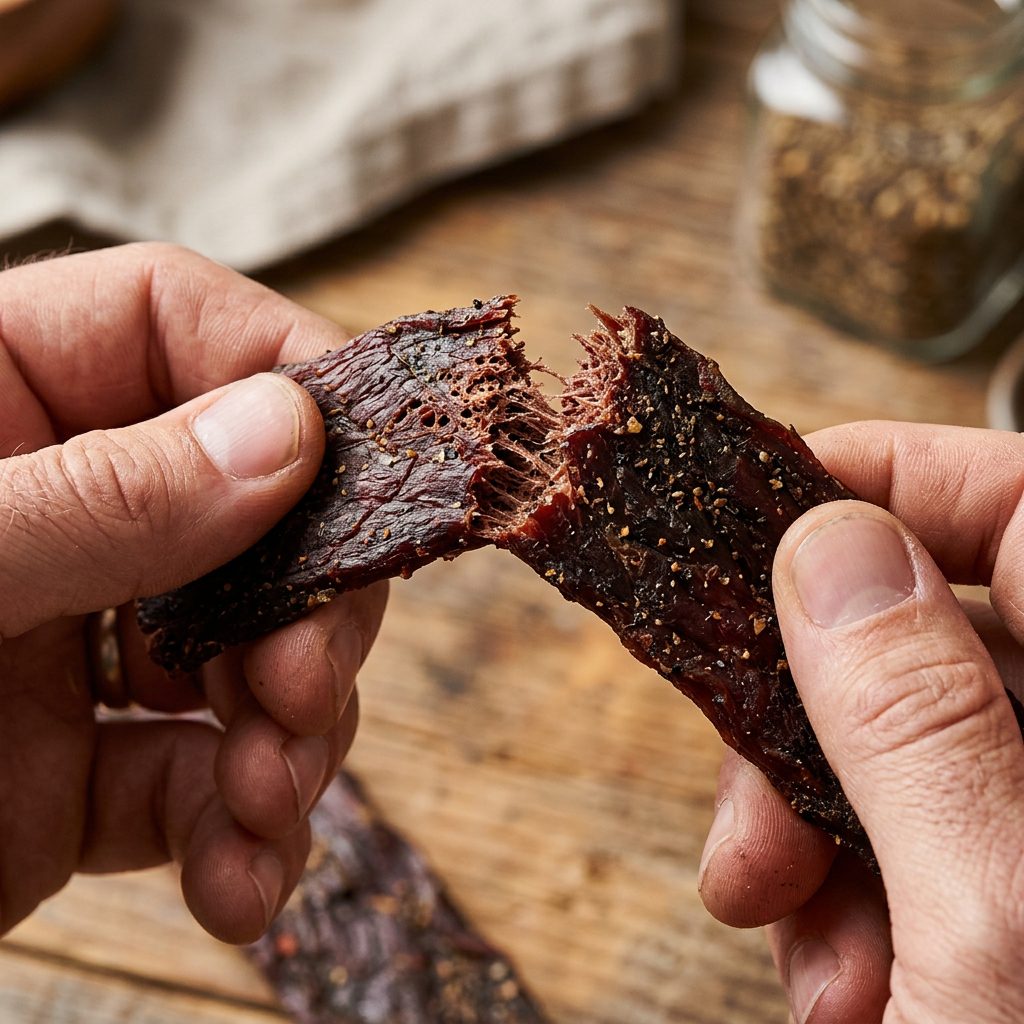
Insider Secret: If a store-bought jerky treat bends easily and feels slightly sticky, it is loaded with glycerin. True, single-ingredient dehydrated meat is dry, leathery, and snaps when you bend it.
The FDA has repeatedly issued warnings about jerky treats imported from overseas causing mysterious illnesses in dogs. By making your own, you eliminate the risk of hidden toxins, heavy metals, and shady manufacturing practices. You are in total control of the ingredient list, and that list is going to be exactly one item long.
Why Venison? The Ultimate Novel Protein
So, why are we choosing venison instead of cheap chicken or beef? Venison is a nutritional powerhouse and a holy grail for dogs with food sensitivities. In the canine nutrition world, a novel protein is a meat source that your dog has not frequently been exposed to, making it highly unlikely to trigger an allergic response. If your dog suffers from itchy skin, chronic ear infections, licking their paws relentlessly, or a sensitive stomach, common proteins like chicken and beef are often the culprits.
Venison is incredibly lean, meaning it is significantly lower in fat than beef. This is crucial for preventing conditions like pancreatitis and keeping your dog at an optimal, athletic weight. It is also packed with essential amino acids, iron, zinc, and B vitamins that support a shiny coat and a robust immune system. Because venison is naturally lean, it is the absolute perfect candidate for dehydration. Fat is the enemy of jerky—it doesn’t dehydrate, it just goes rancid. By starting with a lean protein like venison, you are setting yourself up for long-lasting, safely preserved treats.
The Real Cost Breakdown: DIY vs. Premium Store-Bought
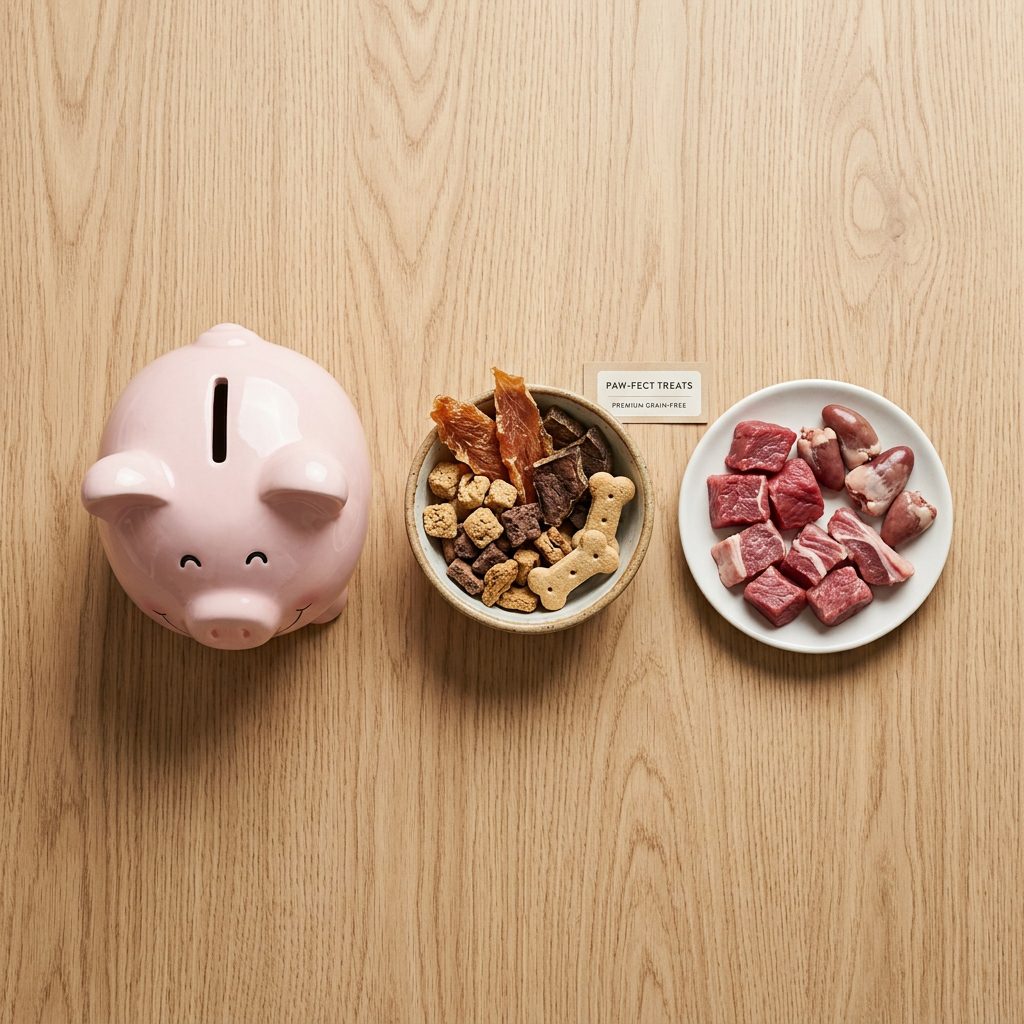
Let’s run the numbers, because this is where the DIY approach truly shines. Boutique pet brands know that savvy owners want novel proteins, and they charge a massive premium for the privilege. A tiny 4-ounce bag of venison jerky can easily run you twenty dollars or more. That is highway robbery for a product that still might contain mixed tocopherols and rosemary extract. When you buy a venison roast or use meat from a trusted hunting source, the savings are astronomical.
| Treat Source | Average Cost Per Ounce | Ingredient Purity | Estimated Cost Per Day (50lb Dog) |
|---|---|---|---|
| Premium Store-Bought Jerky | $4.00 – $6.00 | Venison, Glycerin, Preservatives | $1.50 – $2.50/day |
| DIY Homemade Venison Jerky | $0.80 – $1.20 | 100% Pure Venison | $0.30 – $0.50/day |
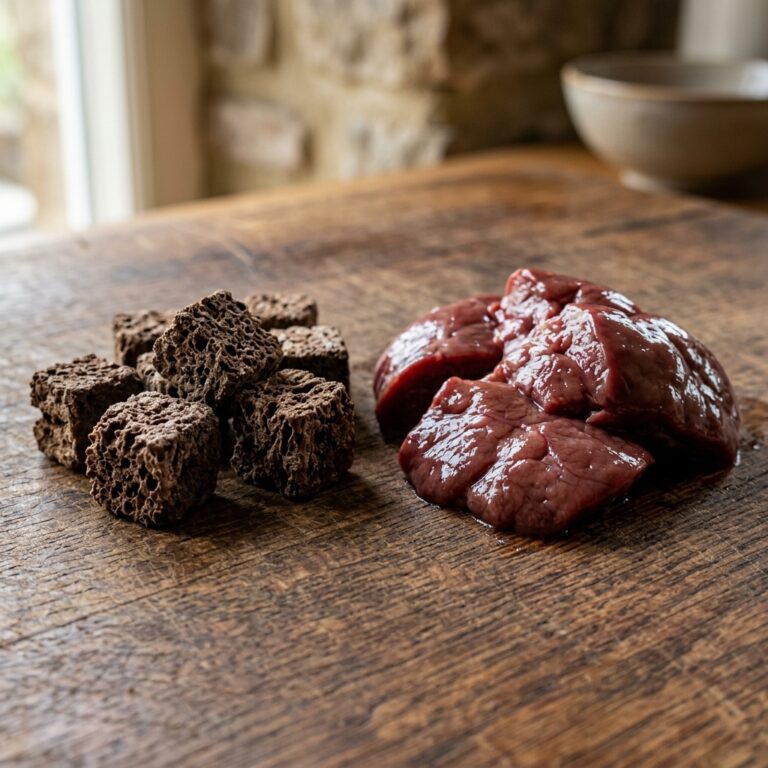
When you dehydrate meat, it loses about two-thirds of its weight in water. So, three pounds of raw venison will yield roughly one pound of pure jerky. Even factoring in the yield loss, making it at home means you are paying a fraction of the retail price. You are keeping hundreds of dollars a year in your pocket while massively upgrading your dog’s daily nutrition.
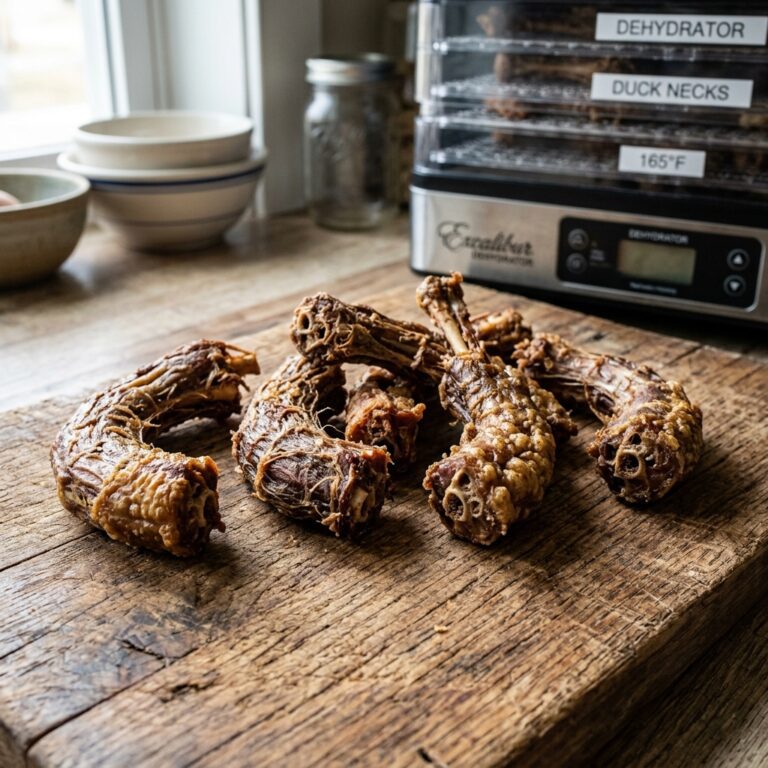
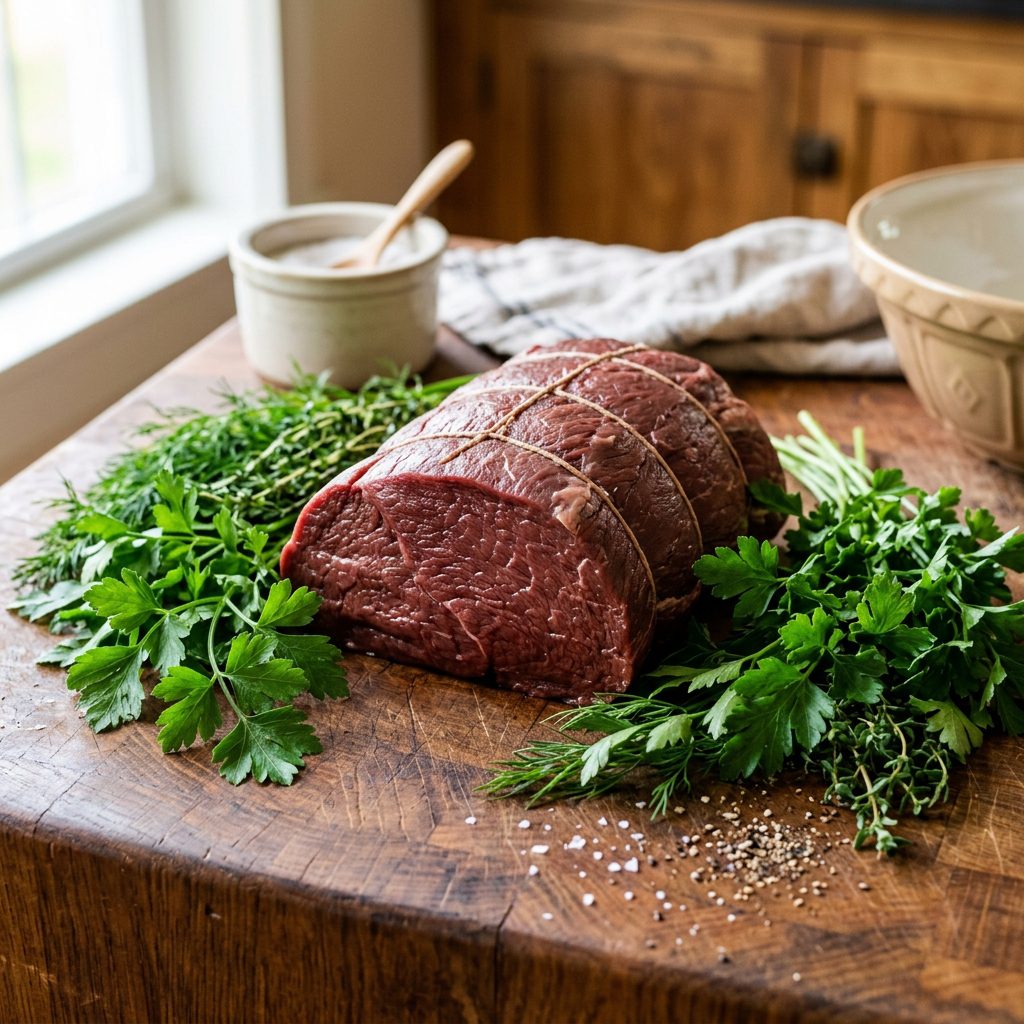
The Safe Chef Guide: Equipment and Sourcing
Before you start slicing, you need the right gear and the right meat. You do not need a massive commercial setup, but a dedicated food dehydrator is a game-changer. Dehydrators provide consistent, low-temperature airflow that slowly removes moisture without cooking the meat. If you don’t have one, your standard kitchen oven will work perfectly, provided it can be set to a low enough temperature (around 160°F or 70°C). You will also need a highly sharpened chef’s knife or a meat slicer. Dull knives are dangerous and will leave you with jagged, uneven strips that dry inconsistently.
When sourcing your venison, ensure it is human-grade. If you are using wild-hunted venison, it must be properly processed and frozen at sub-zero temperatures for at least three weeks to kill any potential parasites before you even think about thawing and dehydrating it. Never use meat from an animal suspected of having Chronic Wasting Disease (CWD). Safety first, always.
The Science of Dehydration: How We Outsmart Bacteria
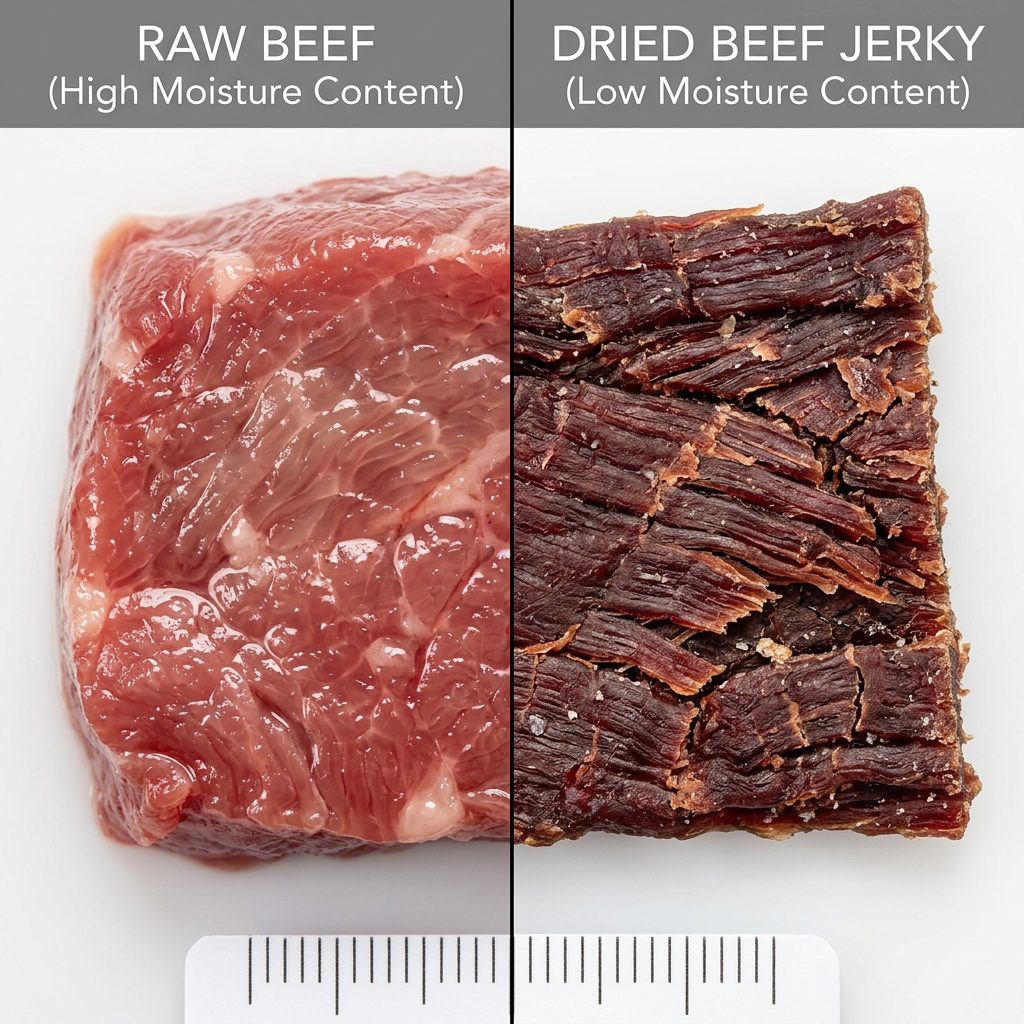
To truly hack your dog’s nutrition, you need to understand the science of what we are doing. Dehydration isn’t just about making meat crunchy; it is a meticulous process of lowering the water activity (aw) of the food. Bacteria, yeast, and mold require a certain level of moisture to survive and multiply. Fresh raw meat has a high water activity level. To make meat shelf-stable and safe from pathogens without using chemical preservatives like the commercial brands do, we must drop that water activity level significantly.
This is why temperature and airflow are critical. If you crank the heat too high, you cause a phenomenon called case hardening. The outside of the meat cooks and seals shut, trapping moisture inside the core. It might look done on the outside, but the inside is a breeding ground for bacteria. Low and slow is the hacker’s mantra. By maintaining a steady 160°F, we gently coax the moisture out from the center while ensuring the surface reaches a lethal temperature for pathogens.
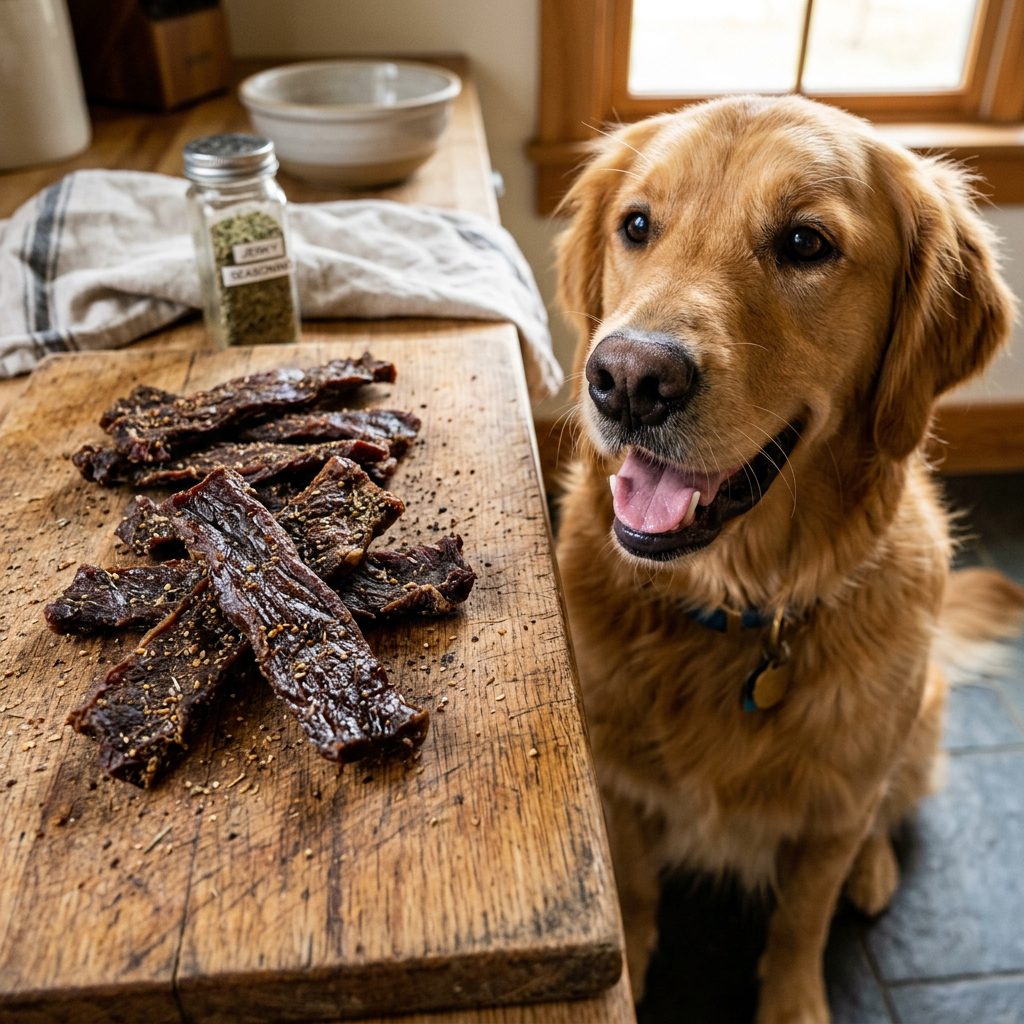
The Actionable Recipe: Step-by-Step Venison Jerky
Here is the exact blueprint for flawless venison jerky. No marinades, no salt, no soy sauce—dogs don’t need it, and their kidneys will thank you for leaving it out.
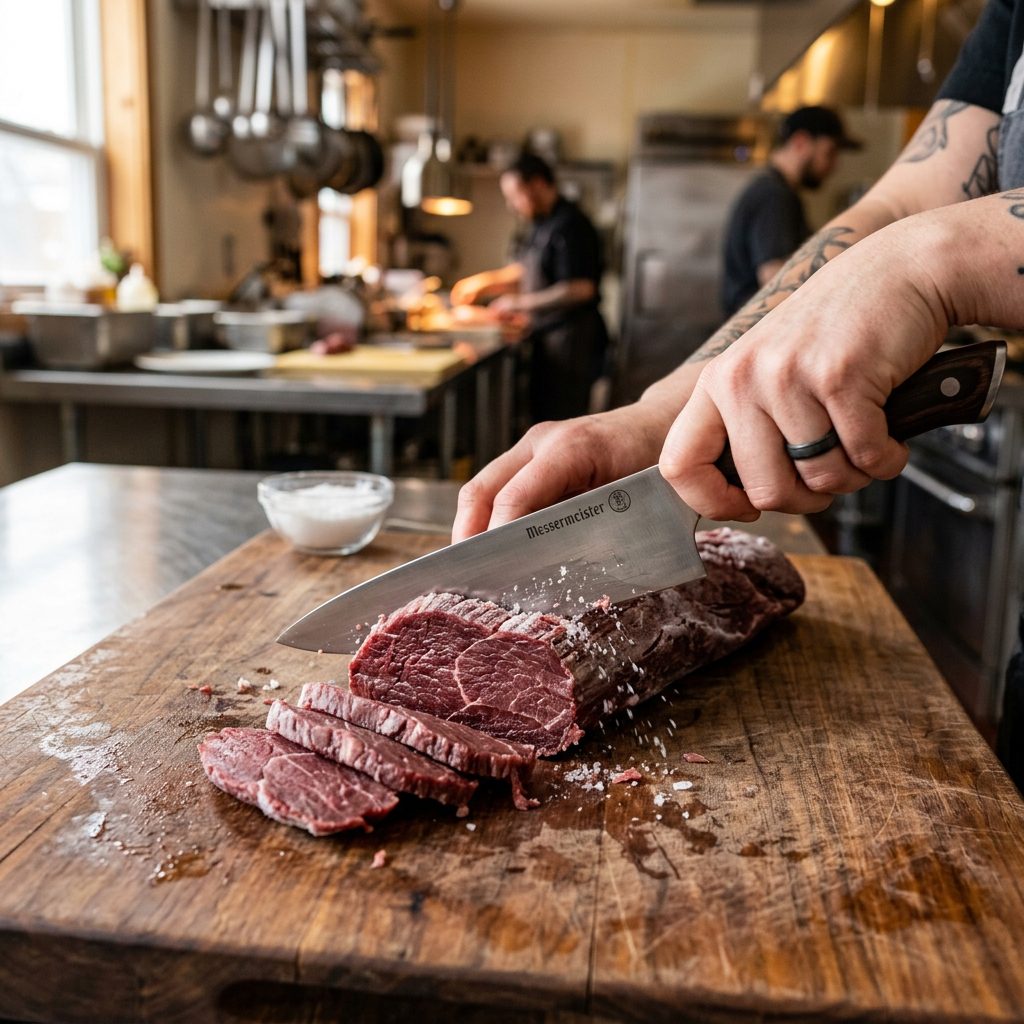
- The Freezer Trick: Place your raw venison roast in the freezer for about 1 to 2 hours before you plan to cut it. You want it firm and slightly icy, but not frozen solid. This hacker tip makes slicing the meat infinitely easier and allows for uniform cuts.
- Trim the Fat: Take your sharp knife and aggressively trim away any visible silver skin, connective tissue, and fat. Remember, fat goes rancid and drastically reduces the shelf life of your jerky. You want pure, lean muscle meat.
- Slicing Strategy: Slice the meat into strips about 1/4-inch thick.
Insider Secret: Slice against the grain if you have a senior dog or a dog with dental issues; it makes the jerky much easier to chew and digest. Slice with the grain if you want a tough, long-lasting chew for a power chewer.
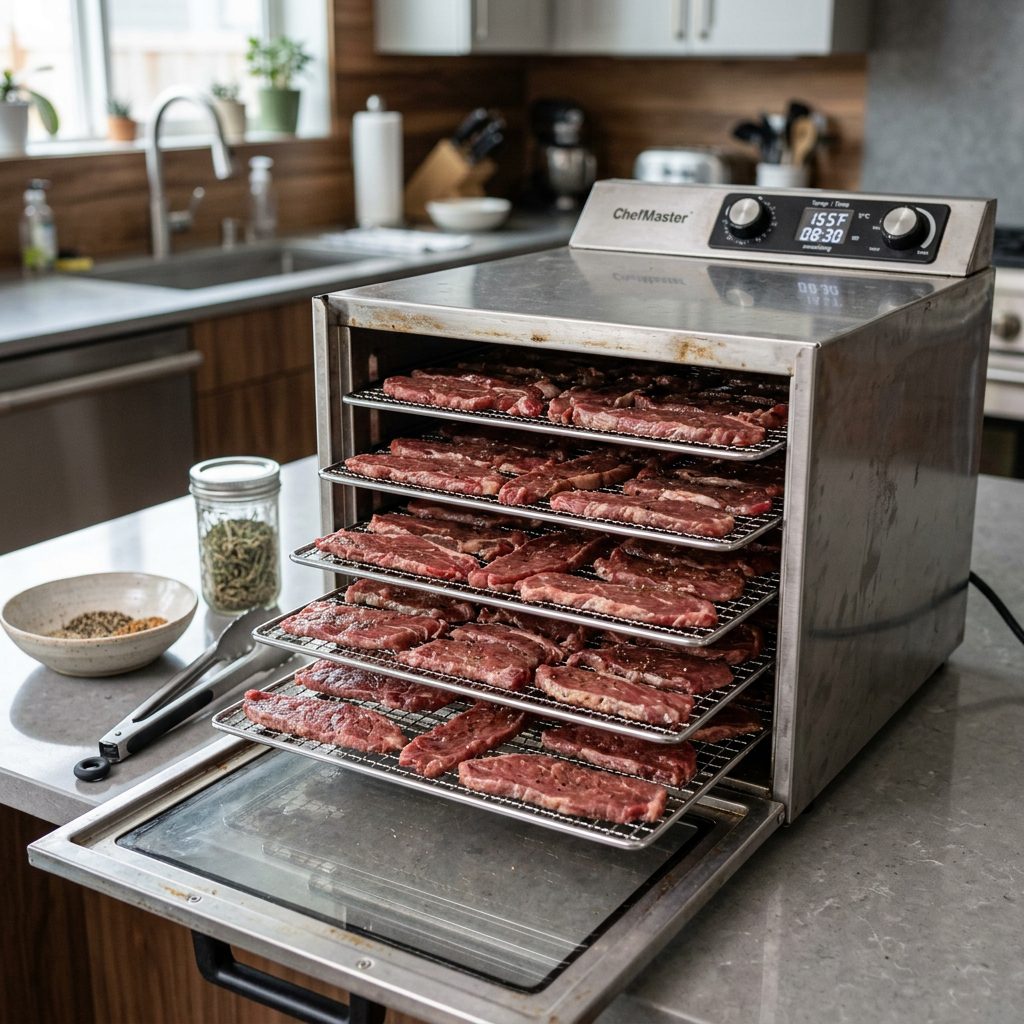
- The Dehydration Process: Lay the strips out on your dehydrator trays or oven wire racks. Do not let the pieces touch; they need airflow on all sides. Set your dehydrator to 160°F (71°C). If using an oven, prop the door open slightly with a wooden spoon to let moisture escape.
- The Bend Test: Dehydrate for 4 to 8 hours. The time varies wildly based on humidity, meat thickness, and your machine. Start checking at the 4-hour mark. Take a piece out, let it cool for 5 minutes, and bend it. It should crack and splinter like a dry twig. If it bends easily or feels spongy, put it back in. Moisture is the enemy of preservation.
Troubleshooting Your Jerky: Common Mistakes and Fixes
Even the savviest dog owners run into hiccups when mastering a new skill. Here is how to troubleshoot common jerky issues like a pro.
Issue 1: The Jerky is Too Brittle and Shatters
If your jerky turns to dust when you break it, you either sliced it too thin or left it in the dehydrator too long. While perfectly safe for your dog to eat (they will happily hoover up the crumbs), it makes for a messy treat. Next time, aim for a strict 1/4-inch thickness and start your bend tests earlier. You can use the shattered jerky dust as a high-value food topper for picky eaters!
Issue 2: White Spots on the Meat
If you see white, chalky spots on the meat after a few days, don’t panic immediately. It is often just crystallized fat or salt that has naturally risen to the surface. However, if the spots are fuzzy or green, that is mold, and the entire batch must be trashed. Mold means there was too much moisture left in the meat or the storage container wasn’t airtight. Always err on the side of over-drying when making treats for dogs.
Issue 3: Uneven Drying
If some pieces are crispy while others are still rubbery, your dehydrator might have uneven airflow, or your slices were incredibly inconsistent. Always rotate your dehydrator trays halfway through the drying process. Move the top trays to the bottom and vice versa to ensure every piece gets equal exposure to the heating element.
Hacker Tips: Batch Cooking & Safe Storage
You have just spent hours making liquid gold for your dog; now you need to protect your investment. The biggest mistake rookies make is throwing warm jerky straight into a plastic bag. This creates condensation, which leads to mold, ruining the entire batch.
The Conditioning Phase
Once your jerky passes the bend test, turn off the dehydrator and let the meat sit at room temperature for a full 24 hours in a loosely covered glass jar or paper bag. This process, called conditioning, allows any residual moisture to distribute evenly among the pieces, drastically reducing the risk of mold.
Long-Term Storage
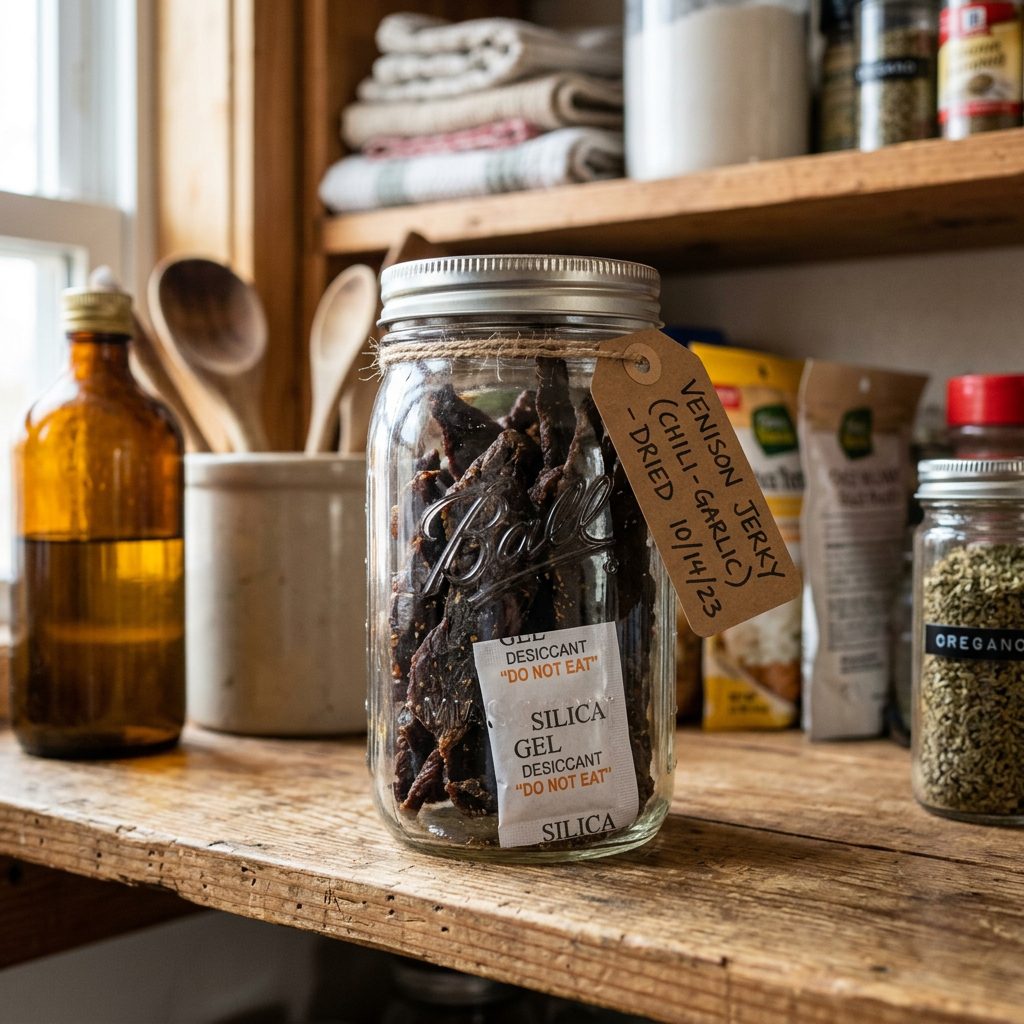
For daily use, store the jerky in an airtight glass mason jar in a cool, dark pantry.
Insider Secret: Toss a food-safe silica gel packet or oxygen absorber into the jar to keep the jerky bone-dry.
If properly dehydrated and conditioned, it will last at room temperature for 2 to 3 weeks. Because we are making large batches to save money, vacuum seal the rest in portion-sized bags and throw them in the freezer. Frozen venison jerky will last up to 6 months. When you are ready for a new batch, just pull a bag out and let it thaw on the counter.
Conclusion
Taking control of your dog’s diet doesn’t have to mean spending hours cooking elaborate meals every single day. By mastering this simple, single-ingredient dehydrated venison jerky, you are leveling up your canine nutrition game, ditching the toxic commercial fillers, and keeping your hard-earned money in your wallet. Your dog gets a biologically appropriate, high-value reward that supports their health, and you get the peace of mind knowing exactly what is in their treat jar. So fire up that dehydrator, sharpen your knives, and get ready to become your dog’s absolute favorite person. Happy hacking!