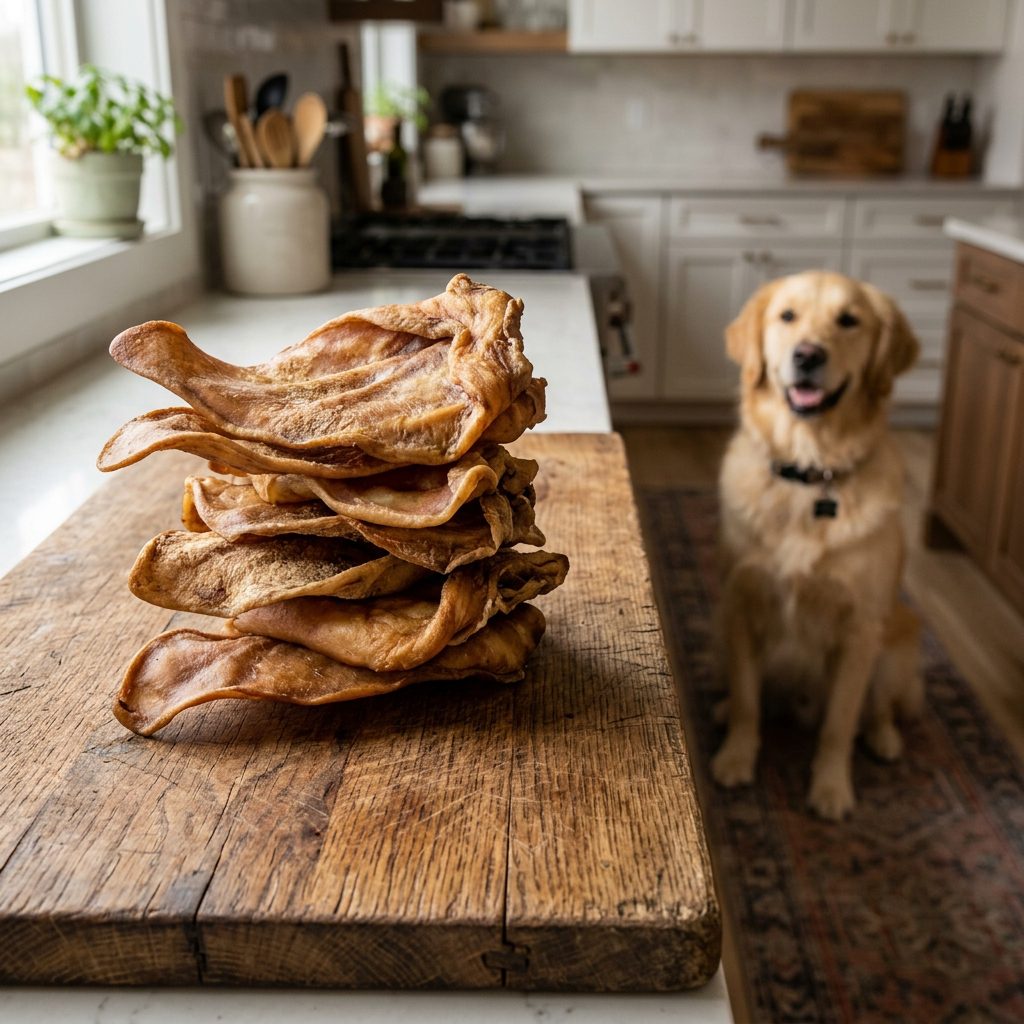
Stop Paying $10! How to Dehydrate Chewy, Crunchy Pig Ears at Home for Pennies
Let’s get real for a second. You’re standing in the aisle of a high-end pet boutique, and you see it: a single, shrink-wrapped pig ear priced at $8.99. It looks okay, but it’s probably been sitting in a warehouse for six months, treated with questionable preservatives to keep it “shelf-stable.” As your Canine Nutrition Hacker, this makes my blood boil. You are being overcharged for what is essentially a slaughterhouse byproduct that you can prepare yourself for pennies on the dollar.
Pig ears are more than just a treat; they are a powerhouse of natural glucosamine and chondroitin, which are essential for your dog’s joint health. But the commercial versions are often greasy, bleached, or loaded with synthetic smoke flavorings. Today, I’m pulling back the curtain. I’m going to show you how to source raw ears, prep them like a pro, and use a simple dehydrator to create treats that are fresher, safer, and infinitely cheaper than anything you can buy in a store. We are talking about going from $10 a pop to roughly $0.75 per ear. That is the kind of math your wallet—and your dog—will love.
The Safety Disclaimer: Read This Before You Start
Before we dive into the kitchen, we need to talk shop about safety. I am a savvy dog owner and a nutrition enthusiast, but I am not a veterinarian. Dehydrating meat at home is a safe process if done correctly, but it requires attention to detail.
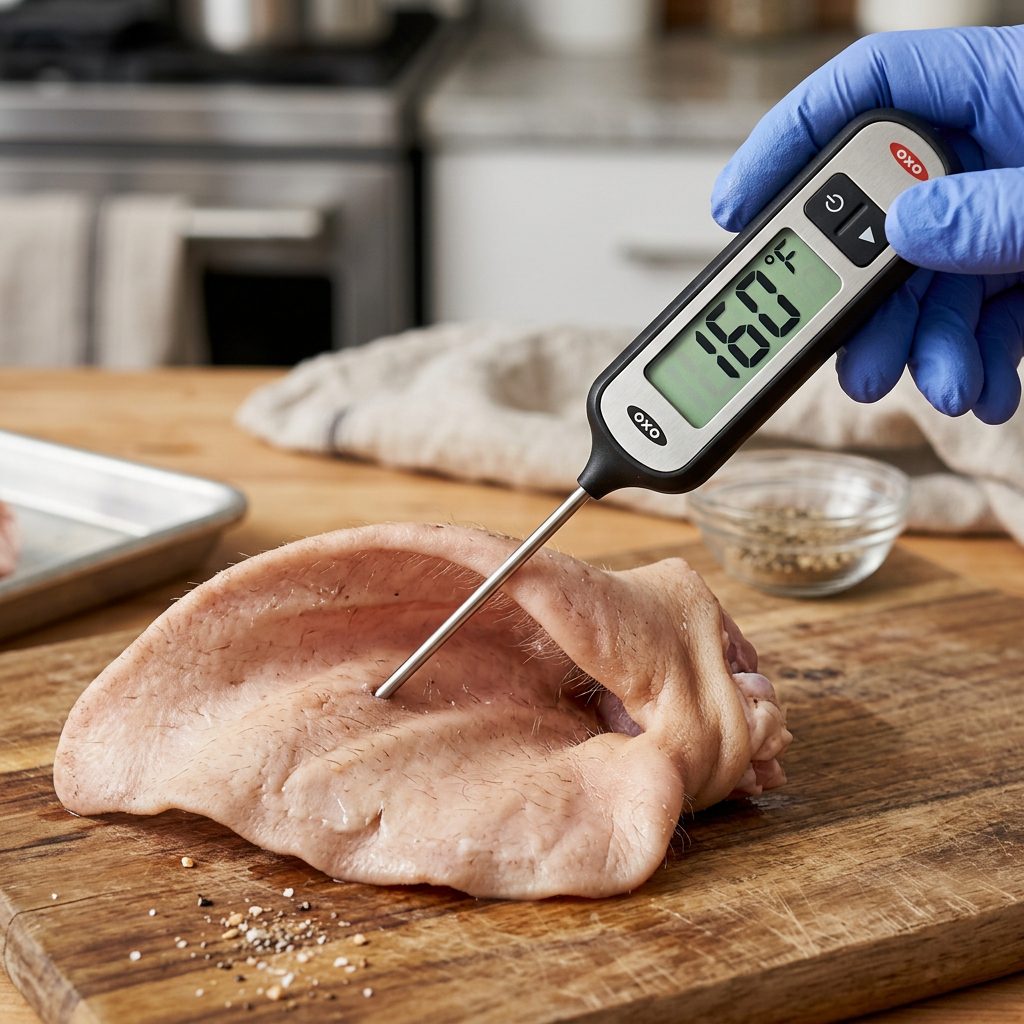
- Temperature Matters: You must dehydrate meat at a high enough temperature (160°F or 71°C) to kill off potential pathogens like Salmonella or E. coli.
- Supervision is Key: Pig ears are high in cartilage. While they are generally safer than hard bones, they can still be a choking hazard for “gulpers.” Always watch your dog while they enjoy these.
- Fat Content: Pig ears are naturally high in fat. If your dog has a history of pancreatitis or is on a strict low-fat diet, consult your vet before adding these to their routine.
The Financial Breakdown: DIY vs. Big Pet Retail
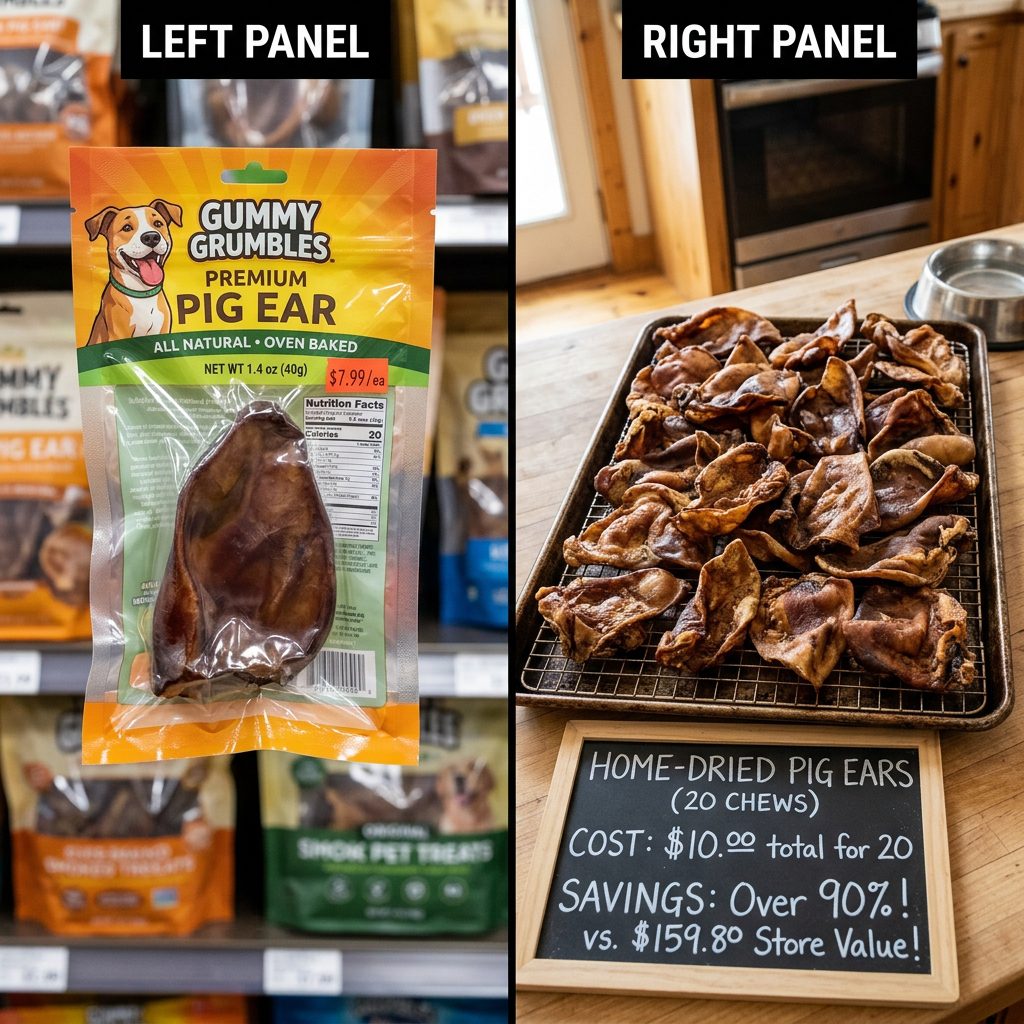
Why are you paying a 500% markup? Most of the cost of commercial pig ears comes from packaging, marketing, and the “convenience” factor. When you buy in bulk from a local butcher or an ethnic grocery store, the price drops through the floor. Let’s look at the cold, hard numbers for a savvy owner with a 50lb dog who gets two treats a week.
| Source | Price Per Ear | Annual Cost (2/week) | Quality Control |
|---|---|---|---|
| Boutique Pet Store | $8.50 – $11.00 | $884.00 – $1,144.00 | Low (Preservatives) |
| Big Box Retailer | $4.00 – $6.00 | $416.00 – $624.00 | Medium (Mass Produced) |
| The Hacker Way (DIY) | $0.75 – $1.25 | $78.00 – $130.00 | Elite (Single Ingredient) |
Hacker Tip: Check your local Mexican or Asian grocery stores (like H-Mart or Michoacana). They often have raw pig ears in the meat case for incredibly low prices because they are used in traditional cooking.
Sourcing and Prepping the ‘Ear Gold’
Where to Find Raw Ears
You won’t find these at your standard suburban supermarket. To get the best prices, you need to go to the source. Reach out to local small-scale pig farmers or visit a custom slaughterhouse. If you buy a “case” (usually 20-40lbs), you can freeze the raw ears and pull them out as needed.
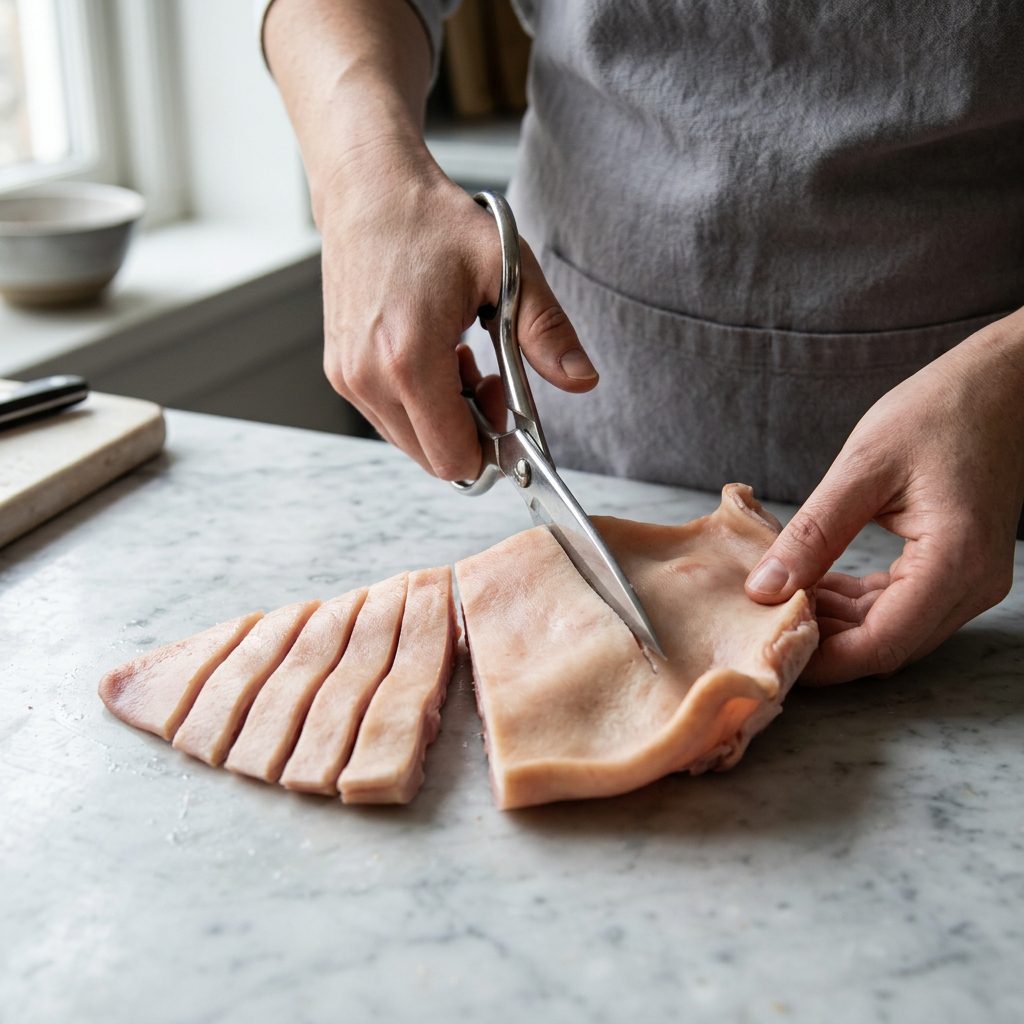
The Preparation Ritual
Raw pig ears can be a bit… hairy. Here is how you prep them for the dehydrator:
- The Cleanse: Wash the ears thoroughly in cold water. Use a vegetable brush to scrub away any debris.
- The Hair Removal: If the ears have coarse hairs, you can quickly run a kitchen torch over them or use a disposable razor to shave them. This isn’t strictly necessary for the dog, but it makes the final product much cleaner to handle.
- The Slice (Optional): If you have a smaller dog, use heavy-duty kitchen shears to slice the ears into strips. If you want the classic “pig ear” experience, leave them whole.
- The Degreasing: Some hackers prefer to parboil the ears for 5 minutes to render out some of the surface fat. This makes the final treat less greasy and reduces the smell during dehydration.
The Dehydration Blueprint: Chewy vs. Crunchy
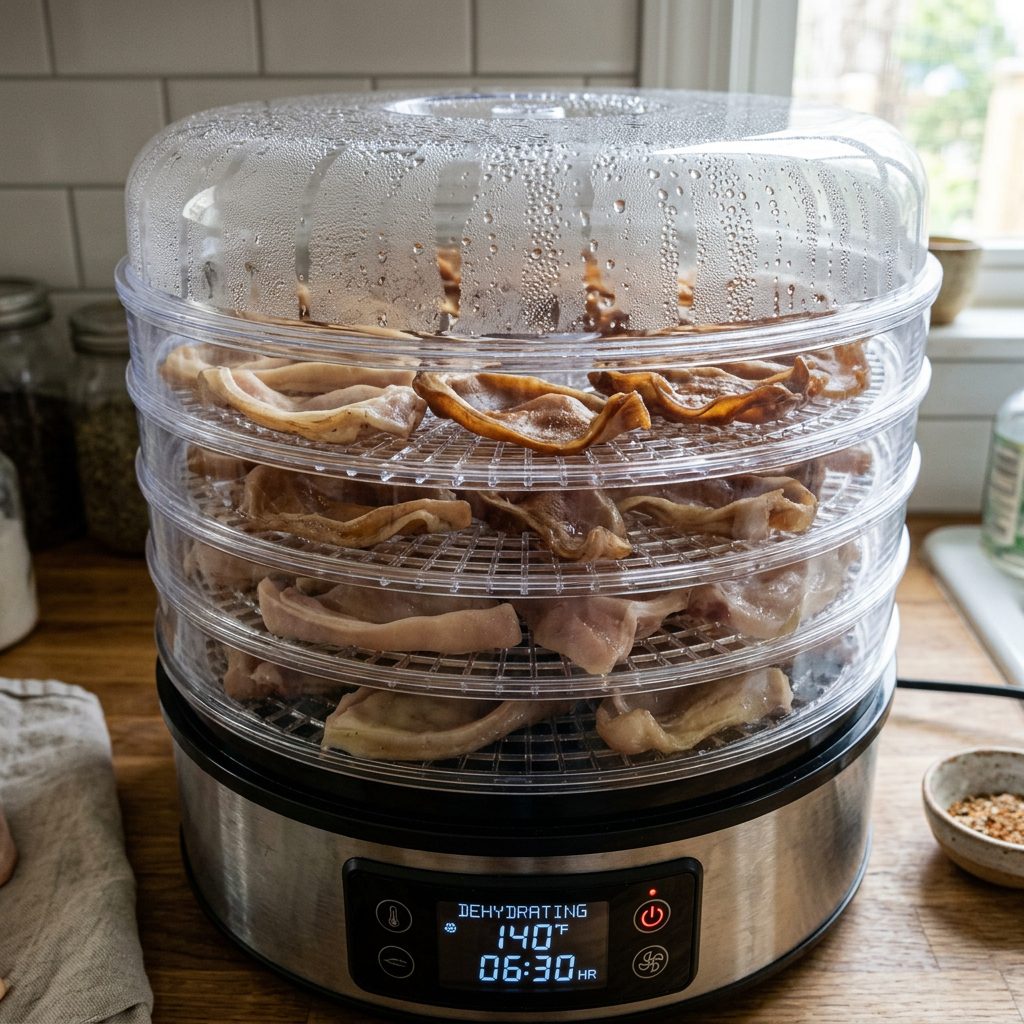
This is where the magic happens. The texture of the ear depends entirely on your time and temperature settings. To ensure safety, we always start at the highest setting of a standard dehydrator.
The ‘Crunchy’ Method
If your dog loves that satisfying snap, you want to remove as much moisture as possible. Set your dehydrator to 160°F (71°C) and let it run for 24 to 36 hours. The ears should feel hard like plastic and have no “give” when you try to bend them.
The ‘Chewy’ Method
For dogs that like a longer-lasting gnaw, you want a slightly leathery texture. Start at 160°F for the first 4 hours (to kill bacteria), then drop the temperature to 145°F (63°C) for another 12-18 hours. Test them frequently; they should be firm but slightly flexible.
Insider Secret: If you don’t have a dehydrator, you can use your oven at its lowest setting (usually 170°F) with the door slightly propped open with a wooden spoon to allow moisture to escape. However, a dedicated dehydrator is much more energy-efficient!
Storage and Shelf Life: Keeping It Fresh
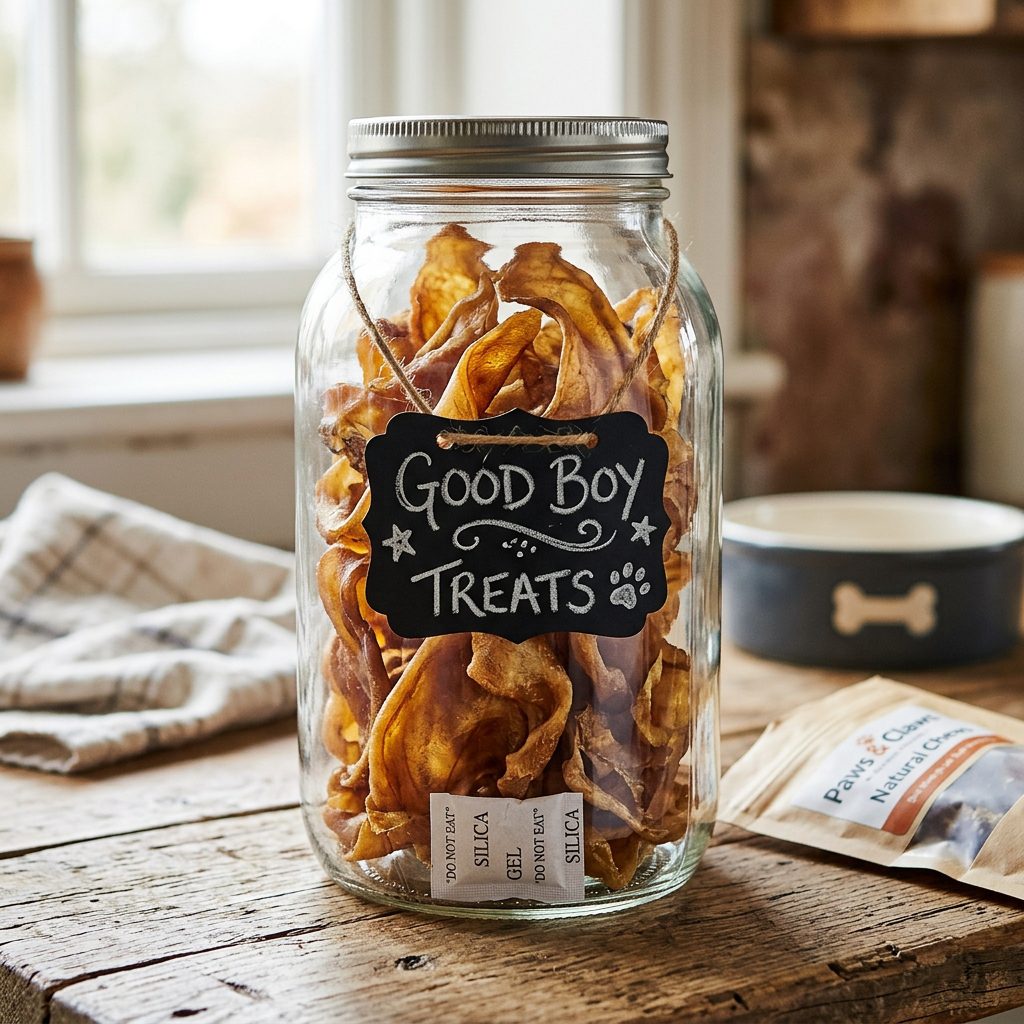
Because these are 100% natural and contain no chemical preservatives like potassium sorbate, they won’t last forever on the counter. Humidity is the enemy of the home-dehydrated treat.
- Short-Term (1-2 weeks): Store in a glass jar or airtight container in a cool, dark pantry.
- Long-Term (3-6 months): Store in a vacuum-sealed bag or a heavy-duty freezer bag in the freezer. You can give them to your dog straight from the freezer for an extra-hard chew!
- The Desiccant Trick: Save those little “do not eat” silica gel packets from your (human) food snacks and toss one into your dog treat jar. It will help absorb any residual moisture and prevent mold.
Conclusion
There you have it. You’ve just graduated from being a passive consumer to a Canine Nutrition Hacker. By making your own pig ears, you aren’t just saving hundreds of dollars a year; you are taking total control over what goes into your dog’s body. No more mystery chemicals, no more “made in China” recalls, and no more $10 price tags for a single piece of cartilage.
The first time you see your dog’s eyes light up as you pull a fresh, home-dried ear out of the jar, you’ll know the effort was worth it. Start small, find a local source, and stop letting the big pet brands dictate your budget. Your dog deserves the best, and your wallet deserves a break. Now, go get those ears!