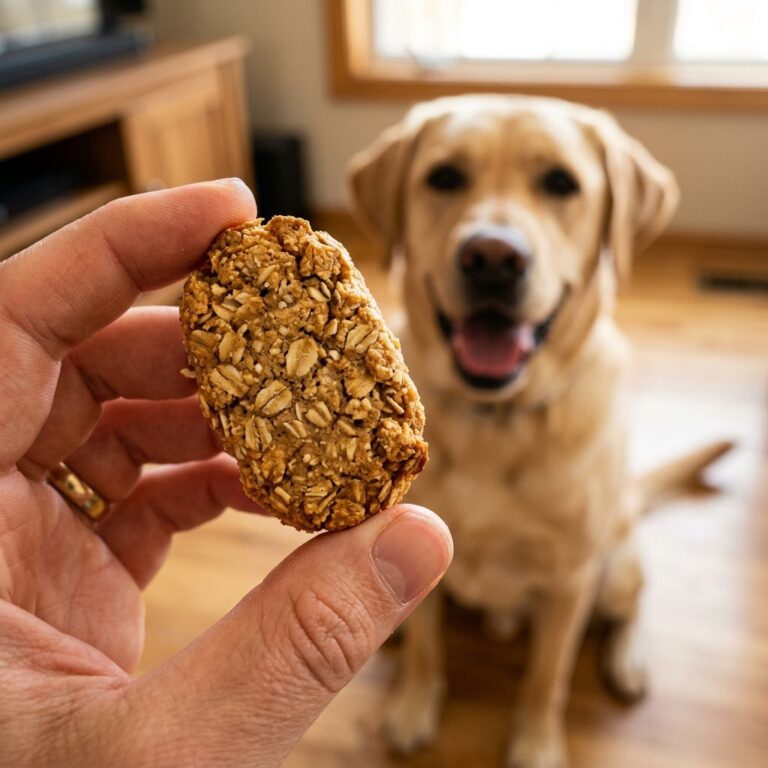
Stop Buying Toxic Jerky: Make This 1-Ingredient Dehydrated Chicken Jerky Your Dog Deserves
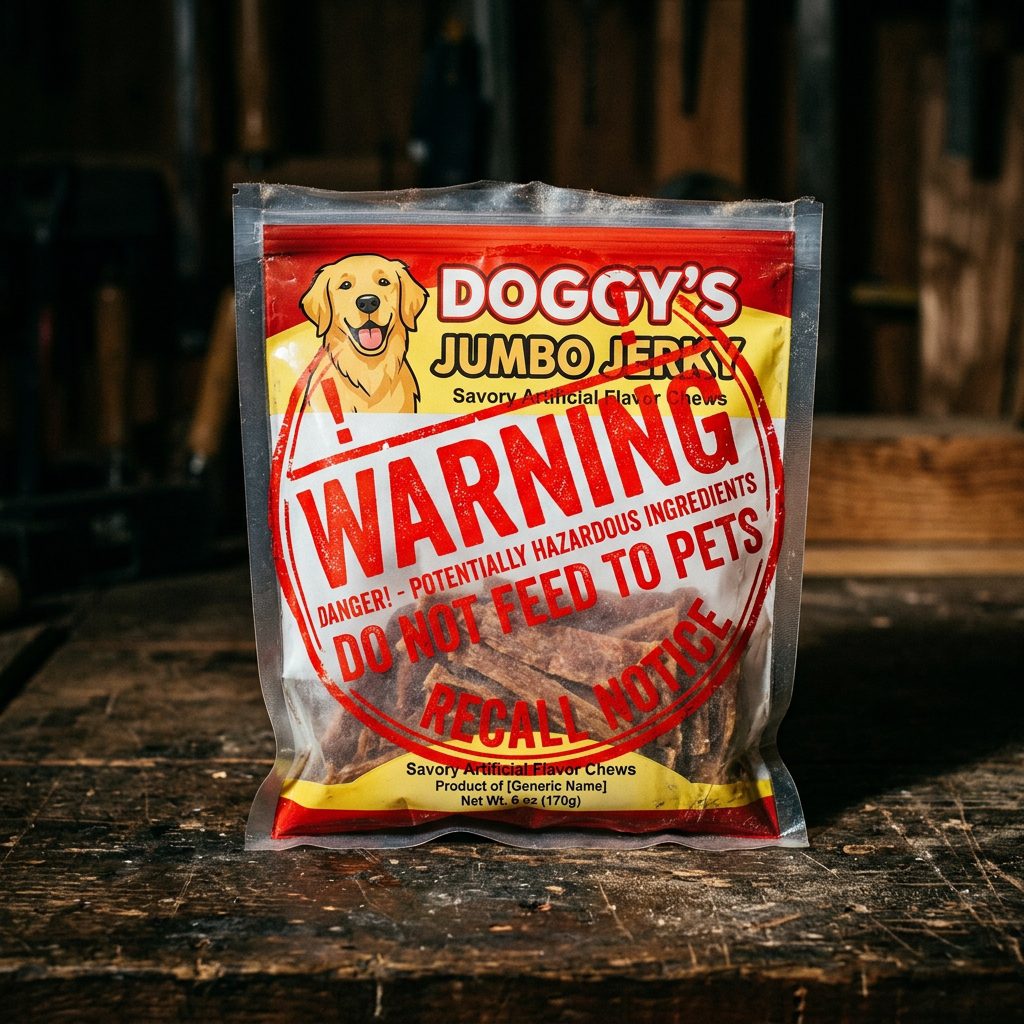
Listen up, savvy dog parents. We need to have a serious talk about what is lurking in your pantry. If you are still buying commercial chicken jerky treats from the big-box pet stores, you are playing Russian Roulette with your dog’s health. I know that sounds dramatic, but as your resident Canine Nutrition Hacker, it is my job to cut through the marketing fluff and expose the truth.
For years, the FDA has been issuing warnings about mysterious illnesses linked to store-bought jerky treats, particularly those imported from overseas. We are talking about thousands of dogs suffering from Fanconi-like syndrome, a serious kidney condition. And the worst part? The pet food industry still tries to sell you these treats wrapped in shiny packaging with words like ‘natural’ and ‘wholesome’ plastered all over them.
Insider Secret: When a commercial treat label says ‘made with real chicken,’ they are legally allowed to use the absolute lowest grade of meat, pumping it full of glycerin, artificial smoke flavor, and preservatives to make it shelf-stable for years. If a treat can sit in a hot warehouse for three years and still look soft and chewy, you do not want it in your dog’s stomach.
But do not panic. I am not here just to scare you; I am here to empower you. Today, we are taking back control. I am going to show you exactly how to make the ultimate 1-ingredient dehydrated chicken jerky. It is safer, it is infinitely healthier, and best of all, it is going to save you a massive amount of money. Grab your cutting board, because we are about to upgrade your dog’s snack game forever.
The Ugly Truth About Store-Bought Jerky
Before we get into the kitchen, you need to understand exactly why we are ditching the commercial stuff. Let us do a quick forensic review of a typical bag of store-bought chicken jerky. If you flip that bag over and read the ingredient list, you will likely see a horror show of unnecessary additives.
The ‘First 5 Ingredients’ Truth
- Chicken: Often sourced from countries with zero pet food safety regulations. It is frequently pumped with antibiotics and water to increase weight.
- Vegetable Glycerin: This is the big one. Glycerin is a sugar alcohol used to keep the jerky soft and chewy. While some glycerin is safe, much of it is a cheap byproduct of biofuel production. Yes, you read that right.
- Propylene Glycol: Another moisture-retaining agent. While the FDA recognizes it as ‘generally safe’ for dogs (but highly toxic to cats), do you really want to feed your dog a chemical cousin of antifreeze?
- Salt: Used as a cheap preservative. Dogs do not need excessive sodium, which can stress their kidneys.
- Natural Smoke Flavor: A chemical additive used to trick your dog’s nose. It provides zero nutritional value.
When you strip away the marketing, you are paying a premium price for low-grade poultry soaked in industrial chemicals. Your dog’s digestive system is not designed to process this daily barrage of synthetic preservatives.
Cost Breakdown: DIY vs. Premium Store-Bought
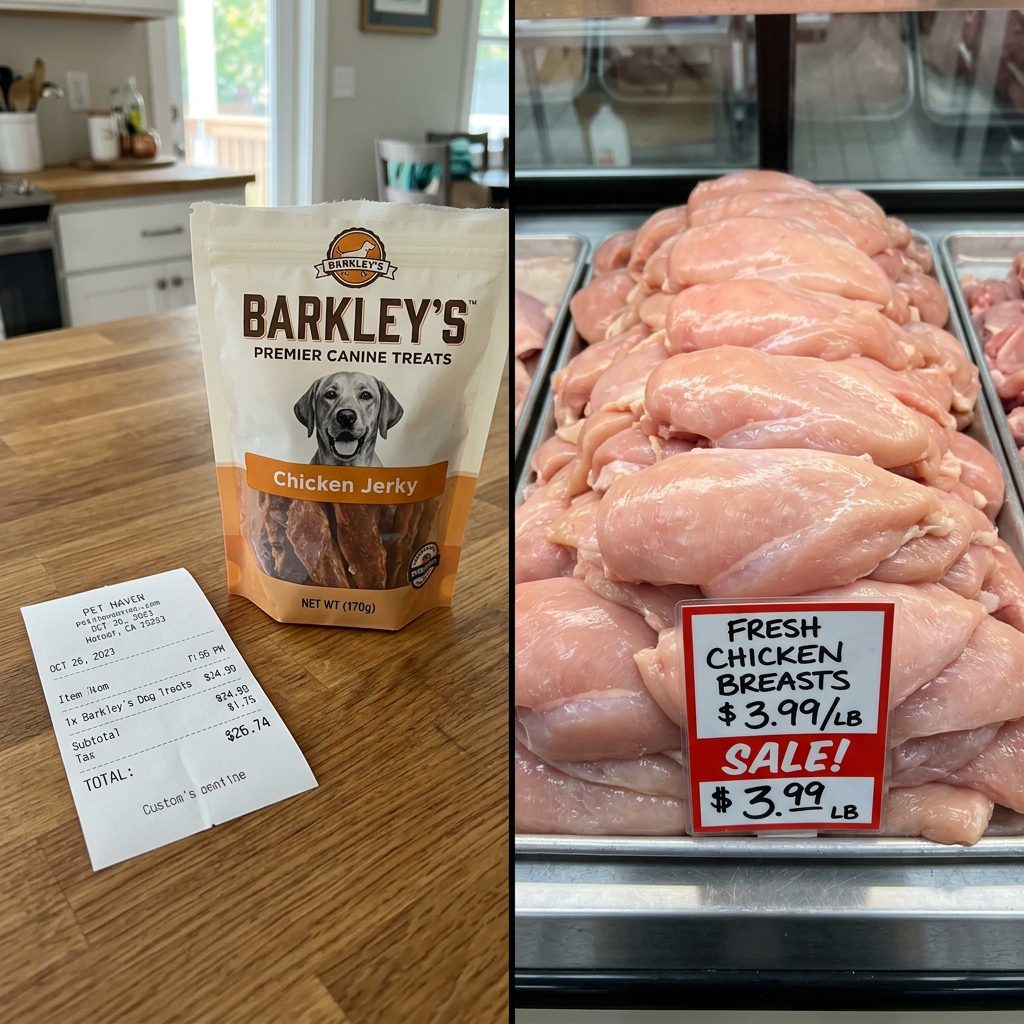
Now, let us talk about your wallet. The pet food industry relies on the illusion of convenience to charge you astronomical markups. When you buy a 16-ounce bag of ‘premium’ chicken jerky, you are mostly paying for the packaging, the marketing, and the profit margins of three different middlemen.
Let us break down the real numbers. When you dehydrate chicken, you remove about 75% of its water weight. So, 4 pounds of raw chicken breast will yield roughly 1 pound (16 ounces) of finished jerky. Let us look at the math.
| Treat Type | Protein Source | Additives/Fillers | Cost per 16oz (1 lb) | Verdict |
|---|---|---|---|---|
| Commercial Premium Jerky | Mystery Sourced Poultry | Glycerin, Salt, Preservatives | $25.00 – $35.00 | Overpriced & Risky |
| DIY 1-Ingredient Jerky | Human-Grade Chicken Breast | None (100% Chicken) | $12.00 (Cost of 4lbs raw) | Safe, Healthy, Cheap |
By making this yourself, you are saving over 50% while upgrading from feed-grade mystery meat to human-grade, single-ingredient nutrition. If you have a 50lb dog and give them two pieces of jerky a day, your DIY cost is roughly $0.30/day compared to a commercial cost of over $1.50/day. Over a year, that is hundreds of dollars saved.
The Safe Chef Guide: Safety First
SAFETY DISCLAIMER: I am a canine nutrition hacker, not a licensed veterinarian. While single-ingredient treats are universally safe for healthy dogs, always consult your vet if your dog has specific medical conditions like severe kidney disease where protein intake must be strictly monitored. Furthermore, we are dealing with raw poultry, so human safety is just as important as canine safety.
When dehydrating meat at home, the biggest concern is Salmonella. Dogs have highly acidic stomachs and short digestive tracts, making them naturally more resistant to Salmonella than humans. However, we do not want to risk any bacterial growth, nor do we want cross-contamination in our kitchens.
The Temperature Rule
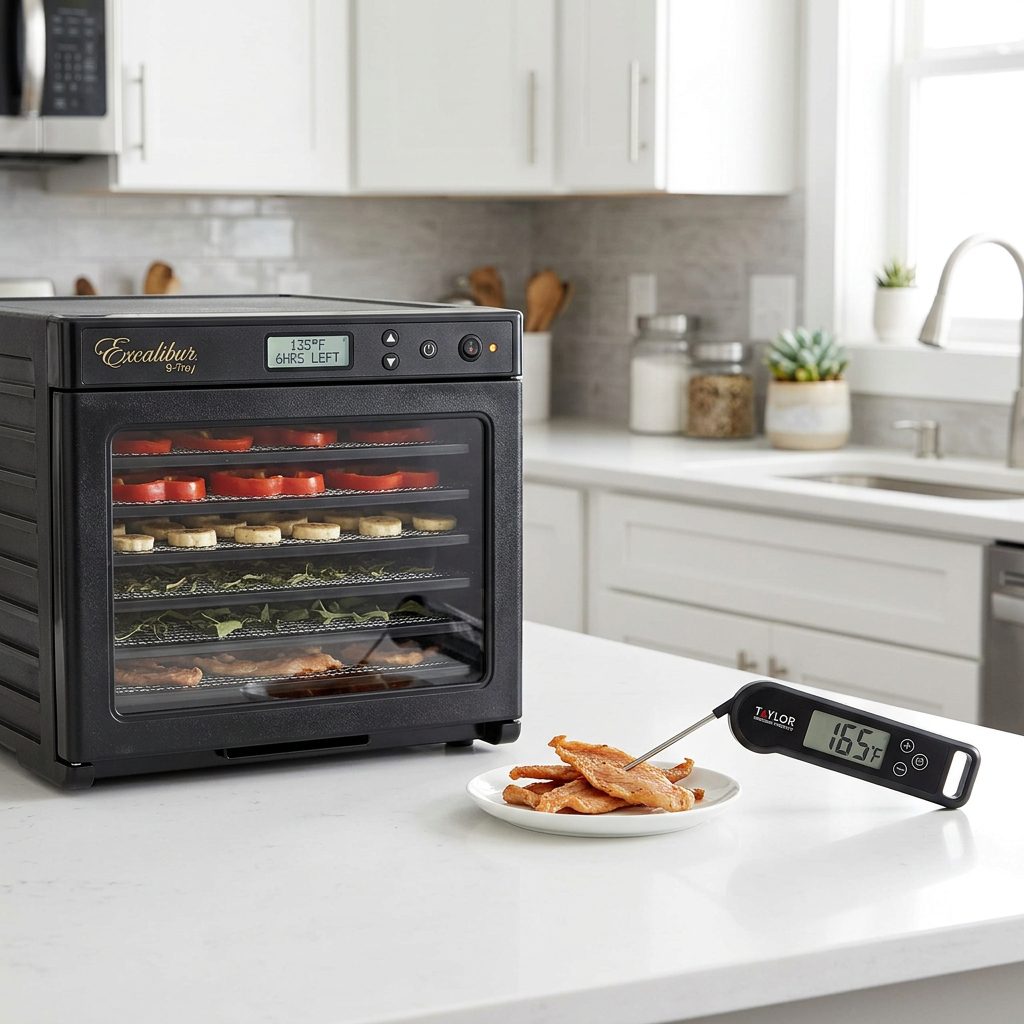
To make this jerky 100% safe, we must follow the golden rule of poultry dehydration: The meat must reach an internal temperature of 165 degrees Fahrenheit to instantly kill any harmful pathogens. Most modern food dehydrators can reach this temperature. If yours only goes up to 145 degrees, do not panic. You can dehydrate the meat at 145 degrees until dry, and then place the jerky on a baking sheet in a 275-degree oven for 10 minutes to pasteurize it.
- Always wash your hands, cutting boards, and knives with hot, soapy water immediately after prepping the raw chicken.
- Do not let raw chicken sit at room temperature for more than 30 minutes before getting it into the dehydrator.
- Ensure your dehydrator is placed in a well-ventilated area.
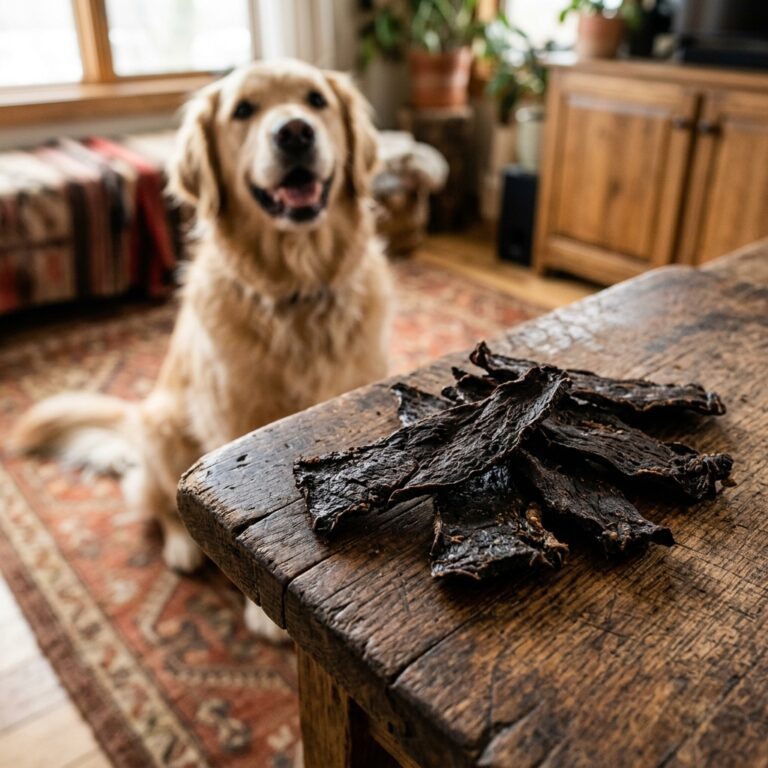
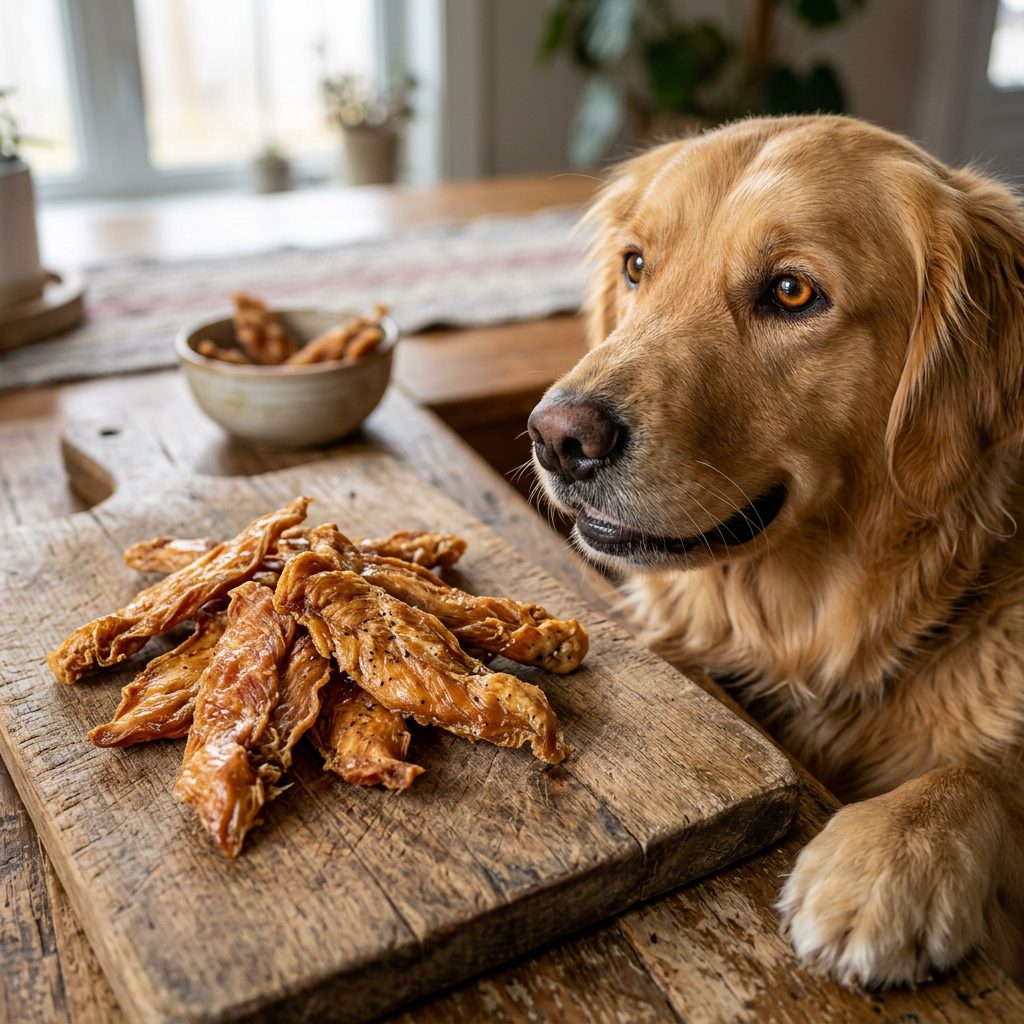
The 1-Ingredient Recipe & Prep Strategy
This is where the magic happens. We are going to take one ingredient and turn it into high-value training currency. Your dog will literally do backflips for this stuff.
The Ingredients & Equipment
- Ingredient: Boneless, skinless chicken breasts (Buy in bulk when on sale to maximize savings).
- Equipment: A sharp chef’s knife, a cutting board, and a food dehydrator (or an oven that can be set to its lowest temperature, ideally 170 degrees).
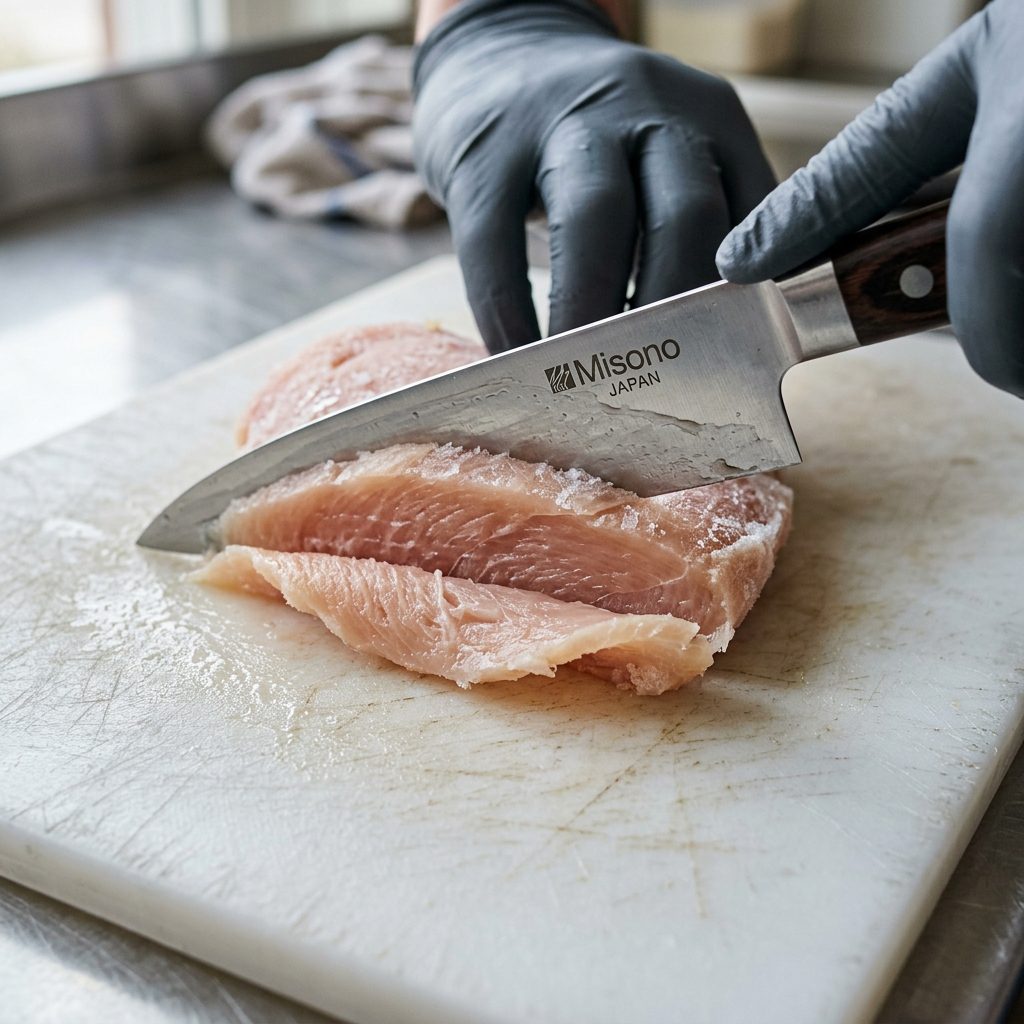
The Hacker’s Slicing Technique
Insider Secret: The secret to perfect jerky is in the slicing. If you try to slice warm, floppy chicken breasts, you will get uneven, jagged chunks that dry at different rates. The hack? Throw your raw chicken breasts in the freezer for 45 to 60 minutes before slicing.
Partially freezing the meat firms it up, allowing your knife to glide through it like butter. You want to slice the chicken into strips that are about 1/4 inch thick. Crucial tip: Slice with the grain of the meat if you want a tougher, longer-lasting chew for aggressive chewers. Slice against the grain if you want a brittle, easy-to-snap treat for small dogs or senior dogs with dental issues.
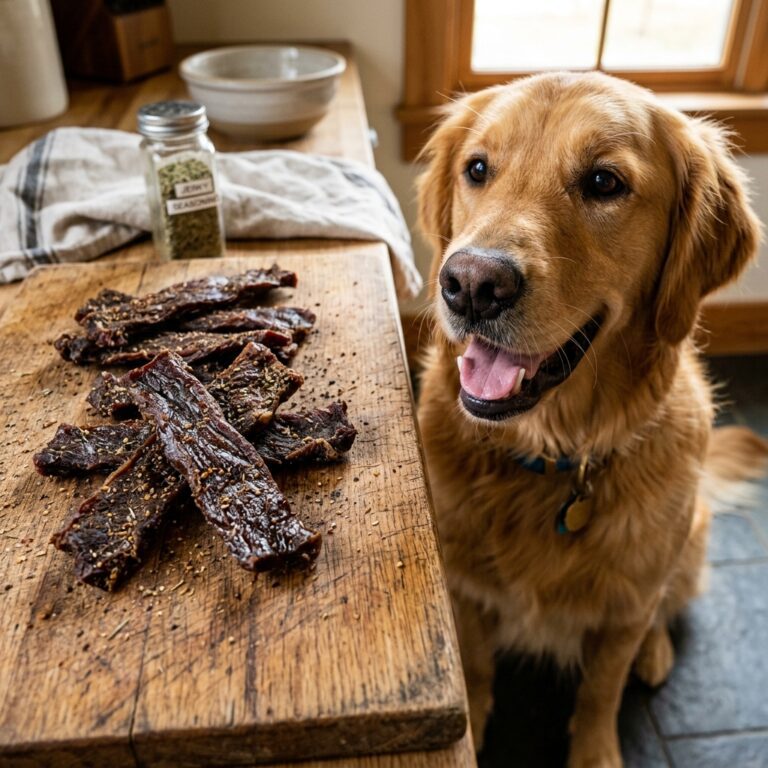
The Dehydration Process
- Lay the chicken strips flat on your dehydrator trays. Ensure they are not touching or overlapping; they need proper airflow to dry safely and evenly.
- Set your dehydrator to 165 degrees Fahrenheit (or its highest meat setting).
- Dehydrate for 5 to 7 hours. The exact time will depend on the humidity in your home and the thickness of your slices.
- Check the jerky at the 5-hour mark. Take a piece out, let it cool for 5 minutes, and bend it. It should crack and splinter. If it bends like rubber and shows moisture in the middle, it needs more time.
Batch Cooking & Storage Hacks
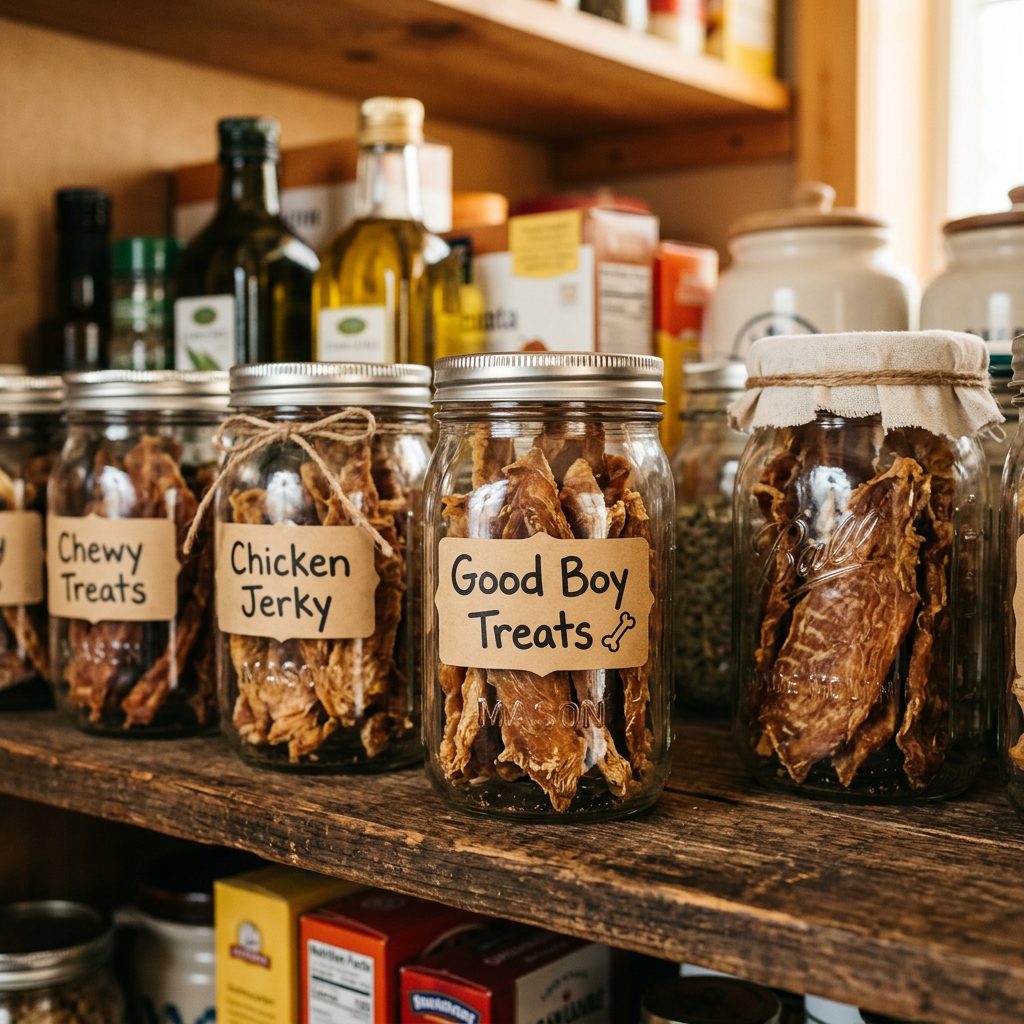
Because this jerky contains absolutely zero chemical preservatives, you cannot just throw it in a plastic bag and leave it in a hot car for a month. Moisture is the enemy of homemade jerky. If there is any residual moisture left in the meat, it will grow mold.
Short-Term Storage
For jerky you plan to use within 1 to 2 weeks, store it in an airtight container (like a glass Mason jar) in the refrigerator. The fridge extends the shelf life and acts as an insurance policy against any tiny bits of moisture you might have missed during dehydration.
Long-Term Storage (The Batch Cooking Method)
As a savvy dog owner, your time is valuable. I highly recommend buying 10 pounds of chicken when it hits a rock-bottom sale price and dedicating a Sunday to batch cooking. Once the jerky is completely cooled (never pack warm jerky, as condensation will form), portion it out into vacuum-sealed bags or heavy-duty freezer bags.
By mastering this batch-cooking system, you will completely eliminate the need to ever walk down the commercial treat aisle again. You have hacked the system, saved your money, and protected your dog.
Conclusion
There you have it. You have officially graduated from a consumer who trusts the marketing on the front of the bag to a Canine Nutrition Hacker who controls exactly what goes into their dog’s body. Making your own 1-ingredient dehydrated chicken jerky is not just a recipe; it is a statement. It is a refusal to feed your best friend industrial waste products and chemical preservatives.
The first time you hand your dog a piece of this homemade jerky, watch their reaction. The pure, unadulterated smell of real, roasted meat will drive them wild. You will have a high-value training treat that costs pennies on the dollar compared to the toxic store-bought alternatives. So go check your freezer, sharpen your favorite chef’s knife, and start dehydrating. Your dog’s health, longevity, and taste buds will thank you.