Never Moldy! The Secret To Keeping Homemade Dog Treats Fresh For Months
The Frustrating Fuzz: Why Your Hard Work Spoils
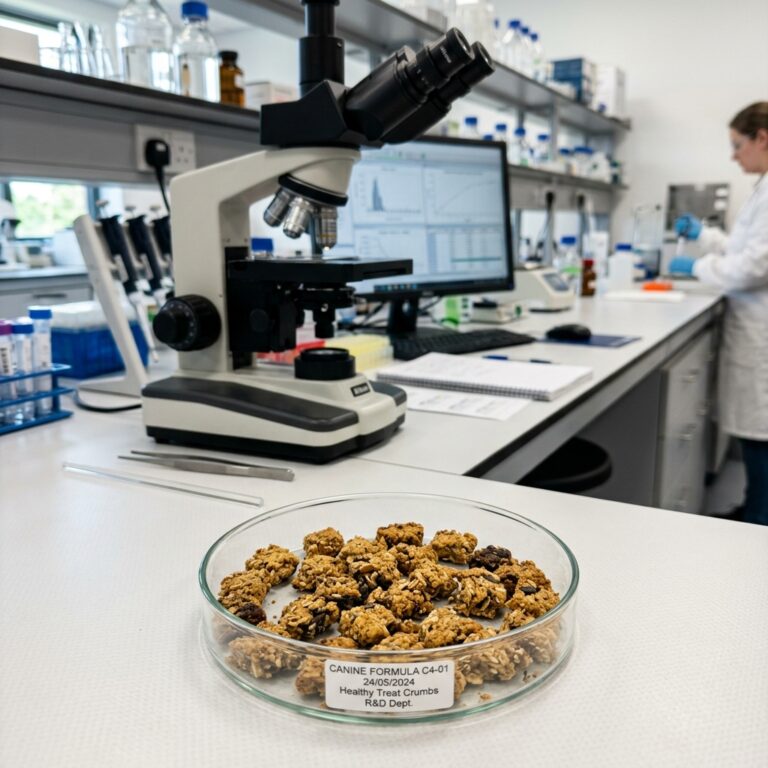
You spent two hours in the kitchen, carefully sourcing organic liver and hand-rolling oats to make the perfect batch of healthy snacks for your pup. You feel like a superhero—until three days later, when you reach into the jar and find a fuzzy, green science experiment staring back at you. Mold is the ultimate enemy of the DIY dog parent.
As the ‘Canine Nutrition Hacker,’ I’ve seen this movie a thousand times. Commercial brands stay ‘fresh’ on shelves for years because they are pumped full of synthetic preservatives like BHA, BHT, and ethoxyquin—chemicals I wouldn’t feed to a stuffed animal, let alone my best friend. But when we go natural, we lose that chemical shield. The good news? You don’t need a lab degree to keep your treats fresh for months. You just need to understand the forensic science of moisture. In this guide, I’m pulling back the curtain on the preservation secrets that professional boutique bakeries use to keep their treats shelf-stable without the poison.
Hacker Secret: Most owners think ‘hard’ treats are safe, but if the center still has even 10% moisture, you’ve created a five-star hotel for mold spores.
The Safety First Protocol: Read This Before You Bake
Before we dive into the ‘how-to,’ let’s get the legalities out of the way. I am not a veterinarian or a certified food scientist. I am a savvy owner who analyzes data. While the methods below are designed to maximize shelf life, you must always use your senses. If it smells ‘off,’ looks fuzzy, or your dog hesitates—toss it. Homemade treats lack the aggressive anti-fungal chemicals found in big-box kibble, so your vigilance is part of the recipe.
Additionally, when you move to a primarily homemade treat regimen, ensure you aren’t overbalancing your dog’s diet. Treats should never exceed 10% of their daily caloric intake. If you are using these long-life treats as a training tool, adjust their dinner portions accordingly to prevent the dreaded ‘quarantine pudge.’
The Enemy of Longevity: Moisture and Water Activity
Understanding ‘Water Activity’ (Aw)
In the world of food science, we don’t just talk about ‘wet’ or ‘dry.’ We talk about Water Activity (Aw). This is a measurement of the ‘free’ water available for bacteria and mold to grow. Even a treat that feels dry to the touch can have a high Aw if it hasn’t been processed correctly. To keep treats fresh for months, we need to drive that moisture level down to nearly zero.
The Dehydration Masterclass
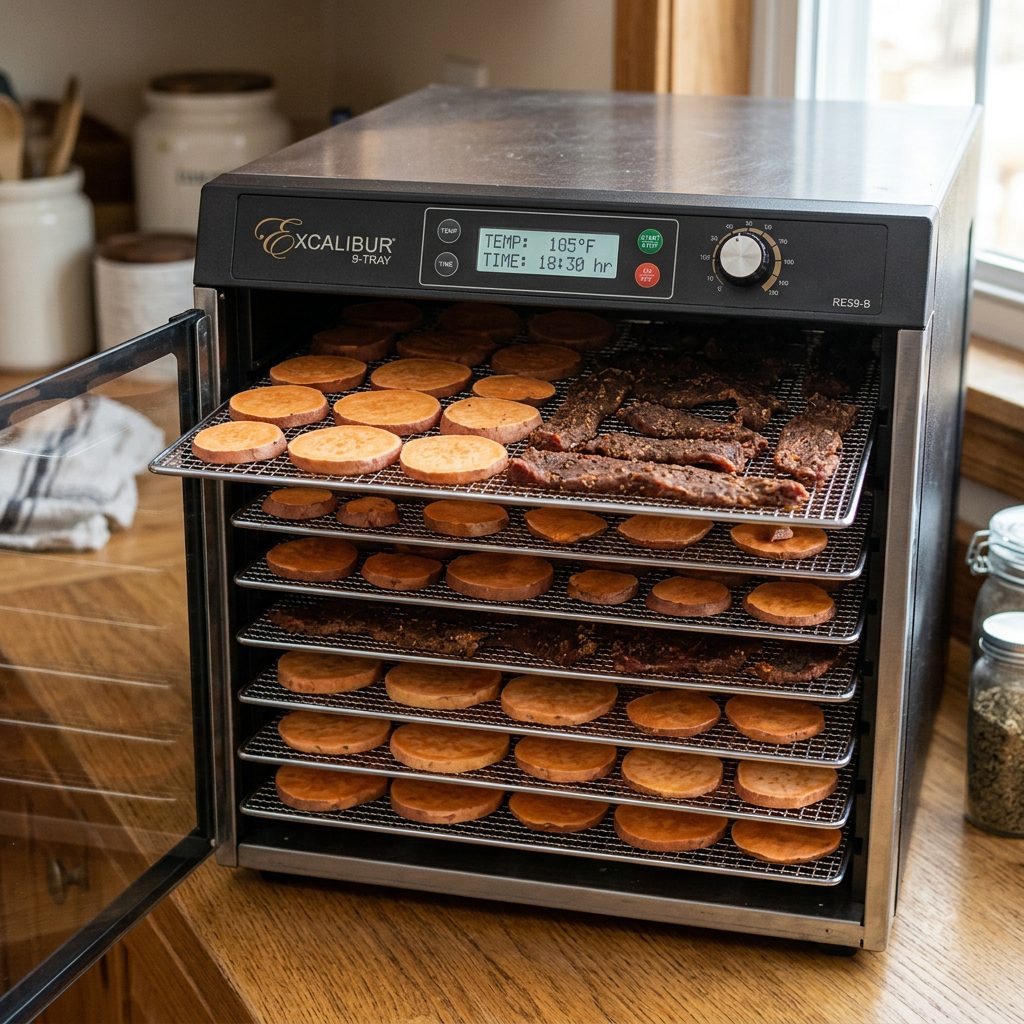
You have two main tools at your disposal: the Oven and the Dehydrator. If you’re serious about this, get a dehydrator. Ovens often have ‘hot spots’ and rarely go low enough in temperature to dry the treats without burning them. A dehydrator uses consistent airflow to pull moisture from the core to the surface.
- Oven Method: Bake at the lowest setting (usually 150°F-170°F) for 3-5 hours with the door slightly propped open to let steam escape.
- Dehydrator Method: Set to 160°F for meat-based treats (to kill pathogens) and 135°F for fruits/veggies. Run for 8-12 hours until the treats ‘snap’ when broken.
| Storage Method | Shelf Life | Risk Level | Hacker Verdict |
|---|---|---|---|
| Countertop Jar | 3-5 Days | High | Only for immediate use. |
| Airtight (Pantry) | 2-4 Weeks | Medium | Best for dehydrated biscuits. |
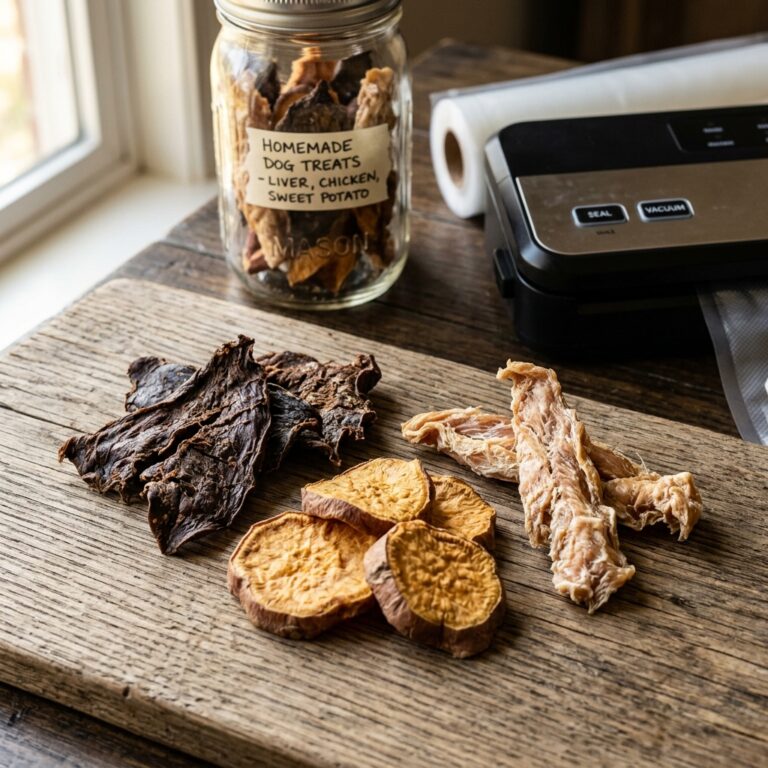
| Vacuum Sealed | 3-6 Months | Low | The Gold Standard. |
| Freezer | 6-12 Months | Zero | Perfect for bulk batches. |
The Hacker’s Pantry: Natural Preservatives That Actually Work

You don’t need toxic chemicals to slow down oxidation. Nature has provided a few ‘insider’ ingredients that can help extend the life of your treats by a few extra weeks. These are Hero Ingredients that double as nutritional boosts.
Vitamin E (Tocopherols)
Mixed tocopherols are the most common natural preservative in high-end dog foods. You can buy Vitamin E oil and add a few drops to your dough. It acts as an antioxidant, preventing the fats in your treats from going rancid.
Rosemary Extract
Not to be confused with the essential oil (which can be too strong), rosemary extract is a powerful antimicrobial. Warning: Avoid rosemary if your dog has a history of seizures, as some vets suggest a potential link.
Honey and Ceylon Cinnamon
Honey is a natural humectant with antibacterial properties, while Ceylon cinnamon (ensure it is Ceylon, not Cassia) helps inhibit mold growth. Plus, they make the kitchen smell amazing!
Hacker Tip: Avoid using fats like butter or cheap vegetable oils if you want long shelf life. Fats go rancid quickly. Use lean proteins and minimal oils.
The ‘Forever’ Recipe: Beef Liver & Pumpkin Crisps

This recipe is specifically designed for longevity. It uses low-fat protein and high-fiber pumpkin, both of which dehydrate beautifully. This isn’t a soft chew; this is a crunchy ‘snap’ treat designed to last in your training bag without turning into a mushy mess.
The Ratios
- 70% Lean Protein: Ground beef (90/10) or Beef Liver.
- 20% Fiber/Carb: Pureed Pumpkin (NOT pumpkin pie filling).
- 10% Binder: Almond flour or Oat flour (Avoid wheat if your dog is itchy).
Instructions
- Puree the liver or mix the ground beef with the pumpkin and flour until it forms a thick paste.
- Spread the mixture onto a silicone baking mat or parchment paper about 1/4 inch thick.
- Score the ‘dough’ into small squares using a pizza cutter.
- The Hacker Secret: Bake at 325°F for 20 minutes to cook, then immediately drop the heat to 150°F (or move to a dehydrator) for 6-8 hours.
- The treats are done when they are hard as a rock and ‘ping’ when dropped on the counter.
The Storage Vault: Keeping the Crunch
You’ve done the work; don’t ruin it now by tossing them in a plastic baggie. Air and light are the enemies of freshness. If you want to keep treats fresh for months, you need to treat them like survivalist rations.
The Oxygen Absorber Secret
Ever notice those little ‘Do Not Eat’ packets in beef jerky? Those are oxygen absorbers. You can buy them in bulk online. Dropping one into a glass mason jar full of dehydrated treats will pull out the residual oxygen, making it impossible for mold to survive. Crucial Warning: Ensure your dog never gets a hold of these packets. Keep them at the bottom of the jar.
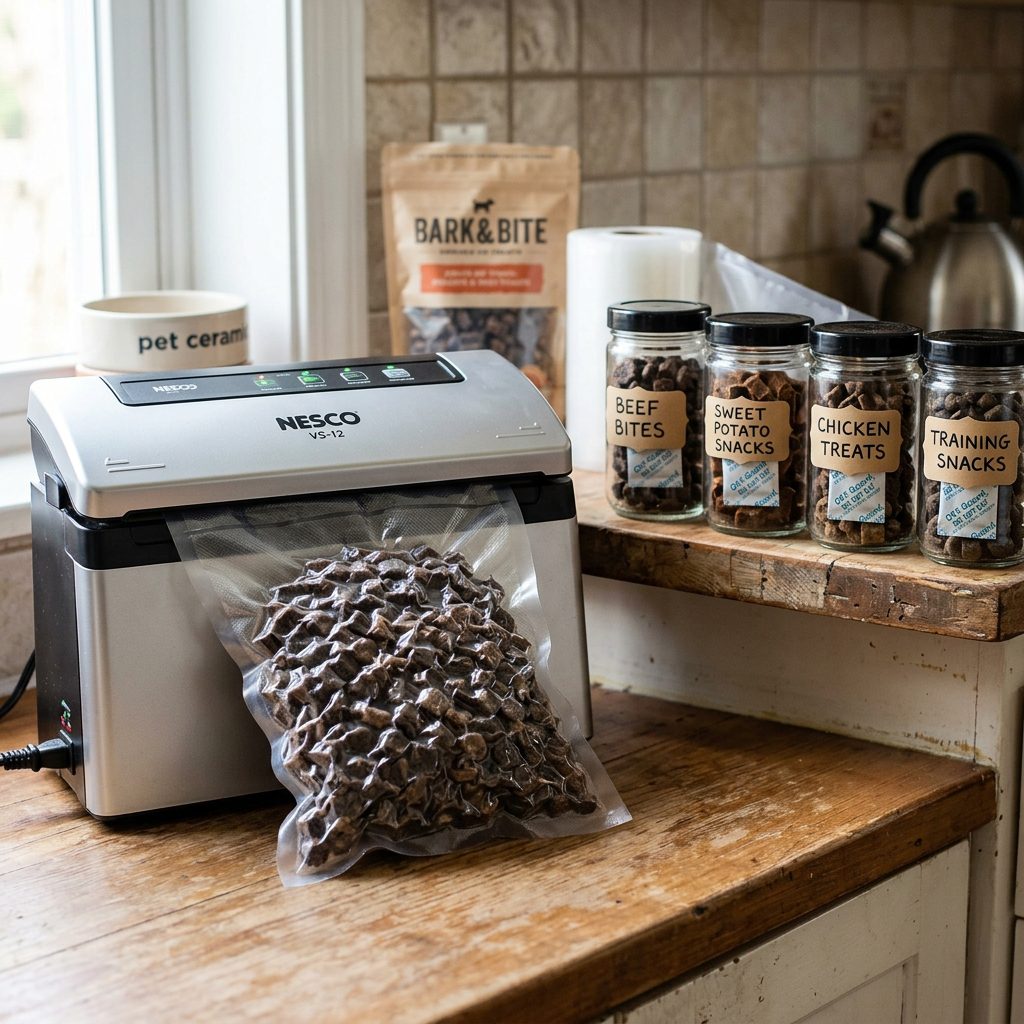
Vacuum Sealing
If you are batch cooking (which you should be to save money), vacuum sealing is your best friend. Divide your treats into 1-week portions. Seal them, and keep one in the pantry and the rest in the freezer. This prevents ‘freezer burn’ and keeps the treats tasting fresh for up to a year.
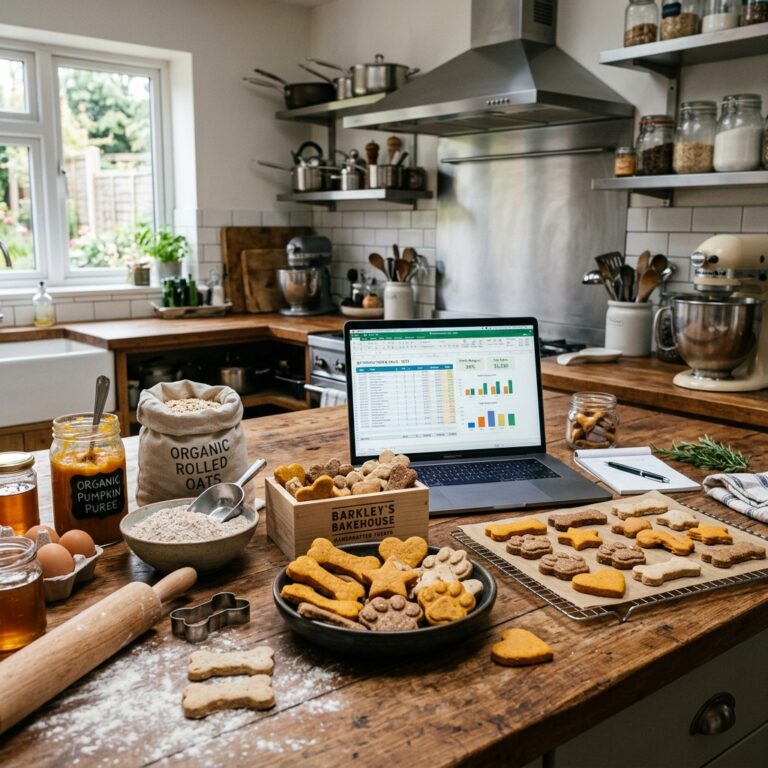
Cost Breakdown: DIY vs. Premium Store-Bought
| Feature | Store-Bought ‘Natural’ | Hacker DIY (Bulk) |
|---|---|---|
| Price per Ounce | $2.50 – $4.00 | $0.60 – $0.90 |
| Preservatives | Potassium Sorbate | Vitamin E / Dehydration |
| Protein Quality | ‘Meat Meals’ | Human-Grade Liver/Beef |
| Shelf Life | 12 Months (Chemical) | 6 Months (Natural/Frozen) |
Conclusion
Mastering the Art of the Infinite Treat
Keeping homemade dog treats fresh isn’t magic—it’s moisture management. By shifting your mindset from ‘baking’ to ‘dehydrating,’ you unlock the ability to provide your dog with high-quality, human-grade nutrition without the ’boutique’ price tag. You’ve learned how to identify the enemies (moisture and air), how to use natural shields (Vitamin E and Rosemary), and how to store your bounty like a pro.
Remember: The crunch is your friend. If it snaps, it lasts. If it bends, it ends (in the trash). Now, go grab some liver, fire up that dehydrator, and show those big-box brands that you don’t need their chemicals to keep your dog happy and healthy. You’ve officially hacked the treat aisle.