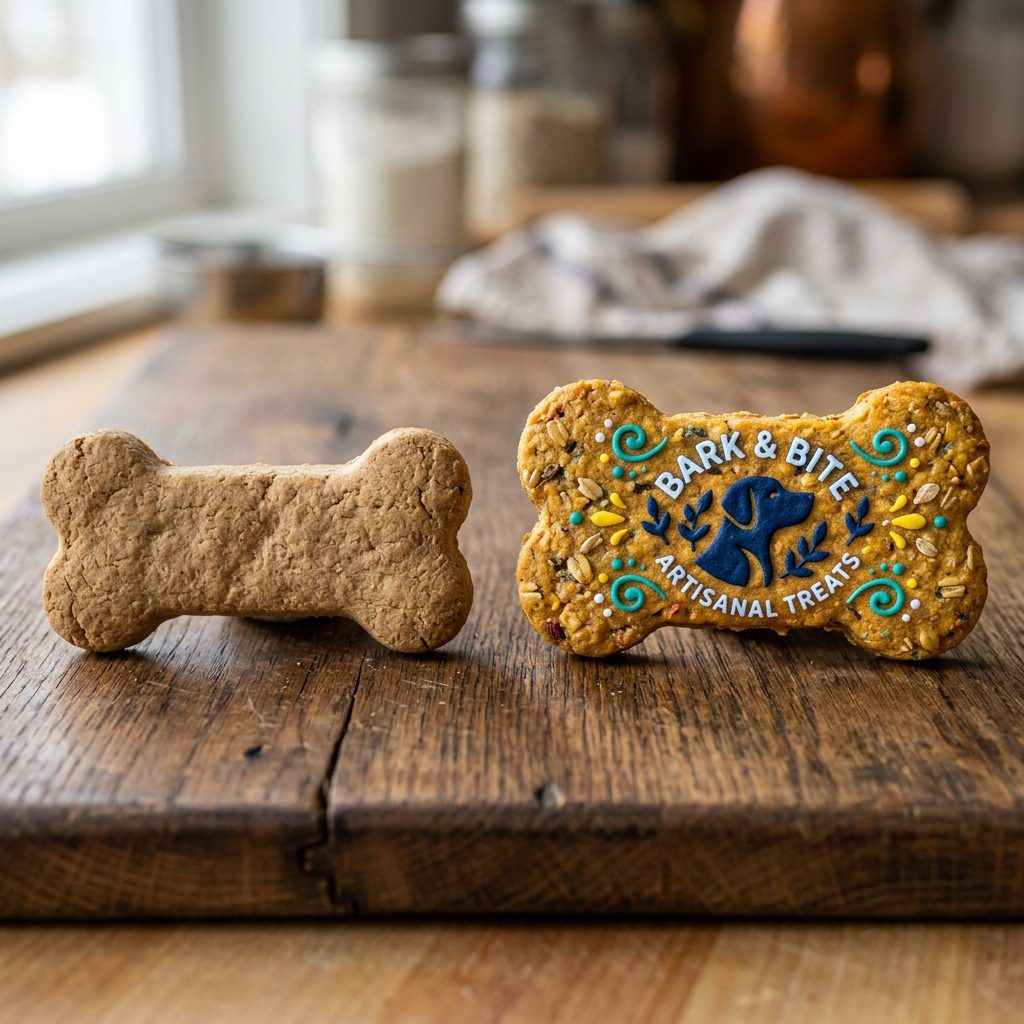
How To Paint Picture-Perfect Stenciled Dog Cookies That Sell Out In Minutes
The Art of the Dog Cookie Side-Hustle
Let’s be real for a second: the pet industry is a multi-billion dollar behemoth, and a huge chunk of that comes from those ‘gourmet’ treats you see at high-end boutiques. You know the ones—they look like they belong in a Parisian patisserie, but they’re for Fido. As a Canine Nutrition Hacker, I’ve spent years dissecting what goes into those treats, and I’m going to let you in on a secret: most of them are overpriced flour and sugar masquerading as ‘premium’ nutrition. But what if you could make something better, safer, and more visually stunning right in your own kitchen? I’m talking about picture-perfect stenciled dog cookies that don’t just look like a million bucks—they actually provide real nutritional value.
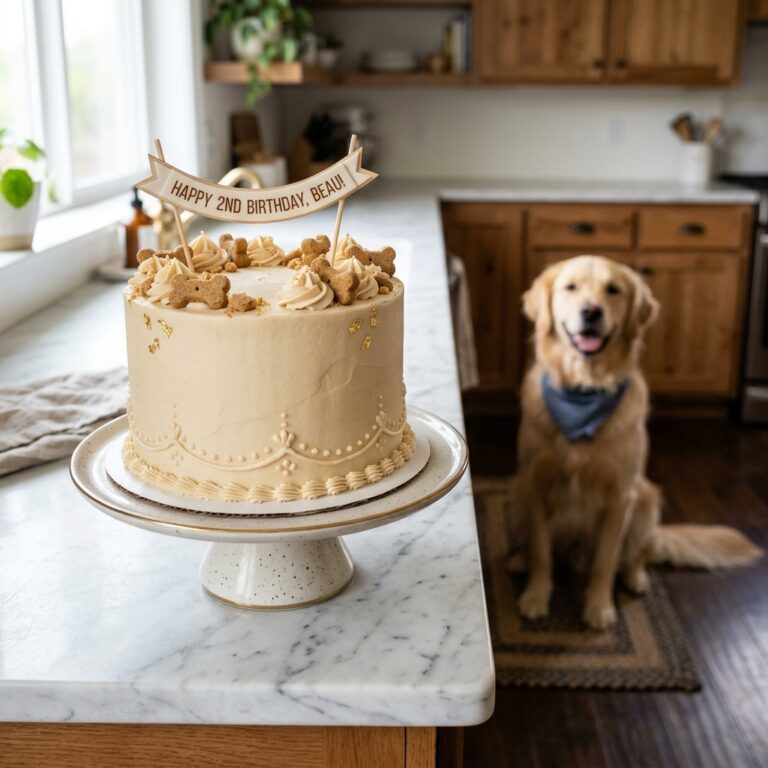
In this guide, we aren’t just ‘baking.’ We are engineering a high-value product. Whether you want to be the star of the local farmer’s market or just want your pup to have the most ‘Instagrammable’ birthday ever, stenciling is the ultimate hack. It gives you that professional, sharp-edged look without needing a degree in fine arts. We’re going to strip away the ‘mystery’ ingredients found in commercial icing and replace them with whole-food pigments that actually do something for your dog’s health. Grab your apron; we’re about to disrupt the dog treat game.
The Safety Disclaimer: Not All ‘Paint’ Is Created Equal
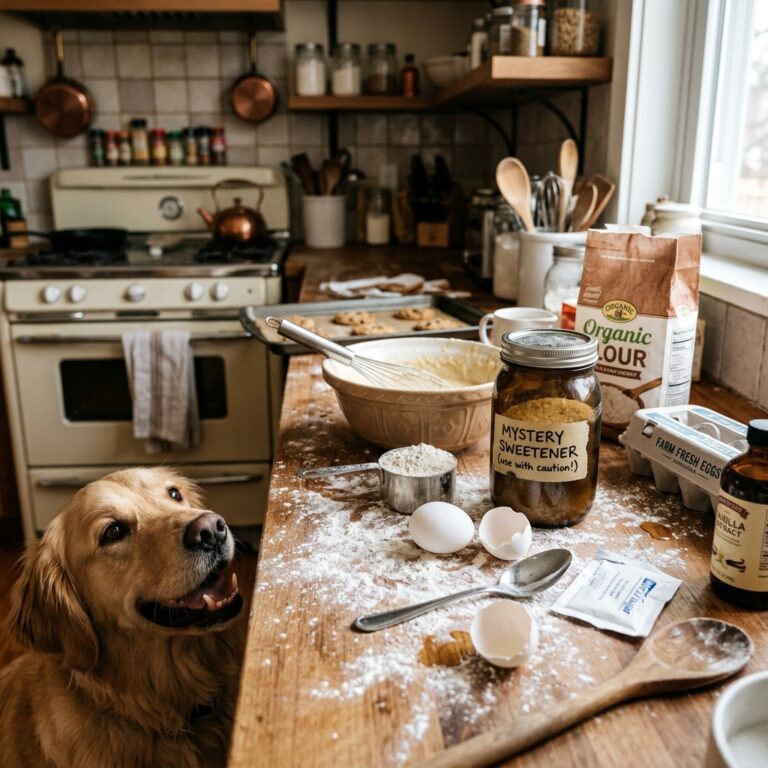
Before we touch a single stencil, we need to address the elephant in the room: safety. Just because a food coloring is ‘FDA Approved’ for humans does not mean it belongs in your dog’s gut. Many commercial food dyes have been linked to hyperactivity and even more serious health issues in sensitive canines. As a rule, we avoid artificial dyes like Red 40 or Yellow 5. We also strictly avoid Xylitol (a deadly sweetener often found in ‘sugar-free’ products) and chocolate.
The Hacker’s Safety Checklist
- No Artificial Dyes: Stick to plant-based powders.
- No Added Refined Sugar: Dogs don’t need it, and it leads to inflammation.
- Consult Your Vet: If you are planning on selling these as a primary food source (which you shouldn’t), remember I am a nutrition hacker, not a veterinarian. These are treats, not a meal replacement.
- Supplement Awareness: Some natural pigments, like spirulina, are great in small doses but shouldn’t be overdone.
Insider Secret: Always check the label of your ‘natural’ yogurt powders. Many brands sneak in corn syrup solids to keep the cost down. Look for 100% dehydrated goat milk or plain Greek yogurt powder instead.
The Forensic Breakdown: DIY vs. Store-Bought Premium Treats
Why are we doing this ourselves? Because the markup on ‘artisan’ dog treats is insane. When you buy a $5 stenciled cookie at a pet boutique, you’re paying for the packaging and the labor, not the ingredients. Often, the base of those cookies is cheap white flour and vegetable shortening—ingredients that offer zero nutritional benefit.
By making these at home, we control the ‘First 5 Ingredients’ and ensure we are using high-quality fats and fibers. Let’s look at the cost-to-quality ratio below.
| Feature | Store-Bought Gourmet | Hacker’s DIY Stenciled |
|---|---|---|
| Primary Protein/Fiber | White Flour / Corn Starch | Oat Flour / Flaxseed Meal |
| Coloring Agent | Artificial Dyes (Red 40, etc.) | Beet Powder / Turmeric |
| Price Per Cookie | $4.50 – $6.00 | $0.45 – $0.75 |
| Nutritional Value | Low (Empty Calories) | High (Omegas & Antioxidants) |
| Shelf Life | 6-12 Months (Preservatives) | 2-4 Weeks (Natural) |
As you can see, you can produce a superior product for about 10% of the retail cost. That is how you build a business that actually scales, or simply how you save hundreds of dollars a year on high-quality rewards.
The Canvas: Crafting the Perfect Flat-Surface Cookie
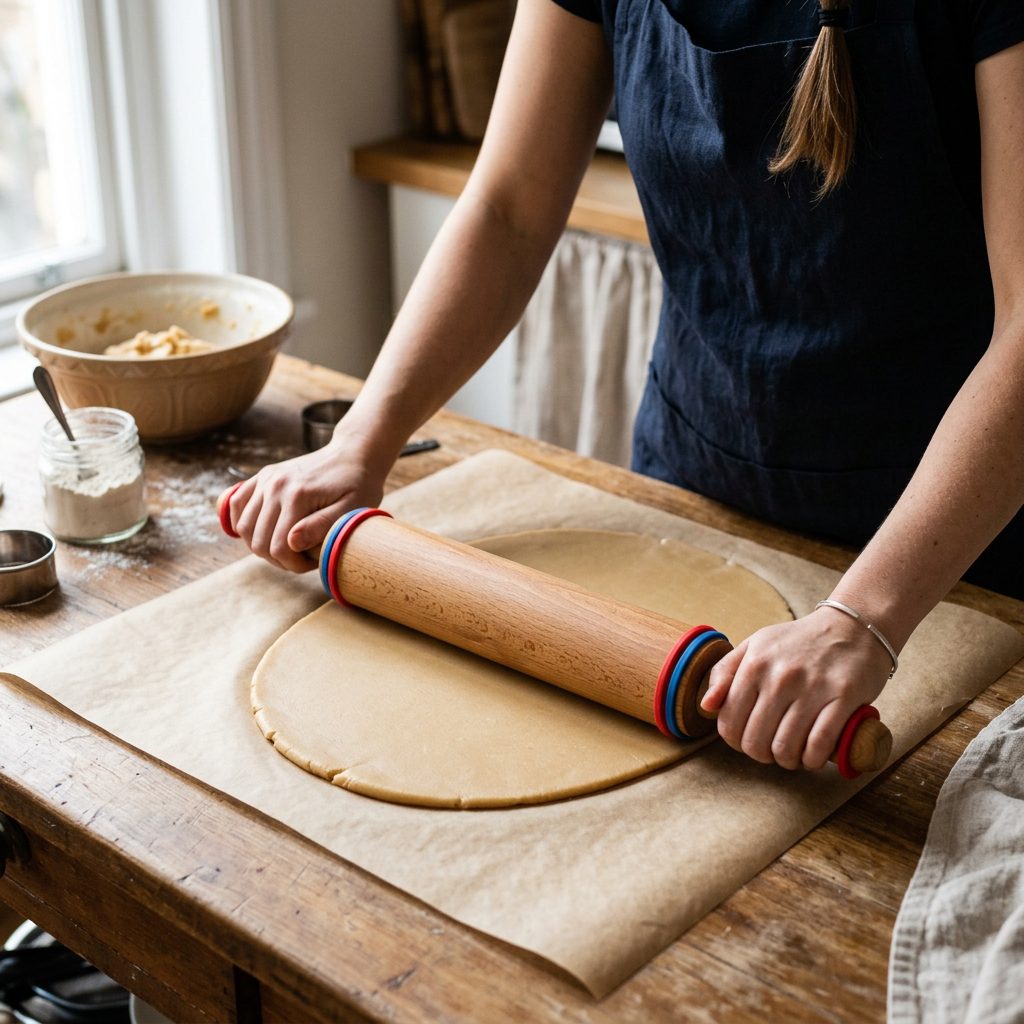
You can’t stencil on a lumpy, bumpy cookie. If your base rises too much or cracks, your stencil will bleed, and it’ll look like a DIY disaster. We need a ‘hard-tack’ style biscuit that stays flat and provides a smooth surface. My secret? Oat flour and unsweetened applesauce.
The ‘No-Spread’ Base Recipe
- 2 Cups Oat Flour: Provides a smooth texture and is easier on the stomach than wheat.
- 1/2 Cup Unsweetened Applesauce: Acts as the binder without the need for heavy fats.
- 1 Egg: For structure and protein.
- 1 Tablespoon Coconut Oil: Gives the coat a nice shine and helps the cookie crisp up.
Pro Tip: Roll your dough between two sheets of parchment paper to exactly 1/4 inch thickness. Use a rolling pin with thickness rings if you want to be a real perfectionist. This ensures every cookie in the batch bakes at the same rate, which is crucial for consistent ‘paint’ application later.
The ‘Paint’: Formulating Dog-Safe Pigments
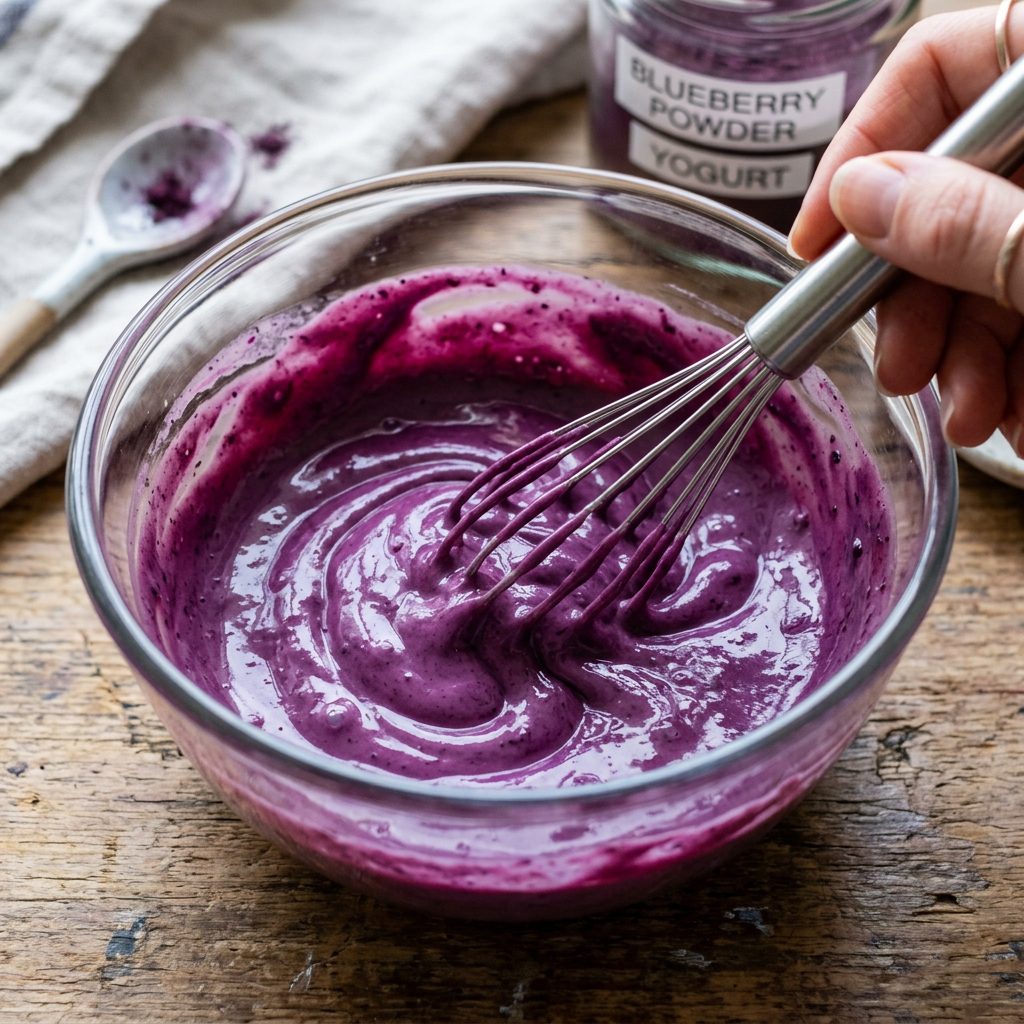
Standard royal icing is made of egg whites and massive amounts of powdered sugar. That is a one-way ticket to a vet visit for a dog with pancreatitis. Instead, we use a base of Tapioca Starch and Greek Yogurt Powder. It dries hard, matte, and won’t smudge once set.
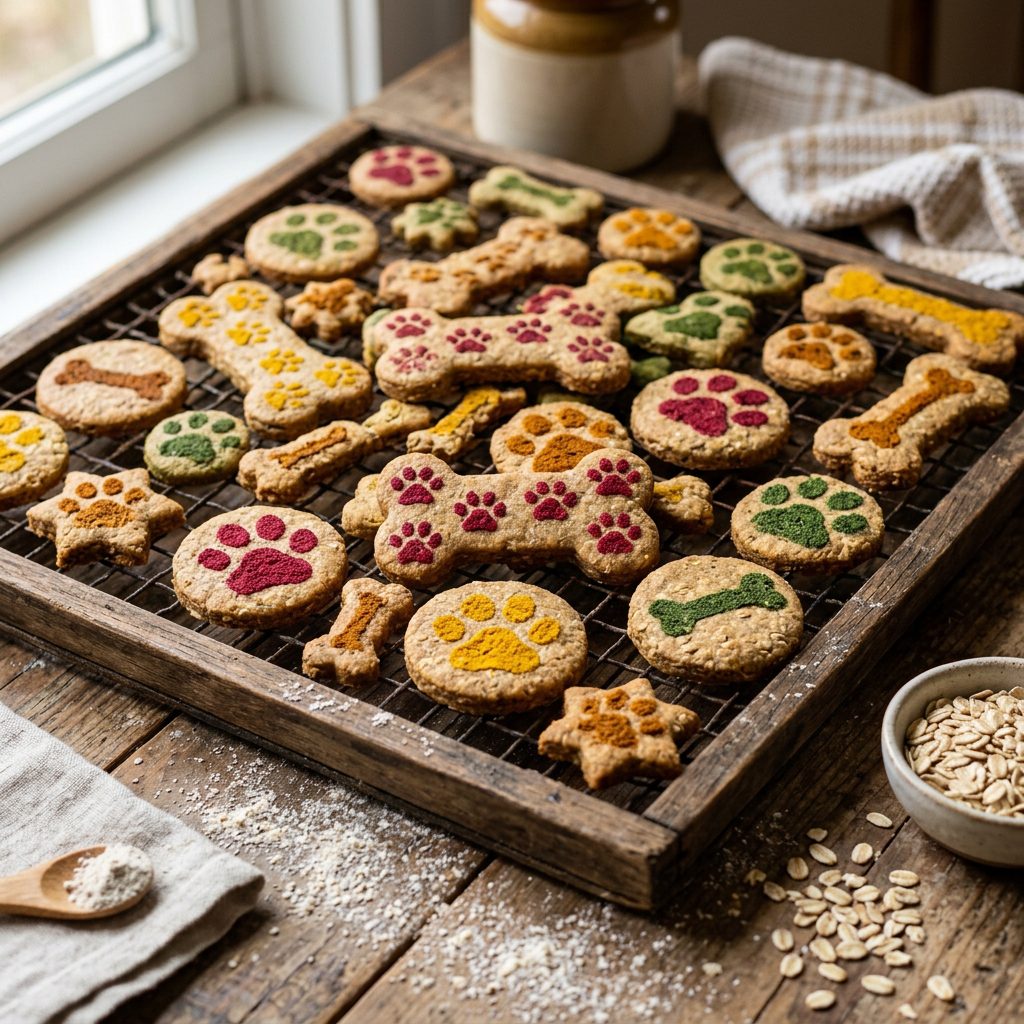
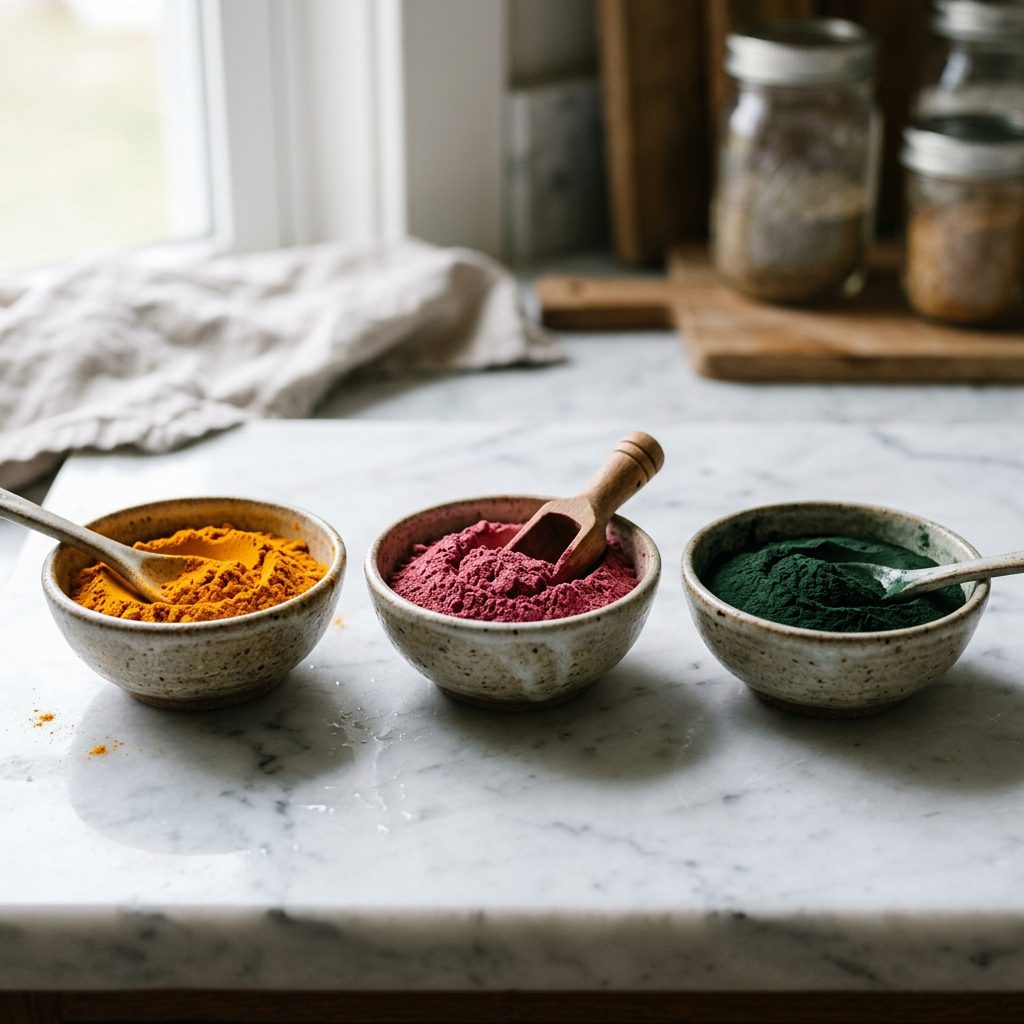
The Hacker’s Color Palette
- Golden Yellow: 1 tsp Turmeric powder (Great for joint health!).
- Deep Rose: 1 tsp Beetroot powder (Loaded with nitrates for heart health).
- Earthy Green: 1/2 tsp Spirulina (A superfood powerhouse).
- Midnight Black: 1/4 tsp Activated Charcoal (Use sparingly; great for ‘detox’ marketing).
Mix 2 tablespoons of yogurt powder with 1 tablespoon of water and 1 teaspoon of your chosen pigment. The consistency should be like heavy cream. If it’s too runny, it will seep under the stencil. If it’s too thick, it won’t lay flat.
Hacker Tip: If you want a ‘glossy’ finish that looks like real icing, add a half-teaspoon of vegetable glycerin. It’s safe for dogs and gives that high-end professional sheen.
The Technique: Stenciling for Precision
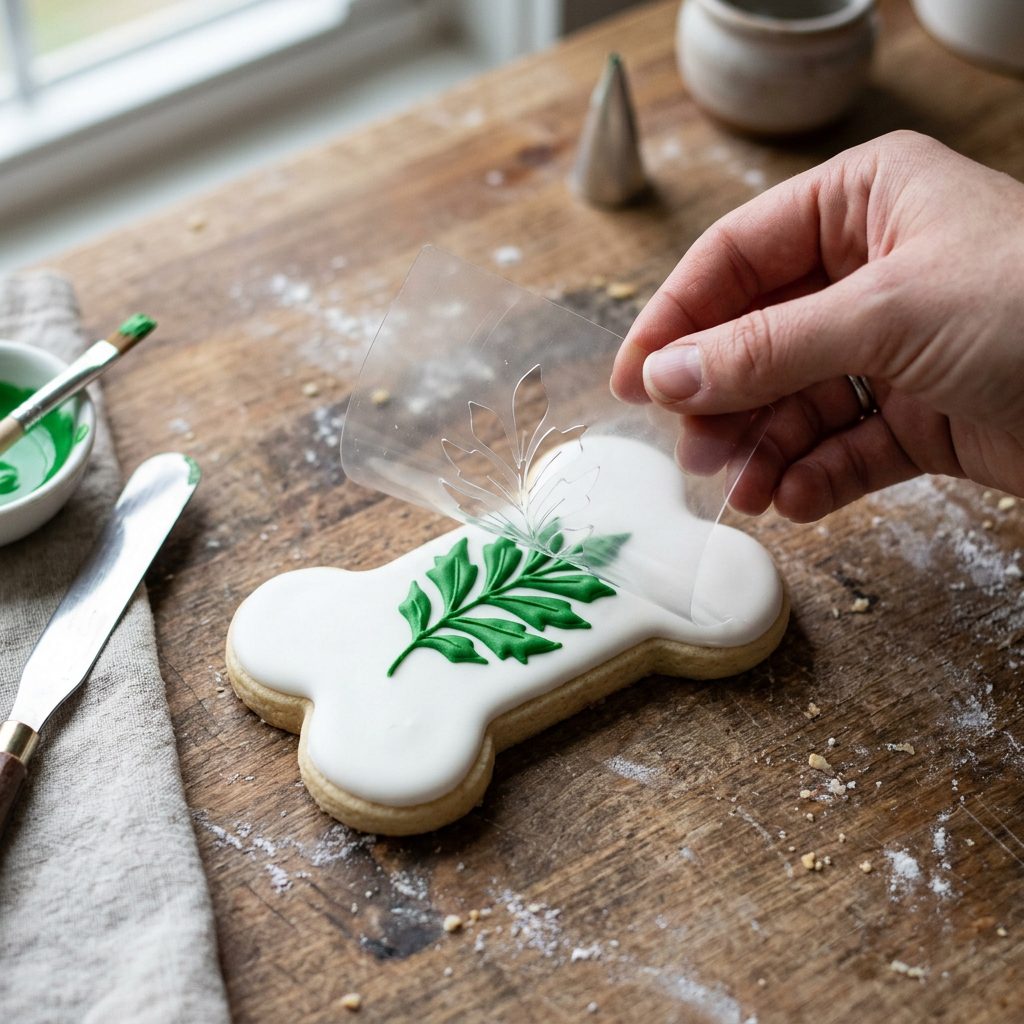
Now for the fun part. Stenciling is where the ‘magic’ happens. You don’t need to be an artist; you just need to be meticulous. I recommend using 10-mil mylar stencils—they are durable, food-safe, and easy to clean.
Step-by-Step Stenciling
- Cool Completely: Never stencil a warm cookie. The heat will melt your yogurt base and cause a blurry mess.
- The ‘Dry Brush’ Method: Use a high-density foam pouncer or a stiff-bristled brush. Dip it in your ‘paint,’ then dab most of it off onto a paper towel. You want the brush to be almost dry.
- Secure the Stencil: Hold the stencil firmly against the cookie. Do not let it shift.
- Dab, Don’t Stroke: Use a vertical dabbing motion. If you swipe left-to-right, you will force paint under the edges of the stencil.
- The Reveal: Lift the stencil straight up. Do not slide it.
If you mess up, don’t panic. Since our ‘paint’ is yogurt-based, you can usually wipe it off with a damp cloth while it’s wet and try again. That’s the beauty of this medium.
The Economics: Scaling for Profit
If you’re looking to sell these, you need to think about your Time-to-Value ratio. Hand-painting each cookie takes too long. Stenciling allows you to do a whole tray in minutes. To maximize profit, batch your tasks. Bake 100 cookies on Monday, stencil them all on Tuesday while watching a documentary, and package them on Wednesday.
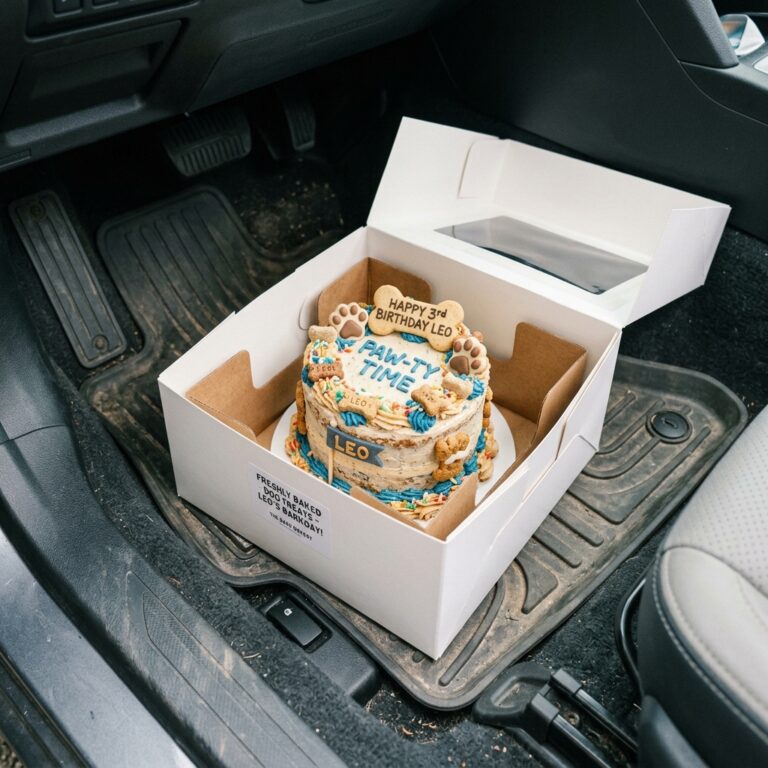
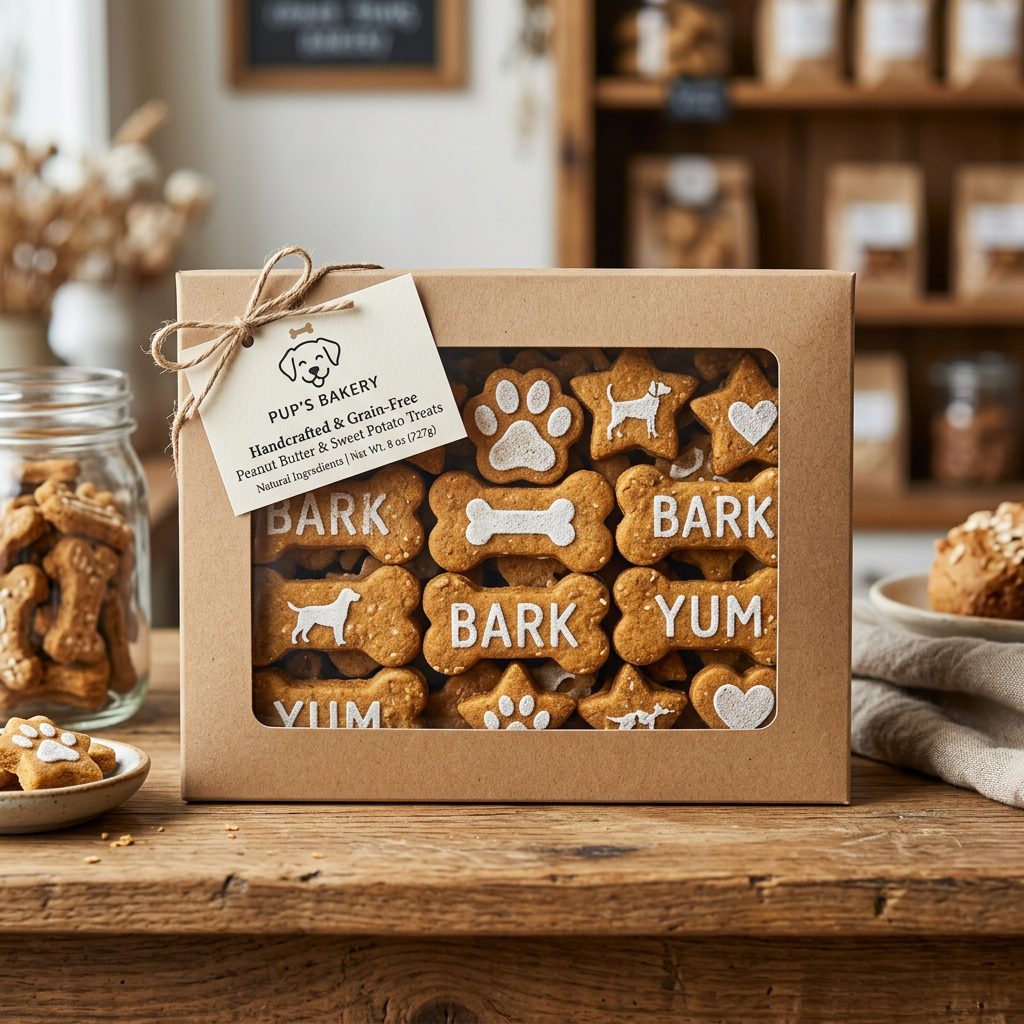
Packaging for the ‘Premium’ Feel
Don’t just throw these in a plastic bag. To sell out in minutes, you need perceived value. Use eco-friendly kraft paper boxes with a clear window. It shows off the art and appeals to the ‘eco-conscious’ savvy dog owner who is willing to pay a premium. Add a small sticker that highlights the ‘Hero Ingredients’ like ‘Anti-Inflammatory Turmeric’ or ‘Antioxidant-Rich Beets.’
Insider Secret: Buying your tapioca starch in 25lb bags instead of small grocery store containers will drop your cost-per-batch by nearly 60%. Always source your ‘dry’ ingredients in bulk.
Conclusion
Mastering the Craft
Creating picture-perfect stenciled dog cookies isn’t just about making something ‘pretty’—it’s about providing a high-quality, transparent alternative to the mass-produced junk filling big-box store shelves. By using whole-food pigments and a fiber-rich base, you are giving dogs exactly what they need while satisfying the owner’s desire for something special. Remember, the ‘secret sauce’ is in the details: the consistency of your yogurt paint, the flatness of your cookie, and the boldness of your natural colors. Whether you’re starting a business or just spoiling your best friend, you now have the blueprint to create treats that are truly top-tier. Now, get in that kitchen and start hacking!