The Ultimate Crunch: How To Make Crunchy Dog Treats That Stay Crispy For Months!
Listen up, savvy dog owners. I’ve spent way too much time staring at the back of treat bags in the pet store aisle. You know the ones—the ‘gourmet’ biscuits that cost $15 for a tiny bag of what essentially amounts to flour, sugar, and some ‘natural flavors’ (which is often just a fancy word for MSG-adjacent additives). As the Canine Nutrition Hacker, I’m here to tell you that you’re being overcharged for water and air. The secret to those expensive, shelf-stable crunchy treats isn’t some magical lab-created preservative; it’s the science of dehydration. Most homemade treats go soft or moldy in three days because owners don’t understand water activity. Today, I’m pulling back the curtain. I’m going to show you how to bake a treat so crispy, so crunchy, and so shelf-stable that it will stay fresh in your pantry for months, saving you a small fortune and keeping your dog’s teeth clean in the process. We’re talking about the ‘First 5 Ingredients’ truth, the double-bake method, and the storage hacks that the big pet food companies don’t want you to know.
The Safety Chef Disclaimer & The Moisture Enemy
Before we preheat the oven, let’s get the legalities out of the way. I am not a veterinarian. I am a researcher and a dog owner who treats ingredient labels like a crime scene. These treats are intended as supplemental snacks only. They are not a replacement for a balanced AAFCO-compliant diet. If your dog has a history of pancreatitis, kidney issues, or severe allergies, consult your vet before introducing new proteins or flours.
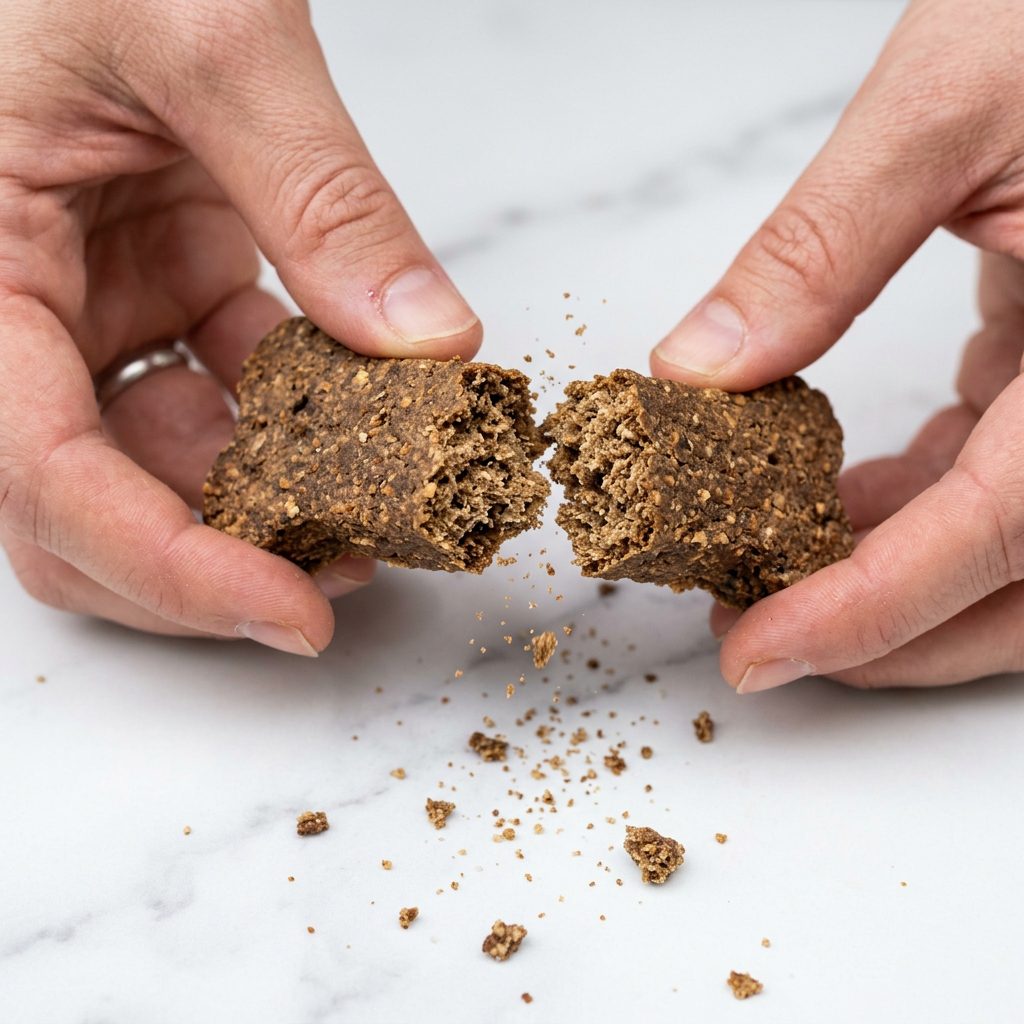
The Enemy: Moisture
The reason your previous DIY treats turned into a science experiment (mold) after 48 hours is moisture. Bacteria and mold need water to thrive. To make a treat last for months without chemical preservatives like BHA, BHT, or Ethoxyquin, we have to drive the moisture level down below 10%. We achieve this through a specific baking technique called ‘The Hard-Tack Method.’ We aren’t just baking cookies; we are dehydrating nutritional delivery systems.
The Hacker’s Pantry: Hero vs. Enemy Ingredients
When you look at a box of Milk-Bones or even ‘premium’ biscuits, you’ll often see Wheat Flour, Beef Tallow, and BHA. We can do better. We want ingredients that provide a ‘functional crunch’—a texture that helps mechanically scrape plaque while providing actual nutrients.
Hero Ingredients
- Oat Flour: Lower glycemic index than wheat and highly digestible.
- Pumpkin Puree: Fiber-rich and helps bind the dough without needing excess fat.
- Egg Whites: Provides protein and structure without the fat of the yolk, which can go rancid faster.
- Parsley: A natural breath freshener and antioxidant.
Enemy Ingredients (The Fillers)
- Corn Gluten Meal: A cheap protein booster that’s hard to digest.
- Sugar/Molasses: Used by big brands to make dogs ‘addicted’ to treats.
- Vegetable Oil: High in Omega-6, which can be pro-inflammatory in high amounts.
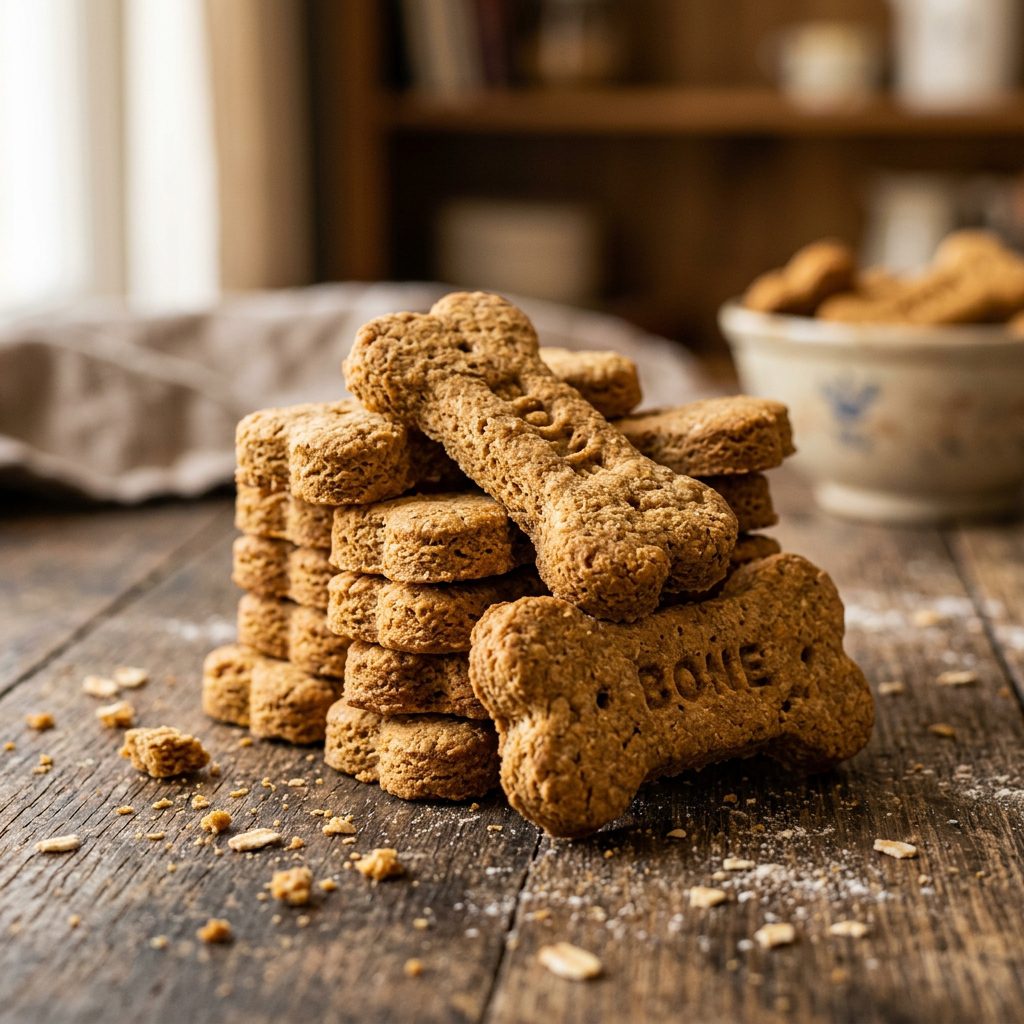
The Master Recipe: The 6-Month Crunch Biscuit
This recipe uses a 2:1 dry-to-wet ratio. This is the ‘Golden Ratio’ for a dough that is easy to roll out but dry enough to crisp up perfectly. This batch makes about 50 medium biscuits.
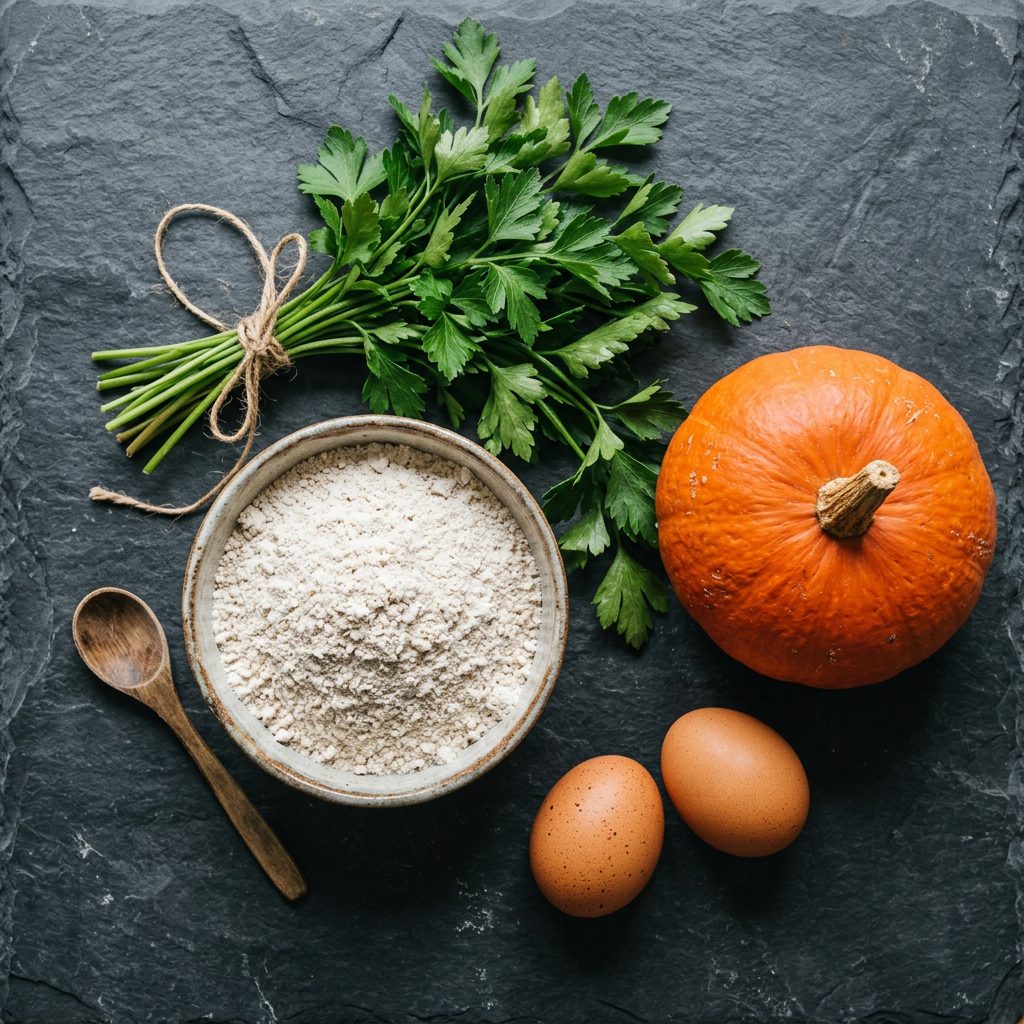
Ingredients
- 2.5 Cups Oat Flour (You can make this by pulsing rolled oats in a blender).
- 1/2 Cup Plain Pumpkin Puree (Not pie filling!).
- 1 Large Egg (Acts as the binder).
- 1/4 Cup Water (Add slowly until the dough holds).
- 1 Tablespoon Dried Parsley (For the ‘Hacker’ breath boost).
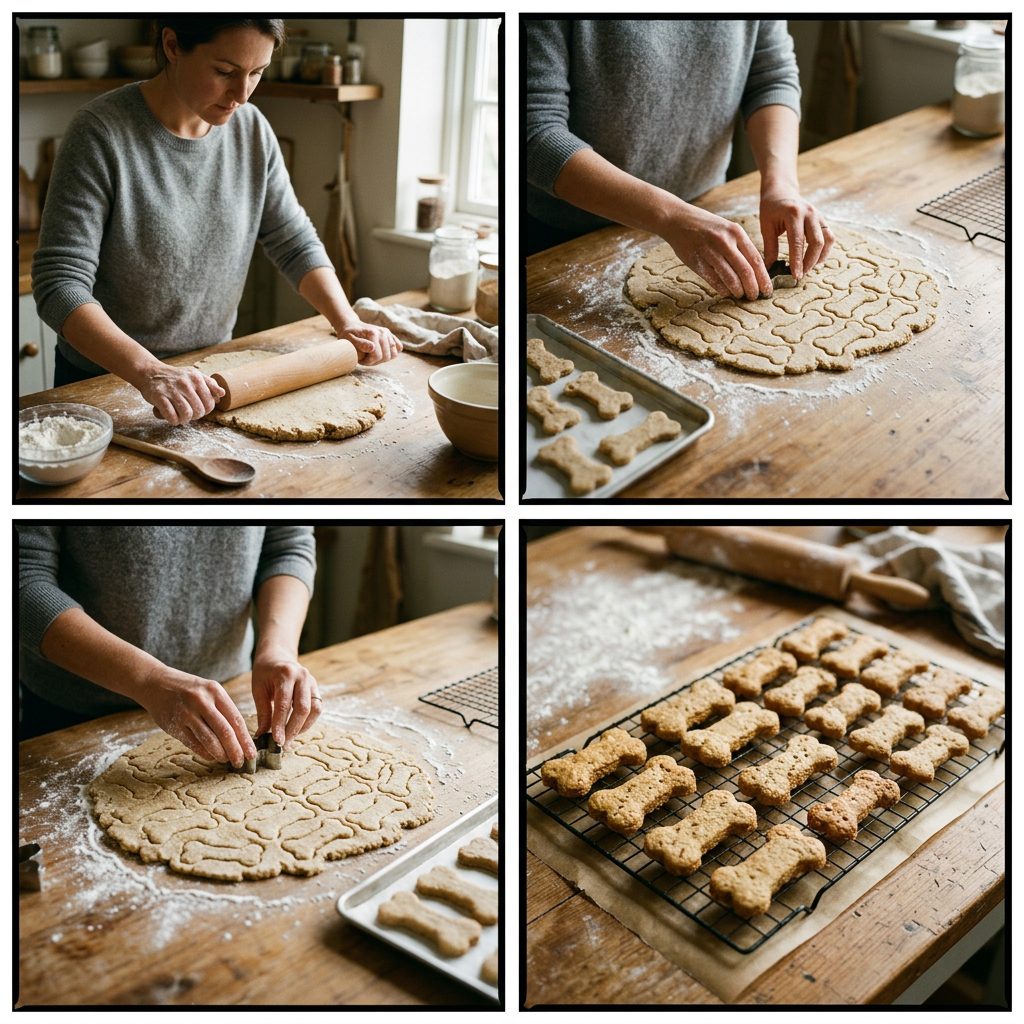
The Step-by-Step Method
- Mix: Combine all ingredients in a bowl until a stiff dough forms. If it’s sticky, add more flour. It should feel like play-dough.
- Roll: Roll out to 1/4 inch thickness. The thinner the biscuit, the faster it dehydrates.
- Cut: Use a cookie cutter or a pizza wheel to make squares.
- The First Bake: Bake at 350°F (175°C) for 25-30 minutes.
- The Hacker Secret (The Second Bake): Turn the oven down to 200°F (95°C) and bake for another 2 hours. This ‘low and slow’ phase removes the internal moisture without burning the outside.
- The Cooling Phase: Turn the oven off and leave the treats inside with the door cracked until they are completely cold.
The Real Cost Breakdown: DIY vs. Premium Store Brands
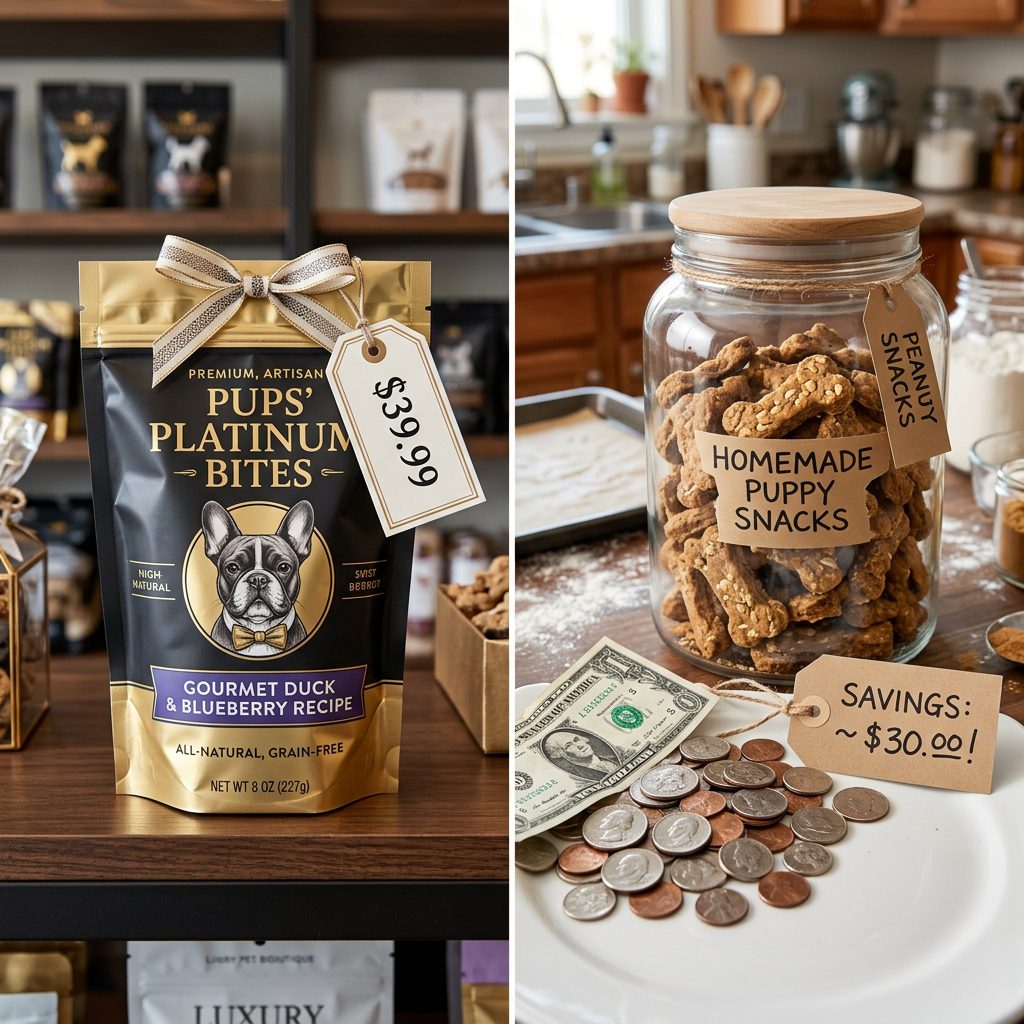
Is it actually worth your time? Let’s look at the numbers. Most ‘organic’ or ‘gourmet’ crunchy treats retail for about $1.20 to $1.50 per ounce. When you make them at home using my Hacker Method, you are paying for the raw materials at bulk prices.
| Metric | Premium Store Brand | Hacker DIY (Oat & Pumpkin) |
|---|---|---|
| Price per lb | $16.00 – $22.00 | $3.50 – $4.50 |
| Primary Ingredient | Wheat Flour / By-products | Whole Grain Oat Flour |
| Preservatives | Citric Acid / Tocopherols | None (Dehydration only) |
| Shelf Life | 12 Months (Chemicals) | 3-6 Months (Properly Stored) |
| Verdict | Overpriced Cardboard | Nutrient-Dense Gold |
Hacker Tip: Buy your oats in 10lb bags from a warehouse club. Pulse them in your blender for 30 seconds to make flour. You’ll cut your costs by another 40%!
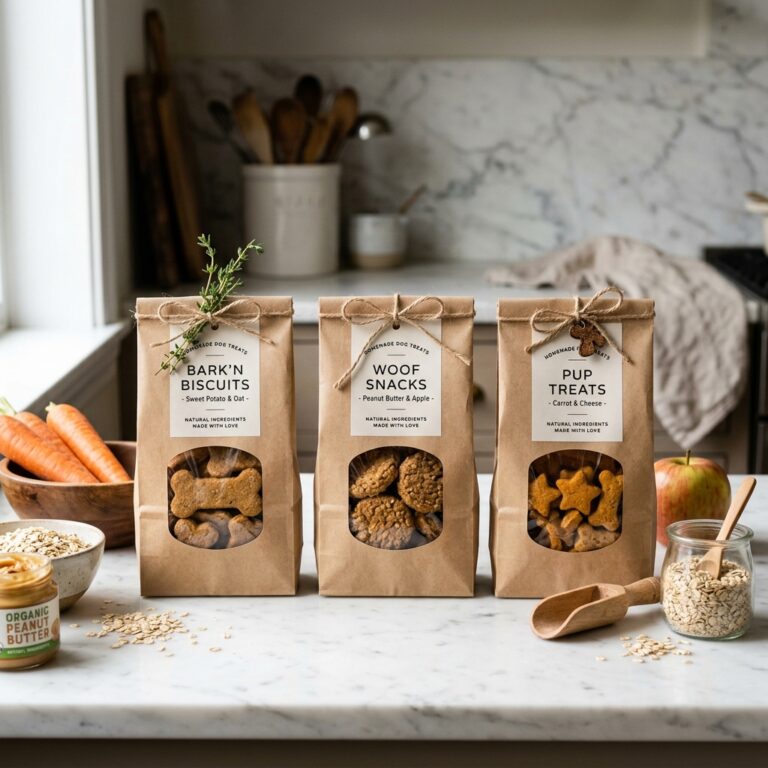
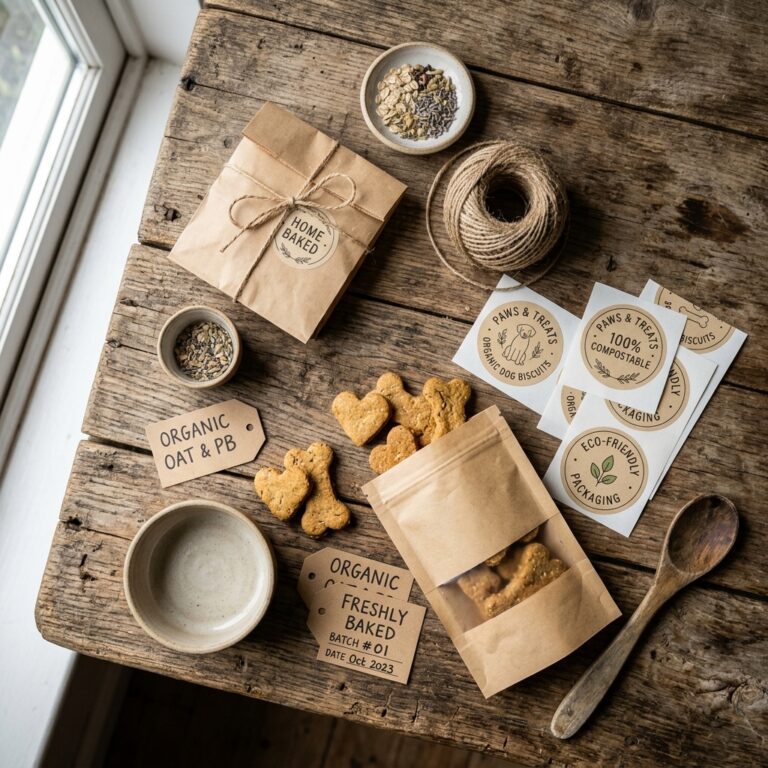
The Insider Secret: Storage Protocols for Maximum Shelf Life
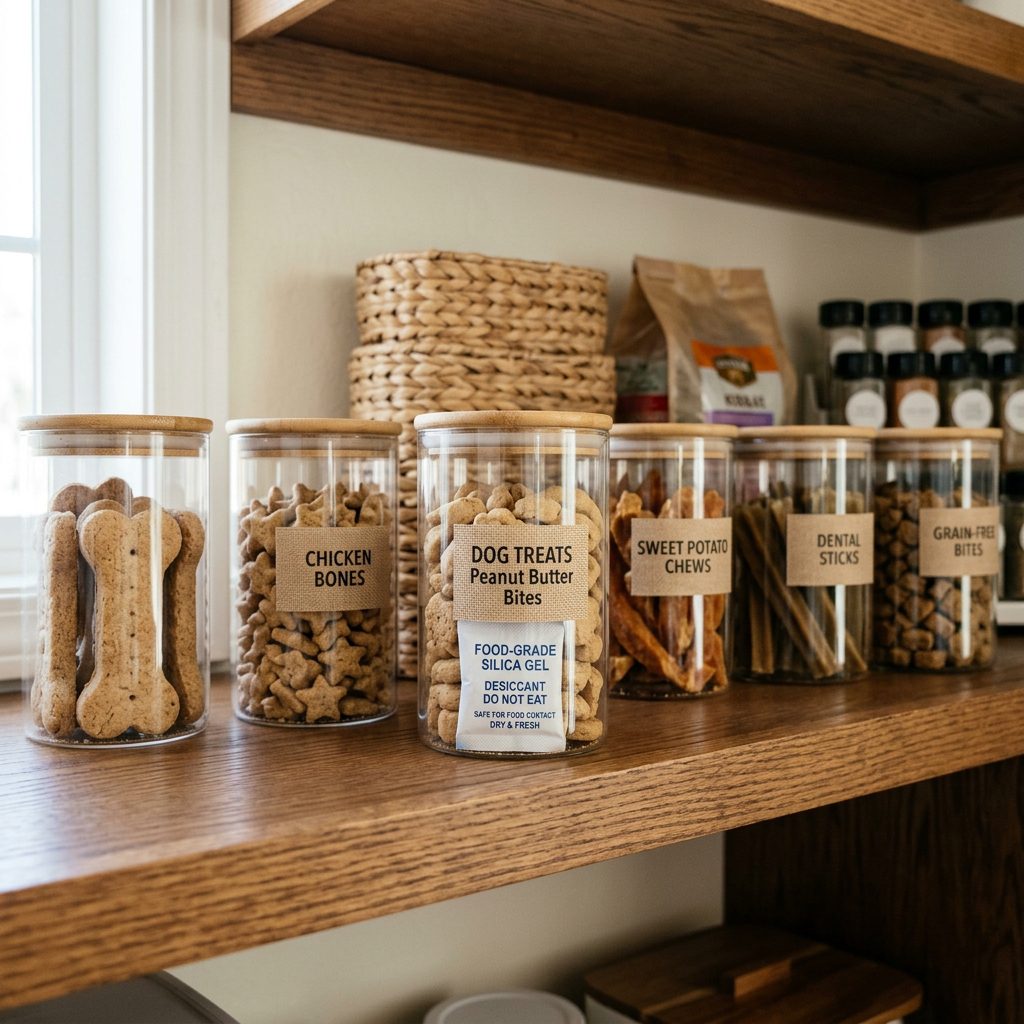
You’ve done the work, now don’t let the humidity ruin it. If you live in a high-humidity area, your treats will pull moisture from the air and go soft. Here is how the pros store things for the long haul.
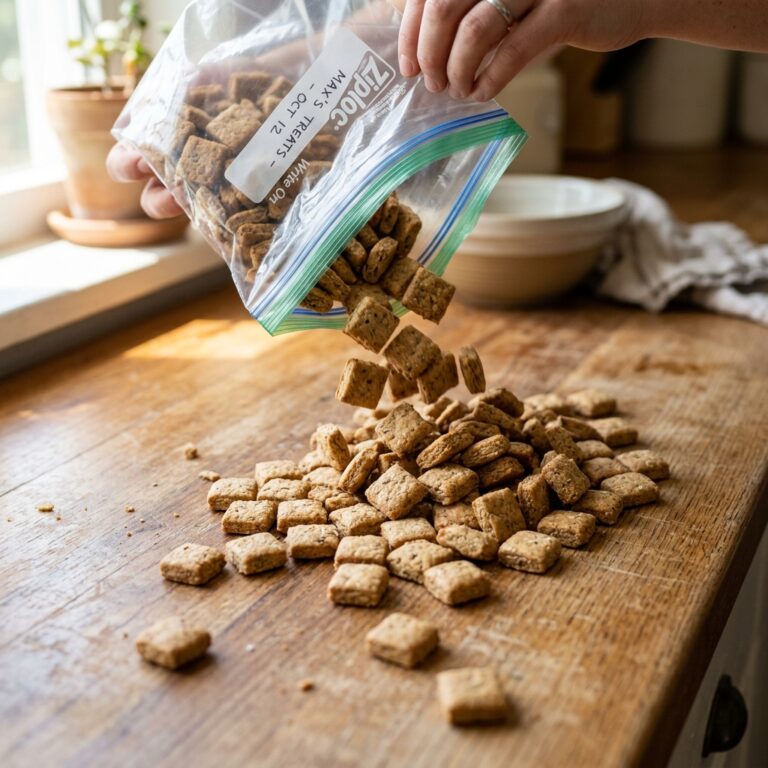
The 3-Tier Storage System
- Tier 1 (The Daily Jar): Keep a small glass jar on the counter for treats you’ll use within 7 days.
- Tier 2 (The Pantry Stash): Store the bulk of your treats in an airtight Mylar bag or a vacuum-sealed container.
- Tier 3 (The Ultimate Hack): Add a food-grade oxygen absorber or a silica gel packet (the ‘do not eat’ packets found in beef jerky) to your storage container. This ensures the environment stays bone-dry.
Warning: Always ensure the treats are completely cool before sealing them. If they are even slightly warm, they will create condensation inside the bag, and you’ll have a mold colony by Tuesday.
Conclusion
Making your own crunchy dog treats isn’t just about being a ‘good dog parent’—it’s about taking control of the supply chain. You now have the recipe and the scientific method to create a snack that is nutritionally superior to 90% of what’s on the shelves, at a fraction of the cost. No more ‘mystery meat’ by-products, no more hidden sugars, and no more stale biscuits. You’ve mastered the Ultimate Crunch. Your dog gets the dental benefits of a hard biscuit, and you get the satisfaction of knowing exactly what went into their body. Go forth and bake, and remember: if it doesn’t snap like a twig, it’s not done yet! Stay savvy.