The Ultimate Guide to Getting Local Vets and Pet Boutiques to Sell Your Homemade Dog Treats!
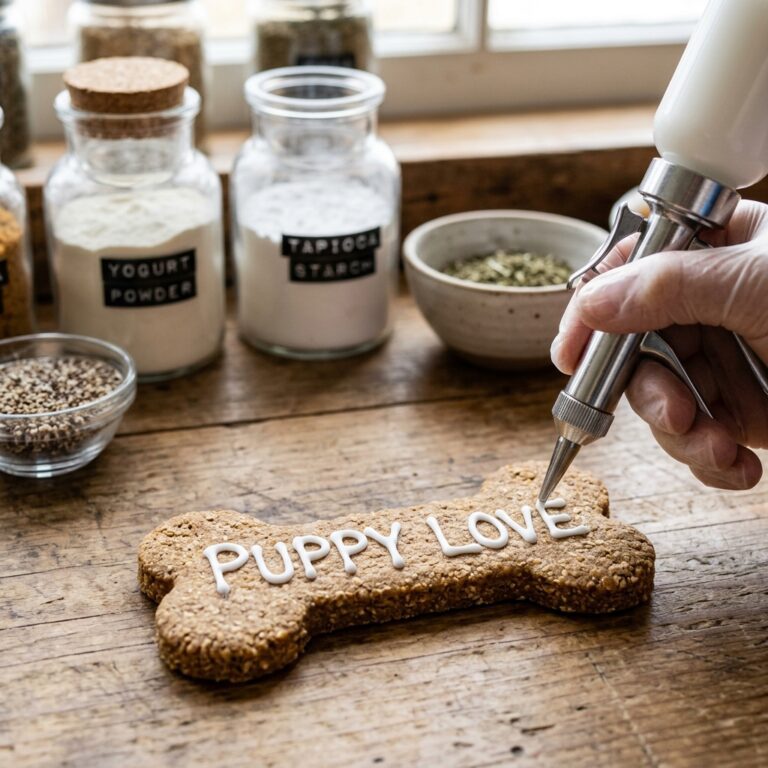
Turning Your Kitchen Into a Gold Mine
Listen, I get it. You’re already making the best dog treats in the neighborhood. Your dog, Buster, does backflips for your dehydrated sweet potato chews, and your friends are constantly asking for a ‘stash’ for their pups. But here is the insider secret: there is a massive difference between being a great home baker and being a professional pet treat artisan that local vets and high-end boutiques actually want to represent. The pet industry is a multi-billion dollar beast, and while the ‘Big Kibble’ companies are busy stuffing bags with corn gluten meal and mystery ‘meat by-products,’ savvy dog owners like us are looking for something better. We want transparency. We want nutrition. And most importantly, we want to support local creators who give a damn about canine health.
As the Canine Nutrition Hacker, I’ve spent years dissecting ingredient labels and understanding what makes a product ‘shelf-worthy.’ In this guide, I’m going to strip away the fluff and show you exactly how to get your treats out of your kitchen and onto the shelves of the most prestigious pet boutiques and veterinary clinics in your city. We aren’t just making cookies; we are building a brand that stands for nutritional integrity. Grab your apron and your notepad—it’s time to hack the pet food market.
The Legal Foundation: Don’t Get Shut Down Before You Start
The ‘Boring’ Stuff That Saves Your Business
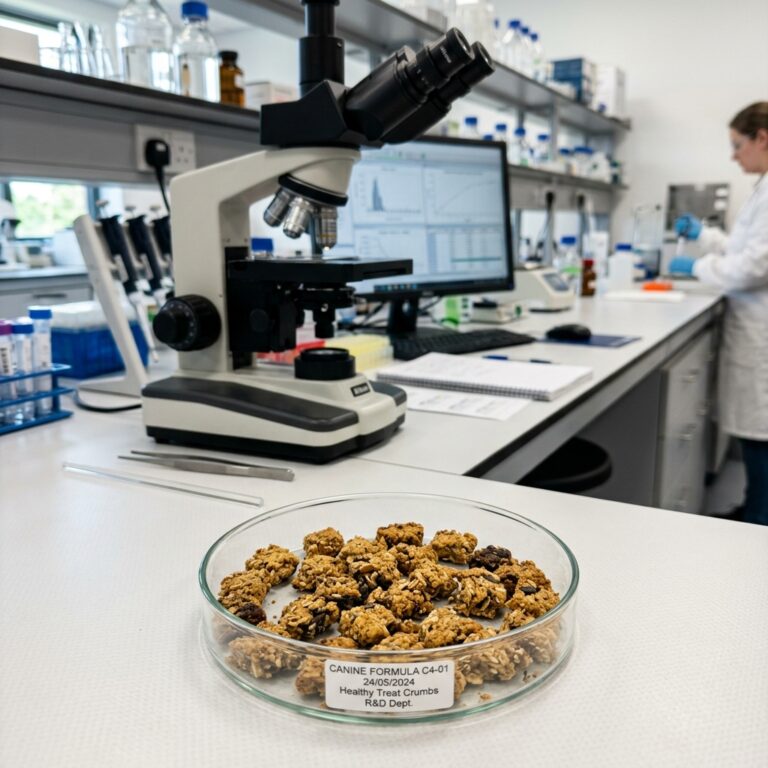
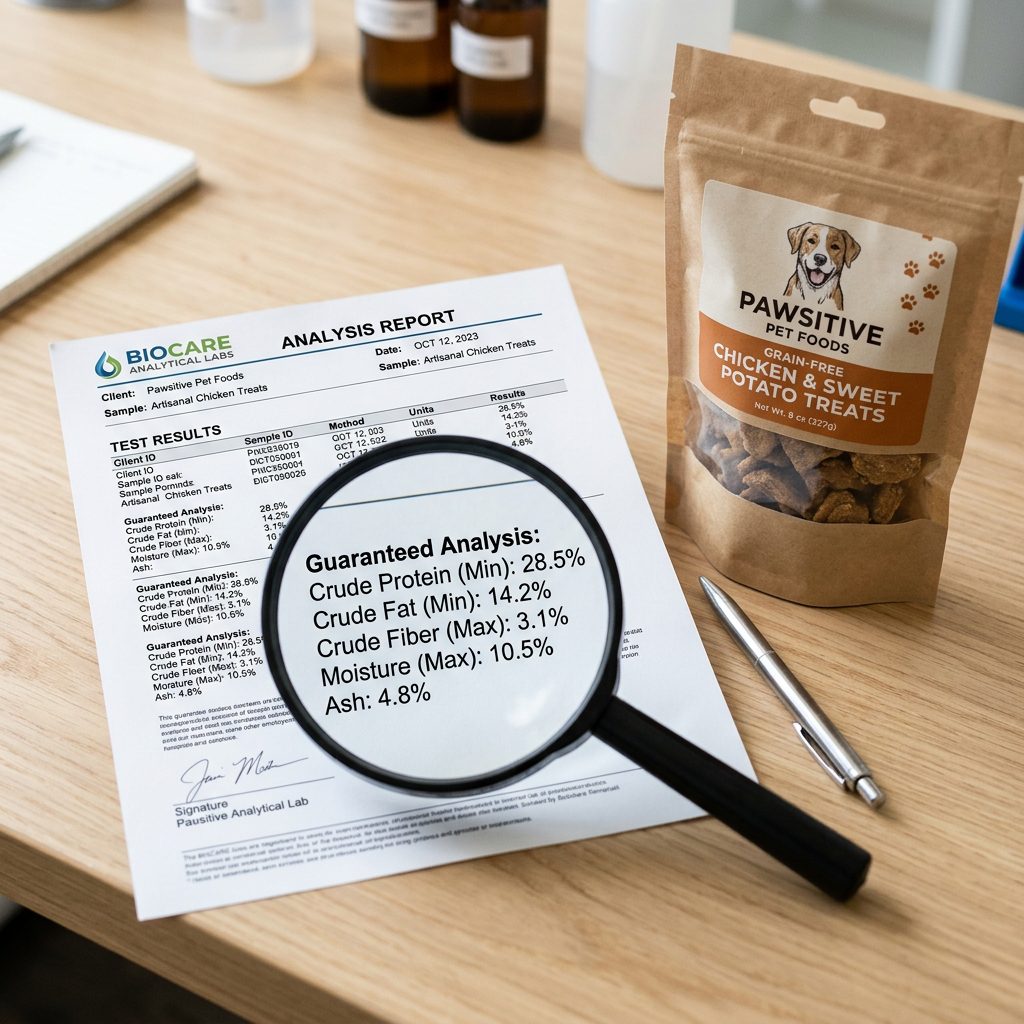
Before you even think about walking into a vet’s office, you need to have your legal ducks in a row. Selling dog treats isn’t just about baking; it’s about compliance. Every state has different laws regarding commercial feed licenses. In the US, the Association of American Feed Control Officials (AAFCO) sets the standards, but your state’s Department of Agriculture is the one that will actually come knocking.
The Safety Disclaimer
SAFETY DISCLAIMER: I am a nutrition hacker, not a lawyer or a veterinarian. Before selling any pet food, you must consult with your local Department of Agriculture to ensure you are meeting all registration, labeling, and laboratory testing requirements. Treats are intended for supplemental feeding only and should never replace a complete and balanced diet.
- Guaranteed Analysis: Most states require you to send your treats to a certified lab to test for crude protein, crude fat, crude fiber, and moisture content. This must be printed on every single bag.
- Ingredient Listing: You must list every ingredient by its common name in descending order of weight. No ‘secret ingredients’ allowed in the world of regulation!
- Business Insurance: Get product liability insurance. It’s affordable and absolutely non-negotiable if you’re selling through a third party.
Hacker Tip: Don’t let the paperwork scare you. Most state inspectors are actually very helpful if you approach them early in the process. They’d rather help you do it right than fine you for doing it wrong.
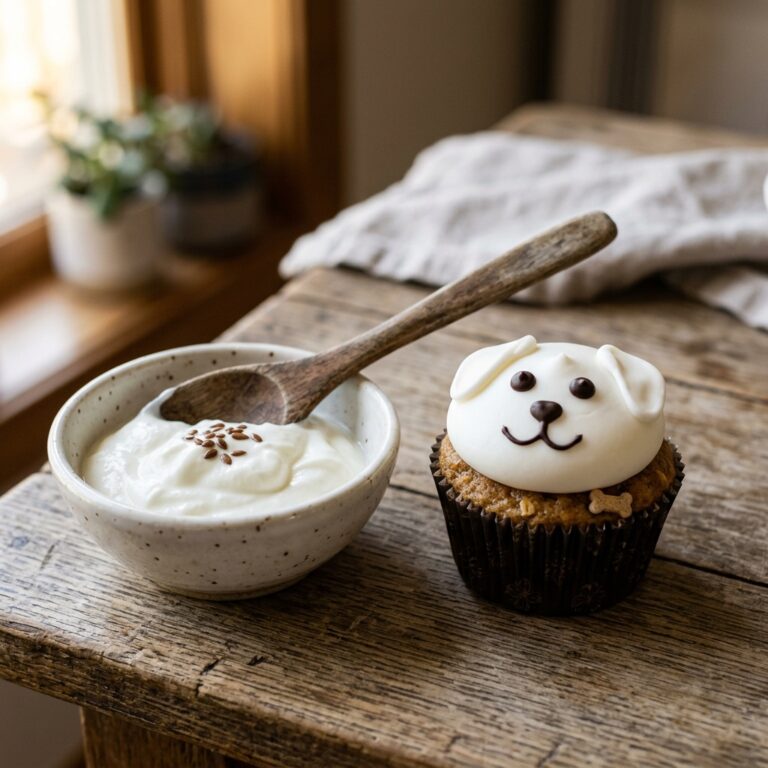
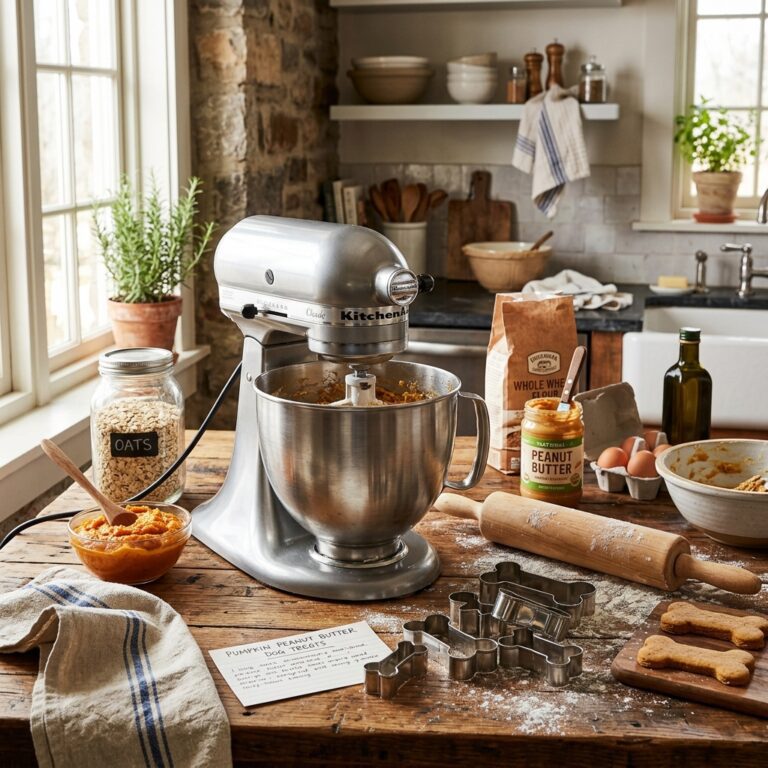
Formulating the ‘Hero’ Treat: What Vets Actually Want

The Forensic Approach to Ingredients
If you want a vet to sell your treats, you can’t just offer ‘peanut butter rounds.’ Vets see dogs with allergies, obesity, and kidney issues all day long. They want treats that solve problems, not create them. We are going to avoid the ‘Enemy Ingredients’ and focus on the ‘Hero Ingredients.’
The First 5 Ingredients Rule
When a boutique owner looks at your label, they are looking at the first five ingredients. If they see ‘wheat flour’ or ‘sugar,’ they’re out. Here is how we hack the recipe for maximum appeal:
- The Protein Base: Use novel proteins or high-quality muscle meat. Think dehydrated rabbit, duck, or wild-caught salmon. These are low-allergen and high-value.
- The Binder: Ditch the white flour. Use chickpea flour, coconut flour, or even pureed pumpkin. These provide fiber and a lower glycemic index.
- The Functional Add-on: This is where you win the vets over. Add turmeric for inflammation, ginger for digestion, or blueberries for antioxidants.
A winning ratio for a ‘Boutique-Grade’ treat is generally: 70% Protein/Fiber Base, 20% Functional Fruits/Veg, and 10% Natural Preservatives (like Vitamin E or Rosemary Extract). Avoid all artificial colors and ‘glycerin’—that’s just a filler used to keep treats soft, and it’s a red flag for savvy owners.
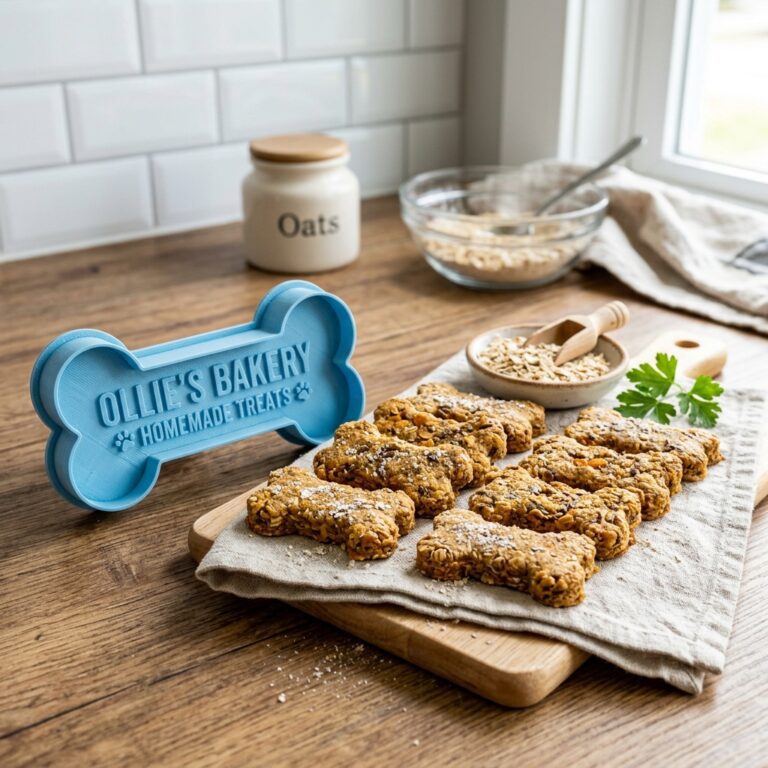
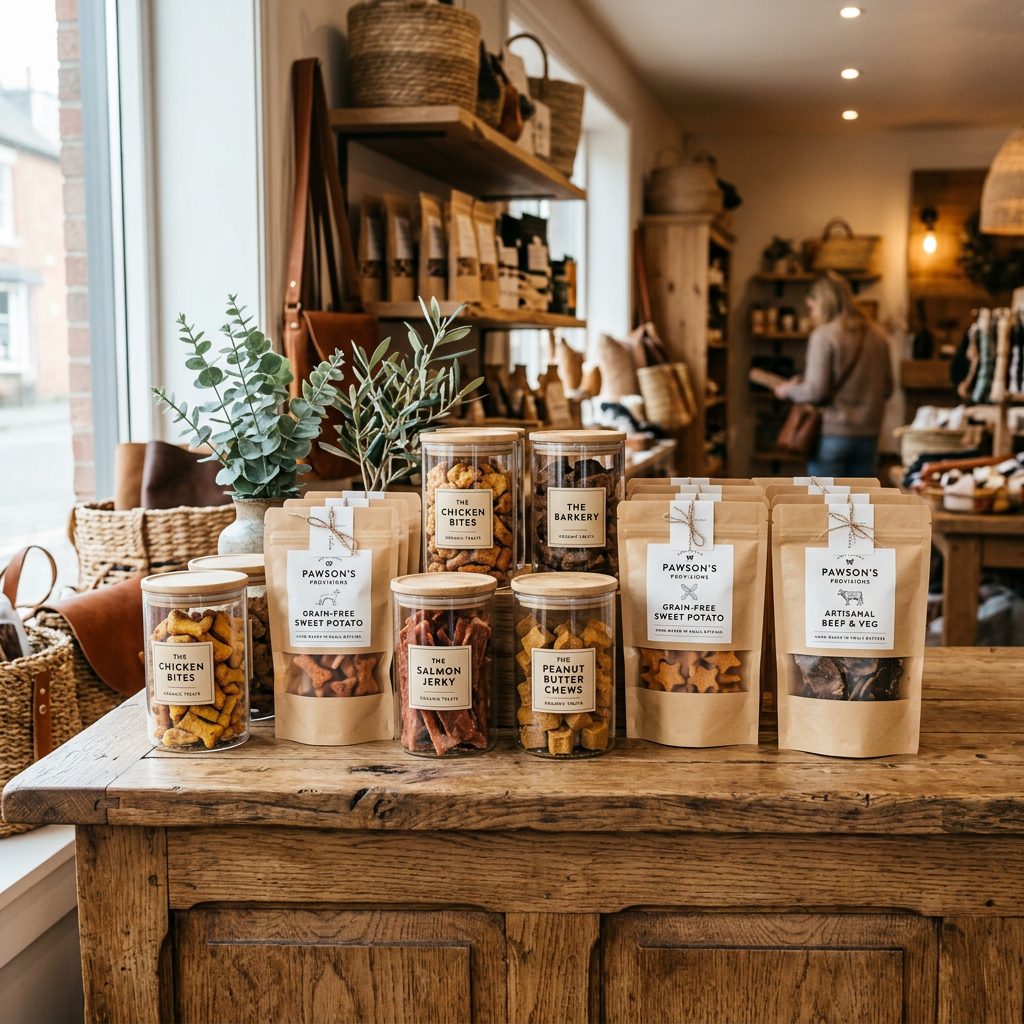
Packaging and Branding: The ‘Shelf Appeal’ Secret
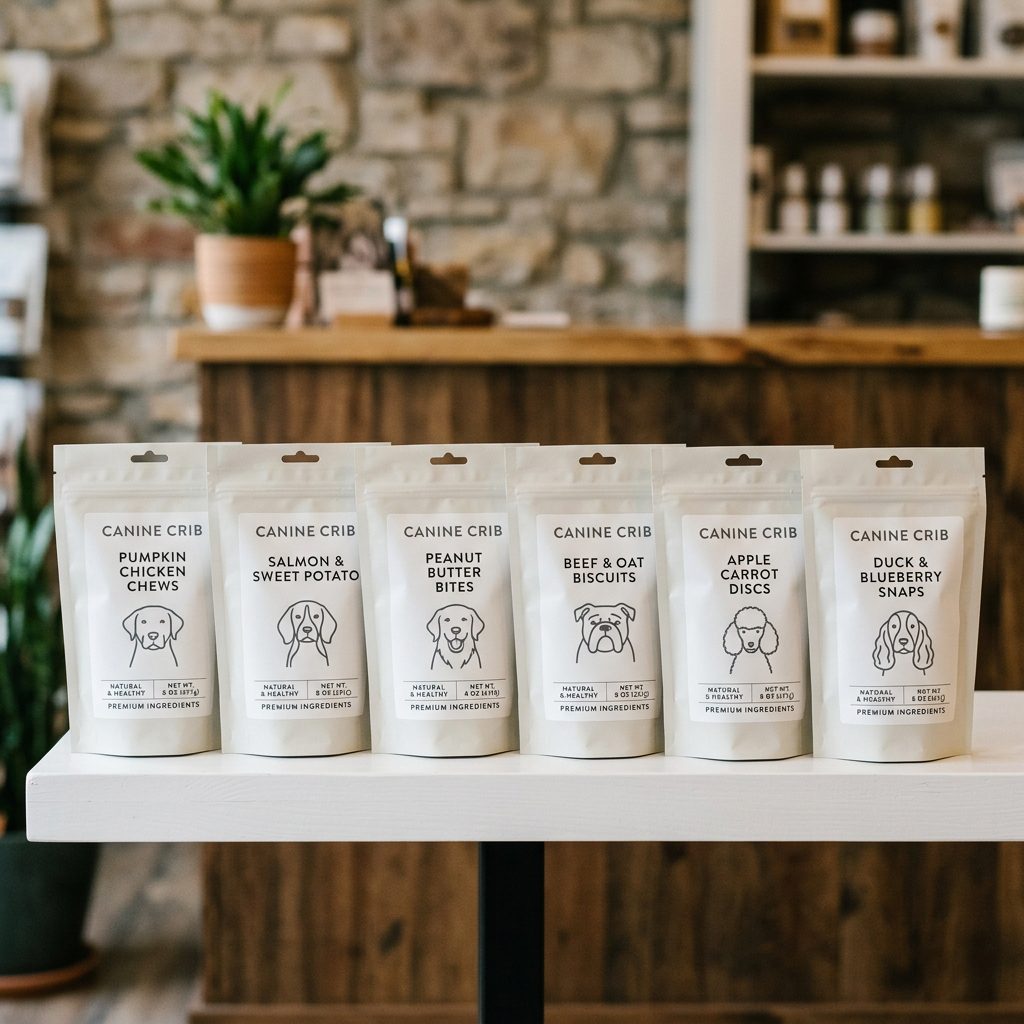
Designing for the Savvy Owner
People buy with their eyes first. If your treats are in a flimsy Ziploc bag with a handwritten Sharpie label, you won’t get past the front desk. Your packaging needs to scream ‘Premium.’ I recommend stand-up kraft pouches with a clear window. This allows the customer to see the quality of the treat while maintaining a ‘natural’ aesthetic that boutiques love.
The Labeling Checklist
- Product Name: Make it descriptive (e.g., ‘Wild Salmon & Turmeric Anti-Inflammatory Bites’).
- The ‘Why’: A short sentence on the front explaining the benefit.
- Net Weight: Clearly displayed in both ounces and grams.
- The Hacker Seal: Use icons to show ‘Grain-Free,’ ‘No Fillers,’ or ‘Small Batch.’
Insider Secret: Boutiques love a story. Include a small ‘Our Story’ section on the back that mentions your dog’s name and why you started this journey. It builds an emotional connection that Big Kibble can’t replicate.
The Pitch: How to Get the ‘Yes’ from Vets and Boutiques
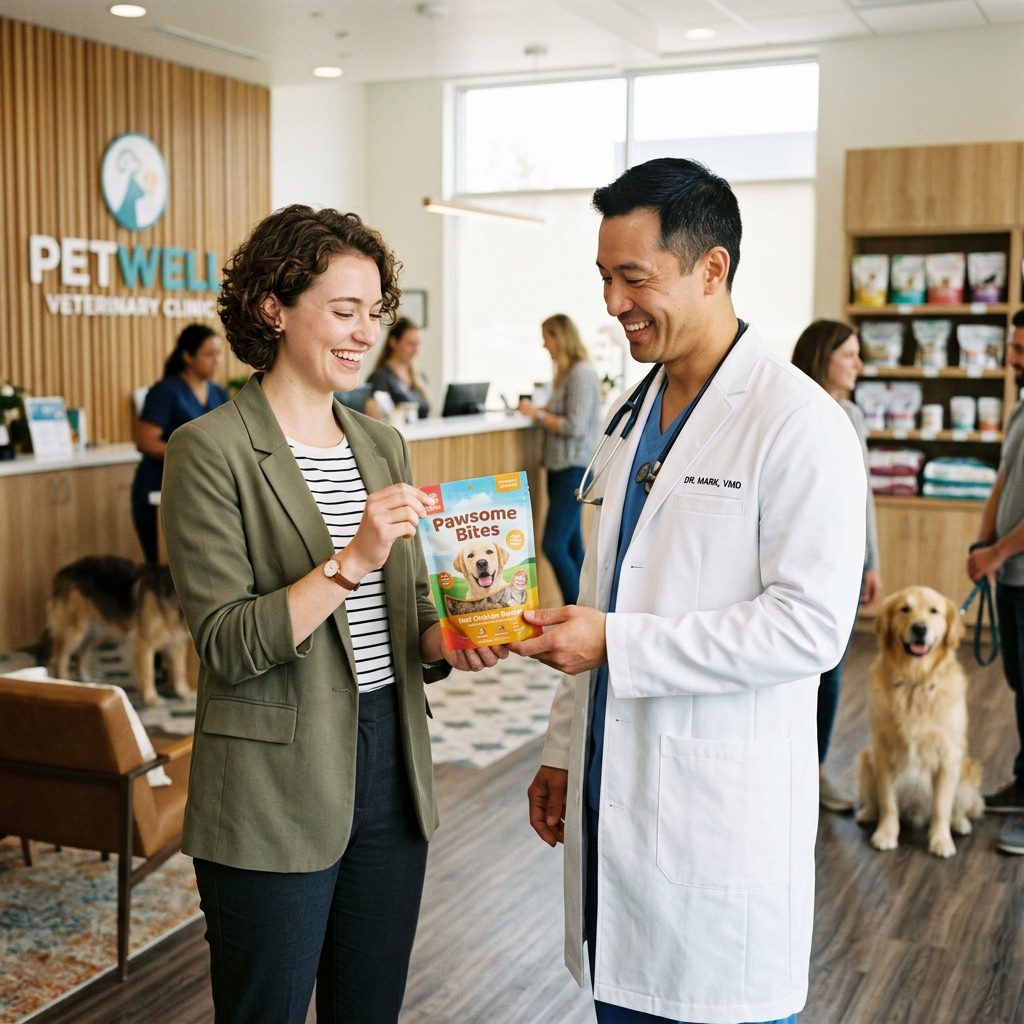
The Art of the No-Nonsense Pitch
Don’t just walk in and ask, ‘Do you want to buy my treats?’ That’s what amateurs do. You need to approach this as a partnership. Vets and boutique owners are busy; you need to show them how your product adds value to their business.
The Strategy for Vets
Vets are scientists. Bring a ‘Spec Sheet’ that includes your Guaranteed Analysis and a full breakdown of why your ingredients were chosen. Focus on hypoallergenic qualities. Tell them: ‘I noticed many of your patients struggle with skin allergies. I’ve developed a limited-ingredient treat that avoids common triggers like chicken and beef.’
The Strategy for Boutiques
Boutique owners are curators. They want items that are exclusive and look good on their Instagram feed. Bring samples in full retail packaging. Offer a ‘Low-Risk Trial’ where you provide a small display and they only pay for what they sell (consignment) for the first month. Once they see the sell-through rate, they’ll be happy to move to a wholesale model.
Hacker Tip: Always bring a ‘tasting’ bag for the shop dog. If the shop owner’s dog loves the treat, you’re 90% of the way to a deal.
Pricing for Profit: The Reality Check
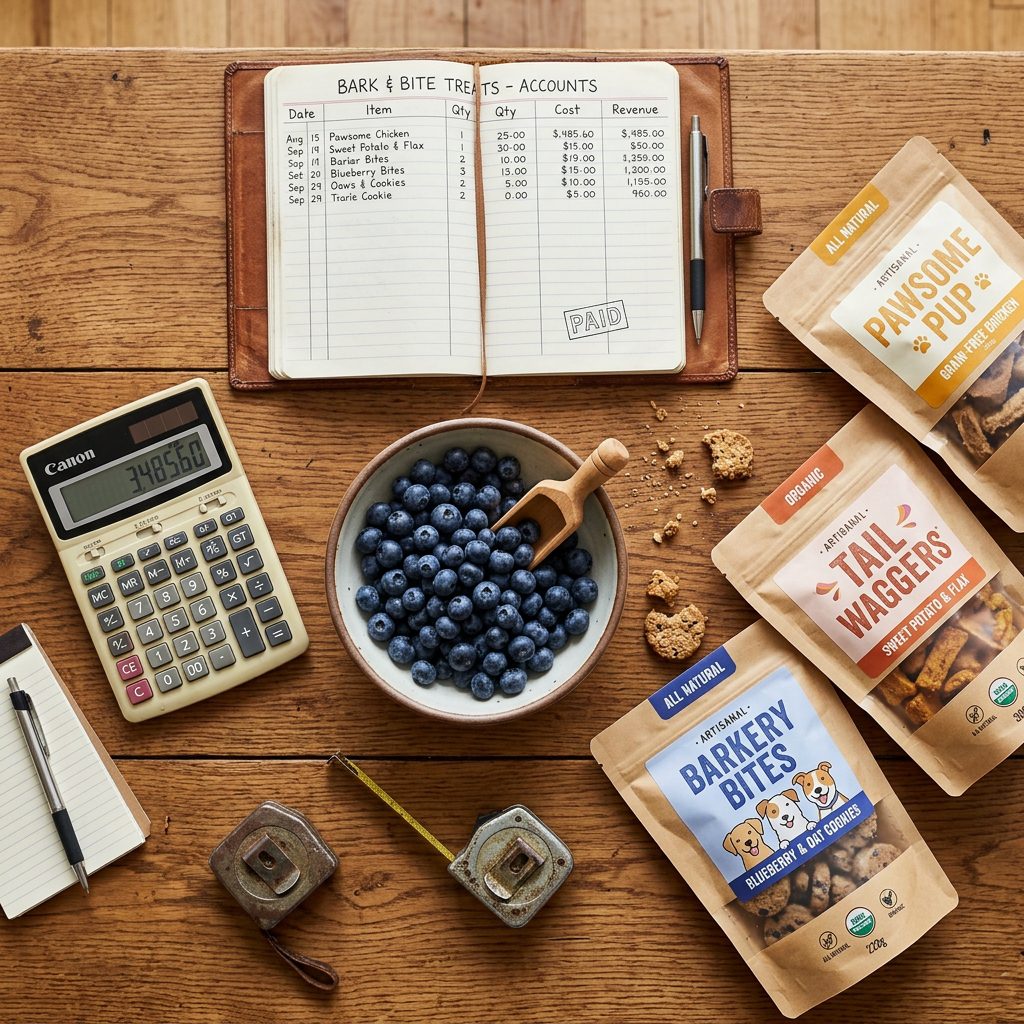
Don’t Work for Free
One of the biggest mistakes DIYers make is underpricing. You aren’t just paying for the meat and flour; you’re paying for your time, electricity, packaging, and the ‘marketing’ you do. If you don’t bake in a healthy margin, your business will die before it starts.
| Expense Category | Estimated Cost (Per 5oz Bag) | Notes |
|---|---|---|
| Ingredients (Premium) | $1.80 | Sourced at retail prices; lower if wholesale. |
| Packaging & Labeling | $0.65 | High-quality gusseted bags + stickers. |
| Labor (Your Time) | $2.00 | Calculated at $20/hr for batch cooking. |
| Total COGS | $4.45 | Cost of Goods Sold. |
| Wholesale Price | $7.50 | What you charge the boutique. |
| MSRP (Retail) | $12.99 | What the customer pays at the shop. |
In this scenario, you are making $3.05 profit per bag on wholesale orders. If you sell 100 bags a month to three different shops, that’s nearly $1,000 in monthly side-hustle profit. As you scale and buy ingredients in bulk, your COGS will drop, and your margins will soar.
Scaling Up: Batch Cooking and Shelf-Life Hacks
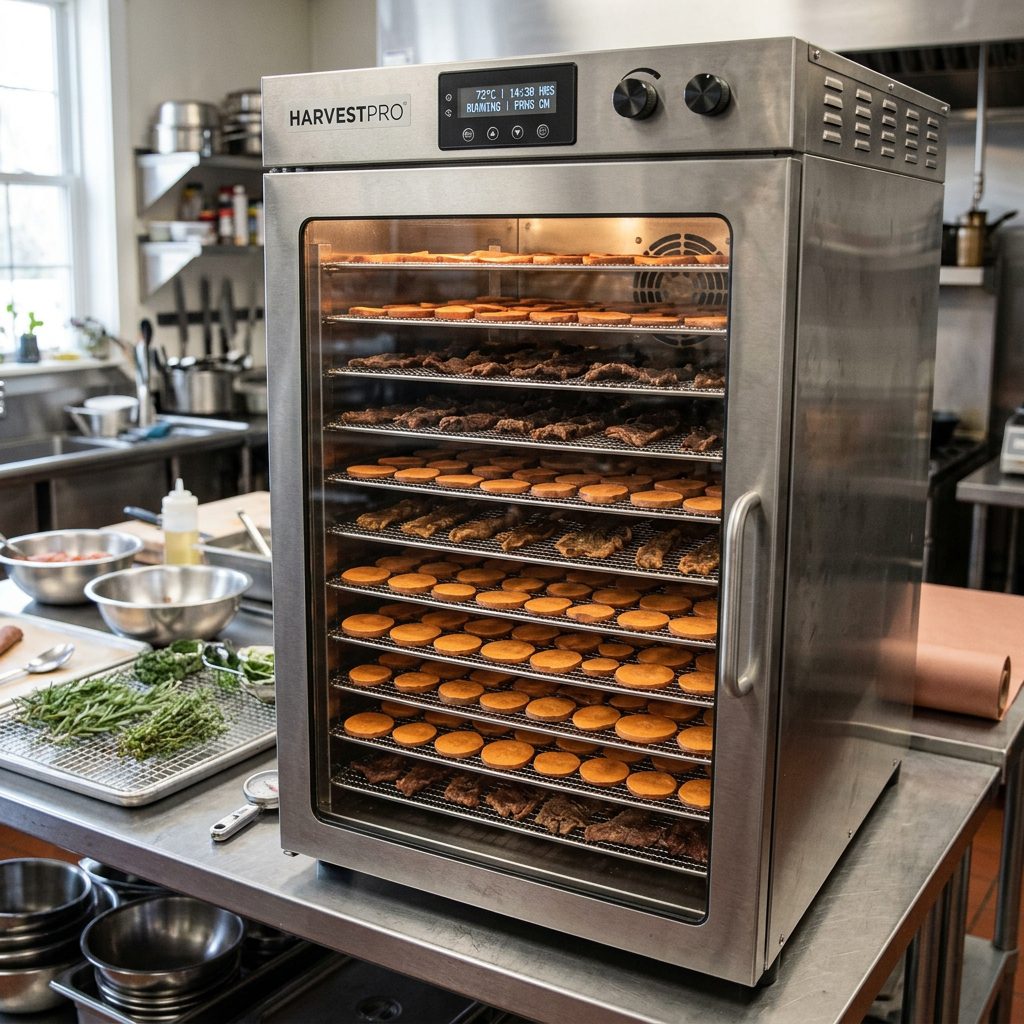
Efficiency is Your Best Friend
To make this viable, you can’t be baking one tray at a time. You need to master the art of batch cooking. Invest in a high-quality dehydrator or a convection oven that can handle multiple racks. Dehydration is the ‘hacker’s choice’ for shelf life because it removes moisture—the primary cause of mold—without needing heavy chemical preservatives.
- Natural Preservatives: Use Vitamin E (Mixed Tocopherols) or Buffered Vinegar to extend shelf life naturally.
- Moisture Testing: Use ‘Oxygen Absorber’ packets in your packaging to keep treats crisp and fresh for up to 6 months.
- Freezer Stash: You can bake in massive batches and freeze the finished product. Just ensure they reach room temperature before bagging to avoid condensation.
Remember, the goal is to spend 20% of your time baking and 80% of your time growing the brand. Automate your kitchen processes so you can focus on getting into the next ten boutiques.
Conclusion
The Hacker’s Final Word
Getting your homemade treats into local vets and boutiques isn’t about luck; it’s about professionalism and nutritional superiority. By focusing on high-value ‘Hero’ ingredients, mastering your legal requirements, and presenting a brand that looks as good as it tastes, you are positioning yourself as a leader in the local pet community. Remember, every bag you sell is a dog that isn’t eating mystery fillers and artificial junk. You’re not just a baker; you’re a canine health advocate. Now, get into that kitchen, fire up the oven, and let’s start hacking the pet industry one treat at a time!