The Foolproof Guide to Shipping Homemade Dog Treats Without Them Breaking
Hey there, savvy dog owners! You have spent hours in the kitchen meticulously sourcing the best organic ingredients, avoiding those nasty commercial fillers like corn gluten meal and synthetic dyes, and baking the ultimate batch of homemade dog treats. But here is the heartbreaking reality: if you do not know how to pack them properly, your beautiful, nutrient-dense creations are going to arrive at their destination looking like a bag of expensive, dusty breadcrumbs.
SAFETY DISCLAIMER: Before we dive into the logistics, remember that while I am your dedicated Canine Nutrition Hacker, I am not a veterinarian. If you are baking for dogs with specific allergies or sensitive stomachs, always cross-check your ingredients. Furthermore, homemade treats lack commercial chemical preservatives like BHA or ethoxyquin (which we despise anyway). If you do not follow the strict drying and packing steps below, you risk dangerous mold growth, which is highly toxic to dogs. Always prioritize safety over aesthetics!
I have learned this the hard way. I used to toss my meticulously crafted sweet potato and venison biscuits into a standard zip-top bag, throw them in a flimsy padded mailer, and hope for the best. The result? Total devastation. My friends’ dogs still ate the crumbs off the floor, but as someone who takes immense pride in canine culinary arts, it was a massive fail. Today, we are going full forensic on the shipping process. We are going to engineer your treats for transit, calculate the real costs of packaging, and ensure that every single biscuit arrives intact, fresh, and ready for a tail wag. Let us get to work and hack this process.
Engineering the Perfect Travel-Ready Treat (The Bake)
The secret to shipping dog treats does not start with the cardboard box; it starts right in your mixing bowl. You simply cannot ship a soft, chewy, moisture-rich treat through standard mail without heavy-duty commercial refrigeration and next-day air (which will cost you an absolute fortune). We need to bake for maximum durability without sacrificing nutritional value.
The Moisture Enemy
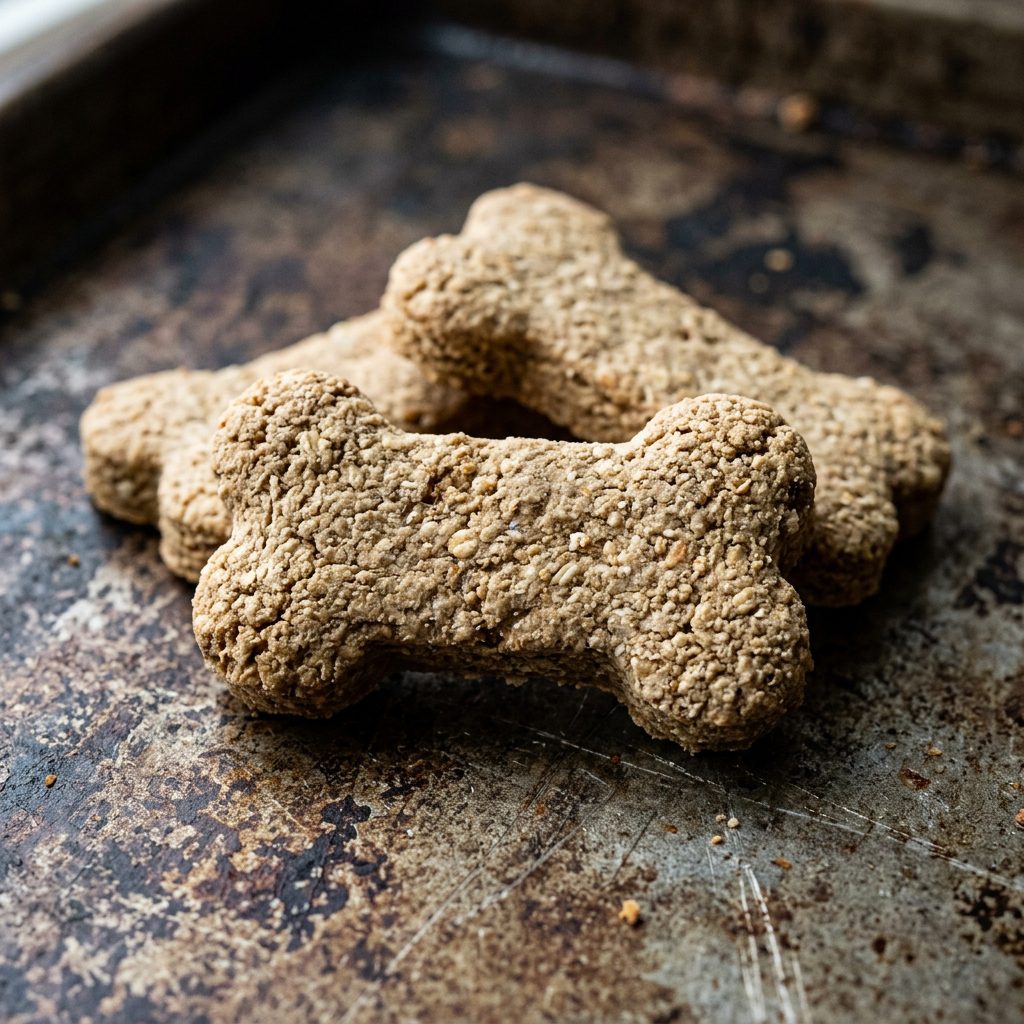
Moisture is the ultimate enemy of both structural integrity and shelf life. When you are formulating a recipe for shipping across the country, you must focus on ingredients that bind tightly and dry out completely. Forget about soft meatball-style training treats or anything requiring high amounts of fresh meat. We are aiming for the classic, rock-hard biscuit that can withstand the postal service’s worst abuse.
The Safe Chef Actionable Recipe Ratios
If you want a foolproof, nutrient-dense base that ships like a brick but digests beautifully for sensitive stomachs, use this golden ratio:
- 2 Parts Dense Flour: Oat flour or brown rice flour work best. They lack the highly inflammatory gluten found in cheap wheat fillers, yet they provide excellent structural support for the biscuit.
- 1 Part Binder: Pure, unsweetened pumpkin puree or mashed sweet potato. (Always check your labels with forensic precision to ensure zero xylitol or added sugars!). Pumpkin is a hero ingredient for digestion.
- 0.5 Parts Healthy Fat: Natural peanut butter (again, strictly xylitol-free) or coconut oil. This adds high-value flavor without adding excess water to the dough.
The Hacker Tip for Baking: Once your treats are baked until golden brown (usually 25-30 minutes at 350 degrees Fahrenheit), do not take them out! Turn the oven off, crack the door slightly, and leave them in there for another two to three hours. This acts as a makeshift dehydrator, pulling out the residual core moisture that causes treats to snap in transit.
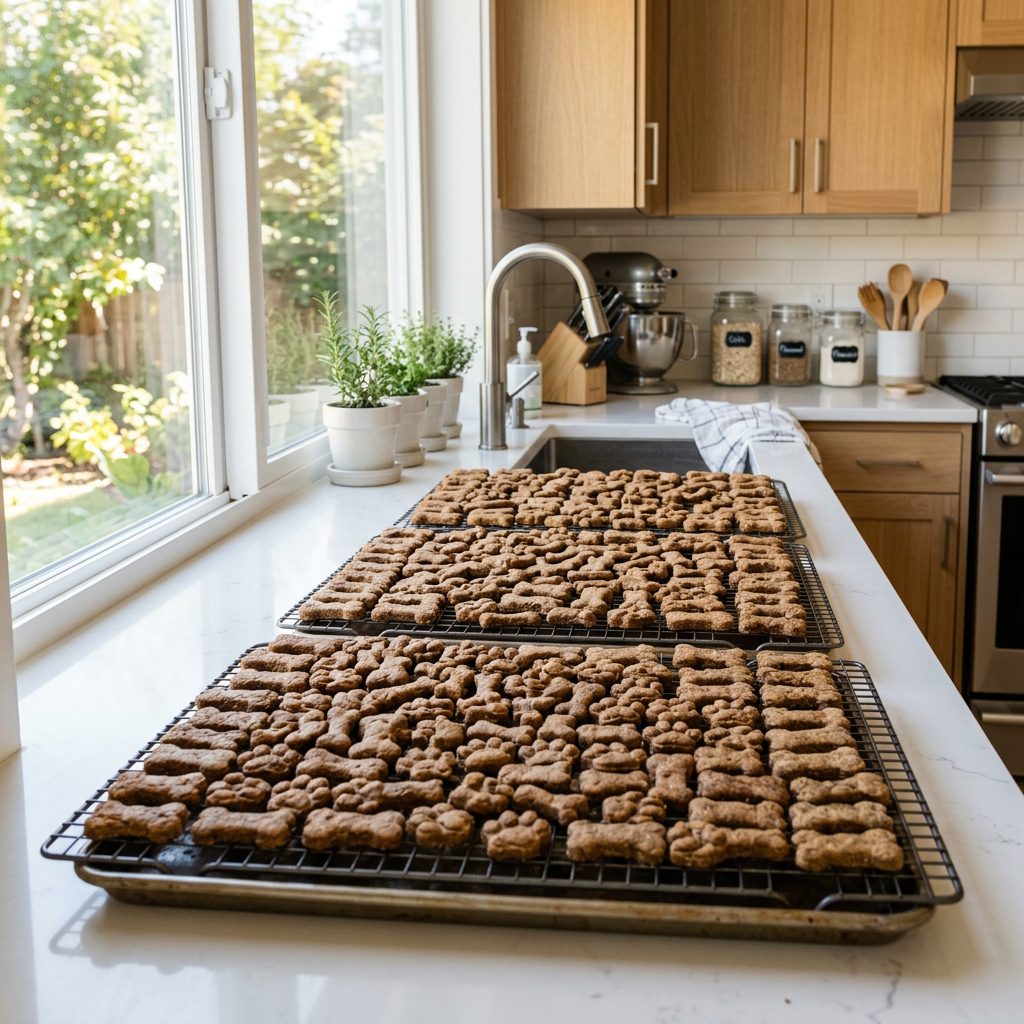
The Curing Process: Your Secret Weapon Against Mold
Listen closely, because this is where 90% of amateur dog bakers completely ruin their product. You pull the treats out of the oven, they feel hard to the touch, and you immediately toss them into a plastic bag to keep them fresh. Stop right there! This is a catastrophic mistake.
Insider Secret: Even if a treat feels rock hard on the outside, there is microscopic moisture trapped in the center. If you seal it in an airtight container while even slightly warm, that moisture migrates to the surface, creates condensation, and breeds lethal mold within 48 hours.
You must implement a strict curing process. Transfer your newly dehydrated treats to a wire cooling rack. Do not stack them on top of each other; they need 360-degree airflow to cure properly. Leave them out in a cool, dry room for a minimum of 24 hours. Yes, a full day. If you live in a humid climate, point a small oscillating fan directly at the rack to keep the air moving. By the end of the curing process, the treat should have absolutely zero give. If you try to break it in half with your hands, it should produce a loud, sharp snap, not a dull thud. This structural rigidity is your first line of defense against the brutal tumbling of the postal system.
The Packaging Arsenal (Real Cost Breakdown)
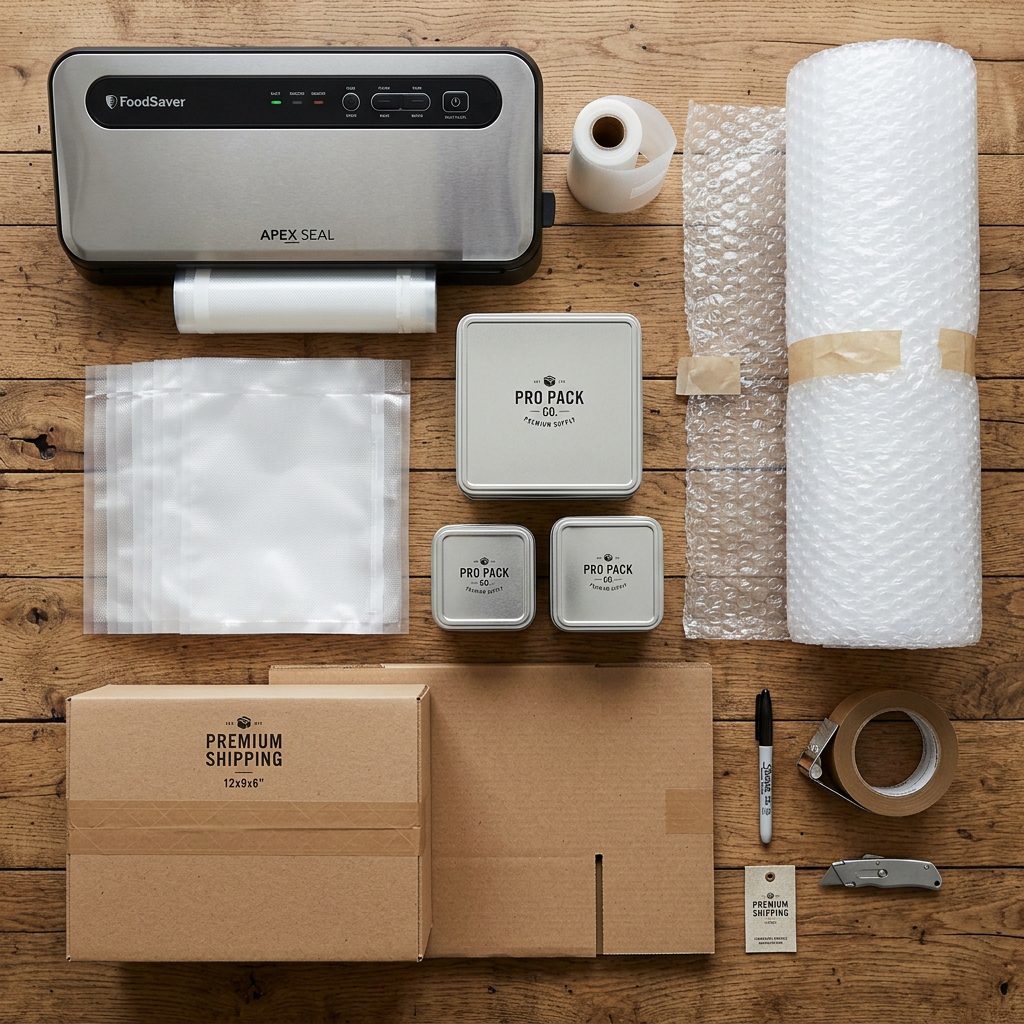
Now that we have baked an indestructible treat, let us talk about the fortress that will protect it. You might be tempted to save a few pennies by using cheap sandwich bags and reused, deflated bubble mailers. Let us look at the actual math, because cheaping out on packaging usually results in lost product, wasted premium ingredients, and highly disappointed dogs.
Packaging Materials Compared
| Packaging Method | Cost Per Shipment | Breakage Risk | Verdict |
|---|---|---|---|
| Loose Ziploc + Padded Mailer | $0.45 | Extreme (90% Crumbs) | A complete waste of your time and organic ingredients. Do not do this. |
| Basic Tupperware + Standard Box | $2.10 | Moderate (30% Breakage) | Better, but treats still rattle around inside the hard plastic, causing edge chipping. |
| Vacuum Sealed Bag + Rigid Tin | $3.50 | Low (5% Breakage) | The Hacker Choice. Immobilizes treats entirely and locks in freshness. |
| Shrink Wrap + Corrugated Box + Crinkle Paper | $2.80 | Very Low (2% Breakage) | Excellent for bulk shipping, highly professional presentation, and maximum shock absorption. |
As you can clearly see, investing an extra two to three dollars in proper packaging saves you from throwing away ten dollars worth of premium, filler-free ingredients. Vacuum sealing is the absolute gold standard in the homemade treat game. By pulling all the air out of the bag, you essentially turn a loose pile of treats into a single, solid brick. They cannot rub against each other, which completely eliminates friction-based crumbling. If you do not own a vacuum sealer, tightly wrapping them in cling wrap to create a solid bundle is your next best option.
The Layer-by-Layer Packing Masterclass
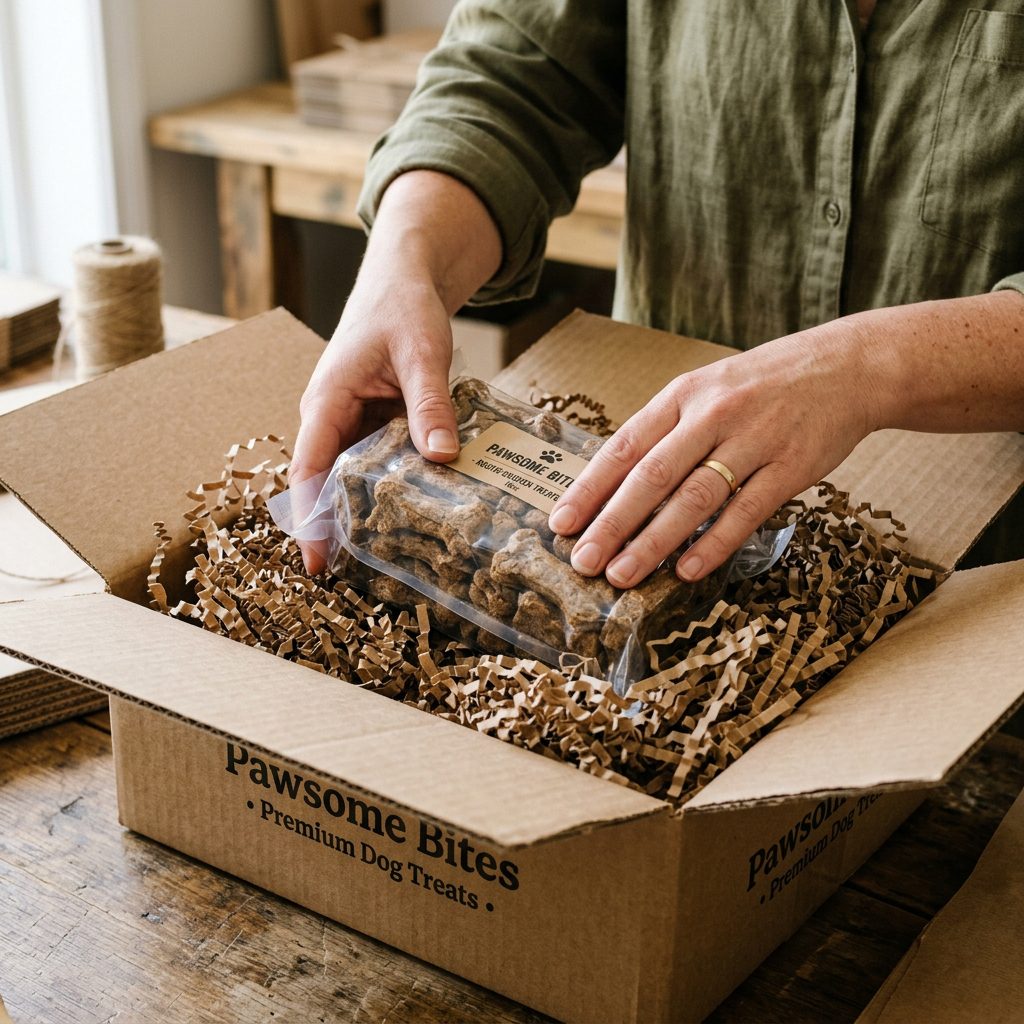
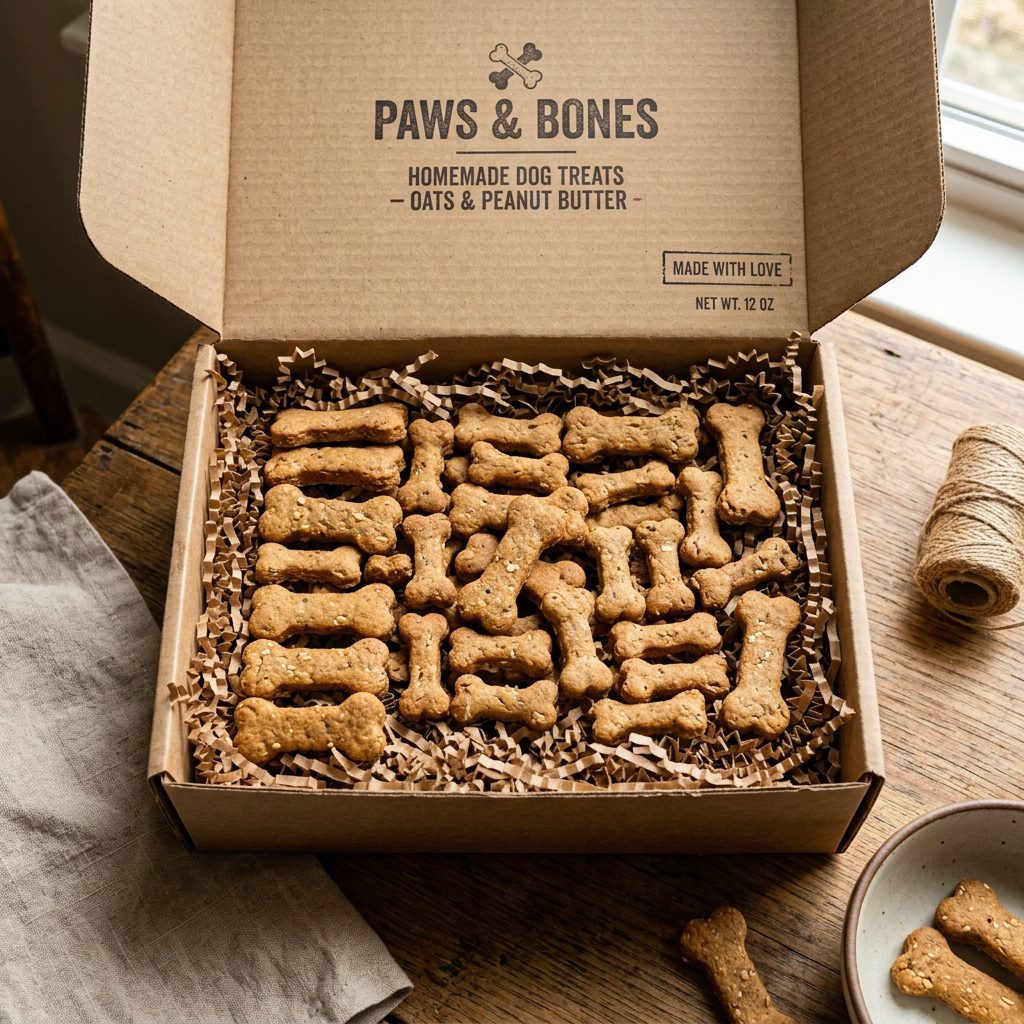
Let us get our hands dirty and pack this box like professionals. You will need your vacuum-sealed brick of treats, food-grade tissue paper, natural crinkle paper (always avoid dyed paper if possible, just in case a dog accidentally ingests a piece), and a heavy-duty corrugated shipping box.
- The Base Layer: Take your corrugated box and fill the bottom two inches with tightly packed crinkle paper. Do not just sprinkle it lightly; pack it down firmly with your hands to create a dense, springy shock absorber.
- The Inner Fortress: Wrap your vacuum-sealed brick of treats in two layers of food-grade tissue paper. This adds a layer of elegance to the unboxing experience, but more importantly, it provides slight friction against the crinkle paper, preventing the heavy bag from sliding around during transit.
- The Nest: Place the wrapped treats directly into the center of the box. They should be suspended; they must not touch the bottom or the sides of the cardboard box at any point.
- The Fill: Stuff crinkle paper down all four sides of the treats. Push it down firmly into the corners. Then, overfill the top of the box slightly with even more crinkle paper.
- The Compression Test: When you close the flaps of the box, you should feel slight resistance. The flaps should actively compress the crinkle paper down. Tape the box shut using heavy-duty, reinforced packing tape (not cheap Scotch tape, and definitely not masking tape).
The Ultimate Shake Test
Here is the moment of truth. Pick up your sealed box and shake it violently. Yes, really shake it hard. If you hear or feel absolutely anything moving inside, you have failed the test. Open the box, add more crinkle paper, and try again. Movement equals momentum, and momentum equals broken treats. Do not rely on ‘Fragile’ stickers; sorting machines cannot read them. Rely on your packing skills.
Carrier Hacks and Shipping Logistics

You have baked a rock-solid biscuit and built an impenetrable fortress. Now, you have to hand your baby over to the postal service. This is where savvy dog owners outsmart the logistics system to ensure peak freshness.
Speed is Non-Negotiable
Even with thorough dehydration and vacuum sealing, homemade treats lack synthetic chemical preservatives. Therefore, they are still on a ticking clock. Never use economy ground shipping that takes 7 to 10 days. Always opt for 2 to 3 day priority shipping. The extra couple of dollars is a mandatory insurance policy on your hard work and expensive ingredients.
Weathering the Storm
Always check the weather at your destination before printing a label. If you are shipping from snowy New York to sweltering Arizona in August, your package is going to sit in the back of a baking-hot delivery truck that can easily reach 130 degrees Fahrenheit. Extreme heat accelerates oil rancidity. If you are shipping to a hot climate, consider adding a food-safe oxygen absorber packet inside your vacuum seal bag before sealing it. This removes the residual oxygen required for spoilage bacteria to thrive in warm environments.
The Monday Rule
Never, ever ship on a Thursday or Friday. If there is even a slight delay, your beautifully packed treats are going to sit in a non-climate-controlled warehouse over the entire weekend. Always drop your packages off on a Monday or Tuesday morning. This guarantees they will be in constant transit and delivered before the weekend halts the logistics chain.
Conclusion
Shipping homemade dog treats does not have to end in a frustrating box of expensive dust. By stepping up your game and acting like a true Canine Nutrition Hacker, you can ensure your pups—and your friends’ pups—get the premium, unadulterated nutrition they deserve, exactly as you baked it. Remember, it all comes down to controlling moisture in the bake, enforcing a strict curing period, investing in rigid packaging, and completely immobilizing the treats for transit. Do not let the postal service ruin your culinary masterpieces. Get into the kitchen, follow these foolproof steps, and start shipping those healthy, filler-free treats with absolute confidence!