Stop Using Cream Cheese! This 3-Ingredient Dog Royal Icing Hardens Shiny in Minutes!
Welcome to the Future of Homemade Dog Treats
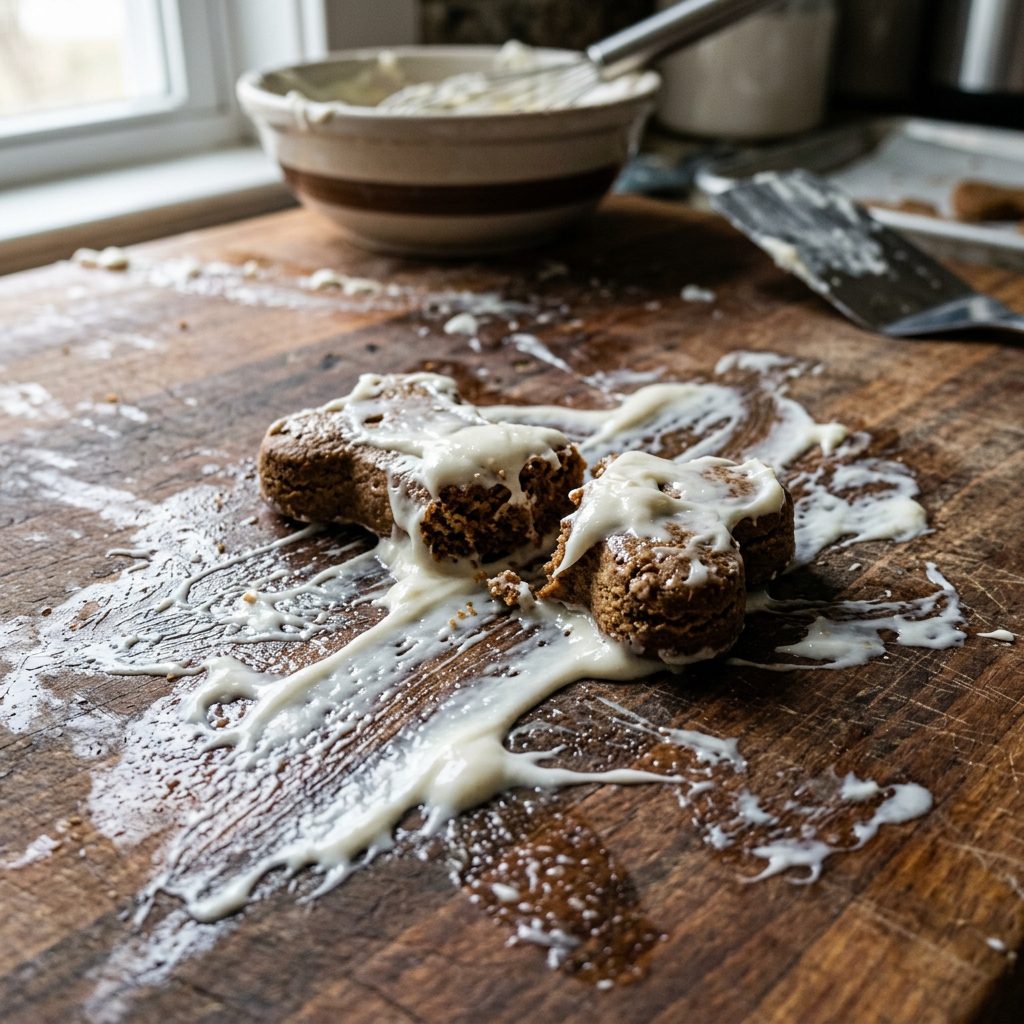
Hey there, fellow dog lovers and kitchen hackers! The Canine Nutrition Hacker here, and today we are tackling one of the most frustrating, messy, and downright annoying problems in the world of homemade dog treats: the icing. Picture this: You have just spent your entire Sunday afternoon baking a beautiful batch of bone-shaped cookies for your furry best friend’s birthday. You whip up a traditional dog-safe frosting using cream cheese, peanut butter, or Greek yogurt. You painstakingly decorate each cookie, and they look absolutely Instagram-worthy. But then, disaster strikes. You leave them on the counter, and within an hour, the icing has melted into a sticky, gooey puddle. You try to stack them in a treat jar, and they smear together into an unrecognizable blob. You put them in the fridge, and the cookies get soggy. Sound familiar? We have all been there. The traditional ingredients we use for dog treats are packed with moisture and fats that simply refuse to set at room temperature.
But what if I told you there is a better way? What if you could create a flawless, bakery-quality royal icing that hardens completely dry to the touch in minutes, shines like a freshly waxed car, and is 100% safe for your dog? No more sticky fingers, no more ruined birthday photos, and absolutely no need for refrigeration. Today, I am exposing the insider secrets of gourmet dog bakeries. We are going to ditch the dairy, drop the messy fats, and mix up a simple, brilliant 3-ingredient dog royal icing that will revolutionize how you make pet treats forever.
Safety Disclaimer: Before we dive headfirst into the mixing bowl, let’s get our facts straight. I am a savvy dog owner and a relentless nutrition hacker, but I am not a veterinarian. While this icing is crafted from safe, easily digestible ingredients, it is still a treat. Treats and toppers should never make up more than 10% of your dog’s daily caloric intake. If your dog has a history of pancreatitis, severe allergies, or specific dietary restrictions, always consult your trusted vet before introducing new foods. Now that we have the serious stuff out of the way, let’s roll up our sleeves and start hacking your dog’s dessert!
The Sticky Truth About Traditional Dog Icing
Let’s play forensic scientist for a minute and analyze why your current dog treat icing is failing you. Most homemade dog frosting recipes rely heavily on three main culprits: cream cheese, peanut butter, and yogurt. While these ingredients are undeniably delicious and generally safe for dogs in moderation, they are absolute nightmares from a structural baking perspective.
The Fat and Moisture Problem
Cream cheese and peanut butter are predominantly made of fat. Fat does not evaporate, and it does not harden at room temperature unless it is a highly saturated fat like coconut oil (which comes with its own set of melting issues the second your kitchen gets warm). When you smear cream cheese on a dog biscuit, the moisture from the cheese slowly seeps into the baked good, making the cookie soft and crumbly. Meanwhile, the fat sits on top, remaining perpetually sticky. Greek yogurt has a similar issue; it is packed with water. When you use it as an icing, you are essentially painting your hard-earned, perfectly baked treats with flavored water. The result? A soggy, messy disaster that requires constant refrigeration.
Hacker Tip: Gourmet dog bakeries never use standard cream cheese for intricate designs. They know that to get treats to stack in bags and sit on store shelves for weeks, they need an icing that relies on starches and proteins to create a dry, solid structure, not fats and dairy.
Furthermore, from a nutritional standpoint, slathering a treat in thick cream cheese adds unnecessary calories and dairy that many dogs struggle to digest. A significant percentage of adult dogs are lactose intolerant, meaning that standard cream cheese frosting could lead to an upset stomach, gas, or worse. By swapping to our 3-ingredient royal icing, you are not only saving your kitchen counters from a sticky mess, but you are also doing your dog’s digestive system a massive favor.
The 3-Ingredient Dog Royal Icing Recipe
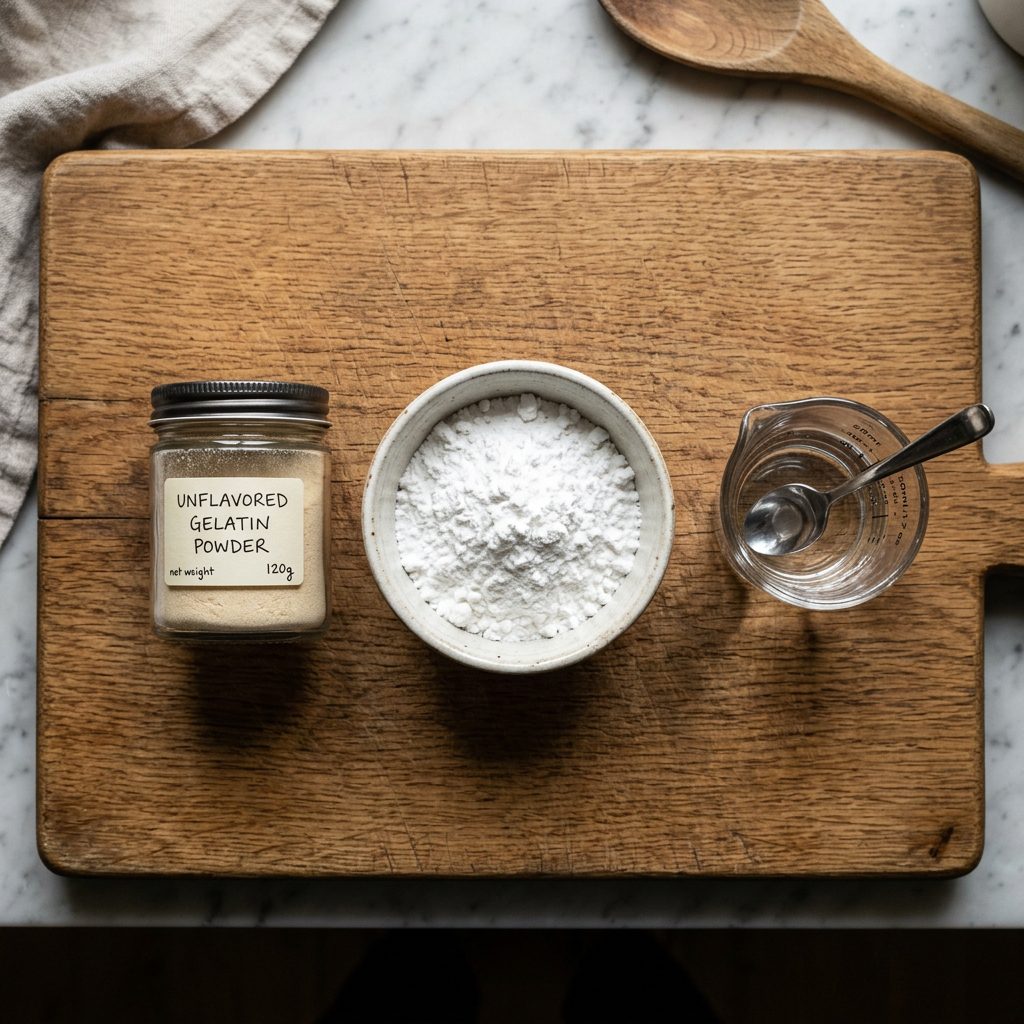
Are you ready for the secret? The ultimate dog-safe royal icing requires zero dairy, zero artificial sugars, and zero preservatives. It relies on a simple chemical reaction between a starch and a protein to create a hard, shiny shell. Here are the three magic ingredients:
- 1. Tapioca Starch (or Arrowroot Powder): This is our base. Unlike wheat flour, tapioca starch is grain-free, gluten-free, and dries incredibly smooth and bright white.
- 2. Unflavored Gelatin: This is the structural hero. Gelatin provides the protein bonds that allow the icing to harden and set quickly. Plus, it is phenomenal for your dog’s joint health, skin, and coat!
- 3. Warm Water: The activator that brings it all together.
Step-by-Step Instructions
- Prep the Gelatin: In a small bowl, sprinkle 1 teaspoon of unflavored gelatin powder over 1 tablespoon of warm water. Let it ‘bloom’ (absorb the water) for about 3 to 5 minutes. It will look like a thick, rubbery paste.
- Melt the Gelatin: Add 2 more tablespoons of boiling hot water to the bloomed gelatin. Stir vigorously until the gelatin is completely dissolved and the liquid is clear. This is crucial—if there are lumps, your icing will be lumpy!
- Add the Starch: Slowly whisk in 1/2 cup of tapioca starch. Stir continuously until the mixture is completely smooth and resembles the consistency of standard royal icing or Elmer’s glue.
- Adjust Consistency: If the icing is too thick, add warm water a few drops at a time. If it is too thin, add a pinch more tapioca starch.
- Decorate and Set: Dip your baked and cooled dog treats into the icing, or pipe it on using a piping bag. Place the treats on a piece of parchment paper. The icing will begin to set in minutes and will be completely hard and shiny within 2 to 4 hours at room temperature!
Nutritional Bonus: The Power of Gelatin
Let’s talk about why unflavored gelatin is a hacker’s dream ingredient. Gelatin is essentially cooked collagen. By using it in your icing, you are secretly supplementing your dog’s diet with amino acids that support cartilage, reduce joint inflammation, and strengthen their nails. It is a win-win: bakery-perfect treats that actually support your dog’s mobility!
The Real Cost: Why DIY Beats the Dog Bakery

As a savvy dog owner, you already know that the pet industry loves to upcharge for anything labeled ‘gourmet’ or ’boutique.’ Have you ever walked into a high-end dog bakery and looked at the price tags on those beautifully frosted cookies? You can easily pay upwards of four to five dollars for a single decorated biscuit! When you analyze the ingredients, you realize you are paying a massive premium for aesthetics.
Let’s break down the actual cost of making a dozen beautifully iced treats at home using our hacker recipe versus buying them from a boutique. By purchasing tapioca starch and unflavored gelatin in bulk, your cost per batch drops to literal pennies. You can create an entire platter of professional-looking treats for the price of one store-bought cookie.
| Expense Category | Gourmet Dog Bakery (Per Dozen) | Homemade Hacker Icing (Per Dozen) |
|---|---|---|
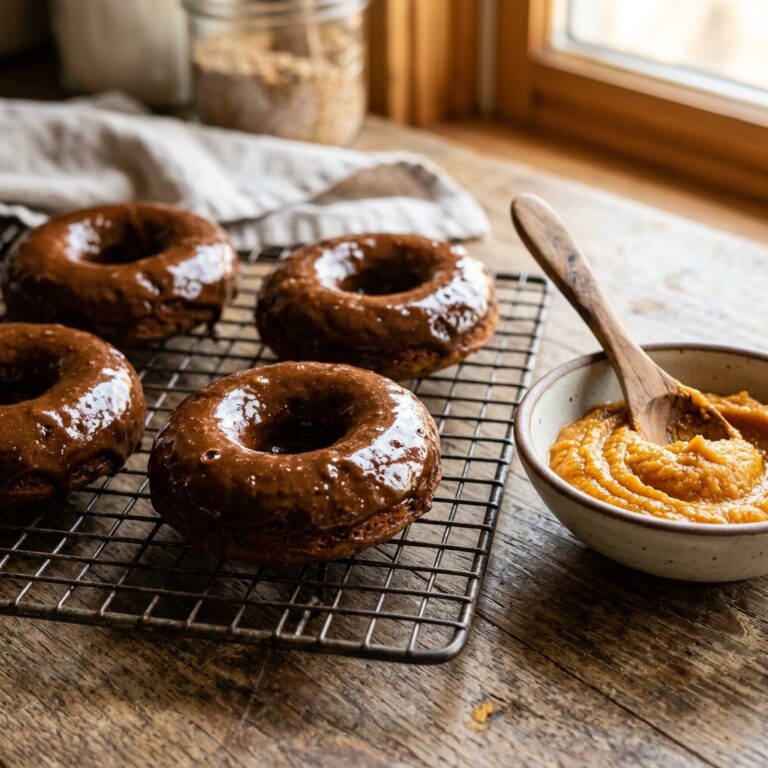
| Treat Base (The Cookie) | Included in total | $1.50 (Oats, Pumpkin, Peanut Butter) |
| Icing Ingredients | Included in total | $0.45 (Tapioca & Gelatin) |
| Labor / Convenience Fee | $25.00+ | $0.00 (Fun weekend project!) |
| Total Estimated Cost | $30.00 – $45.00 | $1.95 |
By switching to this 3-ingredient royal icing, you are saving over $30.00 per dozen treats. That is money you can put toward high-quality puzzle toys, premium protein sources for their main meals, or your emergency vet fund. Plus, you have the absolute peace of mind knowing exactly what went into the icing. No hidden preservatives, no artificial stabilizers, just pure, simple ingredients.
Coloring Your Icing Like a Pro (Without Artificial Dyes)
Now that you have a brilliant white, hard-setting base, you are probably wondering how to make those fun, vibrant colors for birthdays and holidays. The pet industry often uses artificial colors like Red 40 or Yellow 5, which can cause allergic reactions or hyperactivity in some sensitive dogs. As nutrition hackers, we reject synthetic dyes. Instead, we look to nature’s pantry.
Nature’s Color Palette
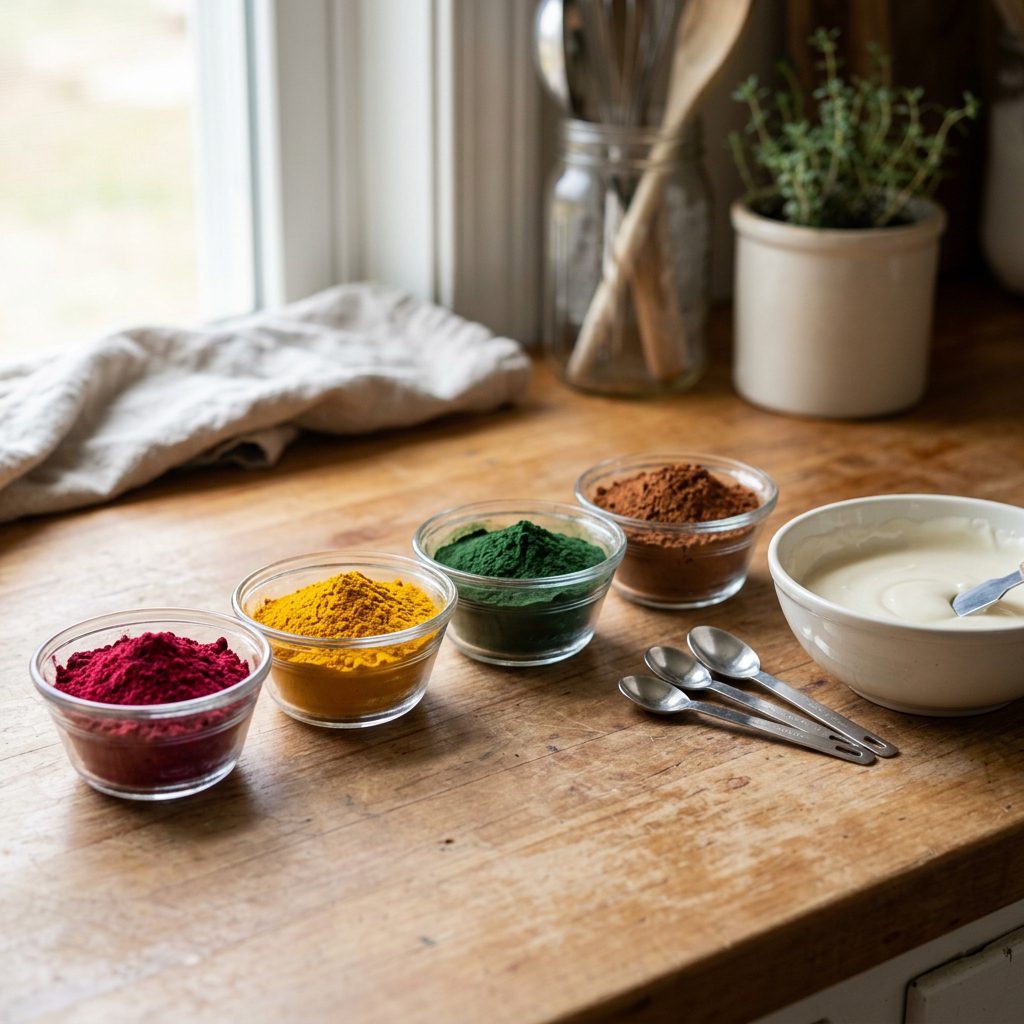
You can easily tint your 3-ingredient royal icing using vibrant, dog-safe superfoods. Not only do these powders add beautiful colors, but they also bring a boost of antioxidants and vitamins to the treat!
- Vibrant Pink/Red: Use Beet Root Powder. Just a tiny pinch will turn your icing a beautiful pastel pink, while a 1/4 teaspoon will yield a deep, rich red. Beets are great for your dog’s digestion and immune system.
- Sunny Yellow: Use Turmeric Powder. Turmeric contains curcumin, a powerful anti-inflammatory compound. Remember that a little goes a long way—too much can make the icing bitter.
- Earthy Green: Use Spirulina or Wheatgrass Powder. Spirulina is a nutrient-dense algae that supports immune health. It creates a gorgeous, vibrant green perfect for holiday trees or leaf designs.
- Deep Blue: Use Blue Spirulina. It is slightly more expensive, but it creates a stunning, vivid blue that looks incredibly professional.
- Chocolate Brown: Use Carob Powder. Never use cocoa or chocolate! Carob is a dog-safe alternative that looks and smells like chocolate but is completely free of theobromine.
Hacker Tip: When mixing in natural powders, add them to the warm water before you mix in the tapioca starch. This ensures the color dissolves evenly and prevents your icing from looking speckled or streaky.
With these natural dyes, you can pipe intricate designs, write your dog’s name, or create beautiful flooded cookies that rival any human bakery, all while keeping the treats 100% healthy and holistic.
Batch Cooking Tip: How to Store and Freeze Hardened Treats

One of the biggest advantages of this 3-ingredient royal icing is its incredible shelf stability. Because we have removed all the fat and dairy, you do not need to worry about the icing going rancid on the counter. Once the icing has completely dried and hardened (which usually takes a few hours depending on your home’s humidity), these treats act just like commercial biscuits.
Room Temperature Storage
If your base cookie is a dry, crunchy biscuit (like a baked oat and peanut butter bone), the frosted treats can be stored in an airtight container at room temperature for up to two weeks. I recommend layering them between sheets of parchment paper just to be safe, but you will be amazed at how they don’t stick to each other. You can finally toss them into a treat pouch for a training walk without pulling out a gooey mess!
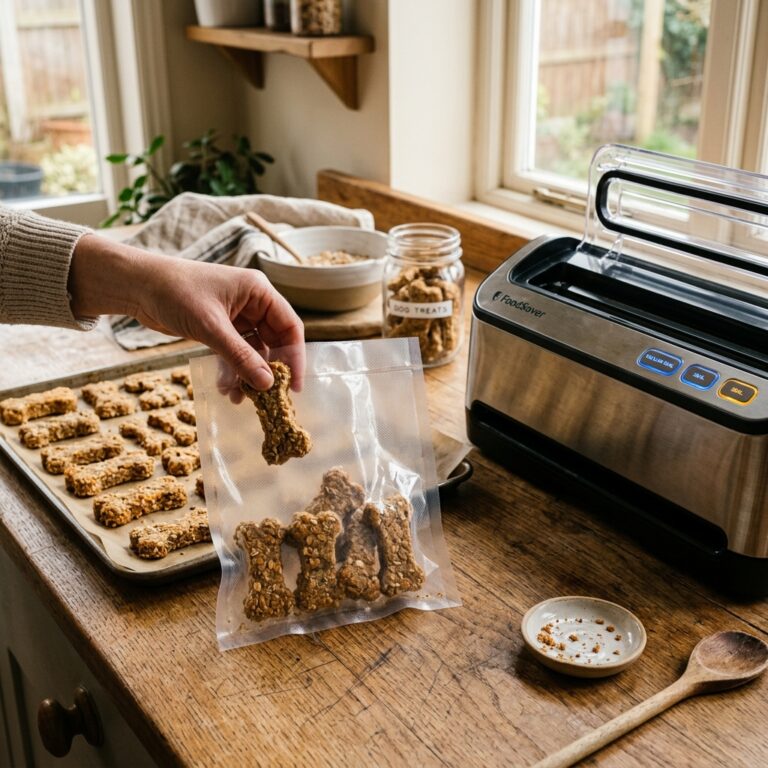
Freezing for the Future
Are you a batch-cooking fanatic? Me too. You can absolutely freeze these frosted treats! Place the completely dried, iced cookies in a single layer on a baking sheet and freeze them for an hour. Once they are frozen solid, transfer them to a heavy-duty freezer bag. They will last for up to 3 months. When you are ready to treat your pup, simply pull one out and let it thaw on the counter for 15 minutes. The icing will remain perfectly intact, shiny, and hard.
You can also prep the dry ingredients for the icing in advance. I like to mix my tapioca starch and powdered natural food colorings in small, airtight jars. When it is time to bake, all I have to do is bloom the gelatin, add the pre-mixed dry powders, and I have instant, healthy dog icing ready to go!
Conclusion
Time to Upgrade Your Dog’s Bakery Experience
There you have it—the ultimate insider hack for perfect, bakery-style dog treats. By swapping out messy, fat-laden cream cheese and watery yogurt for a simple blend of tapioca starch, unflavored gelatin, and water, you are elevating your homemade treat game to a professional level. Not only does this 3-ingredient royal icing dry hard and shiny in minutes, but it also saves you money, extends the shelf life of your treats, and provides a fantastic boost of joint-supporting collagen for your furry best friend.
As savvy dog owners, we have the power to control exactly what goes into our dogs’ bodies. We don’t have to settle for expensive boutique cookies filled with artificial dyes, and we don’t have to deal with the frustration of melted kitchen disasters. Armed with this recipe and some natural superfood colorings, you are ready to create stunning, healthy masterpieces that your dog will absolutely devour.
So, preheat those ovens, get out your favorite bone-shaped cookie cutters, and give this icing hack a try! I guarantee you will never look at cream cheese the same way again. Happy hacking, and bon appétit to your pups!