The Ultimate Freshness Hack: How to Vacuum Seal Homemade Dog Treats for a Massive 6-Month Shelf Life!
Hey there, savvy dog parents! Welcome back to the hacker’s kitchen. If you are anything like me, you have probably spent a Sunday afternoon lovingly baking a batch of nutrient-dense, single-ingredient treats for your furry best friend. You pull them out of the oven, your dog is doing the happy dance, and everything is perfect. But then, fast forward four days. You reach into the container on your counter, and there it is: that fuzzy, green enemy known as mold. Your hard work, your premium ingredients, and your money are headed straight for the trash. It is frustrating, right? The commercial pet food industry wants you to believe that the only way to get a long shelf life is to buy their overpriced bags filled with artificial preservatives, glycerin, and questionable mystery meats. But we know better. Today, I am going to share my absolute favorite insider secret: The Ultimate Freshness Hack. We are going to talk about how to vacuum seal your homemade dog treats to achieve a massive 6-month shelf life. SAFETY DISCLAIMER: I am a savvy dog owner and nutrition hacker, not a veterinarian. While homemade treats are incredible, they should never make up more than 10% of your dog’s daily caloric intake. Always consult with your holistic vet before making major dietary changes, and remember that DIY diets require specific nutrient balancing and supplements if used as full meals. But for treats? We are about to hack the system. By combining proper dehydration techniques with the magic of vacuum sealing, you can batch-cook healthy, filler-free snacks that last for months. Say goodbye to mold and hello to ultimate convenience!
The Dirty Secret of Commercial Treats vs. The Homemade Advantage
Exposing the Treat Aisle
Let us take a forensic look at the treats lining the shelves of your local big-box pet store. Have you ever read the back of those squishy, bacon-scented strips? The first five ingredients often read like a high school chemistry experiment. You will see things like corn gluten meal (a cheap, biologically inappropriate filler), propylene glycol (a moisture-retaining synthetic compound), and chemical preservatives like BHA and BHT, which have been linked to serious health issues in dogs. The pet food industry uses these ingredients for one reason: shelf stability. They want a product that can sit in a hot warehouse for two years without rotting. But your dog is paying the price with their health, and you are paying the price with your wallet.
Insider Secret: You are often paying upwards of $20 to $30 per pound for commercial treats that are mostly cheap grain fillers and sugar. You can make premium, single-protein treats at home for a fraction of the cost!
The Real Cost Breakdown
When you take control of your dog’s nutrition, the financial savings are staggering. Let us compare the cost of buying a premium commercial treat versus making and vacuum sealing your own at home. I calculated this based on feeding a 50lb dog a few high-value treats per day.
| Treat Type | Primary Ingredients | Preservatives | Cost Per Ounce | Shelf Life |
|---|---|---|---|---|
| Commercial “Premium” Jerky | Chicken, Soy Flour, Glycerin | BHA, Potassium Sorbate | $1.50 – $2.50 | 12-18 Months |
| DIY Homemade (No Hack) | 100% Real Beef Liver | None | $0.30 – $0.40 | 3-5 Days |
| DIY Homemade (Vacuum Sealed) | 100% Real Beef Liver | None (Oxygen Deprivation) | $0.30 – $0.40 | Up to 6 Months! |
As you can see, the vacuum sealing hack bridges the gap. You get the incredible, filler-free quality of homemade treats with the shelf life of a commercial product, all while saving a massive amount of money over the year.
The Safe Chef Guide: Prepping Treats for Vacuum Sealing
Moisture is the Enemy
Before we even touch the vacuum sealer, we need to talk about the science of food preservation. The reason your homemade treats go bad is due to a combination of oxygen and moisture, which creates the perfect breeding ground for bacteria and mold. A vacuum sealer removes the oxygen, but if you seal a moist treat, you are actually creating an anaerobic environment where dangerous bacteria (like botulism) can thrive. Therefore, the golden rule of this hack is: Your treats must be bone dry!
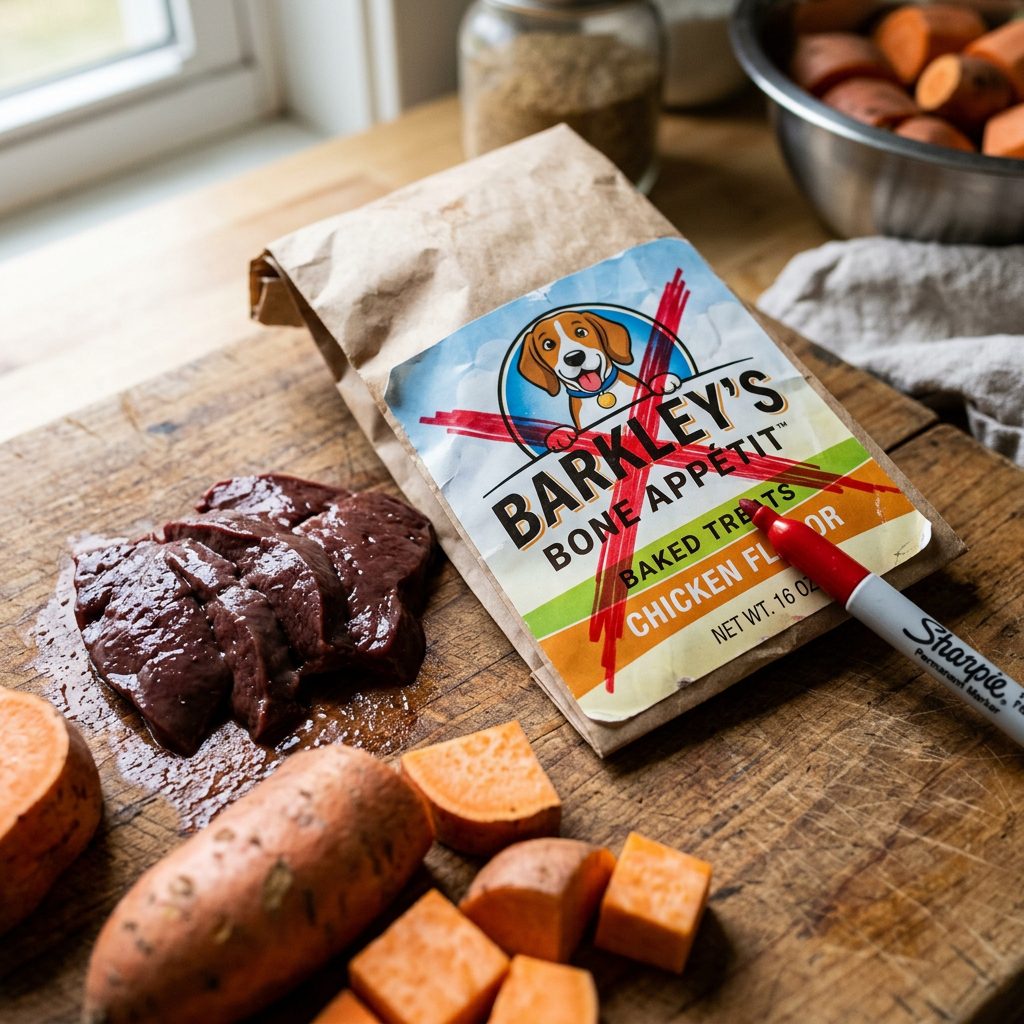
Actionable Recipe: Hacker’s High-Value Sweet Potato & Liver Crunchers
To ensure maximum shelf life, you need a recipe that dehydrates beautifully. Here is my go-to ratio: 60% lean protein, 40% healthy complex carb/binder. No added fats, as fat goes rancid quickly even when sealed.
- The Ingredients: 1 lb of lean beef liver (pureed), 1 cup of baked and mashed sweet potato (no skin), and 1.5 cups of oat flour (a great gluten-free binder).
- The Mix: Blend the liver into a liquid paste. Mix in the sweet potato and oat flour until you have a thick dough.
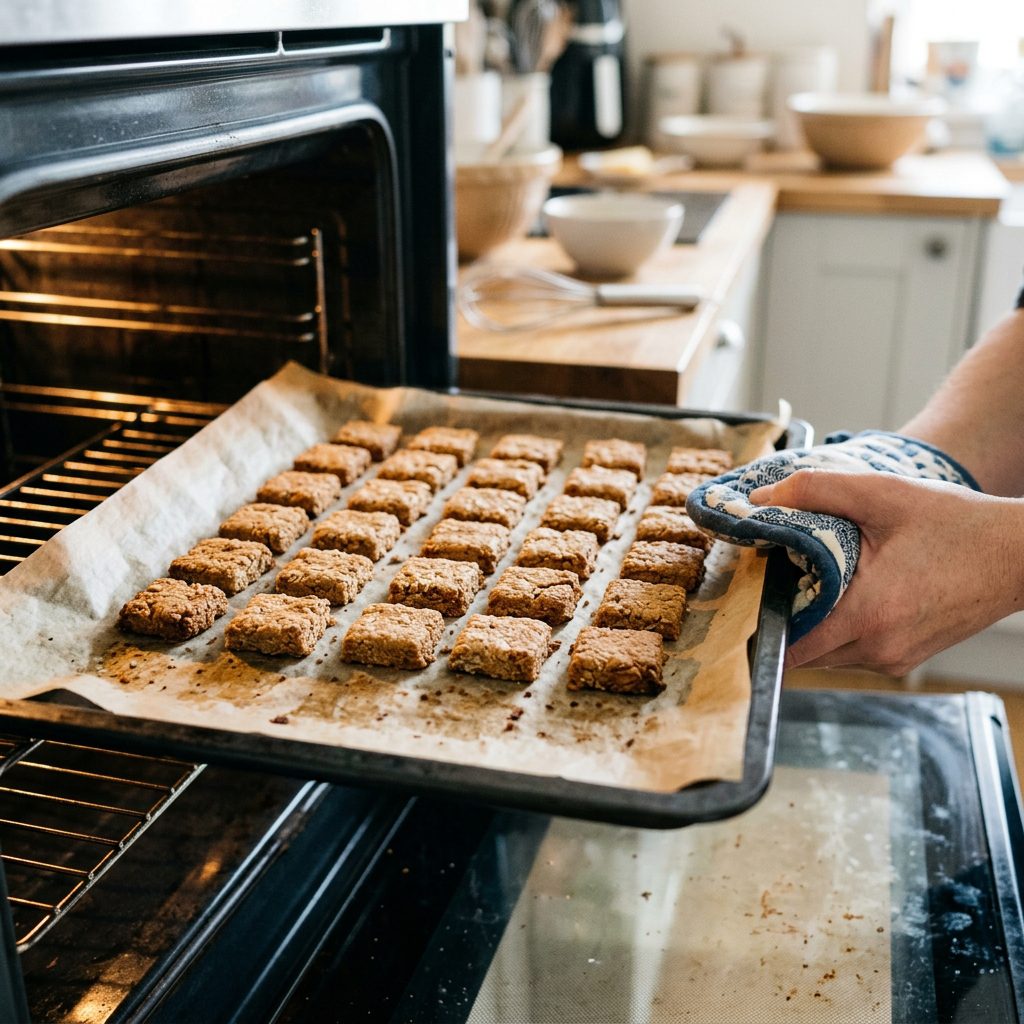
- The Bake: Spread the dough thin (about 1/4 inch thick) on a parchment-lined baking sheet. Score it into small squares with a pizza cutter. Bake at 325 degrees Fahrenheit for 30 minutes.
- The Dehydration Phase (CRITICAL STEP): Turn your oven down to its lowest setting (usually 150-170 degrees). Snap the treats apart along the score lines. Leave them in the warm oven with the door cracked open for another 2 to 3 hours. You want them to snap like a cracker, with zero squishiness left in the center.
Insider Secret: If you are unsure if they are dry enough, put a few in a sealed Ziploc bag overnight. If you see any condensation on the inside of the bag the next morning, they need more time in the oven!
The Ultimate Vacuum Sealing Protocol
Choosing Your Weapon
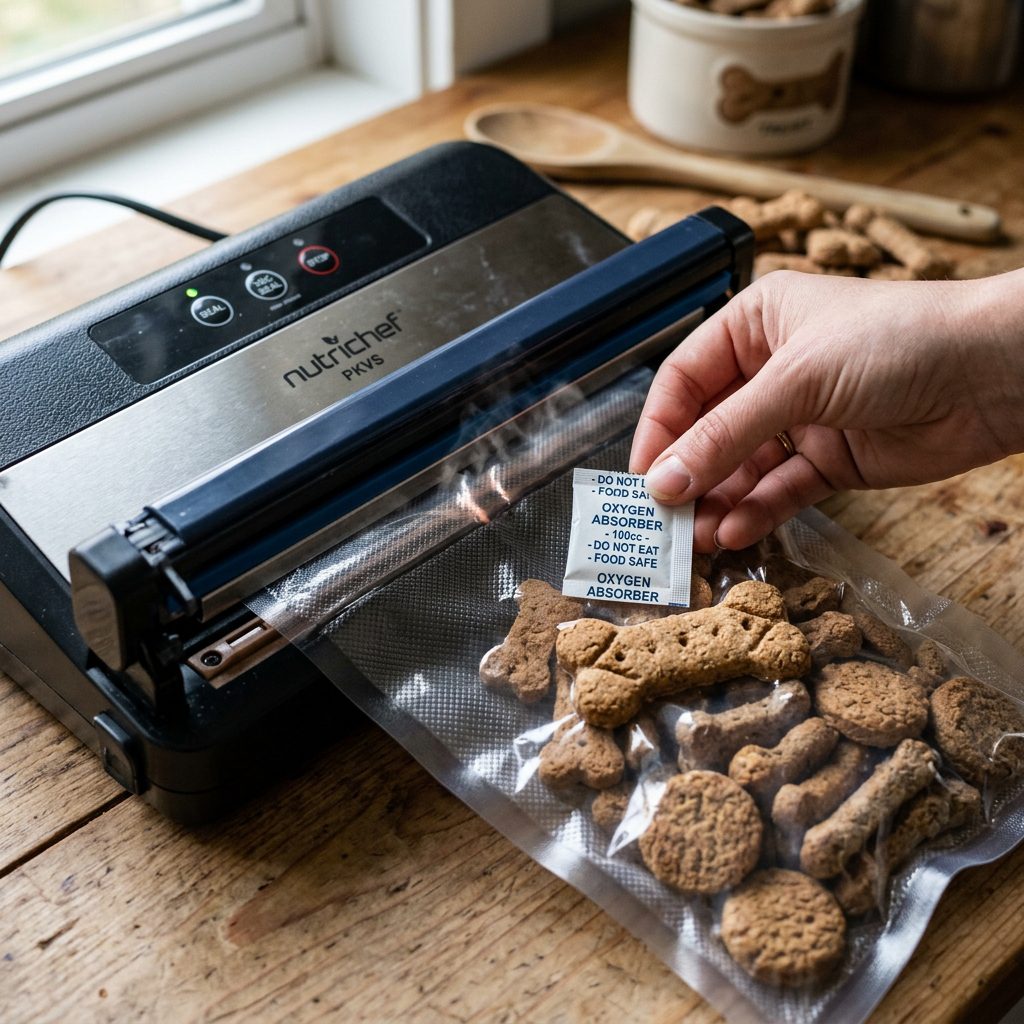
You do not need a $500 commercial chamber sealer to make this work. A standard, highly-rated suction vacuum sealer (like a FoodSaver or similar brand) works perfectly for dry treats. However, you must use high-quality, textured vacuum bags. Cheap bags will lose their seal over time, letting oxygen sneak back in and ruining your stash.
Step-by-Step Execution
Now that your treats are dehydrated and completely cooled to room temperature (never seal warm treats, as it causes condensation), it is time to execute the ultimate freshness hack.
- Step 1: Portion Control. Do not put all your treats in one giant bag. Vacuum seal them in small, one-week portion sizes. This way, you only open what you need, keeping the rest of your batch perfectly preserved.
- Step 2: The Oxygen Absorber Trick. For absolute peace of mind and maximum 6-month longevity, drop one food-grade oxygen absorber packet into the bag before sealing. This acts as a secondary defense, sucking up any microscopic oxygen molecules the machine might have missed.
- Step 3: The Double Seal. Place the open end of the bag into the vacuum channel. Hit the vacuum/seal button. Once the machine finishes its cycle and creates the heat seal, pull the bag out slightly and create a second heat seal about half an inch above the first one. This double-seal method ensures that even if one seal gets compromised in the freezer or pantry, the bag remains airtight.
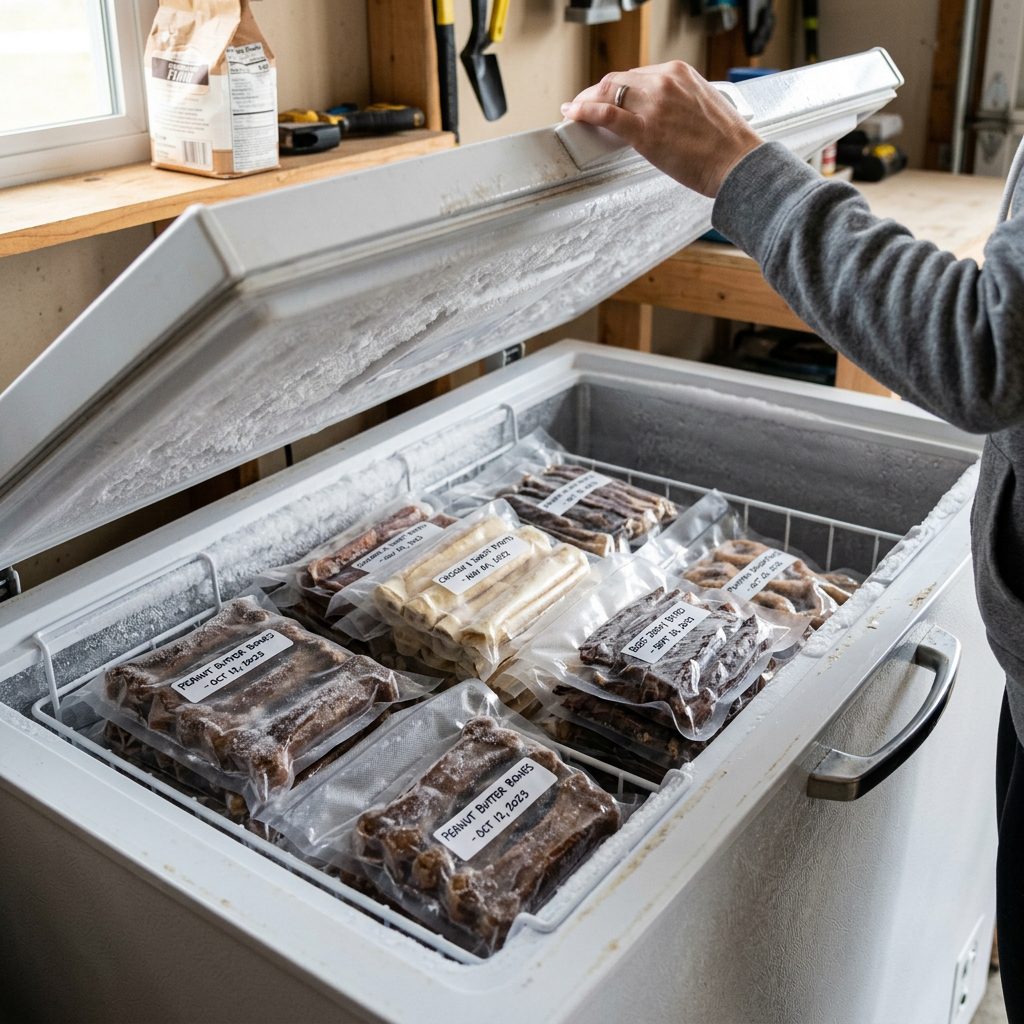
- Step 4: Label and Date. Always use a permanent marker to write the flavor and the date baked on the outside of the bag. You think you will remember, but three months from now, you will be guessing!
Batch Cooking Secrets and Storage Mastery
Freezer vs. Pantry Storage
Now that you have these beautiful, airtight bricks of homemade dog treats, where do you put them? The beauty of vacuum sealing completely dehydrated treats is that they are technically shelf-stable and can live in a cool, dark pantry for months. However, as a savvy nutrition hacker, I always take things one step further.
The Deep Freeze Advantage
If you want to absolutely guarantee a 6-month (or even up to a year) shelf life, throw those vacuum-sealed bags straight into the deep freezer. Because you removed all the moisture during the baking process, the treats will not suffer from freezer burn or change texture when thawed. When you are ready for a new batch, simply pull a bag out of the freezer, let it sit on the counter for an hour to come to room temperature, and snip it open. Your dog gets a fresh, preservative-free treat, and you get the satisfaction of knowing exactly what is going into their body.
Troubleshooting Common Issues
- Bag Punctures: If your treats have sharp edges (like dehydrated bone broth chips or certain jerkies), they can poke tiny holes in the vacuum bag as the air is sucked out. Hacker Fix: Wrap the treats in a standard paper towel before putting them in the vacuum bag. The paper towel softens the edges and allows the air to escape without puncturing the plastic.
- Loss of Vacuum: If you notice a bag has lost its tight, brick-like feel after a few weeks, the seal has failed. Do not panic. As long as the treats were fully dehydrated, they are likely still safe. Just move that bag to the front of the line and use those treats first.
By dedicating just one afternoon a month to batch cooking and vacuum sealing, you completely eliminate the need for expensive, chemical-laden commercial treats. You are taking back control of your dog’s health, optimizing your budget, and mastering the canine nutrition game.
Conclusion
There you have it, pack leaders! The ultimate freshness hack that will revolutionize the way you feed your dog. By combining the power of complete dehydration with the airtight magic of vacuum sealing, you are no longer chained to the pet store treat aisle. You can buy premium, human-grade proteins when they are on sale, batch-cook massive amounts of healthy treats, and store them safely for up to 6 months. Not only are you saving a ton of money—money that can be better spent on puzzle toys, adventures, or your dog’s savings fund—but you are also protecting your best friend from the toxic preservatives and cheap fillers that plague the commercial pet food industry. So dust off that vacuum sealer, preheat your oven, and start hacking your dog’s nutrition today. Your wallet will thank you, and your dog will absolutely love you for it. Stay savvy, keep reading those ingredient labels, and until next time, happy hacking!