Don’t Waste Your Discard! This Sourdough Dog Treat Recipe Is Making Dogs Go Crazy
Welcome back to the cutting board, savvy dog owners. If you are anything like the millions of people who took up sourdough baking, you probably have a jar of bubbling, fermented flour sitting in your fridge right now. And if you are following standard sourdough maintenance, you are probably throwing away half of it every time you feed your starter. Stop right there. As the Canine Nutrition Hacker, it physically pains me to see you scrape that liquid gold into the trash can.
You see, the commercial pet food industry wants you to spend $15 to $20 on boutique “gut health” treats that are packed with cheap fillers like cellulose powder (which is literally just wood pulp, by the way), corn gluten meal, and synthetic preservatives. Meanwhile, you have a natural, prebiotic-rich, easily digestible superfood sitting right in your kitchen. Today, we are going to upcycle that sourdough discard into a highly nutritious, filler-free dog treat that will make your dog go absolutely crazy while saving you a ton of cash.
SAFETY DISCLAIMER: I am a highly analytical, research-obsessed dog owner, not a veterinarian. This guide is meant for educational purposes. These treats are designed for supplemental feeding and high-value rewards, not as a replacement for a complete and balanced daily diet. Always consult with your holistic vet before introducing new foods, especially if your dog has a history of severe food allergies or pancreatitis.
Let’s dive into the forensic breakdown of why sourdough discard is a secret weapon for your dog’s digestion, and how we can turn it into the ultimate DIY treat.
Why Sourdough Discard is a Secret Superfood for Dogs
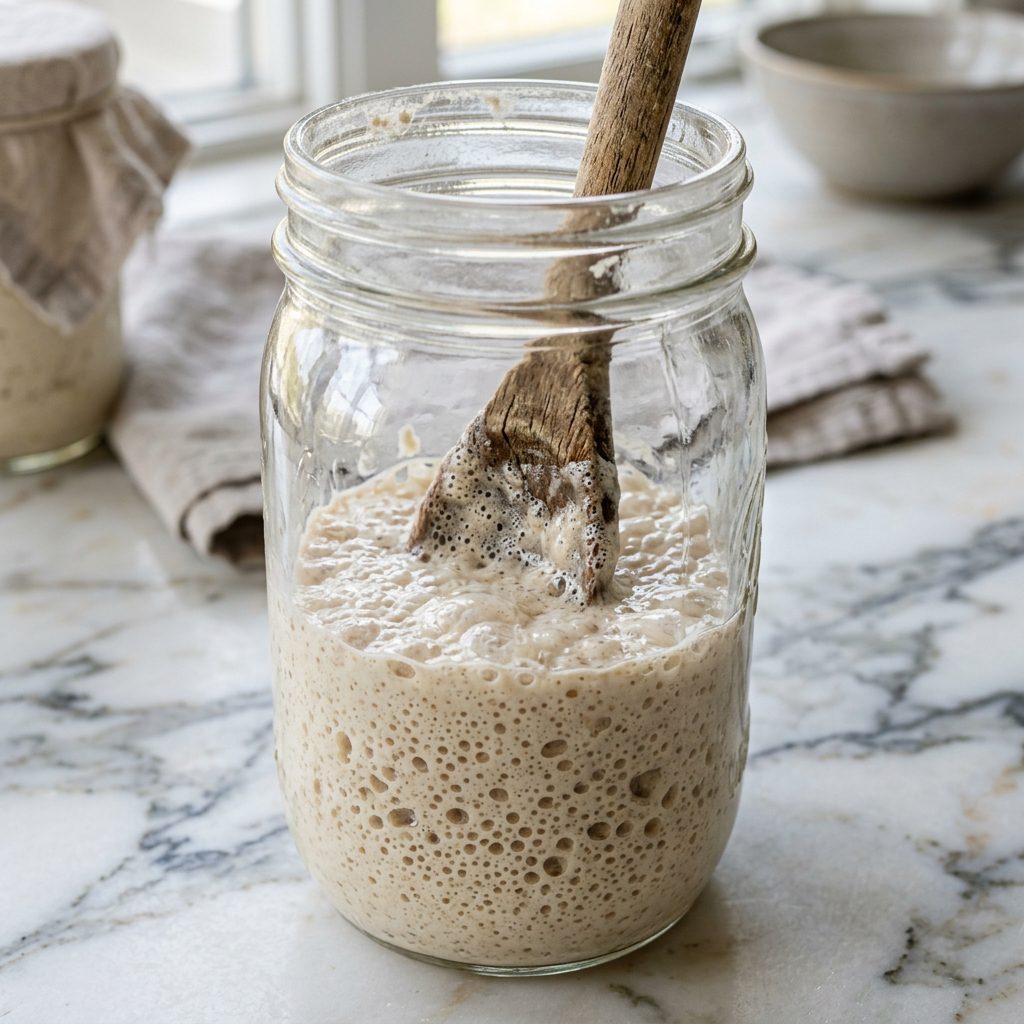
You might be wondering, “Is it actually safe to feed my dog fermented dough?” The answer is a resounding yes, provided it is baked. Raw dough of any kind is extremely dangerous for dogs because it continues to expand in their stomach and produces alcohol. But once baked, sourdough discard transforms from a potential hazard into a digestive powerhouse.
The Magic of Pre-Digestion
Dogs have a shorter digestive tract than humans, which means they sometimes struggle to break down complex carbohydrates. The fermentation process in a sourdough starter relies on wild yeast and lactic acid bacteria. These microorganisms essentially “pre-digest” the starches in the flour. They break down the complex carbohydrates into simpler, easily digestible sugars. For a dog with a sensitive stomach, this means their pancreas doesn’t have to work overtime to produce amylase to break down the treat.
Neutralizing Phytic Acid
Here is an insider secret most commercial dog food brands won’t tell you: standard grains contain something called phytic acid. Phytic acid is an anti-nutrient. It binds to essential minerals like zinc, iron, and calcium in your dog’s gut, preventing them from being absorbed. The long fermentation process of sourdough naturally neutralizes phytic acid. By using your discard, you are ensuring that the treats you bake actually allow your dog to absorb the nutrients you are feeding them, rather than blocking them.
Gut-Friendly Postbiotics
While the live probiotics in the starter are killed during the baking process, they leave behind incredibly valuable postbiotics and prebiotic fibers. These components feed the good bacteria already living in your dog’s microbiome. A healthy microbiome is linked to everything from a stronger immune system to reduced allergy symptoms and even better behavioral outcomes.
The “Filler-Free” Ingredient Breakdown
We don’t do mystery ingredients here. If you look at the back of a standard commercial dog treat bag, you will see a laundry list of unpronounceable chemicals, artificial dyes (Red 40, Yellow 5), and cheap binders like wheat gluten or soy flour. We are hacking the system by using only four whole-food ingredients. Let’s put them under the microscope.
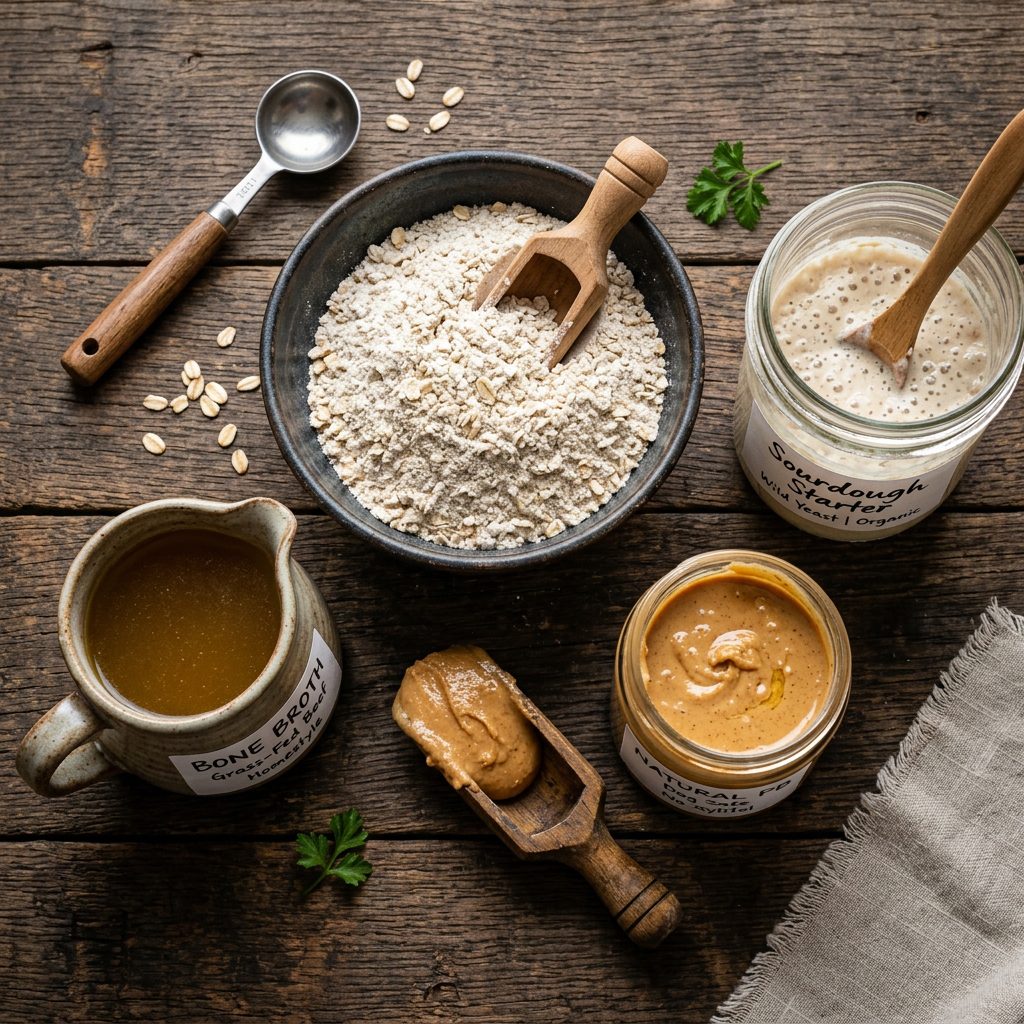
1. Sourdough Discard (The Binder & Gut Supporter)
Your discard acts as the primary binder for these treats, replacing the need for cheap, inflammatory starches like tapioca or potato starch. It brings that tangy flavor that dogs naturally gravitate toward, along with the fermented benefits we just discussed.
2. Organic Oat Flour (The Fiber Powerhouse)
Instead of using highly processed white flour, we are using oat flour. Oats are naturally gluten-free (make sure they are certified if your dog is highly sensitive) and are packed with beta-glucans. Beta-glucans are a type of soluble fiber that helps regulate blood sugar spikes and keeps your dog feeling full. Hacker Tip: Don’t buy expensive pre-milled oat flour. Just throw regular rolled oats into your blender or food processor and pulse until fine.
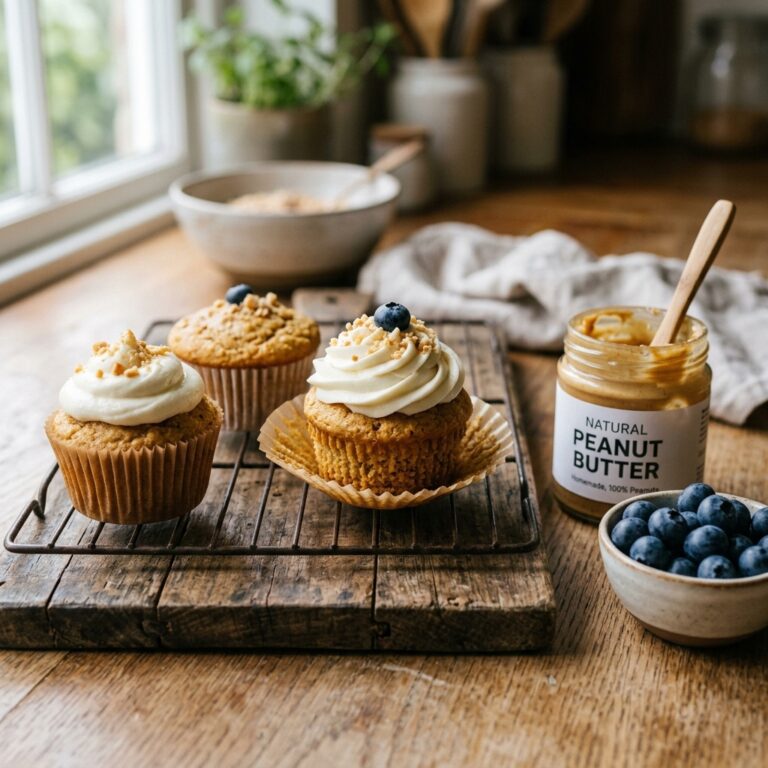
3. Natural Peanut Butter (The High-Value Fat)
Peanut butter provides healthy fats, vitamin E, and a flavor profile that makes dogs lose their minds. But here is the most critical warning of this entire article: You MUST check your peanut butter label for Xylitol (sometimes labeled as Birch Sugar). Xylitol is highly toxic to dogs and can cause a fatal drop in blood sugar within minutes. Use a peanut butter where the only ingredients are “Peanuts” and maybe a little “Salt.” No added sugars, no sugar alcohols.
4. Bone Broth (The Joint Supporter)
Instead of using plain water to bring the dough together, we are leveling up with bone broth. Bone broth is rich in naturally occurring collagen, glucosamine, and chondroitin, which are essential for maintaining healthy joints, especially in active or senior dogs. Make sure it is a dog-safe broth with absolutely no added onions or garlic.
The Real Cost Breakdown: DIY vs. Premium Store-Bought
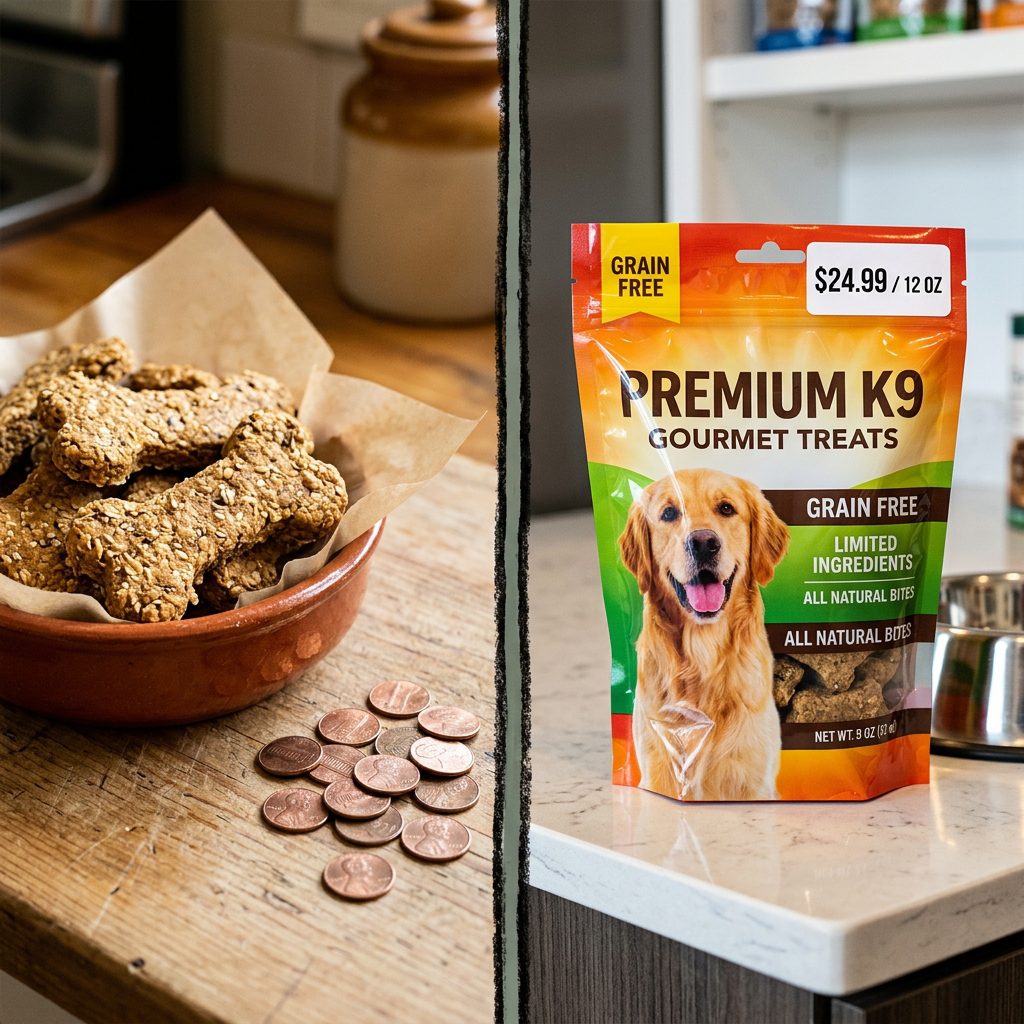
Let’s talk economics. The pet industry thrives on convenience, charging astronomical markups for “premium” treats. By making these at home, you are not only controlling the quality of the ingredients, but you are also saving a massive amount of money over the lifespan of your dog. Let’s look at the hard data for a standard batch of treats.
| Treat Type | Primary Binder/Filler | Gut Health Benefit | Approx. Cost Per Batch | The Hacker’s Verdict |
|---|---|---|---|---|
| Boutique “Probiotic” Treats | Tapioca Starch / Cellulose | Added synthetic probiotic sprays | $18.50 | Overpriced. You are paying for marketing and packaging. |
| Grocery Store Bargain Brand | Corn Gluten Meal / Soy | None (Often causes gas) | $5.00 | Cheap, but terrible for long-term health and digestion. |
| Sourdough Discard DIY Treats | Fermented Flour (No Fillers) | Natural Prebiotics / Postbiotics | $1.85 | The undisputed champion. Maximum nutrition, minimum cost. |
When you calculate this over a year, assuming you buy a bag of premium treats every two weeks, you are spending nearly $480 annually on treats alone. By utilizing the sourdough discard you were already going to throw away, your annual treat budget drops to roughly $48. That is over $400 in savings that you can redirect toward high-quality joint supplements, raw meaty bones, or your dog’s emergency vet fund.
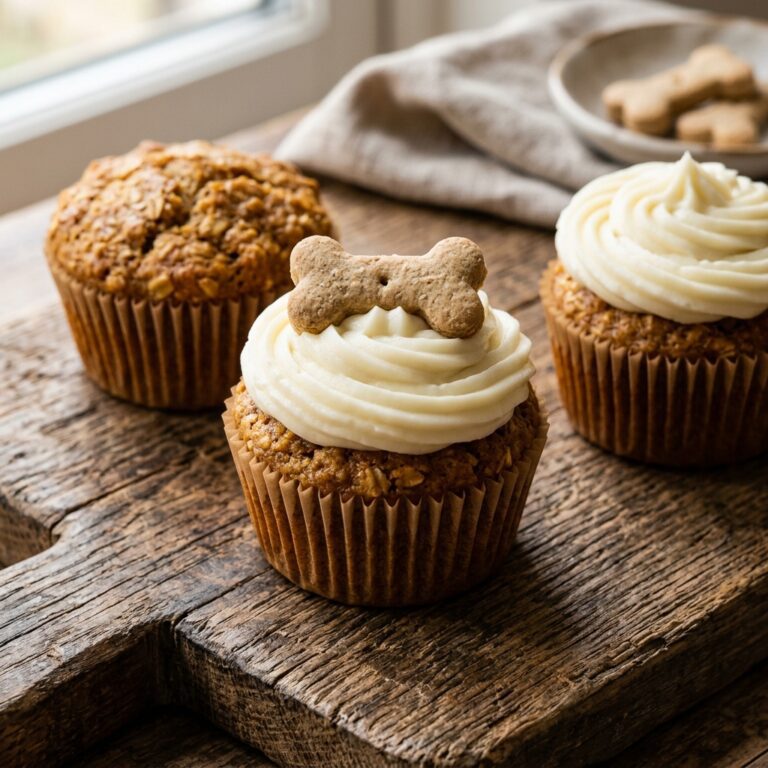
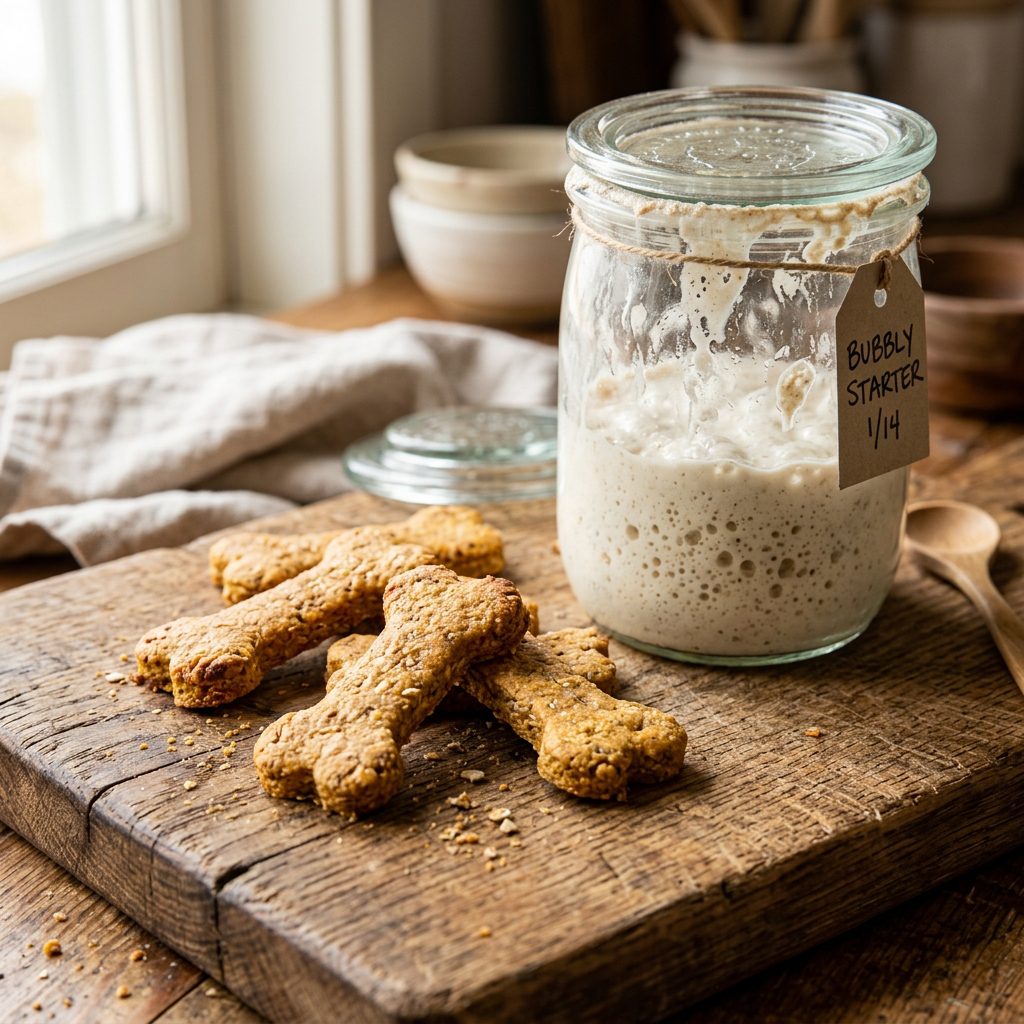
The Ultimate Sourdough Discard Dog Treat Recipe

Alright, it is time to put on your chef’s hat. This recipe yields a crunchy, biscuit-style treat. Crunchy treats are excellent for mechanically scraping plaque off your dog’s teeth as they chew. If you have a senior dog lacking teeth, I will include a modification in the next section.
The Exact Ratios
- 1 cup of unfed sourdough discard (room temperature is best)
- 1/2 cup of natural, Xylitol-free peanut butter
- 1/4 cup of dog-safe bone broth (or water if you are in a pinch)
- 2 to 2.5 cups of oat flour (plus extra for dusting your counter)
Step-by-Step Execution
- Preheat and Prep: Preheat your oven to 350 degrees Fahrenheit (175 degrees Celsius). Line two large baking sheets with parchment paper. Do not use non-stick sprays, as many contain propellants that aren’t ideal for dogs.
- The Wet Mix: In a large glass mixing bowl, combine your sourdough discard, natural peanut butter, and bone broth. Whisk them together until you have a smooth, caramel-colored liquid. The acid in the sourdough will react slightly with the fats in the peanut butter, creating a cohesive emulsion.
- Incorporate the Dry: Gradually add your oat flour, half a cup at a time. Stir with a sturdy wooden spoon until the dough becomes too thick to stir.
- Knead the Dough: Turn the dough out onto a surface lightly dusted with oat flour. Knead it gently with your hands for about 2 minutes. You want a dough that feels like Play-Doh—pliable, not sticky. If it’s too sticky, add a tablespoon of oat flour. If it’s cracking, add a splash of bone broth.
- Roll and Cut: Roll the dough out to about 1/4-inch thickness. Use your favorite bone-shaped cookie cutter (or just use a pizza cutter to make small squares if you want to save time). Place the cutouts on your prepared baking sheets. They don’t expand much, so you can place them fairly close together.
- The Bake: Bake for 25 to 30 minutes. You want them to be golden brown and hard to the touch.
- The Dehydration Hack: Turn the oven off, crack the oven door slightly, and leave the treats inside as the oven cools down. This draws out the remaining moisture, ensuring a rock-hard, crunchy treat that will last for weeks without molding.
Batch Cooking & Storage Hacks
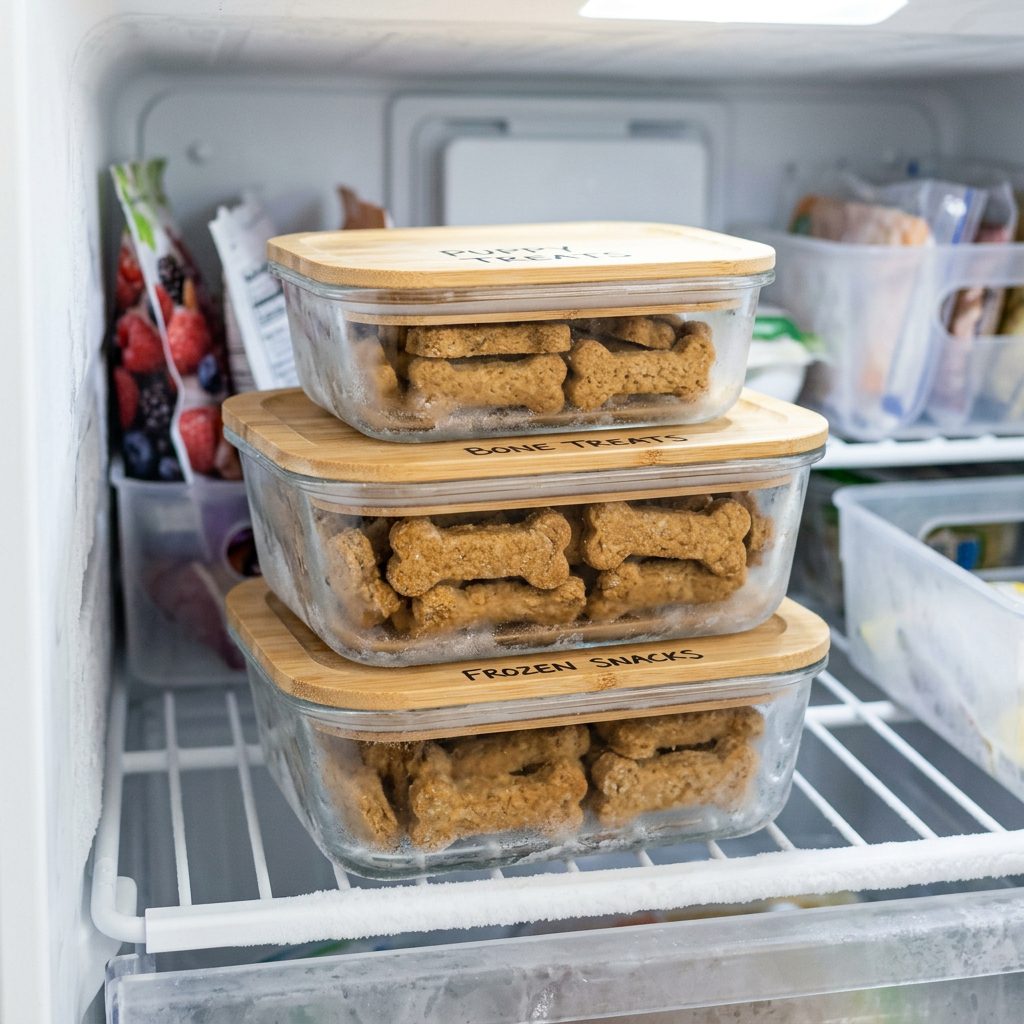
As savvy owners, we don’t want to be baking every single week. Efficiency is key. Because these treats do not contain synthetic preservatives like BHA or BHT (which are known endocrine disruptors found in commercial foods), moisture is your enemy when it comes to storage.
Proper Storage Timelines
- Pantry/Countertop: If you utilized the dehydration hack in the recipe and the treats are completely moisture-free, they will last in an airtight glass jar on the counter for up to 3 weeks.
- Refrigerator: If you prefer a slightly softer bake for a senior dog, you must store them in the fridge. They will last about 2 weeks.
- Freezer: These treats freeze beautifully. Stored in a vacuum-sealed bag or a heavy-duty freezer container, they will remain fresh for up to 6 months.
Hacker Tip: Don’t want to bake all the dough at once? Roll the raw dough into a log, wrap it tightly in parchment paper, and freeze it. When you need fresh treats, simply pull the log out, slice off 1/4-inch discs with a sharp knife, and bake them straight from frozen (just add 3-5 minutes to the baking time). It’s the ultimate time-saver.
Customizing for Allergies & Picky Eaters
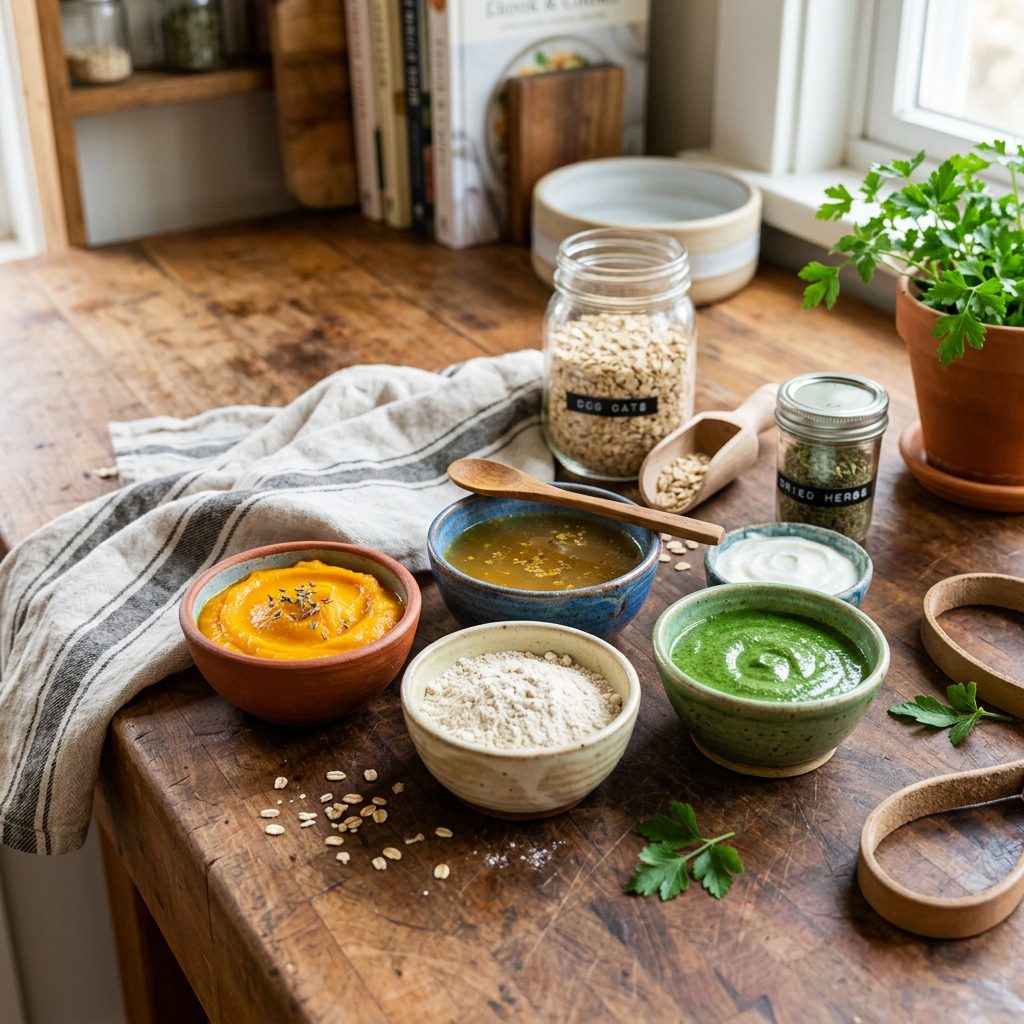
One of the greatest advantages of making your own dog food and treats is the ability to pivot based on your dog’s unique biological needs. If your dog has specific food intolerances, this recipe is highly adaptable.
The Peanut Butter Swap (For Pancreatitis or Fat Sensitivity)
If your dog is prone to pancreatitis or needs a low-fat diet, peanut butter is too heavy. Swap the 1/2 cup of peanut butter for 1/2 cup of 100% pure pumpkin puree (not pumpkin pie filling). Pumpkin is incredibly low in fat and packed with soluble fiber, which is fantastic for firming up stools and soothing the digestive tract. You may need to add slightly more oat flour as pumpkin holds more water than peanut butter.
The Oat Flour Swap (For Grain Allergies)
While oats are generally well-tolerated, some dogs have strict grain allergies. You can substitute the oat flour with coconut flour or chickpea flour. Warning: Coconut flour is highly absorbent. If you use coconut flour, you will only need about 1/2 to 3/4 of a cup total, and you may need to increase the bone broth to prevent the dough from crumbling into dust.
The High-Value Add-Ins
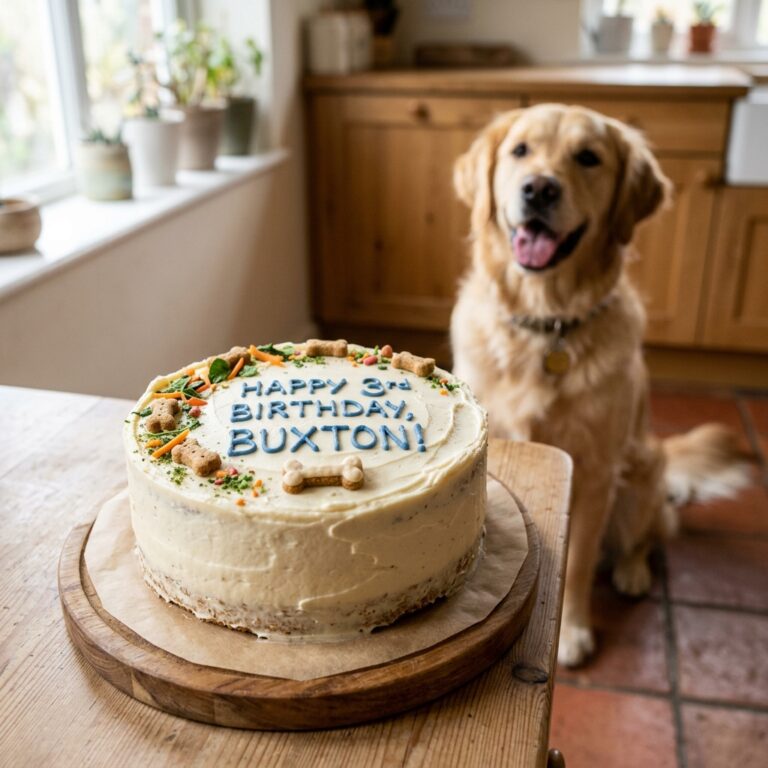
If you are using these treats for intensive training sessions (like recall or reactivity training), you need to increase their “smell value.” Try folding in 1/4 cup of finely grated parmesan cheese, or a tablespoon of dried, crushed sardines. The potent smell will lock your dog’s focus onto you, making training sessions significantly more effective.
Conclusion
There you have it—the ultimate insider hack for your sourdough discard. By taking a few minutes out of your week to bake these treats, you are actively choosing to protect your dog’s gut health, avoiding toxic commercial fillers, and saving a significant amount of money in the process. You are taking control of your dog’s nutrition, and that is exactly what being a savvy dog owner is all about.
Next time you feed your starter, don’t reach for the trash can. Reach for the mixing bowl. Your dog’s tail-wags and healthy digestion will be all the proof you need that this recipe is a game-changer. Have you tried making these yet? Did you use peanut butter or pumpkin? Let me know how your dog reacted, and keep hacking your dog’s health!