Better Than Crack: The Cheap 1-Ingredient Dehydrated Treat Your Dog Will Jump For
Welcome to the Insider’s Club of Canine Nutrition
Listen up, savvy dog parents. If you are tired of spending your hard-earned cash on tiny, air-filled bags of boutique dog treats that your pup inhales in three seconds flat, you have arrived at the exact right place. I am the Canine Nutrition Hacker, and today we are going to completely bypass the pet store retail markup. We are talking about high-value training treats—the kind of treats that make a distracted, squirrel-chasing terrier stop dead in their tracks and sprint back to you. Pet food companies know exactly how desperate we are for these magic obedience buttons, and they charge us a massive premium for them. They slap fancy labels like ‘artisanal,’ ‘freeze-dried,’ and ‘single-source’ on the bag, and suddenly you are paying fifteen dollars for four ounces of meat. It is absolute madness.
But what if I told you that the absolute best, most irresistible, ‘better than crack’ treat on the planet is sitting in the butcher section of your local grocery store right now, costing less than a cup of cheap diner coffee? We are talking about a single-ingredient powerhouse that requires zero culinary skill to prepare, contains absolutely zero fillers, and will transform your dog’s focus during training sessions. No corn gluten meal, no mysterious meat by-products, no artificial preservatives—just pure, unadulterated canine superfood. Today, we are hacking the system with DIY Dehydrated Beef Liver. Grab your cutting board, because we are about to save you a fortune while giving your dog the ultimate nutritional upgrade.
The Store-Bought Scam: Why We Are Hacking This
INSIDER SECRET: The pet food industry relies on your convenience to pad their profit margins. By doing the dehydration yourself, you are cutting out the middleman, the packaging costs, and the massive retail markup.
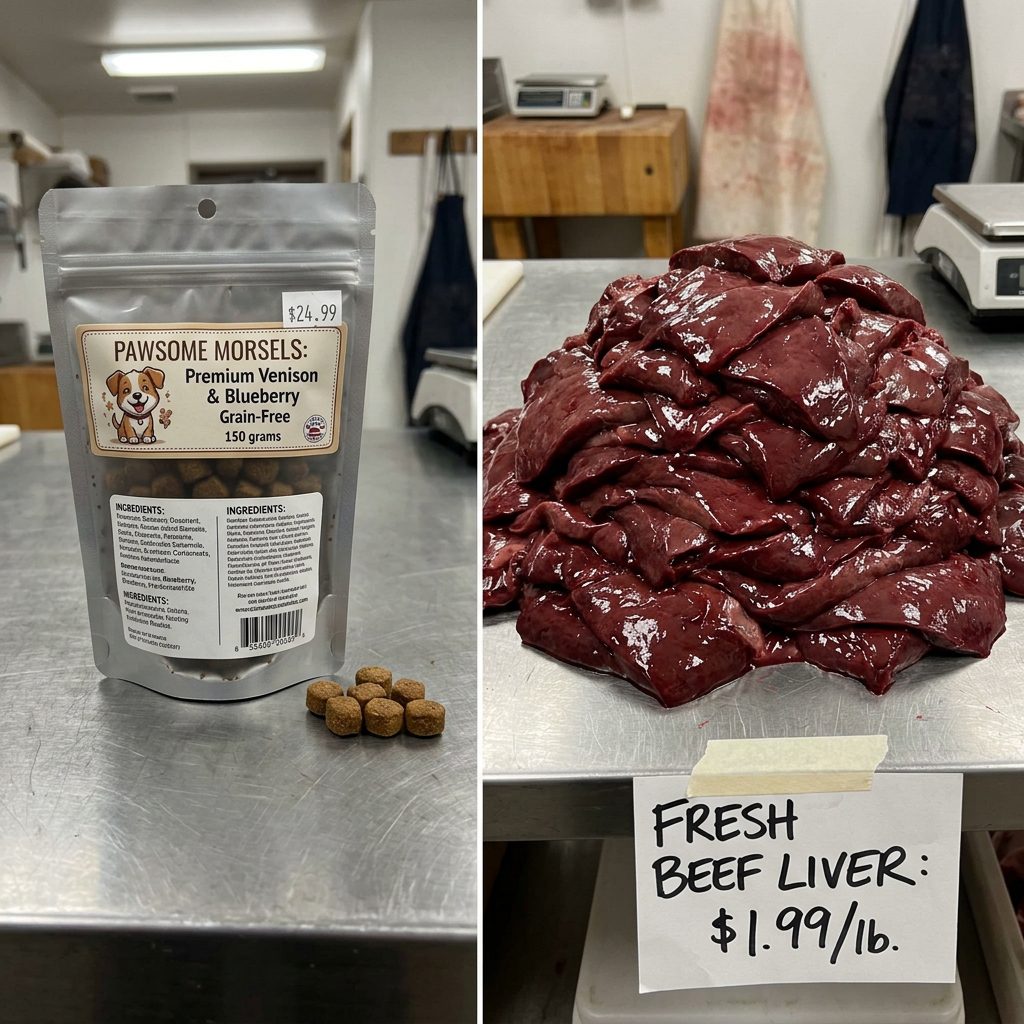
Let us do a little forensic accounting on your typical premium dog treat aisle. When you pick up a bag of single-ingredient freeze-dried or dehydrated liver treats, you are usually looking at a price tag of around ten to fifteen dollars for a measly three to five ounces. If you extrapolate that out, you are paying upwards of forty to fifty dollars per pound for basic organ meat! Meanwhile, fresh beef liver at your local grocery store or butcher typically costs between two and four dollars a pound. The math is frankly insulting to savvy dog owners like us.
Beyond the outrageous cost, there is the issue of trust. While single-ingredient treats are generally safe, the moment you step into the territory of ‘chewy’ jerky treats, you are entering a minefield of glycerin, artificial smoke flavors, and cheap carbohydrate fillers used to bind the product together. By taking control of the process, you know exactly what is going into your dog’s body: one hundred percent pure protein and vital nutrients. Let us look at the real cost breakdown.
| Treat Type | Average Cost (per 16 oz) | Ingredients | The Hacker Verdict |
|---|---|---|---|
| Store-Bought Premium Liver | $40.00 – $55.00 | Beef Liver (sometimes hidden preservatives) | Overpriced highway robbery. |
| Commercial Jerky Treats | $25.00 – $35.00 | Mystery meats, soy, glycerin, sugar | Junk food in disguise. Avoid. |
| DIY Dehydrated Beef Liver | $2.50 – $4.00 | 100% Raw Beef Liver | The ultimate budget-friendly super-treat. |
The Hero Ingredient: Why Beef Liver is Canine Superfood
SAFETY DISCLAIMER: I am a canine nutrition hacker, not a veterinarian. Liver is incredibly rich in Vitamin A and should be fed as a high-value treat, not a meal replacement. Too much liver can cause loose stools or Vitamin A toxicity over time. Keep treats to less than 10% of your dog’s daily caloric intake!
Why liver? In the wild, when canines make a kill, the alpha dogs do not go for the muscle meat first—they go straight for the liver. It is nature’s multivitamin. Beef liver is densely packed with essential nutrients that are incredibly beneficial for your dog’s skin, coat, and overall vitality. It is loaded with Vitamin A, iron, copper, phosphorus, zinc, and essential B vitamins, particularly B12. This is not just a treat; it is a functional health supplement disguised as doggy junk food.
From a training perspective, liver is the ultimate currency. If you are dealing with a reactive dog, working on off-leash recall, or trying to teach a stubborn puppy basic obedience, standard dry kibble is not going to cut it. You need a paycheck that matches the work you are asking them to do. The strong, pungent aroma of dehydrated liver cuts through environmental distractions like a laser beam. When you pull a piece of this homemade jerky out of your pocket, you instantly become the most interesting thing in your dog’s universe.
The Safe Chef Guide: Equipment and Preparation Hacks
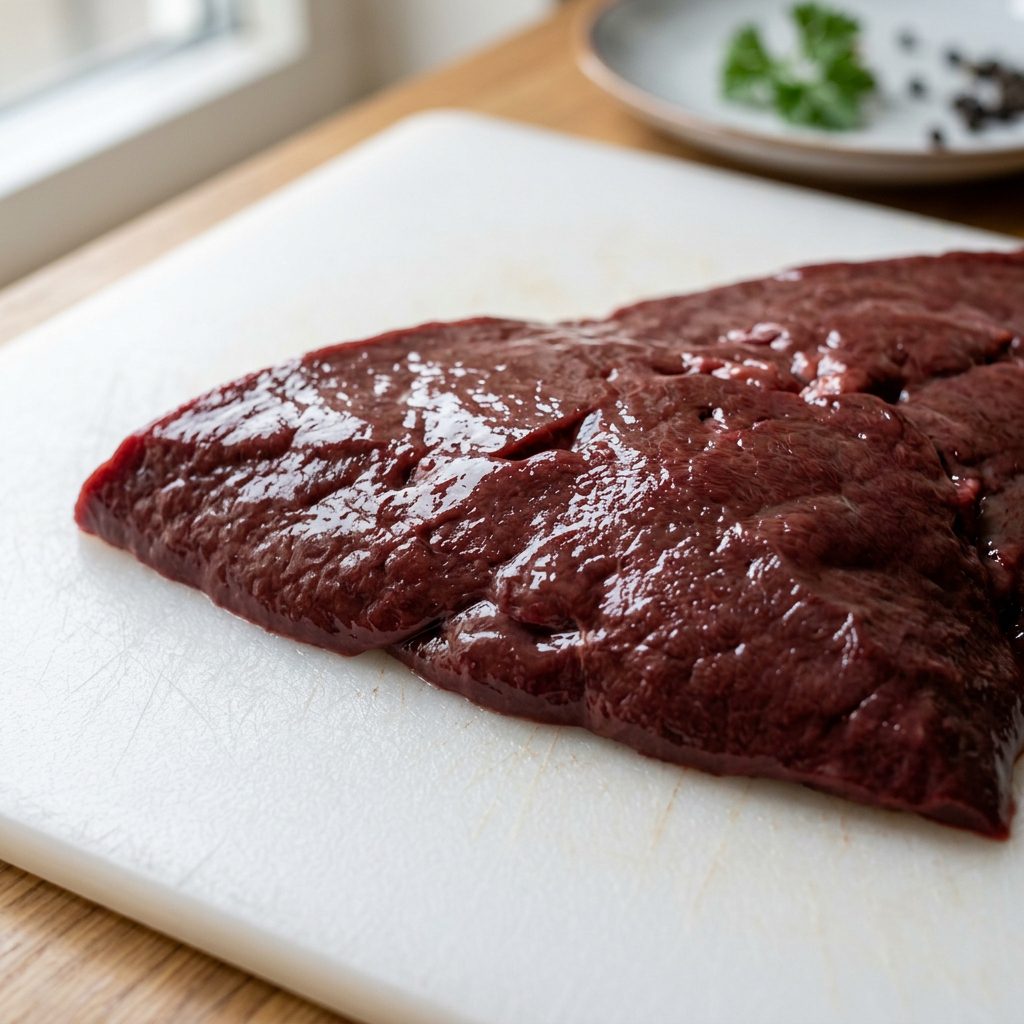
Before we dive into the recipe, let us talk about preparation. Handling raw liver can be a bit intimidating if you are not used to it. It is slippery, bloody, and has a distinct metallic odor. But do not let that deter you; your dog is going to worship you for dealing with it. You do not need a fancy, expensive food dehydrator to make this work, though having one makes the process incredibly set-it-and-forget-it. A standard kitchen oven works perfectly fine as long as it can hold a low temperature.
The Freezing Hack
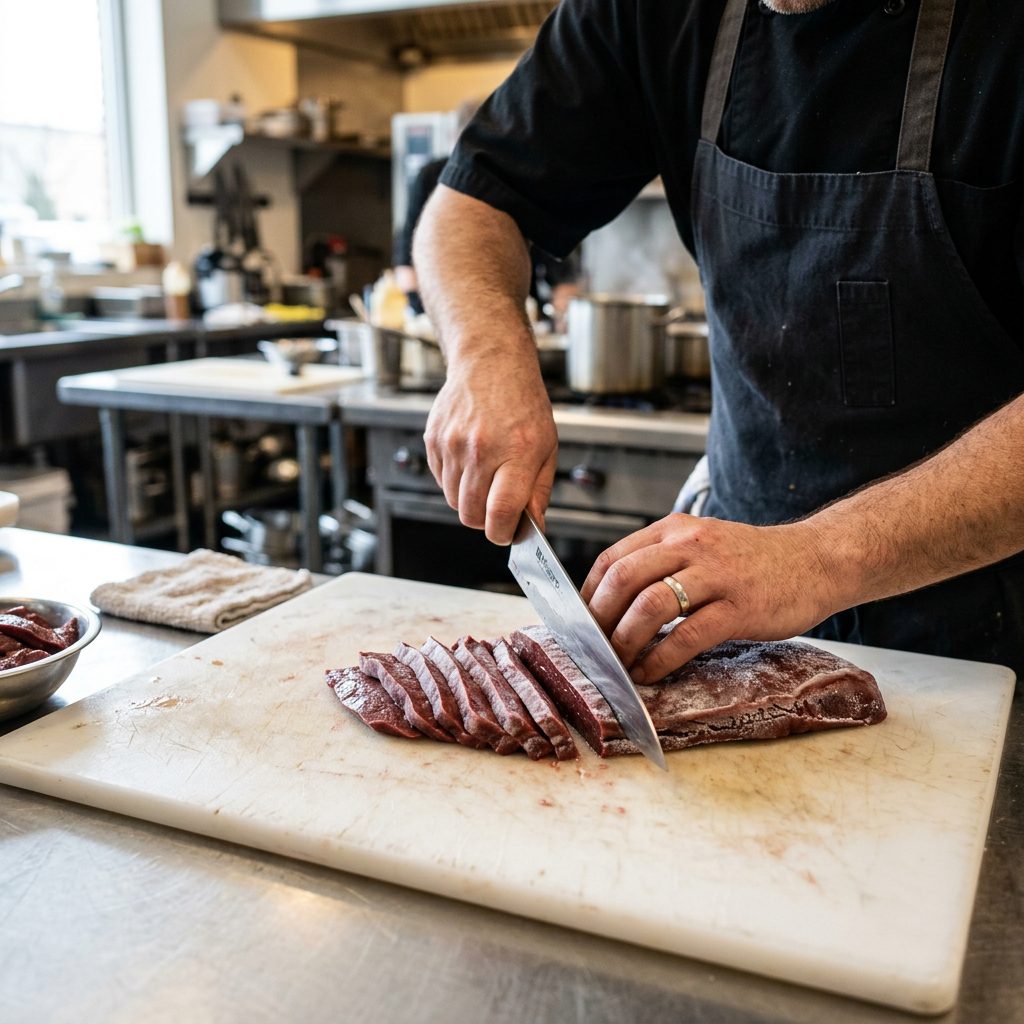
Here is a massive insider secret for slicing organ meat: Do not try to slice it fresh. Fresh liver is like trying to cut a water balloon. Instead, place the raw liver in the freezer for about 45 minutes to an hour before you plan to prep it. You want it partially frozen—firm to the touch but not a solid block of ice. This allows your chef’s knife to glide through the meat, creating perfectly uniform, thin slices. Uniformity is key here; if your slices are all different thicknesses, some will burn while others remain dangerously raw in the middle.
Equipment Checklist
- A sharp chef’s knife (crucial for clean cuts).
- A cutting board dedicated to raw meat.
- A food dehydrator OR standard baking sheets with wire cooling racks.
- Parchment paper (if using the oven method to catch drips).
The Step-by-Step ‘Dog Crack’ Recipe
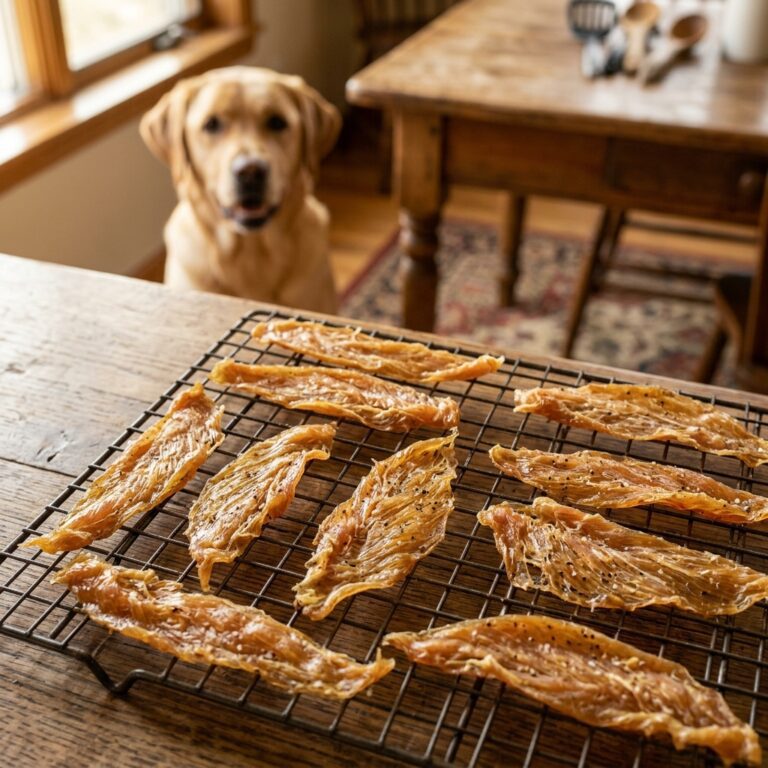
Alright, let us get down to business. This is the foolproof, single-ingredient recipe that will change your dog training game forever. Remember, the thinner you slice the liver, the crispier the final result will be. Thicker slices will yield a chewier jerky, which dogs love, but chewy jerky retains more moisture and will spoil faster. For maximum shelf life, we are aiming for the crispy, snap-in-half texture.
The Dehydrator Method (Preferred)
- Take your partially frozen beef liver and slice it into strips about 1/4 inch thick.
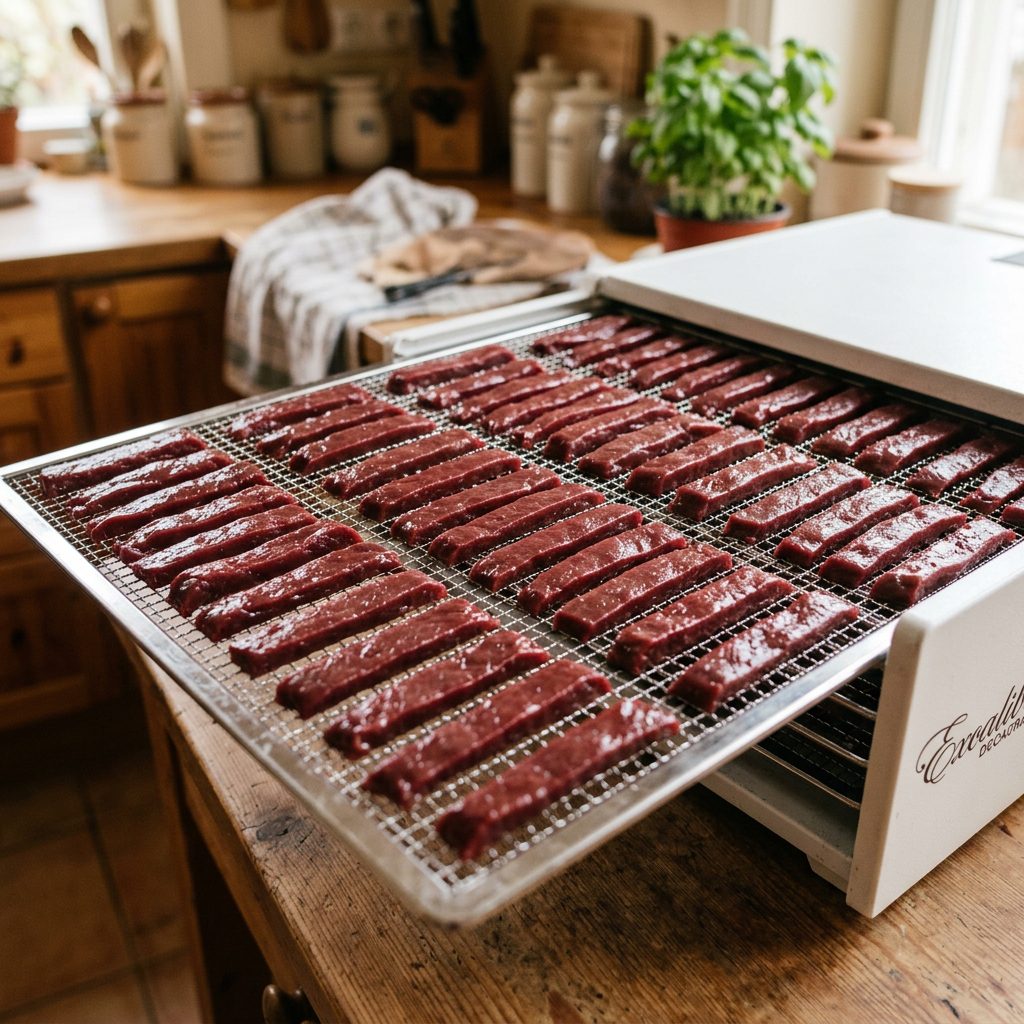
- Lay the strips flat on your dehydrator trays. Ensure there is space between each piece so the air can circulate freely. Do not overlap them!
- Set your dehydrator to 160 degrees Fahrenheit (71 degrees Celsius). This is the safe temperature for dehydrating raw meat to kill off potential pathogens.
- Let it run for 12 to 14 hours. Check the treats around the 10-hour mark. You want them to be hard, dark, and snap easily when you bend them.
The Oven Method (The Budget Hack)
- Preheat your oven to its lowest possible setting (usually between 150 and 170 degrees Fahrenheit).
- Place a wire cooling rack on top of a baking sheet lined with parchment paper. This allows air to circulate under the meat.
- Arrange your 1/4 inch liver slices on the wire rack.
- Prop the oven door open slightly (about an inch) using a wooden spoon. This allows the moisture to escape, which is critical for dehydration rather than baking.
- Leave them in the oven for 4 to 6 hours, checking frequently after the 3-hour mark. They are done when they are completely dry and brittle.
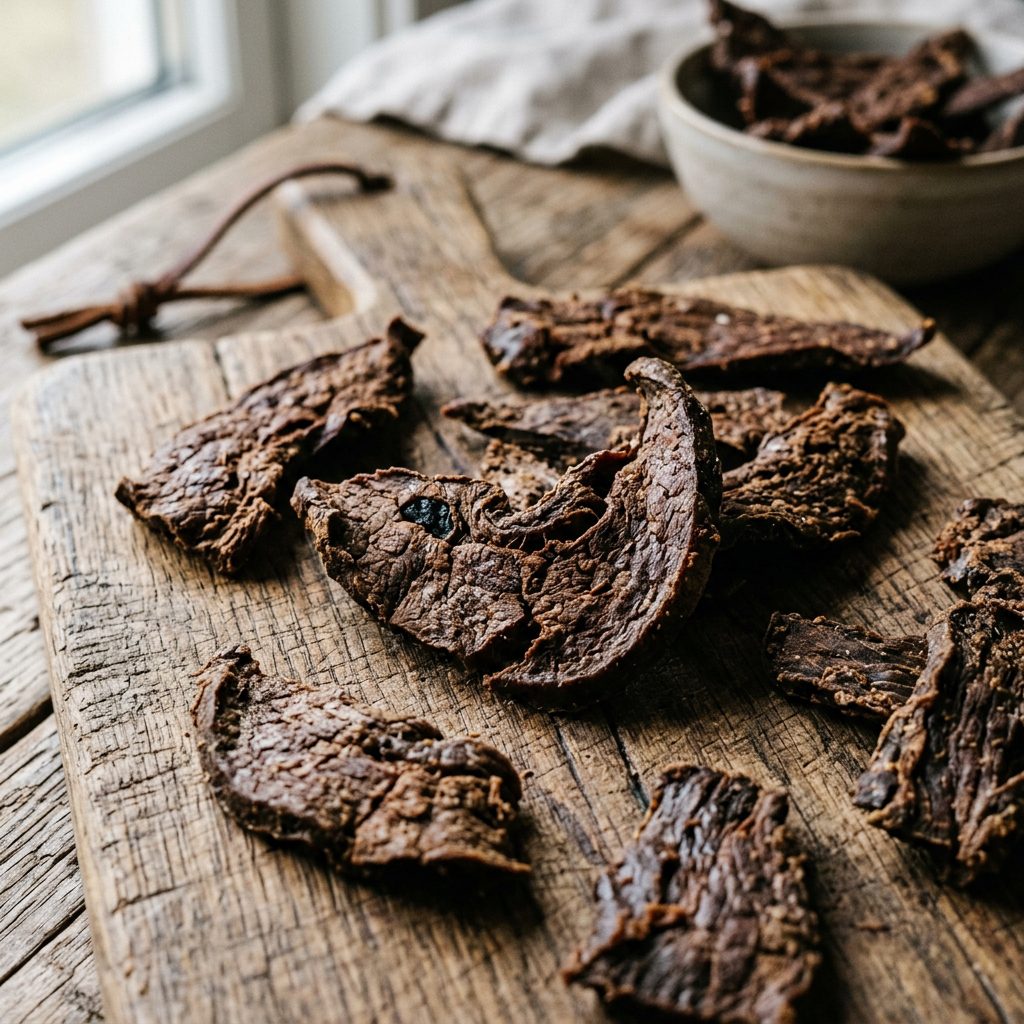
Batch Cooking & Storage Secrets

INSIDER SECRET: Moisture is the ultimate enemy of homemade, preservative-free dog treats. If your treats bend instead of snapping, they still have moisture inside and must be stored in the fridge or freezer.
Now that you have spent a few dollars to create a massive mountain of high-value treats, you need to protect your investment. Because we are not using the chemical preservatives found in commercial pet foods, proper storage is absolutely critical to prevent mold.
First, let the treats cool completely on the counter before you even think about putting them in a container. If you put warm treats into a jar, they will create condensation, and condensation breeds mold. Once they are entirely cool to the touch, you can break them into tiny, pea-sized training pieces. You do not need to feed your dog a massive strip of liver to get a reward; a piece the size of your pinky nail is enough to register as a massive jackpot to their nose and tastebuds.
The Storage Protocol
- Short Term (1-2 Weeks): Store in an airtight glass mason jar in a cool, dark pantry. Toss in a food-safe silica gel packet if you have one to absorb ambient humidity.
- Medium Term (1-2 Months): Store the airtight container in the refrigerator. The cold environment will keep any residual fat from going rancid.
- Long Term (Up to 6 Months): This is the ultimate batch-cooking hack. Throw the dehydrated pieces into a heavy-duty freezer bag, squeeze out all the air, and toss them in the freezer. They thaw in minutes, meaning you can pull out just what you need for the week’s training sessions.
Conclusion
Take Back Your Wallet and Supercharge Your Training
There you have it. You have officially hacked the system. By spending just a few dollars and utilizing a little bit of passive cooking time, you have created a massive stockpile of the highest-value, most nutritionally dense dog treat on the market. You have successfully bypassed the sneaky fillers, the artificial preservatives, and the astronomical retail markups that the pet industry relies on. Your dog is going to look at you like you are a culinary god, your training sessions are going to become laser-focused, and your wallet is going to thank you.
Remember, the Canine Nutrition Hacker’s golden rule is always about quality over convenience when convenience costs you your dog’s health or your hard-earned cash. Start with beef liver, but do not be afraid to experiment using this exact same method with chicken breast, turkey hearts, or even sweet potatoes for a low-protein alternative. Empower yourself, take control of your dog’s bowl, and watch them thrive. Now get out there, grab some cheap cuts from the butcher, and start dehydrating!