Don’t Use White Flour! The Ultimate Guide to the Best Flour For Dog Treats Baking
Stop Baking ‘Empty’ Treats
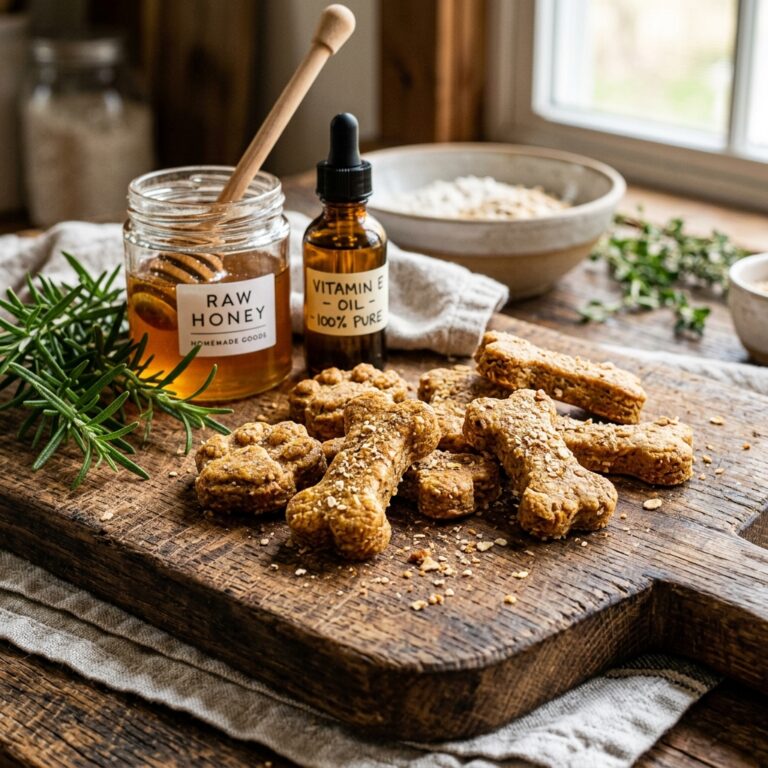
Listen, I get it. You want to spoil your pup, and there is nothing quite like the smell of fresh-baked biscuits wafting through the house. But if you are reaching for that bag of bleached, all-purpose white flour, you are doing it wrong. As the Canine Nutrition Hacker, I am here to tell you that white flour is essentially ‘sugar in a tuxedo.’ It is a highly processed, stripped-down carbohydrate that offers zero nutritional value to your dog and can actually lead to inflammation and weight gain. We are not just making cookies; we are building health from the bowl up. In this guide, I am going to expose why white flour is the ultimate ‘filler’ and show you the high-octane alternatives that will turn your kitchen into a canine superfood lab. We are talking about flours that provide protein, fiber, and essential minerals—not just empty calories.
Insider Secret: Most commercial ‘gourmet’ treats use white flour because it is cheap. When you bake at home with the right flours, you are providing 5x the nutrition for a fraction of the ’boutique’ price.
The Forensic Analysis: Why White Flour is the Enemy
The Nutritional Void
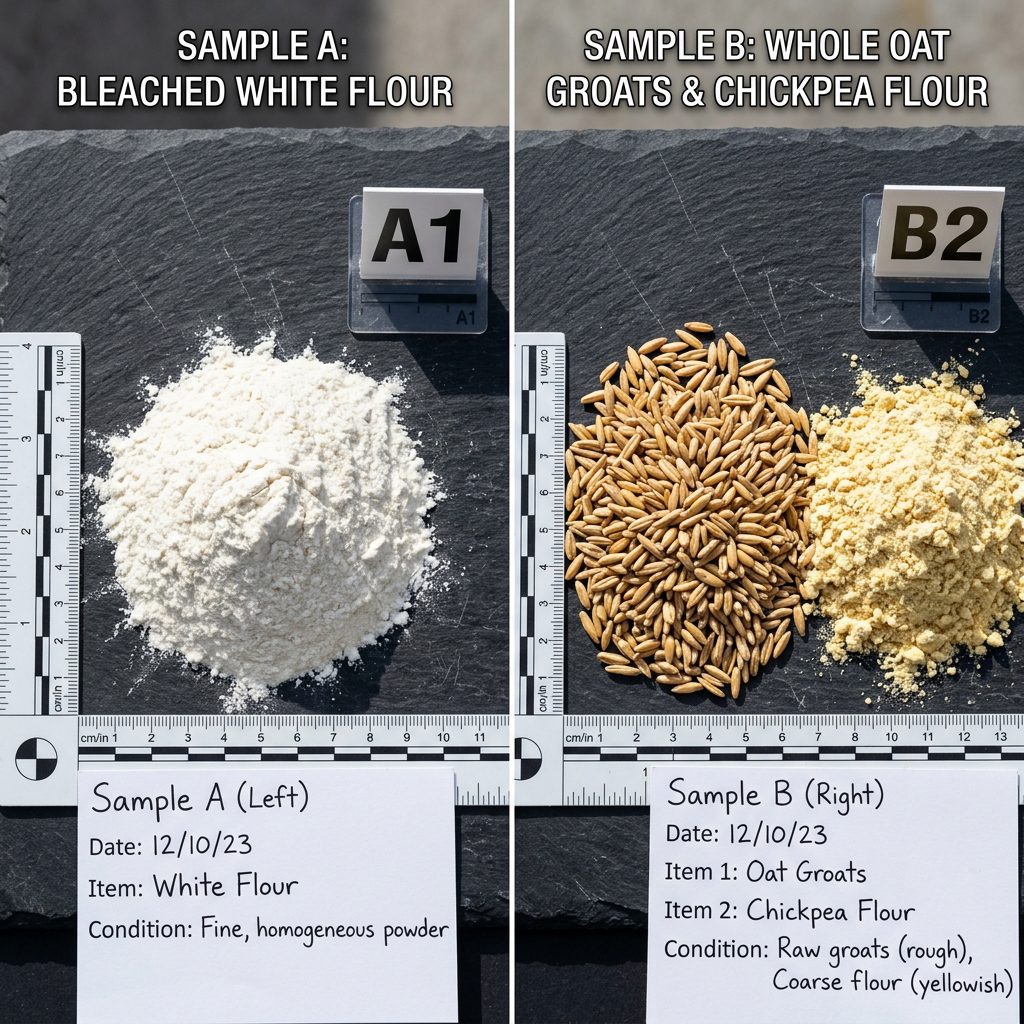
When wheat is processed into white flour, the bran and the germ are stripped away. What is left? Pure endosperm. This means you have removed the fiber, B vitamins, and iron, leaving behind a fine powder that spikes your dog’s blood sugar faster than a squirrel sighting. For dogs, especially those prone to yeast infections or allergies, this refined starch is fuel for the fire. It feeds the bad bacteria in the gut and contributes to that ‘doggy smell’ we all want to avoid.
The Glycemic Index Trap
Dogs do not process simple carbohydrates the same way we do. High-glycemic foods like white flour cause a rapid insulin spike. Over time, this stresses the pancreas and can lead to obesity and even canine diabetes. If your dog is a ‘senior’ or a bit ‘fluffy’ around the middle, white flour should be strictly off-limits. We want slow-burning fuel, not a sugar crash.
The Power Players: Top 5 Flour Alternatives
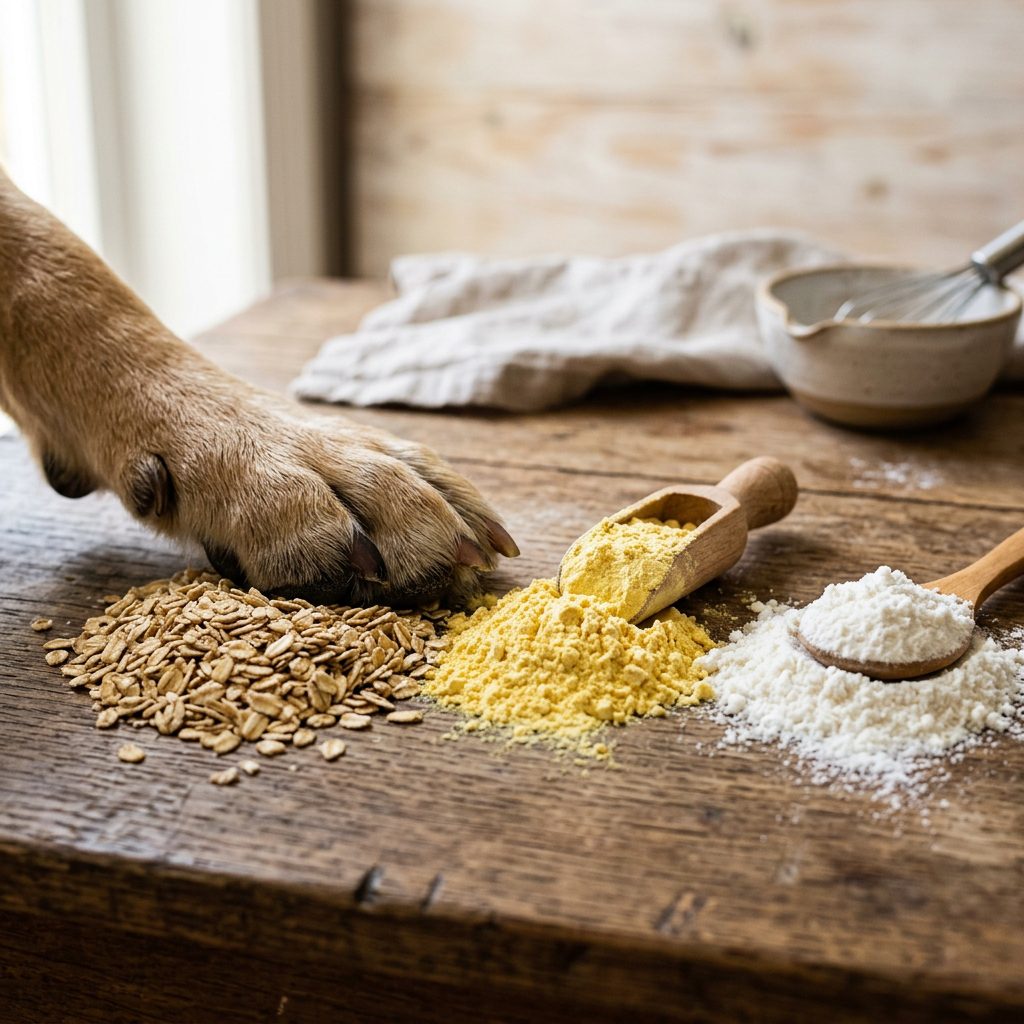
1. Oat Flour (The Fiber King)
Oat flour is my top pick for beginners. It is naturally gluten-free (though check the label for cross-contamination) and packed with antioxidants. It is incredibly gentle on the stomach and provides a steady stream of energy. Hacker Tip: Don’t buy expensive oat flour; just throw some old-fashioned rolled oats into your blender for 30 seconds.
2. Chickpea Flour (The Protein Powerhouse)
Also known as Garbanzo bean flour, this stuff is a nutritional beast. It is loaded with plant-based protein and fiber. It has a nutty aroma that dogs absolutely go crazy for. It is dense, so it makes for a very crunchy biscuit that helps with dental plaque.
3. Coconut Flour (The Low-Carb Legend)
If your dog is on a weight-loss journey, coconut flour is your best friend. It is exceptionally high in fiber and low in sugar. However, be warned: it absorbs liquid like a sponge. You cannot swap it 1:1 for other flours. You usually need extra eggs or water to keep the dough from crumbling.
4. Buckwheat Flour (The Heart Helper)
Despite the name, buckwheat is not wheat. It is a seed related to rhubarb. It is grain-free and contains rutin, which is great for cardiovascular health. It provides a rich, earthy flavor that pairs perfectly with peanut butter.
5. Almond Flour (The Healthy Fat Source)
Almond flour is great for skin and coat health because it is rich in Vitamin E and Omega-6 fatty acids. Because it is calorie-dense, use it for ‘high-value’ training treats rather than everyday snacks.
The Financials: DIY Savings vs. Premium Brands
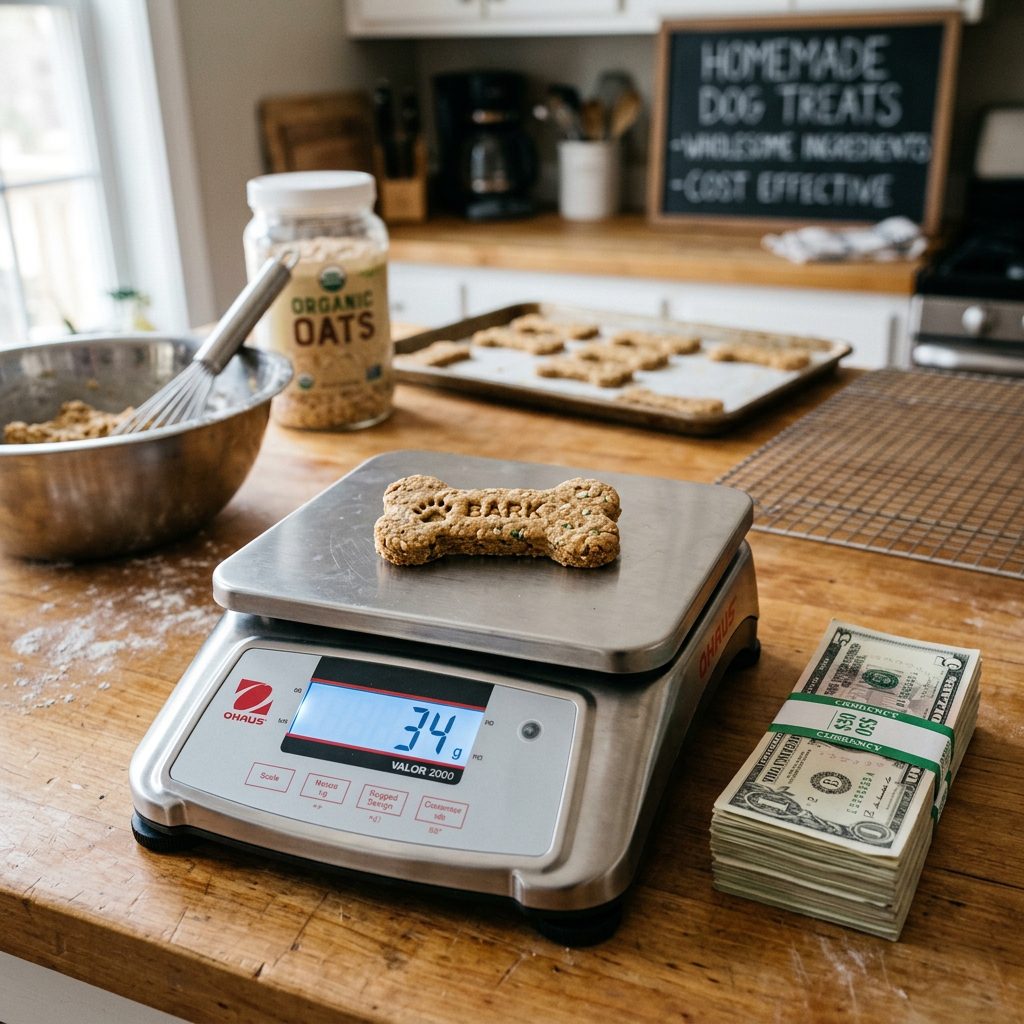
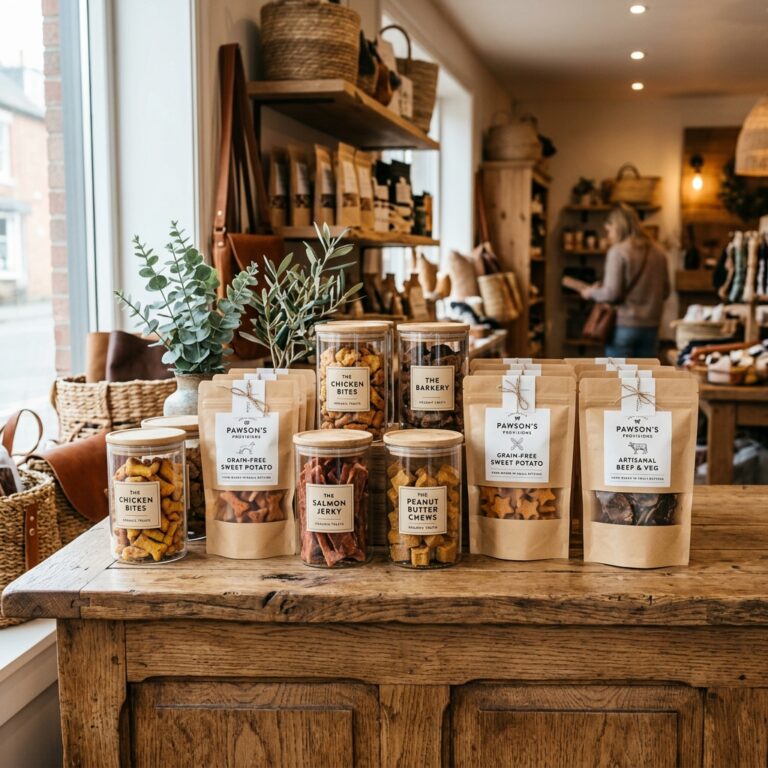
You might think specialty flours are expensive, but let’s look at the math. A bag of ‘Organic Grain-Free’ treats at a pet boutique can cost you $15.00 for 8 ounces. By hacking your own treats with premium flours, you are saving a fortune while controlling every single ingredient.
| Flour Type | Avg. Cost per lb | Protein Content | Best For |
|---|---|---|---|
| White Flour (Avoid) | $0.50 | Low | Nothing (Fillers) |
| Oat Flour (DIY) | $1.20 | Medium | Sensitive Stomachs |
| Chickpea Flour | $2.50 | High | Muscle Growth |
| Coconut Flour | $3.50 | Medium | Weight Management |
| Almond Flour | $6.00 | High | Shiny Coat |
As you can see, even the most expensive almond flour treats you make at home will still cost you less than $0.40 per ounce to produce, compared to the $1.80 per ounce you pay for store-bought ‘premium’ brands.
The Safe Chef Guide: The ‘Universal’ Treat Recipe
SAFETY DISCLAIMER: I am a canine nutrition enthusiast, not a veterinarian. Always introduce new ingredients slowly to ensure your dog doesn’t have an individual allergy. If your dog has chronic kidney issues, consult your vet before increasing protein/mineral intake via specialty flours.
The 2-1-1 Ratio Strategy
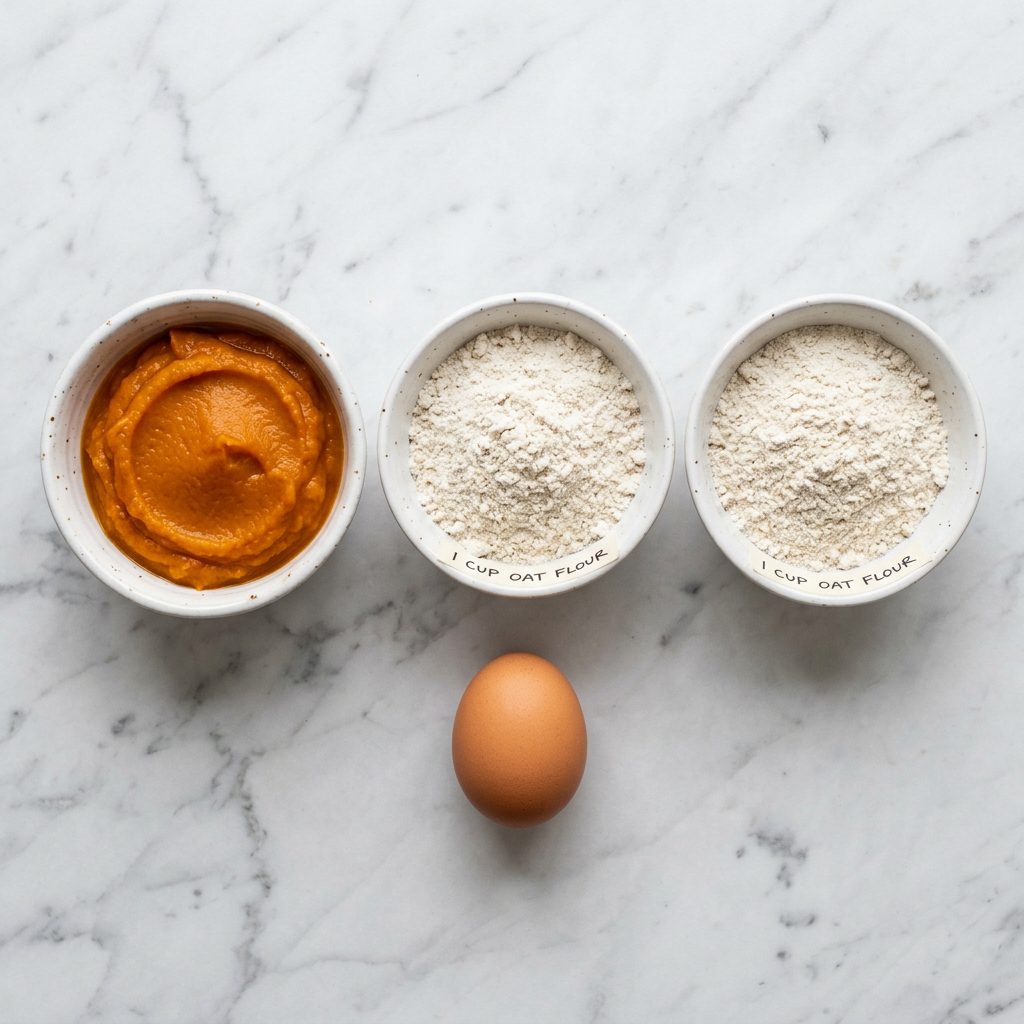
Instead of following complex recipes, I use the Nutrition Hacker’s 2-1-1 Ratio. This works with almost any healthy flour (except coconut, which needs more liquid).
- 2 Cups of your chosen flour (Oat or Chickpea recommended).
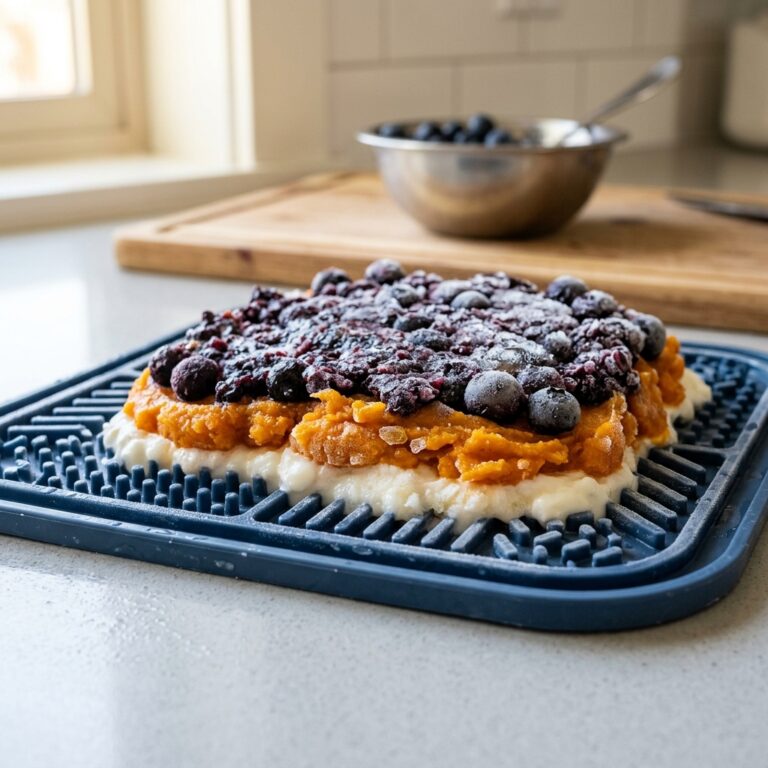
- 1 Cup of a ‘Sticky’ Base (Unsweetened pumpkin puree, mashed bananas, or natural peanut butter—NO XYLITOL!).
- 1 Large Egg (The binder and extra protein boost).
Instructions:
- Preheat your oven to 350°F (175°C).
- Mix your flour and sticky base in a large bowl. Add the egg and stir until a stiff dough forms.
- If the dough is too dry, add 1 tablespoon of water at a time. If too wet, add a sprinkle more flour.
- Roll out to 1/4 inch thickness and use a cookie cutter (or just a knife to make squares).
- Bake for 20-25 minutes until firm. For extra crunch, turn off the oven and let them sit inside for another 30 minutes.
Batch Cooking and Pro Storage Tips
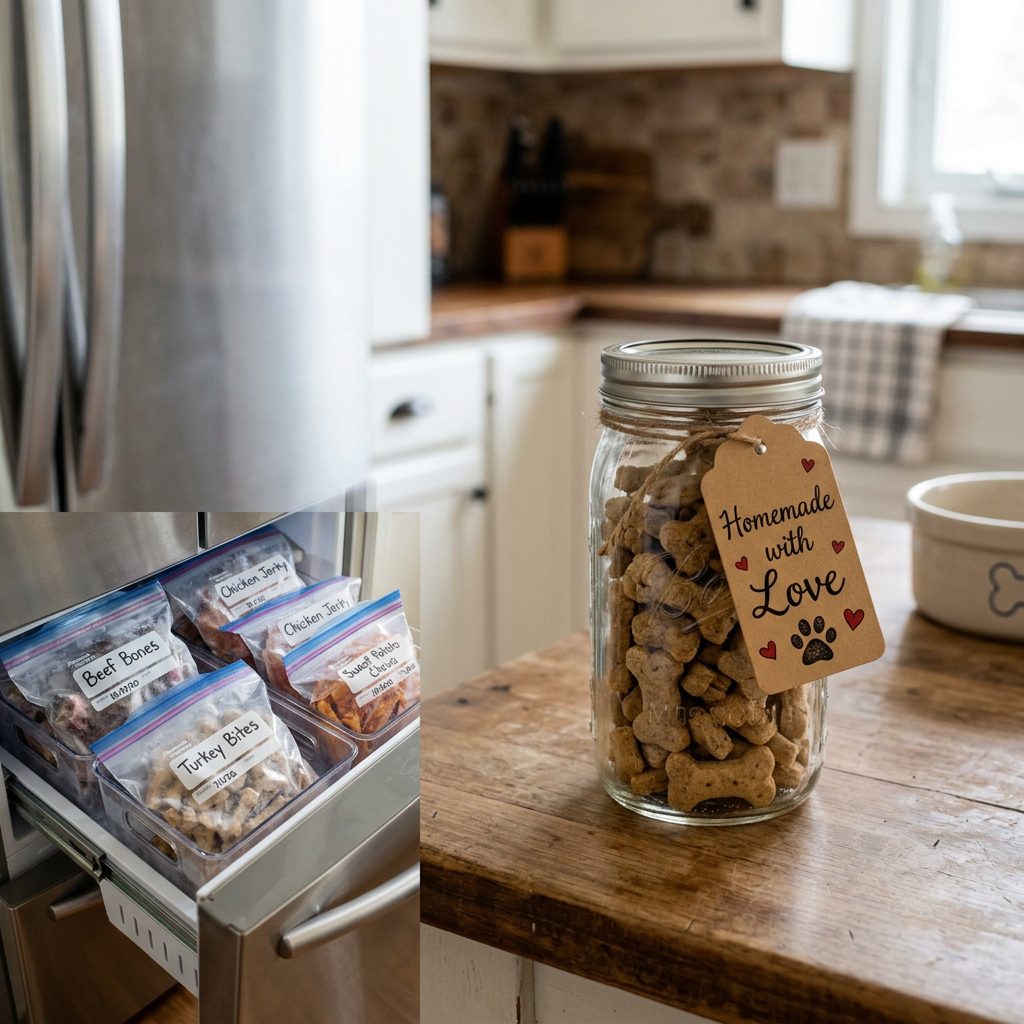
The Freezer Hack
Since these treats don’t have the nasty chemical preservatives found in commercial bags, they won’t last forever on the counter. In a sealed jar, they stay fresh for about 5-7 days. My Insider Secret: I bake in massive batches once a month. I keep one small jar on the counter and freeze the rest in airtight bags. They thaw in minutes, or you can give them to your dog frozen as a ‘crunchy popsicle’ during summer months.
Dehydrating for Longevity
If you want treats that last longer, you need to remove the moisture. After baking, lower your oven to its lowest setting (usually 150°F-170°F) and let the treats ‘dry out’ for 2-3 hours. This creates a shelf-stable biscuit that is perfect for hiking or long walks.
Conclusion
Be the Hero Your Dog Thinks You Are
Ditching white flour is one of the easiest ‘hacks’ to instantly improve your dog’s diet. By switching to nutrient-dense alternatives like oat, chickpea, or coconut flour, you are turning treat time into a supplemental feeding session. You are saving money, avoiding dangerous fillers, and potentially extending your best friend’s life by managing their weight and inflammation. So, next time you are at the grocery store, skip the baking aisle’s bottom shelf and head for the health food section. Your dog’s wagging tail (and their health) will be all the thanks you need. Now, get baking!