Pro Bakery Secrets: Why These Best Pastry Bags For Dog Icing Will Save Your Wrists!
The Secret to Effortless Dog Treat Artistry
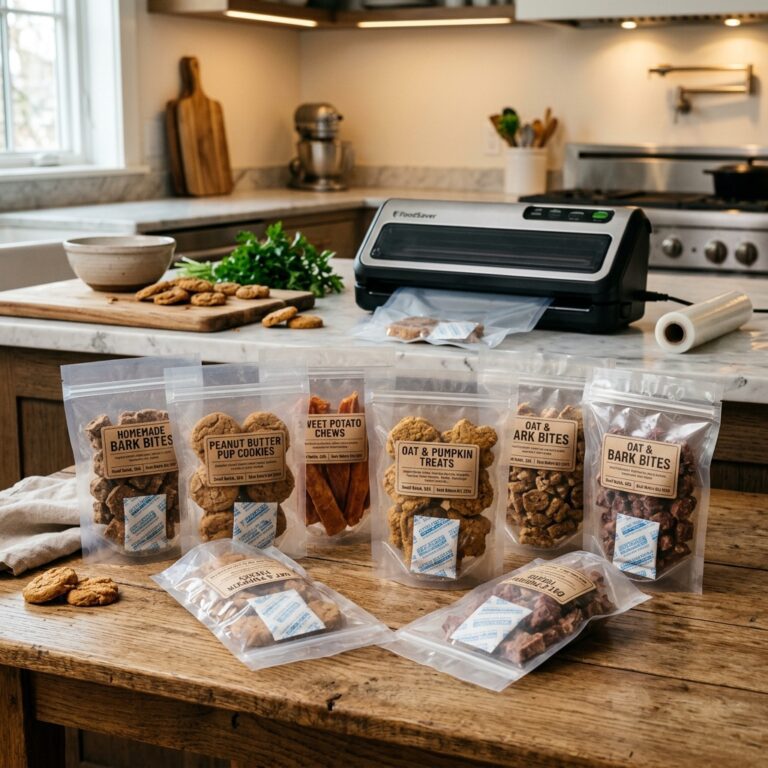
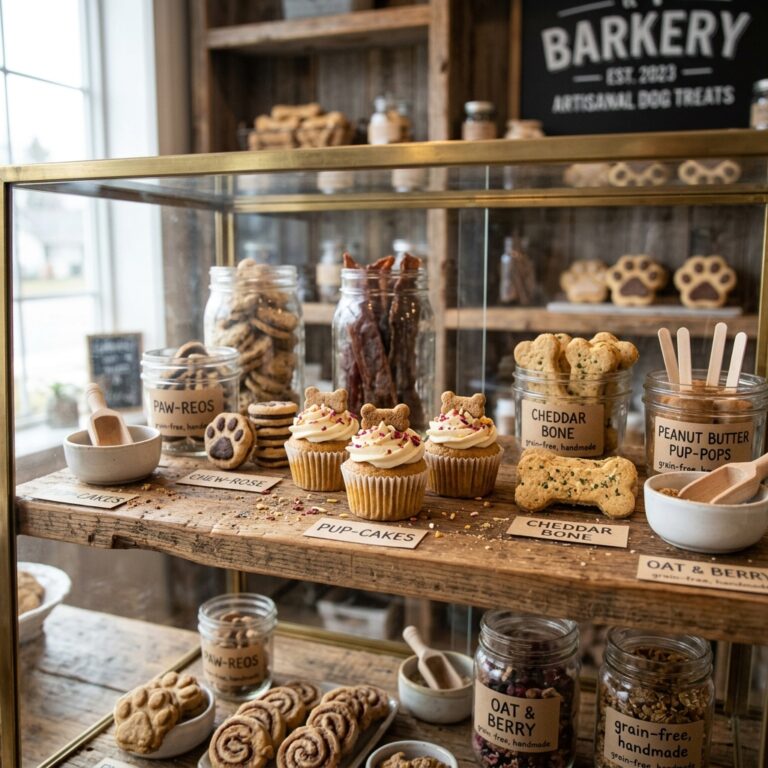
Let’s be real: we love our dogs, but we don’t always love the hand cramps that come with decorating a batch of 50 grain-free liver snaps. If you’ve ever had a cheap plastic bag burst mid-squeeze, or felt that sharp ache in your thumb after ten minutes of piping, you know exactly what I’m talking about. I’m the Canine Nutrition Hacker, and today we’re moving away from the ingredient label for a moment to focus on the delivery system. Because if the process is a pain, you’re going to reach for those store-bought, preservative-laden treats instead of making the healthy stuff at home.
In the professional dog bakery world, we don’t use those flimsy grocery store kits. We use tools that respect our anatomy and our time. High-quality piping bags are the ‘insider secret’ that separates the hobbyist from the pro. They allow for consistent pressure, meaning your pup gets perfectly portioned icing every time, and your wrists don’t feel like they’ve been through a meat grinder. Let’s break down the forensic details of what makes a pastry bag ‘the one’ for your canine kitchen.
The Forensic Material Review: Silicone vs. Disposable vs. Canvas
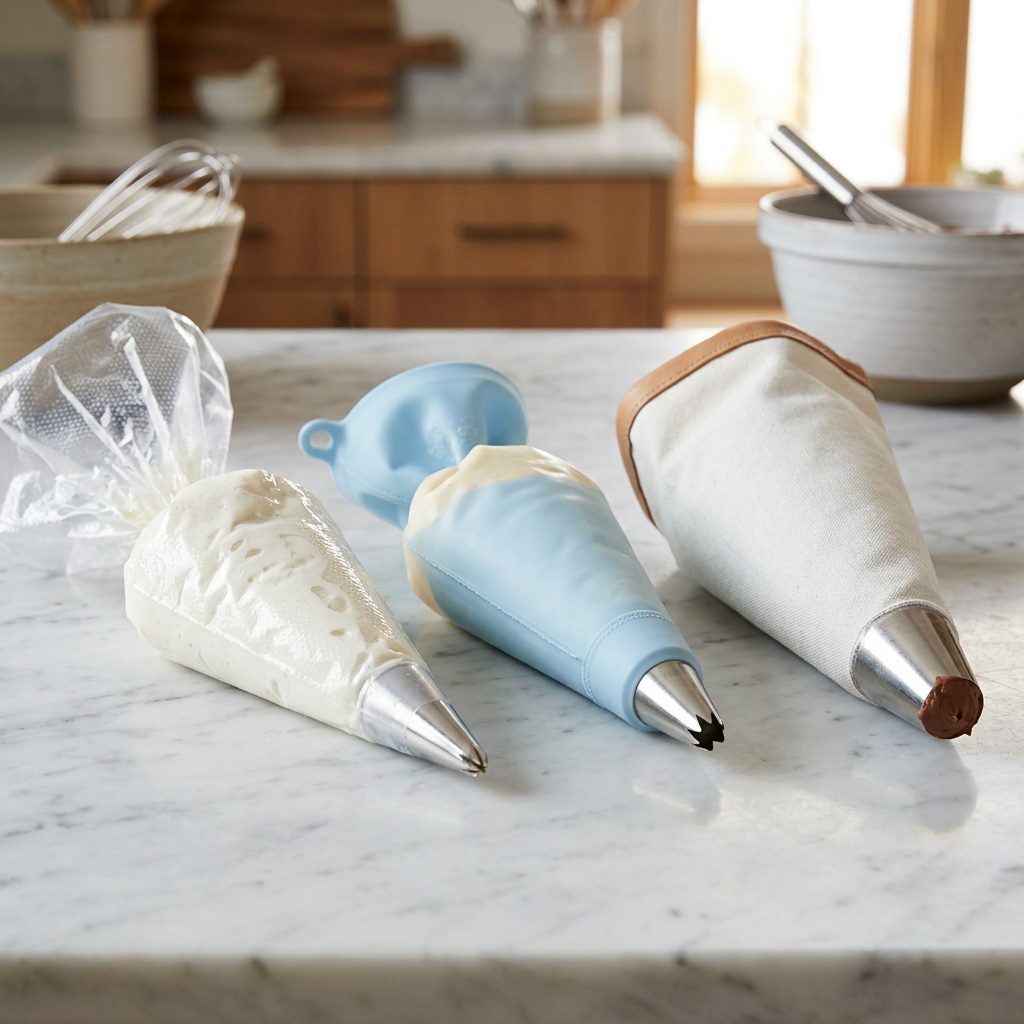
When you’re piping dog icing—which is often thicker than human buttercream because we avoid high-moisture sugars—the material of your bag is your first line of defense. If the material stretches too much, your precision goes out the window. If it’s too stiff, your wrist does all the work.
1. Heavy-Duty Disposable (The Hygiene King)
Most pros prefer high-gauge, anti-slip disposable bags. Why? Because dog icing often contains proteins like yogurt or goat cheese that can harbor bacteria if a reusable bag isn’t scrubbed to perfection. Look for LDPE (Low-Density Polyethylene) with a textured exterior for grip.
2. Food-Grade Silicone (The Wrist Saver)
Silicone is incredibly flexible. It requires less ‘squeeze force’ to move the icing through the tip. For owners with carpal tunnel or arthritis, this is the gold standard. It’s soft, warm to the touch, and eco-friendly.
3. Plastic-Coated Canvas (The Heavy Lifter)
If you are making stiff, potato-based ‘mashed potato’ frosting, canvas is the only thing that won’t burst. However, they are a nightmare to clean and dry.
| Material Type | Grip Quality | Wrist Strain Level | Durability | Hacker Verdict |
|---|---|---|---|---|
| Disposable (High-Gauge) | Excellent | Medium | Single Use | Best for Hygiene |
| Food-Grade Silicone | Good | Very Low | High | Best for Comfort |
| Canvas/Cloth | Fair | High | Very High | Best for Thick Pastes |
Hacker Tip: Never buy the ‘smooth’ disposable bags. They get slippery the second a drop of coconut oil touches them. Always look for ‘textured’ or ‘anti-slip’ on the label.
The Safety Chef Guide: Why Equipment Choice Impacts Nutrition
SAFETY DISCLAIMER: I am a canine nutrition hacker, not a veterinarian. While the tools we use are professional grade, always ensure your icing ingredients are dog-safe (no xylitol, no chocolate, no excessive sugar). Consult your vet before introducing new treats to a dog with specific medical conditions.
You might wonder: ‘It’s just a bag, how does it affect nutrition?’ Simple. When you use a high-quality bag, you can use thicker, more nutrient-dense bases. Cheap bags require you to thin out your icing with water or oils just to get it to flow. By using a pro-grade bag with a larger coupler, you can pipe pureed pumpkin, Greek yogurt, or even blended organ meats without clogging.
The Real Cost Breakdown: DIY vs. Boutique
Investing $20 in a set of pro bags might seem steep, but let’s look at the math for a 50lb dog’s monthly treat allowance:
| Source | Monthly Cost | Ingredient Integrity | Wrist Effort |
|---|---|---|---|
| Store-Bought Premium | $45.00 | Questionable (Fillers) | Zero |
| Boutique Dog Bakery | $65.00 | High | Zero |
| DIY with Pro Tools | $12.00 | Superior (Fresh) | Low (with right bags) |
By hacking your own treats, you save over $30 per month. That pays for your professional pastry bags in less than 30 days!
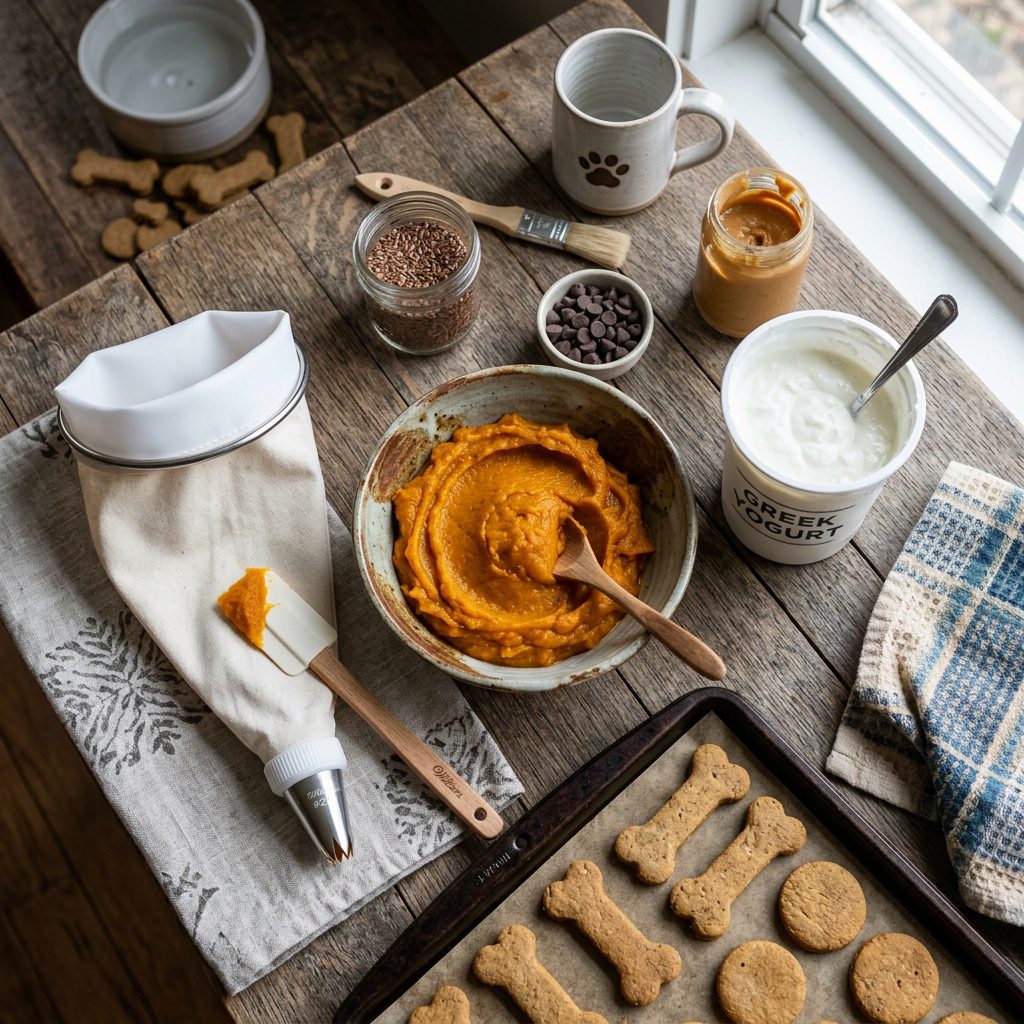
The Hacker’s ‘No-Sugar’ Icing Recipe & Ratios
To save your wrists, you need the perfect consistency. If the icing is too thick, the bag will burst. If it’s too thin, it runs off the biscuit. Here is my go-to formula for a ‘Hard-Drying’ dog icing that behaves perfectly in a professional bag.
The Golden Ratio for Piping:
- Base: 1/2 cup Tapioca Starch (or Potato Starch)
- Protein/Binder: 2 tsp Plain Greek Yogurt (Full fat is fine unless your dog is prone to pancreatitis)
- Liquid: 2-3 tsp Water or Unsalted Bone Broth
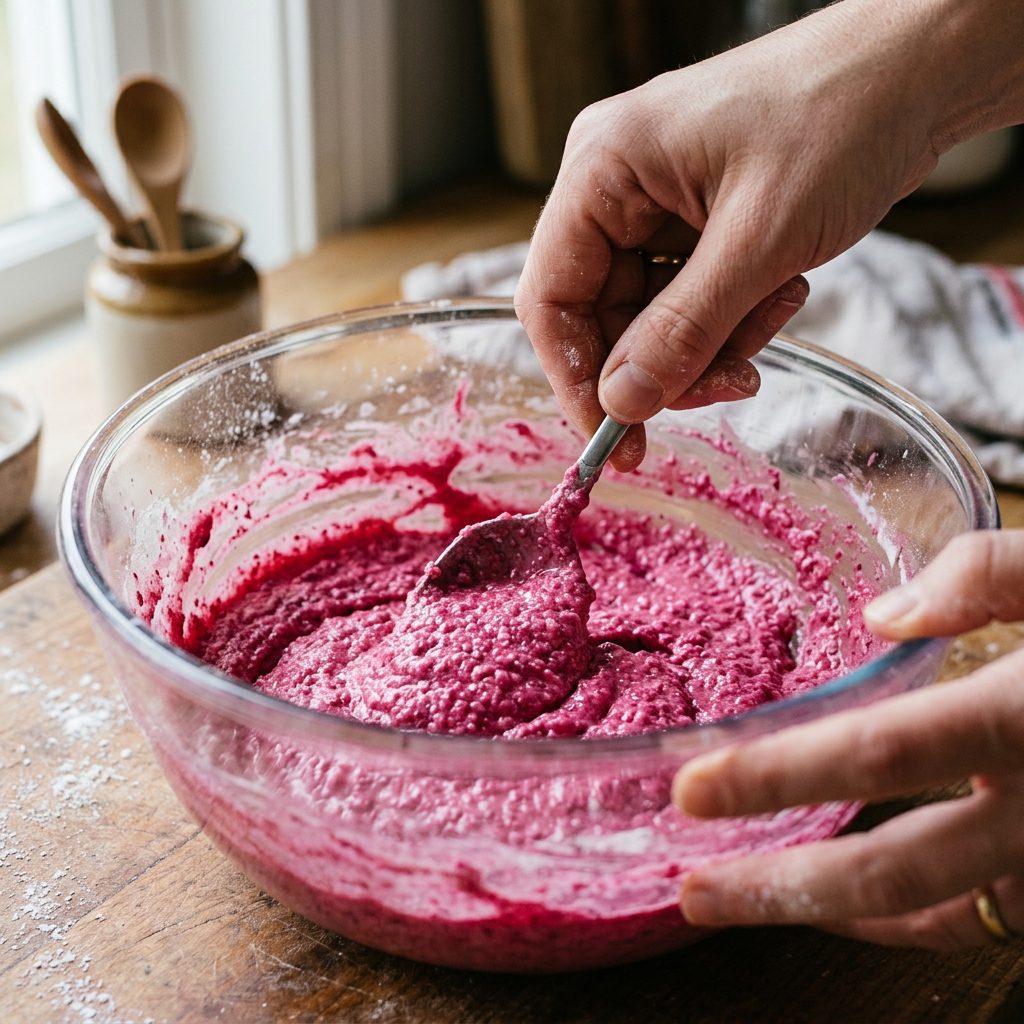
- Natural Color: 1/4 tsp Beet powder (Pink) or Turmeric (Yellow)
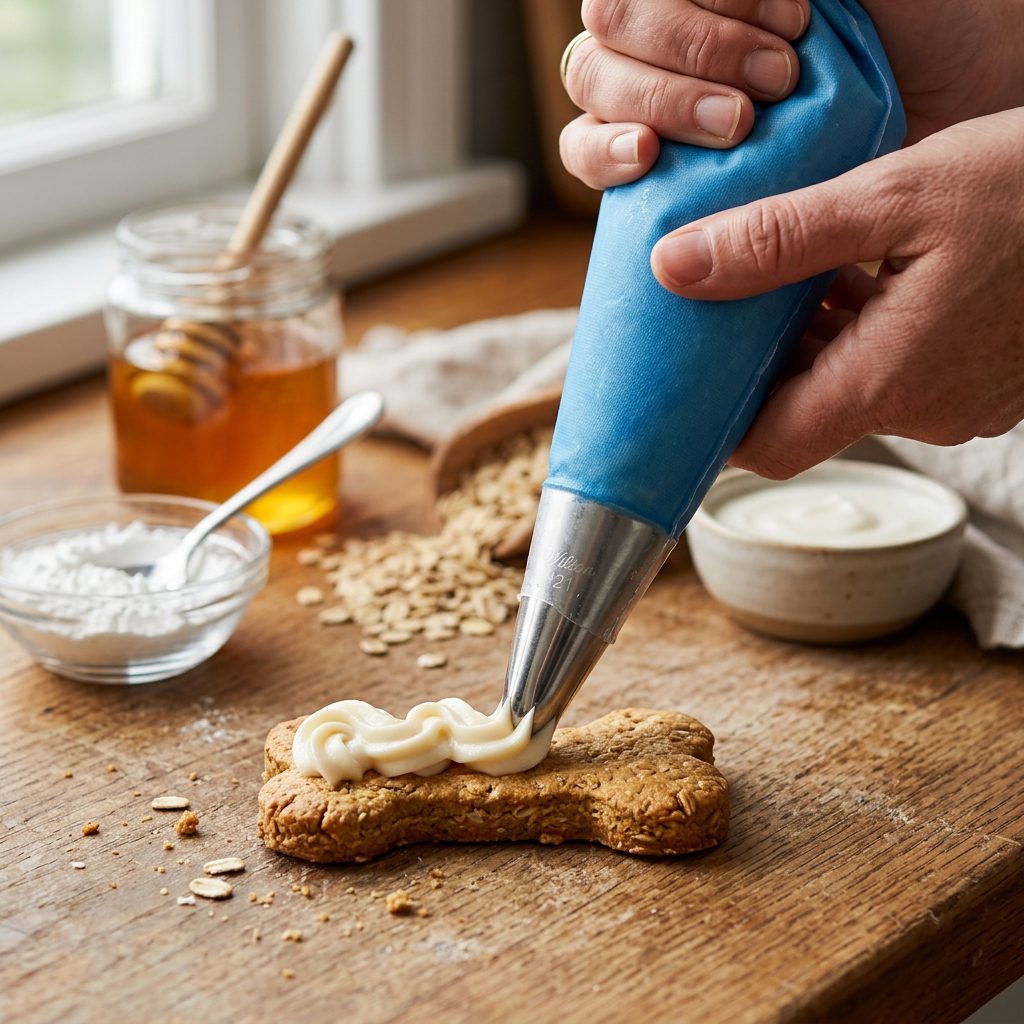
Instructions: Mix the starch and yogurt first. It will look crumbly. Add liquid one teaspoon at a time until it reaches the consistency of thick toothpaste. If you use a silicone pastry bag, this thick mixture will glide out with minimal pressure.
Batch Cooking & Storage Tip:
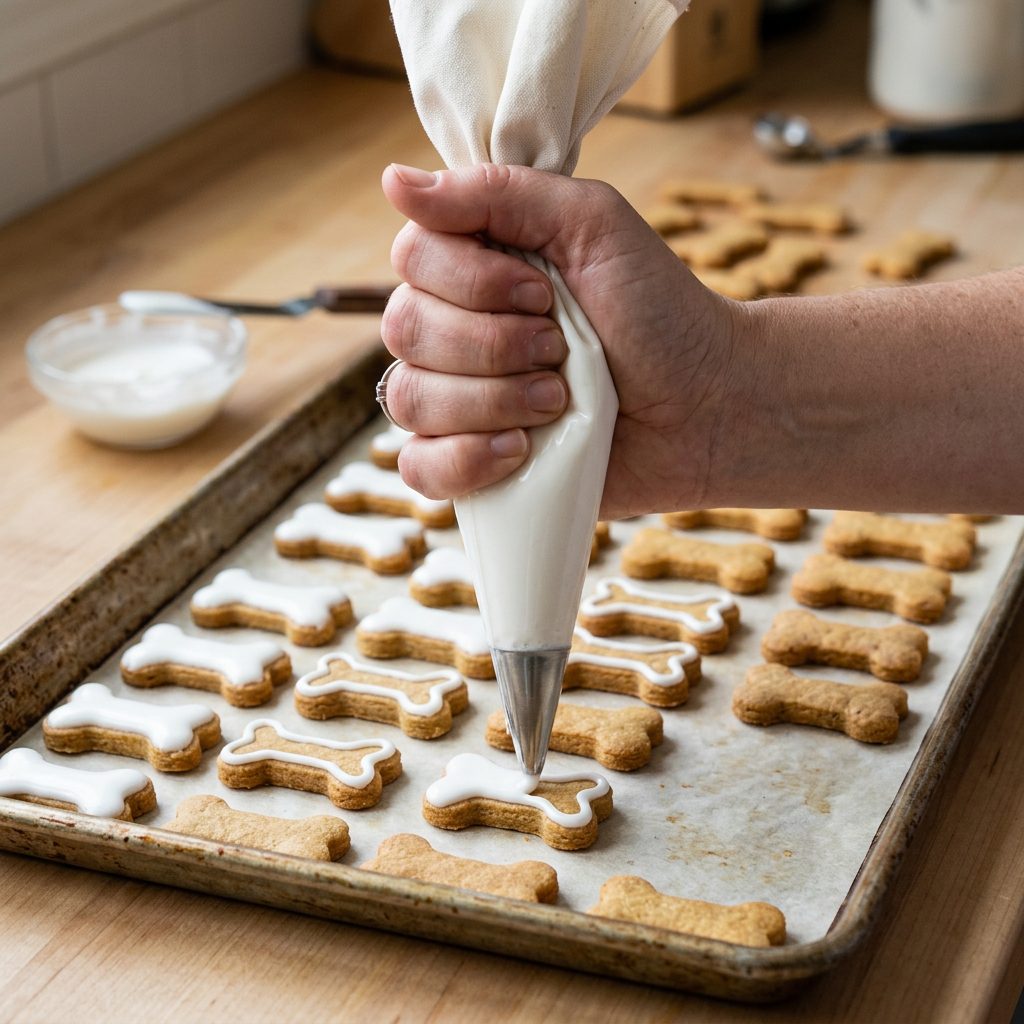
Don’t fill the bag to the top! Only fill it halfway. This gives you more control and reduces the tension on your carpal tunnel. Store leftover icing in the bag by putting a ‘cap’ (or a piece of plastic wrap) over the nozzle and securing the top with a rubber band. It stays fresh in the fridge for 3 days.
Ergonomic Techniques: How to Pipe Without the Pain
Even the best bag won’t help if your technique is trash. Professional bakers don’t squeeze with their fingers; they use their entire palm. Here is how to hack your piping technique to save your joints:
- The Anchor: Twist the top of the bag tight against the icing and tuck it between your thumb and forefinger. This creates an airtight seal so the icing only goes one way: down.
- The Palm Squeeze: Apply pressure using the base of your palm (the meaty part below your thumb). This uses larger muscle groups rather than the small, fragile muscles in your fingers.
- The 90-Degree Rule: Keep the bag perpendicular to the treat. This allows gravity to do some of the work for you.
Insider Secret: Use a Large Coupler. Most ‘home’ kits come with tiny couplers. A large coupler allows you to swap tips without emptying the bag, and it provides a wider ‘throat’ for the icing to pass through, significantly reducing the pressure needed to pipe.
Conclusion
At the end of the day, being a Savvy Dog Owner means making choices that are sustainable for you and healthy for your pup. You don’t have to settle for the ‘junk food’ treats at the grocery store just because DIY seems like too much work. By upgrading to professional-grade pastry bags—specifically textured disposables or high-flex silicone—you remove the physical barrier to canine nutrition.
Your dog gets fresh, whole-food ingredients like pumpkin, yogurt, and starch instead of ‘corn gluten meal’ and artificial dyes. You get to keep your wrists healthy and your kitchen clean. It’s a win-win that pays for itself in just a few batches. Now, grab those bags and start hacking your way to a healthier, happier hound!