This Shiny, Hardening Carob Glaze Will Make Your Dog Treats Look Professionally Baked
Let’s be honest: most homemade dog treats look like, well, brown lumps. You spend hours sourcing organic ingredients and rolling out dough, only for the final product to look a bit… underwhelming. As a Canine Nutrition Hacker, I don’t just care about what goes into the dog; I care about the experience of making something truly special. You’ve seen those $5-a-pop treats at the local doggy boutique—the ones with the perfectly smooth, shiny coating that doesn’t smear when you touch it. You’ve probably wondered what kind of chemical-laden ‘yogurt coating’ they’re using to get that finish.
The secret isn’t a mystery chemical; it’s a specific application of carob and healthy fats. Today, I’m pulling back the curtain on the ultimate hardening carob glaze. This isn’t just about aesthetics; it’s about providing a nutrient-dense, chocolate-safe alternative that gives your treats that satisfying ‘snap.’ We’re going to bypass the overpriced, sugar-filled commercial icings and hack our way to a professional finish using just two primary ingredients. Get ready to make your neighbor’s Labrador very, very jealous.
The Safety Protocol: Why Carob is the Hacker’s Choice
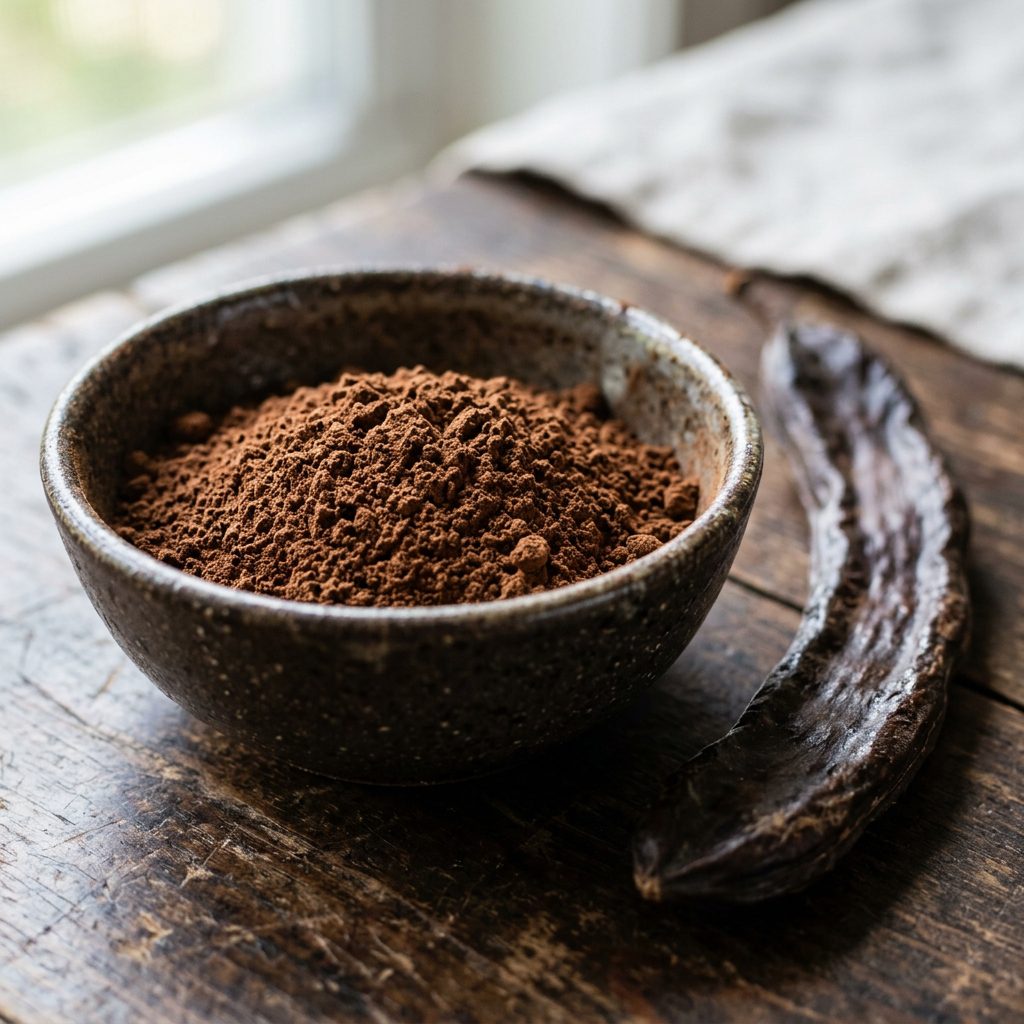
Before we pick up a whisk, let’s address the elephant in the room: Chocolate is toxic to dogs. As a savvy owner, you know that theobromine and caffeine in cocoa can cause everything from heart arrhythmias to seizures. This is why we use Carob. Carob comes from the pod of the Mediterranean carob tree and is naturally sweet, caffeine-free, and contains zero theobromine.
Hacker Tip: Carob isn’t just a ‘fake chocolate.’ It’s a nutritional powerhouse in its own right, packed with Vitamin A, B, and D, plus calcium and magnesium. It actually aids digestion rather than upsetting it.
However, not all carob is created equal. When you’re shopping for your glaze, you need to look at the label. Many ‘carob chips’ sold in grocery stores are actually ‘carob flavored’ and loaded with hydrogenated palm oils and cane sugar. We want 100% pure roasted carob powder. If the ingredient list has more than two items, put it back on the shelf.
Medical Disclaimer
While I have spent years analyzing canine diets, I am not a veterinarian. These treats are intended as supplemental snacks. Always introduce new ingredients slowly to ensure your dog doesn’t have a specific sensitivity, and consult your vet if your dog has underlying conditions like pancreatitis, which requires a strictly low-fat diet.
The ‘First 5 Ingredients’ Truth: Commercial Icing vs. DIY
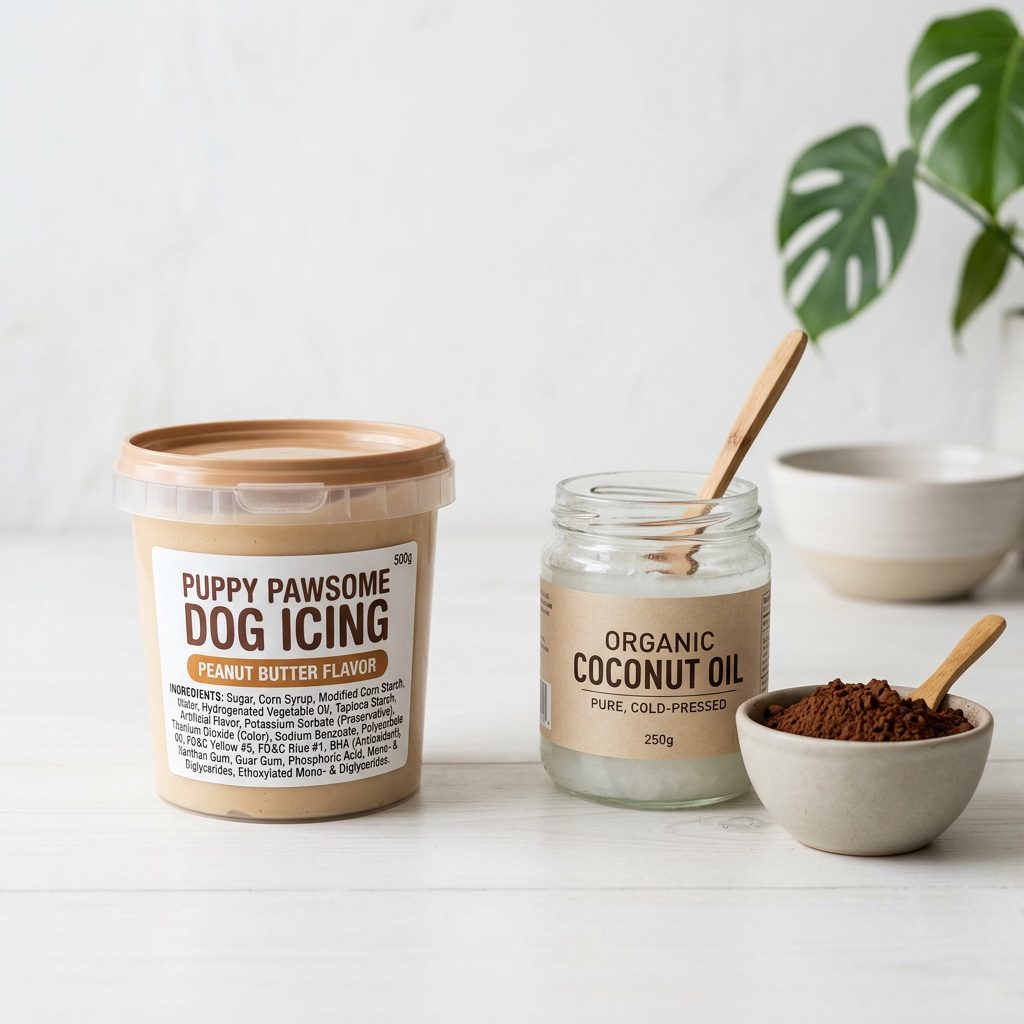
If you go to a pet supply store and buy a tub of ‘dog-safe icing,’ you’re often paying for a cocktail of fillers. Let’s look at a typical high-end commercial dog frosting versus our DIY Hacker Glaze.
| Feature | Commercial Dog Frosting | Hacker’s Carob Glaze | |
|---|---|---|---|
| Primary Ingredient | Sugar or Tapioca Starch | Pure Carob Powder | |
| Fat Source | Hydrogenated Vegetable Oil | Virgin Coconut Oil | |
| Hardening Agent | Titanium Dioxide / Shellac | Natural Saturated Fats | |
| Cost Per Ounce | $2.50 – $4.00 | $0.60 – $0.90 | |
| Verdict | Overpriced Filler | Nutritional Gold |
The commercial stuff relies on sugar to create a shelf-stable ‘crust.’ Our hack uses the science of saturated fats. By using virgin coconut oil, which is solid at room temperature, we create a glaze that hardens naturally when cooled. This gives you that professional ‘clink’ when the treats hit the jar, without the insulin spike for your pup.
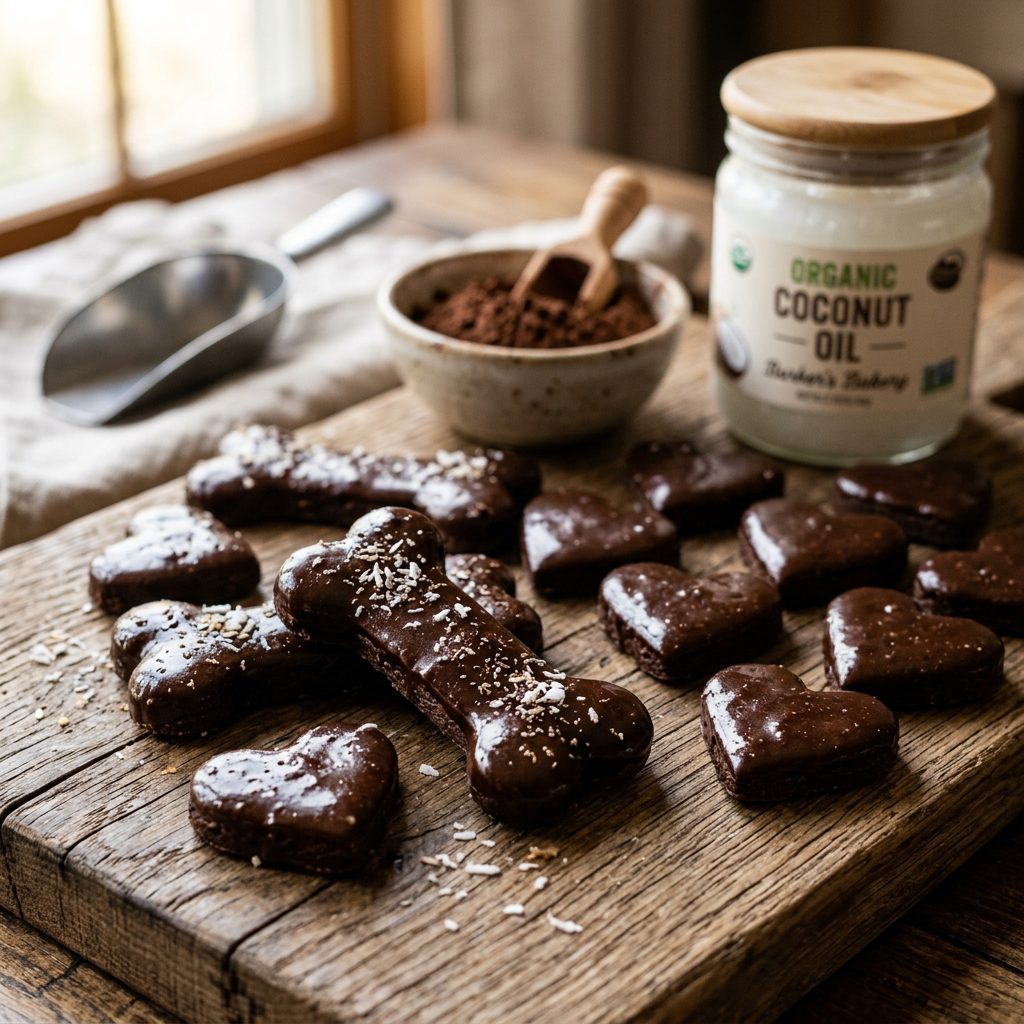
The Recipe: The Shiny, Hardening Carob Glaze
This recipe is about ratios and temperature control. If you get the heat too high, the carob becomes bitter. If it’s too cool, it won’t be smooth. We are aiming for a 1:1 ratio of fat to carob powder for a thick, dipping consistency.
Ingredients:
- 1/2 Cup Pure Roasted Carob Powder (Sifted to remove lumps).
- 1/2 Cup Virgin Coconut Oil (Cold-pressed is best for the lauric acid benefits).
- 1 Teaspoon Raw Honey (Optional, for extra shine and a hint of sweetness).
Instructions:
- The Melt: Use a double boiler (or a glass bowl over a pot of simmering water). Melt the coconut oil until it is completely liquid and clear.
- The Sift: Sift the carob powder directly into the oil. Do not skip this! Carob is notorious for clumping, and lumps will ruin your professional finish.
- The Whisk: Whisk vigorously until the mixture is glossy and smooth. Add the honey now if you’re using it.
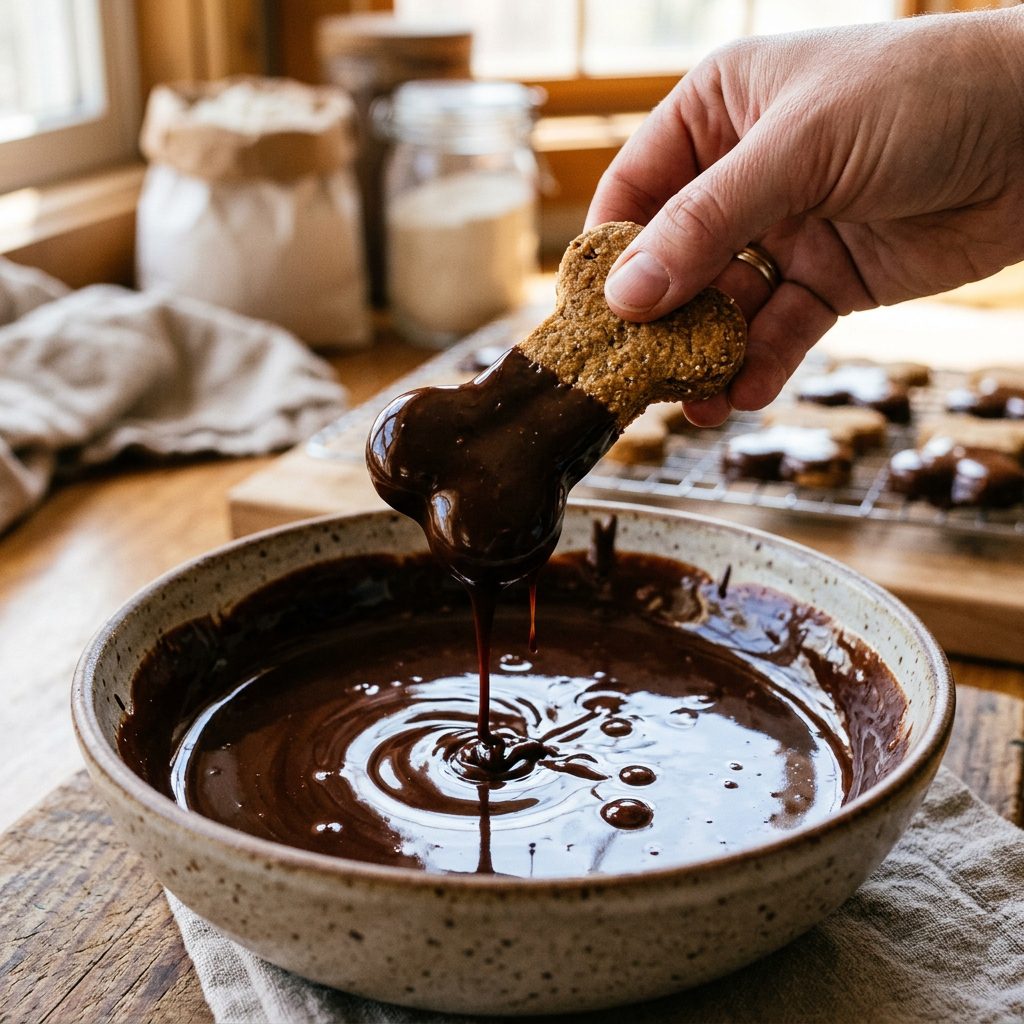
- The Dip: Take your pre-baked, completely cooled treats. Dip them halfway into the glaze or use a spoon to drizzle.
- The Set: Place the treats on a baking sheet lined with parchment paper. Pop them in the fridge for 20 minutes. The coconut oil will snap-freeze into a hard, shiny shell.
Insider Secret: If you want an even harder finish that won’t melt in your hand, replace 1 tablespoon of coconut oil with 1 tablespoon of food-grade beeswax pellets. It adds a beautiful ‘tempered chocolate’ texture.
Cost Breakdown: DIY vs. Boutique Prices
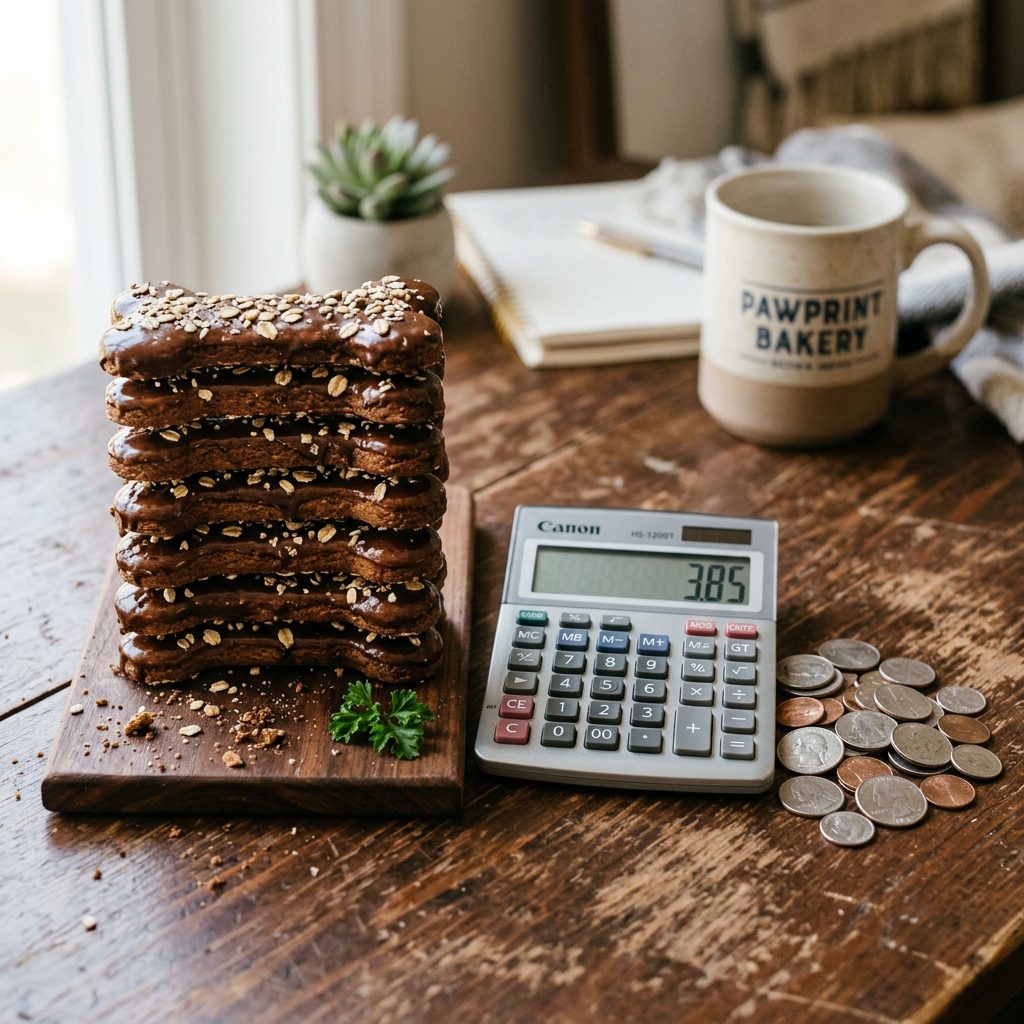
Why do we do this? Because the ‘dog boutique’ industry is a $10 billion racket. They charge a premium for ‘decorated’ treats that cost pennies to make. Let’s break down the real cost of a batch of 24 decorated treats.
| Expense Item | Boutique Price (24 treats) | Hacker DIY Cost (24 treats) | |
|---|---|---|---|
| Base Ingredients | $15.00 | $3.50 | |
| Decorating/Glaze | $12.00 | $1.20 | |
| Packaging/Markup | $20.00 | $0.00 | |
| Total Cost | $47.00 | $4.70 |
By making this glaze yourself, you are saving roughly $42.30 per batch. For a 50lb dog that gets two treats a day, that’s a savings of over $600 a year just on snacks. That’s money you can put toward higher-quality protein in their main meals or a better health insurance plan for your pup.
The Hacker’s Guide to Batch Cooking & Storage
The biggest mistake people make with this glaze is storing it incorrectly. Because we are using coconut oil as our hardening agent, these treats are temperature sensitive. If your house is 80 degrees, the glaze will soften. Here is how to handle them like a pro.
Storage Secrets:
- Refrigeration is King: Keep these treats in an airtight container in the fridge. They will stay crisp and the glaze will remain hard for up to 3 weeks.
- The Freezer Hack: You can freeze these treats for up to 6 months. The carob glaze doesn’t discolor or ‘bloom’ like chocolate does when frozen.
- Avoid Humidity: Moisture is the enemy of shine. If you’re gifting these, put a small food-safe desiccant pack in the jar to keep the treats from getting tacky.
If you find your glaze has thickened too much while you’re working, simply place the bowl back over the warm water for 30 seconds. Never microwave the glaze; it can scorched the carob and turn it into a gritty, bitter mess.
Conclusion
You don’t need a culinary degree or a massive budget to give your dog the best. This hardening carob glaze is a prime example of how a little ‘nutrition hacking’ can elevate your dog’s life while saving you a fortune. You’ve successfully bypassed the fillers, the sugars, and the boutique markups. Your treats now have the professional shine, the satisfying snap, and the nutritional profile that would put any commercial brand to shame.
Next time you’re at the pet store and see those overpriced decorated cookies, you can walk right past them with a smile, knowing you’ve got the ‘insider secret’ to doing it better, cheaper, and healthier at home. Now go forth and bake—your dog is waiting!