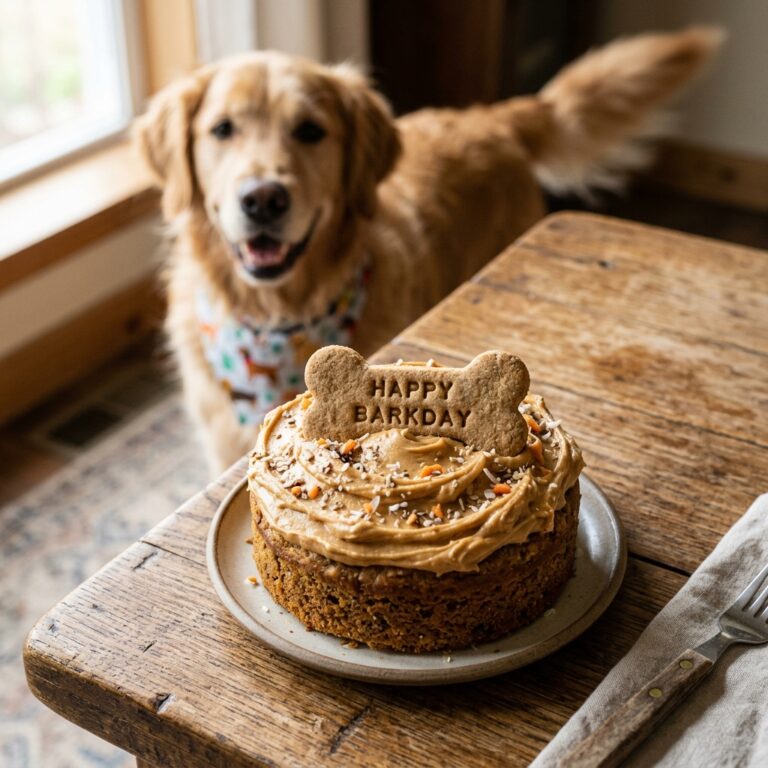
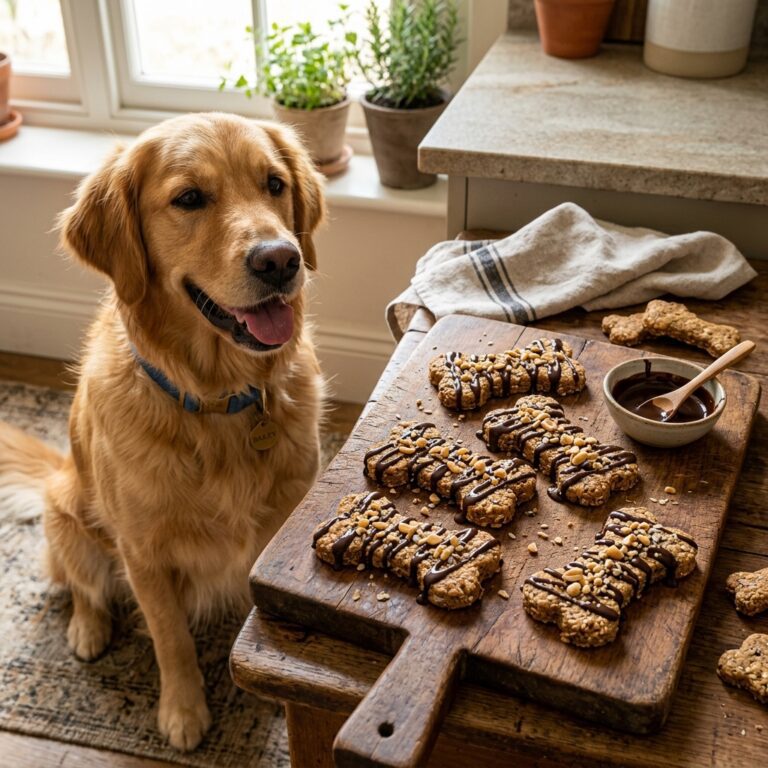
The Secret 3-Ingredient Yeast-Free Dog Bread Your Pup Will Drool Over
SAFETY DISCLAIMER: As your resident Canine Nutrition Hacker, I am a passionate, label-reading, obsessive dog owner—not a licensed veterinarian. While this recipe is crafted with dog-safe, wholesome ingredients, every dog’s digestive system is unique. Always consult your holistic or traditional vet before introducing new foods, especially if your dog has severe allergies, pancreatitis, or other medical conditions. Homemade treats are for supplemental feeding only and do not replace a complete, balanced, and strictly formulated canine diet.
Let’s have a completely honest, no-nonsense conversation about what is actually sitting in your pantry right now. If you are anything like I used to be, you probably have a bag of expensive, premium-looking dog treats sitting on your counter. You bought them because the packaging featured a beautiful, running wolf or a farm-fresh vegetable garden. But if you turn that bag around and read the label like a forensic scientist, the truth is often terrifying. We are talking about unpronounceable preservatives, artificial colors, and the absolute worst offender of all: cheap, inflammatory fillers.
As savvy dog owners, we are waking up to the reality of the commercial pet food industry. We are tired of paying a premium for products that are essentially junk food disguised as health food. And one of the most frustrating aspects of commercial treats is the heavy reliance on yeast, wheat, and hidden sugars. For many dogs, these ingredients are the direct cause of endless scratching, paw-licking, and digestive upset. That is exactly why I stepped into the kitchen and engineered a solution.
Today, I am handing you the keys to one of my most closely guarded insider secrets: The 3-Ingredient Yeast-Free Dog Bread. This is not just a recipe; it is a nutritional rebellion. We are stripping away the garbage, eliminating the yeast that feeds skin infections, and focusing on pure, biologically appropriate ingredients that your dog will literally drool over. Best of all? It takes minutes to prep, costs pennies on the dollar compared to store-bought treats, and requires zero culinary skill. Get ready to hack your dog’s treat jar.
Exposing the Commercial Treat Industry: Why Yeast is the Enemy
Before we dive into the kitchen, we need to understand exactly what we are fighting against. The commercial dog treat industry is a multi-billion dollar machine, and their primary goal is shelf life and profit margins, not your dog’s longevity. When you look at the first five ingredients of most popular dog biscuits, you will often find things like corn gluten meal, wheat flour, and various forms of yeast (like brewers yeast or yeast extract).
The Yeast Problem
Why are we making this bread yeast-free? Because for a massive population of dogs, yeast is a hidden nightmare. If your dog constantly licks their paws until they are raw, smells intensely like corn chips (the dreaded “Frito feet”), or suffers from chronic ear infections, you might be dealing with a yeast overgrowth known as Candida. Feeding your dog commercial treats packed with yeast and simple carbohydrates (which break down into sugars) is like throwing gasoline on a fire. It feeds the yeast overgrowth, leading to a vicious cycle of itching, scratching, and vet visits.
The Insider Secret: Many “hypoallergenic” store-bought treats still use yeast extracts as a flavor enhancer because it is cheap and highly palatable. By making your own yeast-free bread, you are taking 100% control over the inflammation triggers in your dog’s diet.
Furthermore, commercial treats are often loaded with chemical preservatives like BHA, BHT, and ethoxyquin to keep them “fresh” on a warehouse shelf for years. As a Canine Nutrition Hacker, my philosophy is simple: if I wouldn’t eat it, my dog isn’t eating it. By eliminating these fillers and focusing on our three hero ingredients, we are protecting our dogs’ gut microbiomes and immune systems.
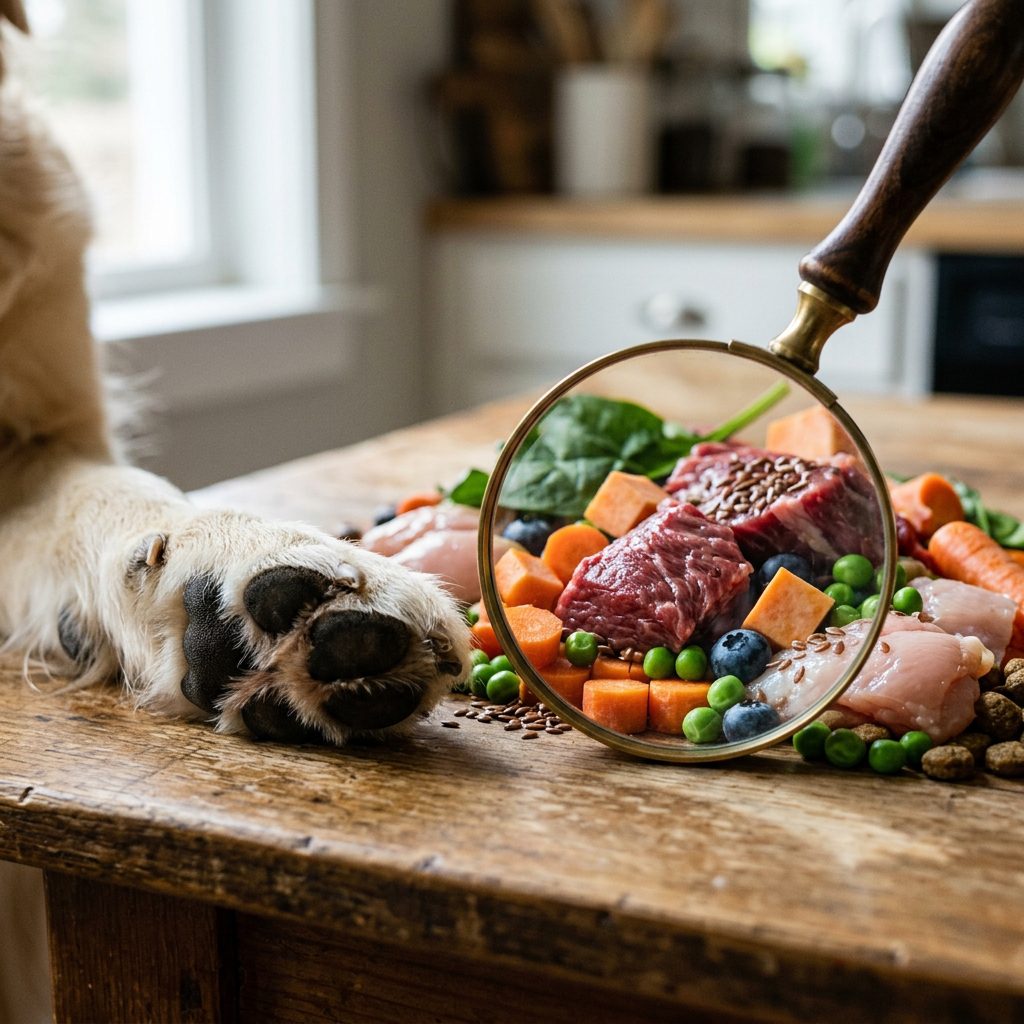
The 3-Ingredient Magic Breakdown: Meet the Hero Ingredients
The beauty of this recipe lies in its absolute simplicity. We are using exactly three ingredients. No hidden chemicals, no artificial binders, just pure, functional nutrition. Let’s break down the science behind why these three specific ingredients are the ultimate dream team for your dog’s health.
Hero Ingredient 1: Oat Flour (The Safe Carbohydrate)
Instead of cheap, inflammatory wheat or corn, we are using oat flour. Oats are a fantastic, naturally gluten-free (ensure certified gluten-free if your dog is highly sensitive) source of soluble fiber. They contain beta-glucans, which help regulate blood sugar and support a healthy immune system. Oat flour provides the perfect structural base for our bread without causing the insulin spikes associated with highly processed white flours.
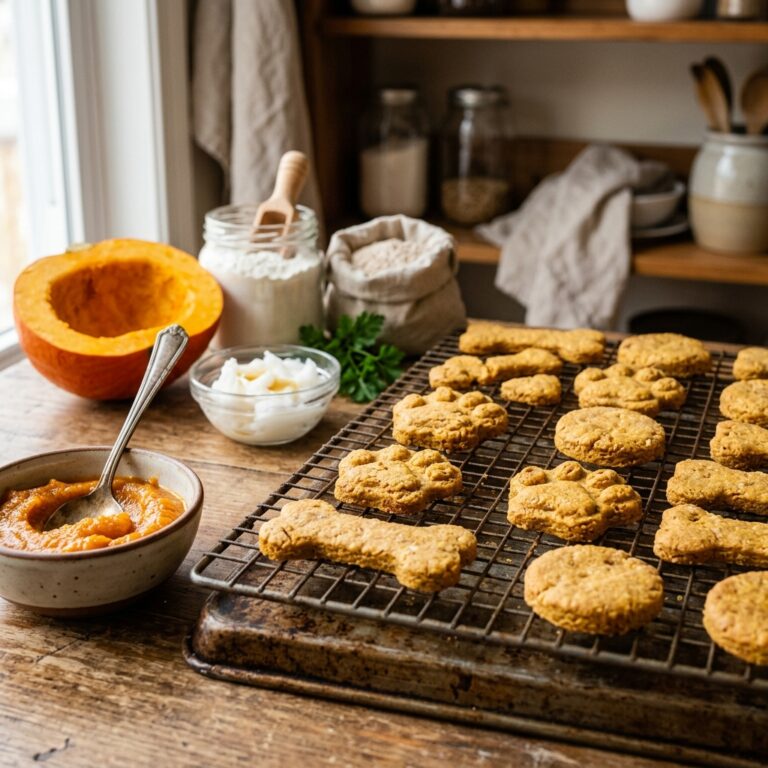
Hero Ingredient 2: Pure Pumpkin Purée (The Digestion Savior)
Pumpkin is the holy grail of canine digestion. It is packed with essential micronutrients like Vitamin A, Potassium, and Iron. More importantly, it is rich in soluble fiber, which acts as a prebiotic, feeding the good bacteria in your dog’s gut. Whether your dog leans towards diarrhea or constipation, pure pumpkin helps regulate their bowel movements. CRITICAL WARNING: You must use 100% Pure Pumpkin Purée, absolutely NOT pumpkin pie filling, which contains toxic spices and dangerous amounts of sugar.
Hero Ingredient 3: Natural Peanut Butter (The Protein & Fat Powerhouse)
Peanut butter provides the healthy fats and protein that will make your dog go absolutely wild for this bread. It acts as the binder, holding our oat flour and pumpkin together without the need for eggs or dairy. However, this is where you must be extremely vigilant.
HACKER WARNING: XYLITOL IS DEADLY. You must check your peanut butter label. Many modern peanut butters use a sugar substitute called Xylitol (sometimes labeled as birch sugar). Xylitol is highly toxic to dogs and can cause fatal hypoglycemia and liver failure in minutes. Use only 100% natural peanut butter where the ONLY ingredient is roasted peanuts.
The Real Cost Breakdown: DIY vs. Premium Store-Bought
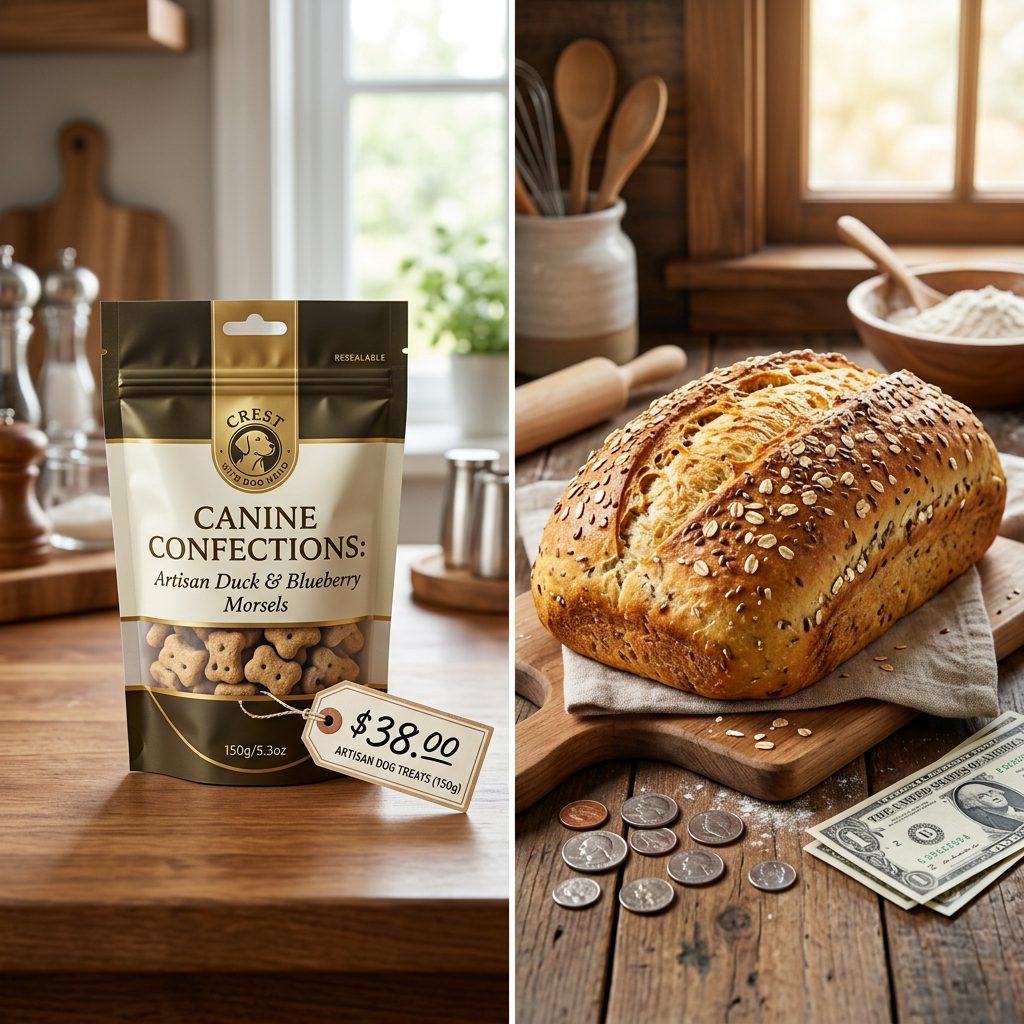
Let’s talk numbers, because being a savvy dog owner means optimizing your budget just as much as you optimize your dog’s nutrition. Premium, boutique dog treats marketed as “limited ingredient” or “allergy-friendly” can easily cost upwards of $15 to $20 for a tiny 8-ounce bag. When you calculate the cost of baking this yeast-free bread at home, the savings are staggering.
By buying whole rolled oats and blending them into flour yourself, purchasing canned pumpkin, and using bulk natural peanut butter, you are bypassing the massive retail markups, packaging costs, and marketing budgets of big pet food corporations.
| Treat Type | Primary Ingredients | Cost Per Day (50lb Dog) | Verdict |
|---|---|---|---|
| Premium Store-Bought | Oatmeal, Glycerin, Yeast Extract, Preservatives | $1.50/day | Overpriced, contains hidden fillers, high risk of yeast flare-ups. |
| Hacker’s Yeast-Free Bread | Oat Flour, Pure Pumpkin, Peanut Butter | $0.35/day | 100% transparent, anti-inflammatory, massive financial savings. |
As you can see, spending just a few minutes in the kitchen doesn’t just save your dog from itchy skin and upset stomachs; it keeps your hard-earned money in your wallet. Over the course of a year, switching to this homemade bread can save you over $400 in treat costs alone.
The Actionable Recipe: Baking the Secret Dog Bread
It is time to put on your apron and get to work. This recipe is virtually foolproof. Because there is no yeast, we don’t have to worry about proofing times, warm water temperatures, or rising. It is a simple mix, bake, and serve process. Here are the exact ratios and steps you need to create the perfect loaf.
Equipment Needed:
- A standard mixing bowl
- A spatula or wooden spoon
- A standard 9×5 inch loaf pan (silicone is great for easy release)
- Parchment paper (if not using silicone)
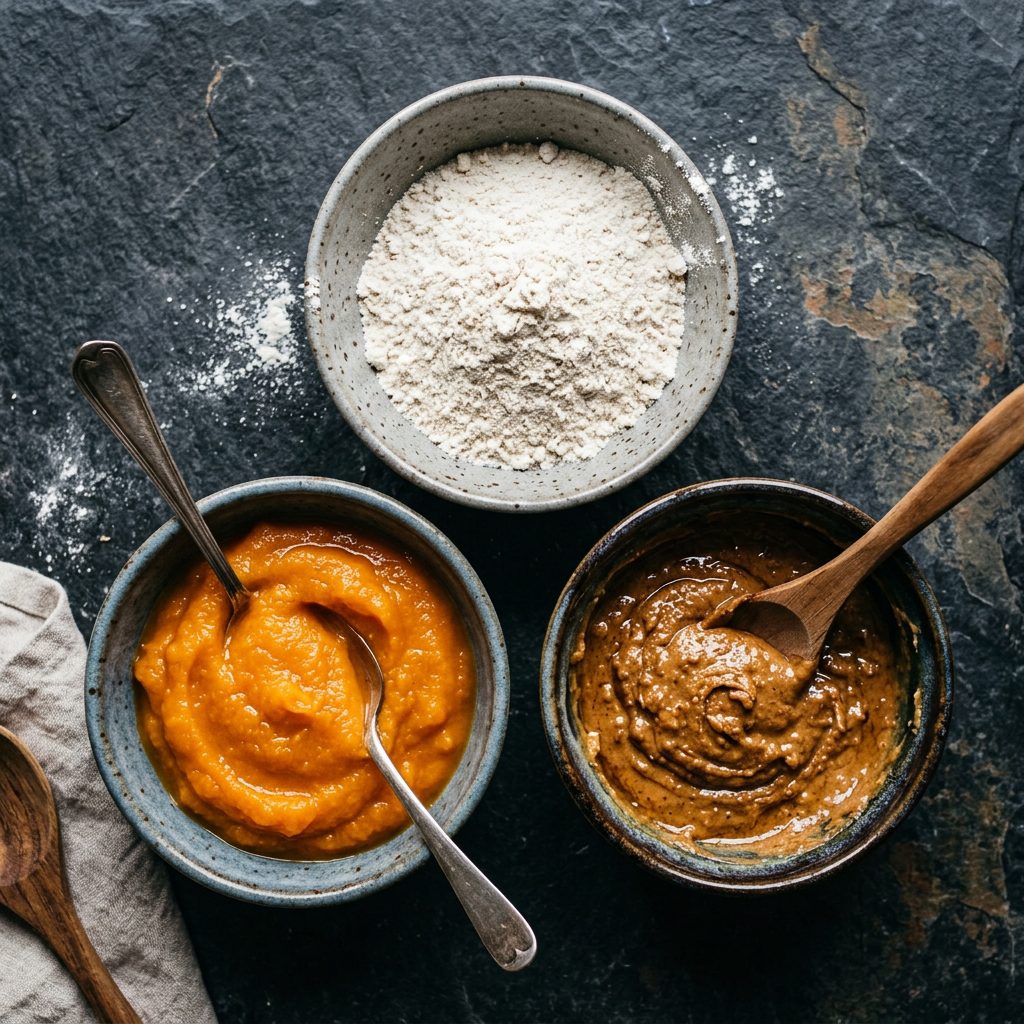
The Exact Ratios:
- 2 Cups of Oat Flour (You can make this by pulsing 2.5 cups of whole rolled oats in a blender until fine).
- 1 Cup of 100% Pure Pumpkin Purée.
- 1/2 Cup of Natural, Xylitol-Free Peanut Butter.
- Optional Hacker Addition: 1/4 cup of water if the dough is too crumbly, depending on the thickness of your peanut butter.
Step-by-Step Instructions:
- Preheat your oven: Set your oven to 350°F (175°C). Line your loaf pan with parchment paper to ensure the bread doesn’t stick.
- Mix the wet ingredients: In your mixing bowl, combine the pure pumpkin purée and the natural peanut butter. Stir vigorously until they form a smooth, uniform paste.
- Incorporate the dry: Gradually add the oat flour into the wet mixture, half a cup at a time. Fold the mixture together. The dough will become very thick and heavy—this is normal! Use your hands to knead it slightly in the bowl if the spatula isn’t cutting it.
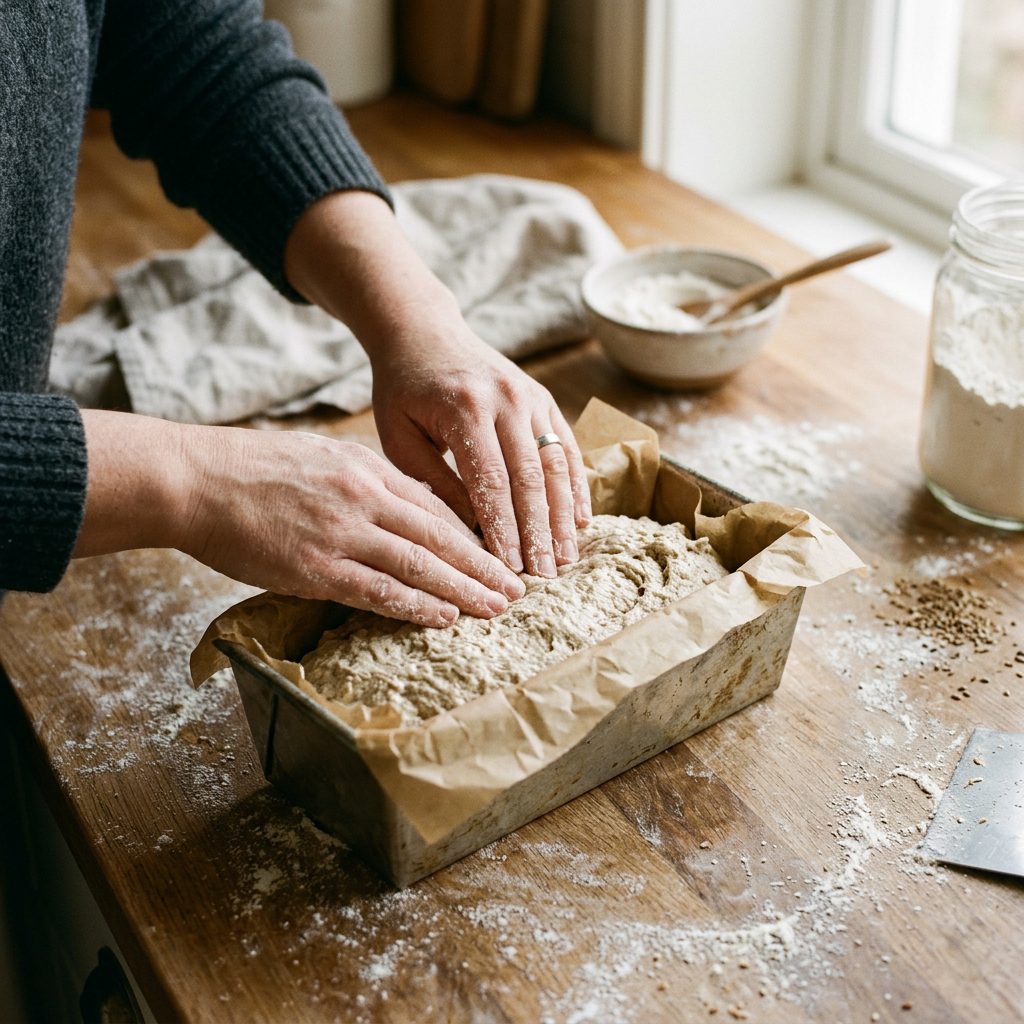
- Transfer to the pan: Press the thick dough evenly into your prepared loaf pan. Smooth out the top with the back of a wet spoon.
- Bake: Place the pan on the center rack of your oven and bake for 30 to 35 minutes. You will know it is done when the edges pull away slightly from the pan and a toothpick inserted into the center comes out mostly clean.
- Cool completely: This is a crucial step. Do not cut the bread while it is hot, or it will crumble. Let it cool in the pan for 10 minutes, then transfer it to a wire rack to cool entirely before slicing.
Insider Hacks: Batch Cooking & Storage
As a savvy dog owner, your time is just as valuable as your money. You don’t want to be baking dog bread every three days. That is why mastering the art of batch cooking and proper storage is essential. Because this bread contains zero artificial preservatives, its shelf life on the counter is relatively short. Here is how you hack the system for maximum efficiency.
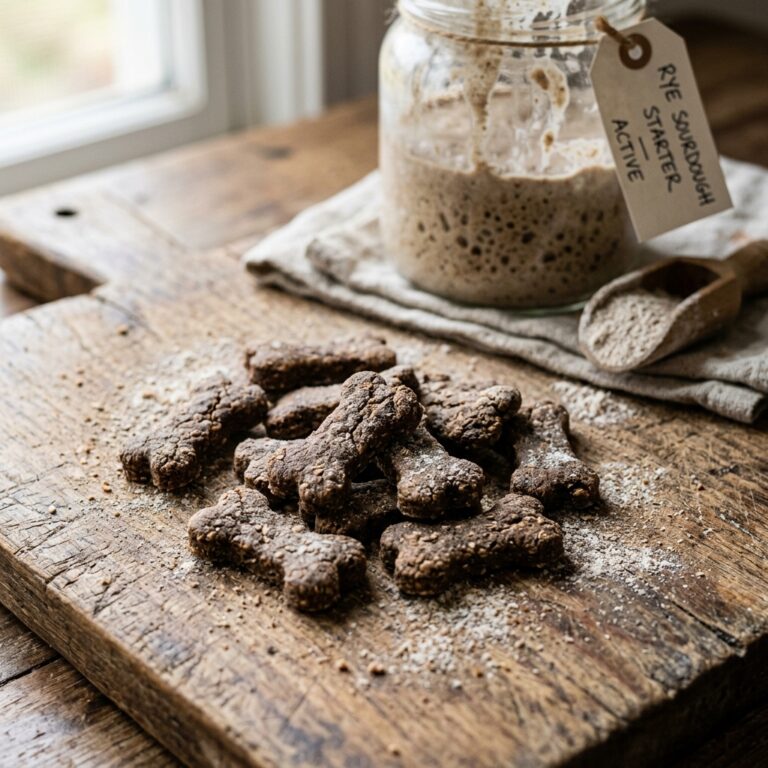
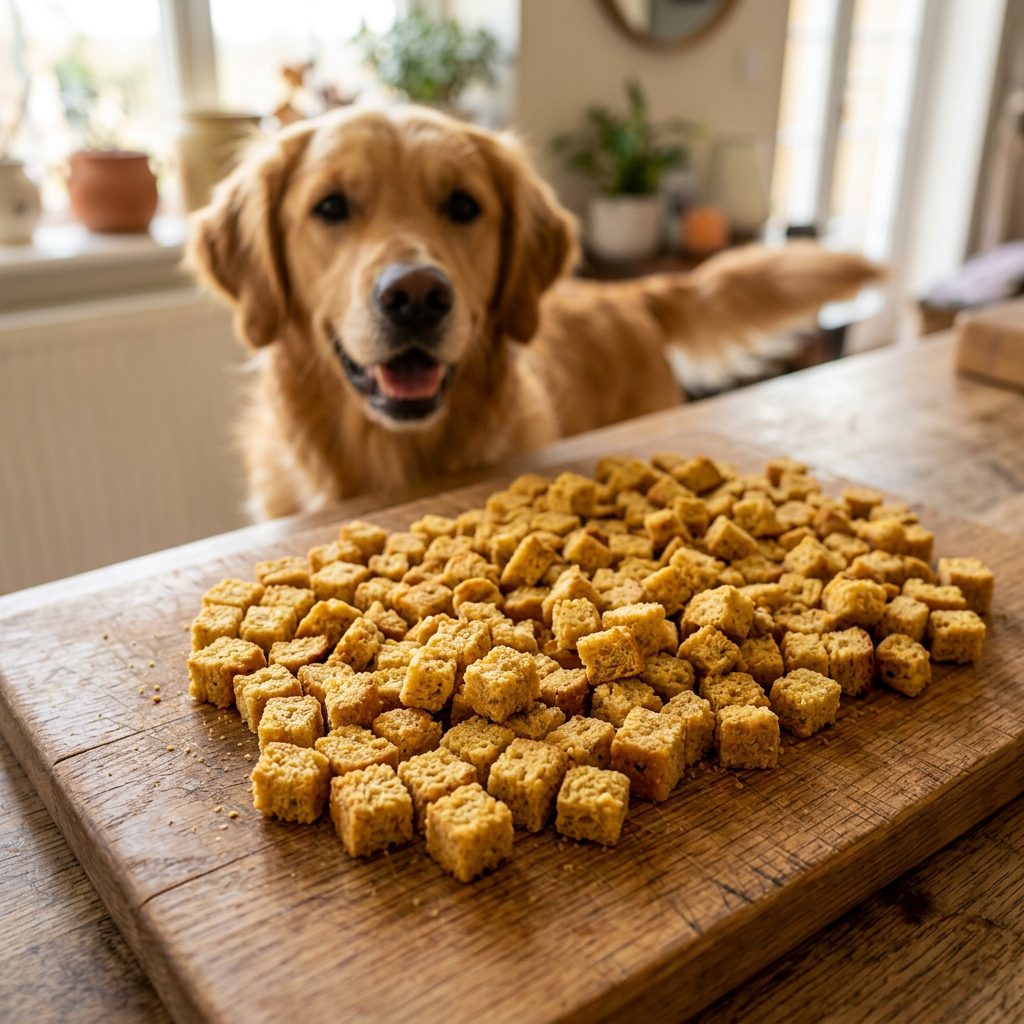
The Slicing Strategy
Once the bread is completely cool, don’t just leave it as a loaf. Take a sharp serrated knife and slice the entire loaf into small, bite-sized cubes. The size of the cubes should correspond to the size of your dog. For a Chihuahua, think pea-sized; for a Labrador, think dice-sized. By pre-cutting the bread, you instantly have hundreds of high-value training treats ready to go.
Hacker Tip: The Freeze-and-Grab Method. Divide your freshly cut cubes into three separate airtight containers or silicone freezer bags. Keep one in the fridge for immediate use over the next 4-5 days. Throw the other two into the freezer. They will stay perfectly fresh in the freezer for up to 3 months! When you run out, simply pull a bag from the freezer and let it thaw in the fridge overnight.
Troubleshooting the Bake
- Dough too dry? If your peanut butter was particularly thick or you live in a dry climate, the dough might crumble. Add warm water, one tablespoon at a time, until it holds together like a thick cookie dough.
- Want extra joint support? You can easily hack this base recipe by adding a tablespoon of bone broth powder or a dash of dog-safe turmeric to the dry ingredients before baking.
By utilizing these batch cooking strategies, you can spend just 45 minutes on a Sunday afternoon and have enough premium, health-boosting, yeast-free treats to last your dog for an entire month.
Conclusion
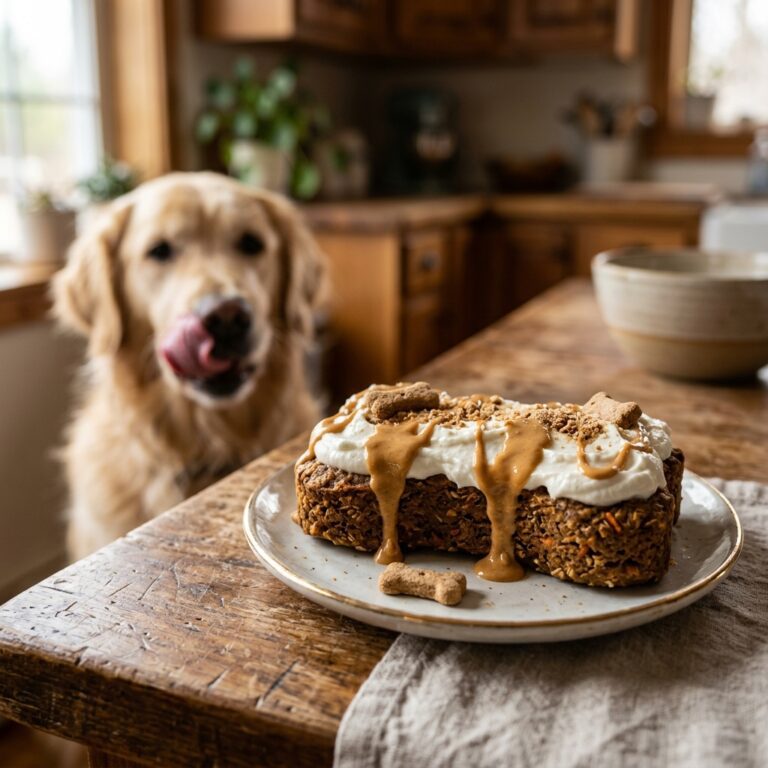
Taking control of your dog’s nutrition doesn’t have to mean spending thousands of dollars on boutique raw diets or spending hours slaving away over a hot stove every single night. Sometimes, the most powerful changes come from simple, intelligent substitutions. By ditching the commercial treats packed with inflammatory yeast, hidden sugars, and chemical preservatives, and replacing them with this Secret 3-Ingredient Yeast-Free Dog Bread, you are making a massive investment in your dog’s health.
You are protecting their gut microbiome, preventing yeast overgrowth, and providing them with functional, whole-food nutrition that actually serves their biology. Plus, the look on their face when you pull this fresh, peanut-buttery loaf out of the oven is worth its weight in gold. You now have the knowledge, the recipe, and the hacker strategies to upgrade your treat game forever. So get into the kitchen, preheat that oven, and let’s give our dogs the uncompromising quality they deserve.