Don’t Throw It Out! Bake These Crispy Sourdough Discard & Chicken Broth Dog Biscuits Tonight!
The Secret Ingredient Hiding in Your Kitchen
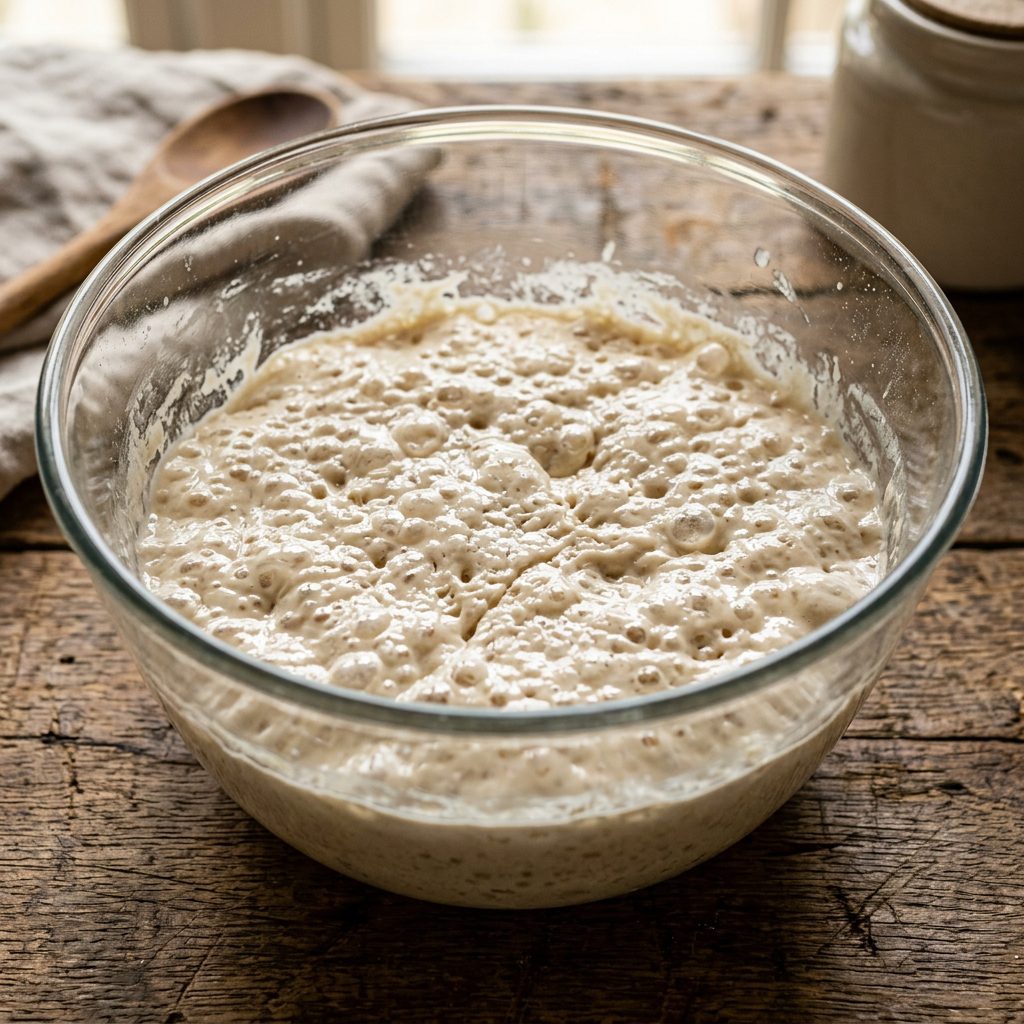
Let me guess. You’re standing in your kitchen, feeding your beloved sourdough starter. You scoop out that cup of bubbly, fermented discard, hover it over the trash can, and feel that familiar pang of guilt. You hate wasting it, but you just can’t bring yourself to make another batch of pancakes. Stop right there! Put down the spoon and back away from the trash can. As a savvy dog parent, you are currently holding liquid gold. I’m the Canine Nutrition Hacker, and today we’re going to transform that kitchen ‘waste’ into a prebiotic powerhouse for your furry best friend.
We spend an absolute fortune on boutique dog treats that promise the world but are secretly packed with cheap fillers, synthetic preservatives, and empty calories. Meanwhile, you have a naturally fermented, gut-health-boosting ingredient sitting right on your counter. Sourdough discard is packed with beneficial organic acids and pre-digested grains that can do wonders for your dog’s digestion. When you combine it with collagen-rich chicken broth, you get a high-value, high-crunch biscuit that your dog will do backflips for.
The Safe Chef Disclaimer: I am a canine nutrition hacker and passionate dog advocate, not a holistic veterinarian. These biscuits are intended for intermittent or supplemental feeding only, not as a meal replacement. Always introduce new treats slowly to monitor for any digestive upset, and consult your vet if your dog has severe dietary restrictions or a history of pancreatitis.
Tonight, we are taking control of the treat jar. No mystery ingredients, no unpronounceable chemicals, just pure, wholesome, forensic-level nutrition that saves you money and supercharges your dog’s health. Let’s get baking!
Why Sourdough Discard is a Gut-Health Game Changer
The Science of Fermentation for Canines
If you’re wondering whether dogs can even eat sourdough discard, the answer is a resounding yes—with one massive caveat: it must be fully baked. Raw sourdough starter is incredibly dangerous for dogs because the yeast continues to expand in their warm stomachs and produces alcohol, which is toxic. But once baked into a crispy biscuit? It’s an absolute superfood.
Breaking Down the Phytic Acid
Here is an insider secret the commercial pet food industry doesn’t want you to think about: standard grains are loaded with phytic acid. Phytic acid is an anti-nutrient that binds to essential minerals like zinc, iron, and calcium in your dog’s digestive tract, preventing their body from actually absorbing them. When you ferment flour and water to create a sourdough starter, the wild yeast and lactic acid bacteria break down that phytic acid. By using sourdough discard in your dog treats, you are essentially providing pre-digested grains. This means your dog’s body doesn’t have to work overtime to extract the nutrients; the fermentation process has already done the heavy lifting.
Prebiotics for the Microbiome
Your dog’s gut health dictates their immune system, their skin condition, and even their mood. Sourdough discard is rich in prebiotics—the specialized plant fibers that act as fertilizer for the good bacteria in your dog’s gut. A healthy microbiome means firmer stools, less gas, and a stronger defense against environmental allergies. When you bake these biscuits, you are feeding the beneficial flora in your dog’s digestive tract, making this treat a functional supplement disguised as a delicious cookie.
The Ingredient Forensic File: What We’re Using (and Why)
No Fillers, Just Functional Foods
As a nutrition hacker, I analyze every single ingredient that goes into my dog’s body. We don’t do ‘fillers’ here. Every item in this recipe serves a specific biological purpose. Let’s break down the forensic file of our biscuit dough.
- Sourdough Discard: The star of the show. Provides prebiotics, easily digestible carbohydrates for energy, and a tangy flavor dogs love. (Ensure your starter is fed with dog-safe flours like unbleached whole wheat, brown rice, or all-purpose. Avoid starters fed with rye if your dog has a sensitive stomach).
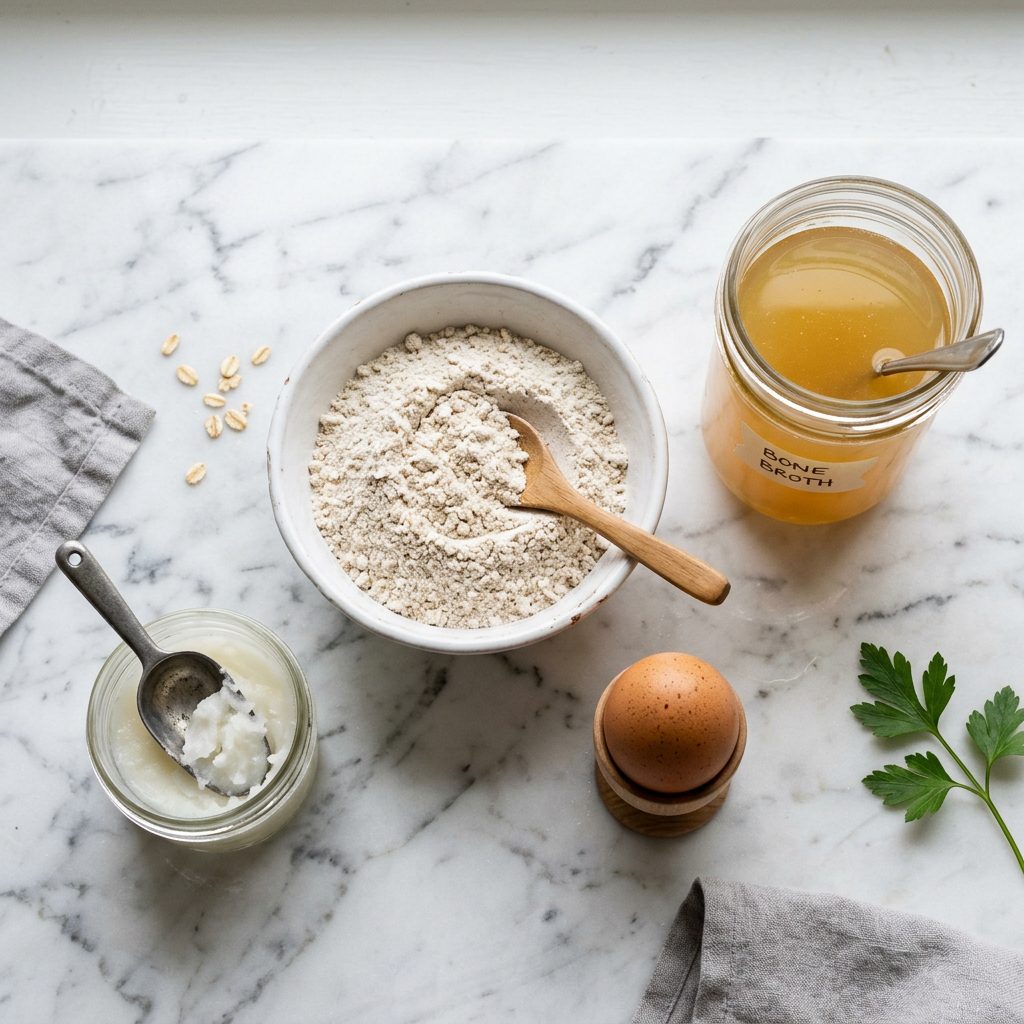
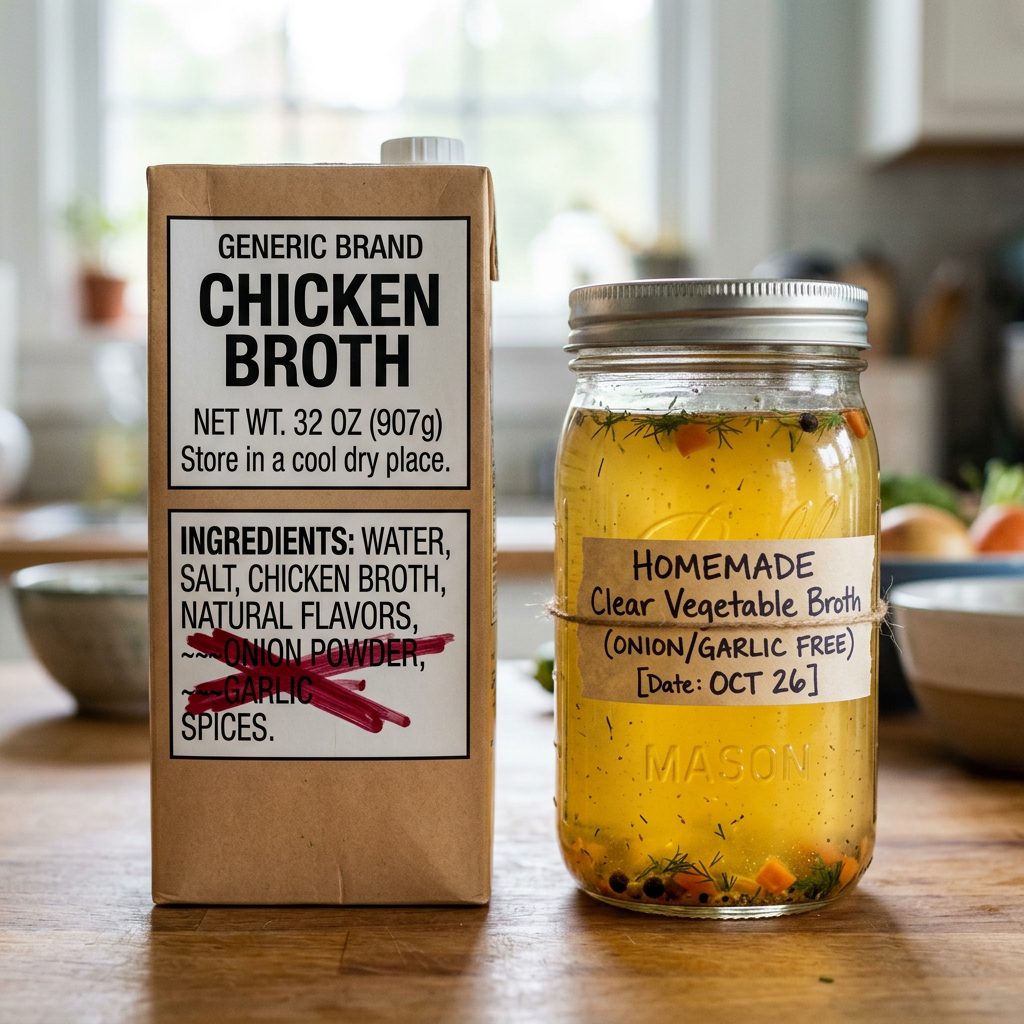
- Dog-Safe Chicken Broth: This is crucial. You cannot use standard grocery store bouillon. We need unsalted bone broth or chicken broth with ZERO onions or garlic. Broth provides hydration to the dough, a massive flavor boost, and joint-supporting collagen.
- Oat Flour: Instead of heavy, inflammatory wheat flours, we use oat flour. Oats are incredibly soothing to the canine digestive tract and are packed with vitamins, minerals, and antioxidants like avenanthramides, which help reduce itching and inflammation.
- Coconut Oil: A fantastic source of Medium Chain Triglycerides (MCTs). MCTs bypass the standard digestive process and go straight to the liver to be used as rapid energy. They also support cognitive function in senior dogs and give the biscuits a beautiful crisp texture.
- Pasture-Raised Egg: The perfect binder. Eggs are a complete protein source, meaning they contain all the essential amino acids your dog needs, plus lutein for eye health.
The Real Cost Breakdown
Let’s talk money. The boutique pet industry is built on massive markups. Here is exactly why making your own treats is the smartest financial move you can make this week.
| Treat Type | Key Ingredients | Cost Per Batch | Digestibility |
|---|---|---|---|
| Boutique Bakery Biscuits | Wheat flour, sugar, artificial flavors, preservatives | $15.00+ | Low-Medium |
| Our Sourdough Discard Biscuits | Fermented discard, real collagen broth, oat flour, coconut oil | $1.50 | High (Prebiotic) |
By saving your discard and utilizing pantry staples, you are slashing your treat budget by over 90% while simultaneously upgrading the nutritional profile. That is a massive win.
Customizing the Crunch: Targeted Health Add-Ins
Level Up Your Biscuits
The beauty of this recipe is that it serves as a blank canvas. Once you master the base dough, you can hack the recipe to target your dog’s specific health needs. Here are my favorite insider add-ins that turn a simple biscuit into a targeted health supplement.
The Joint Support Protocol
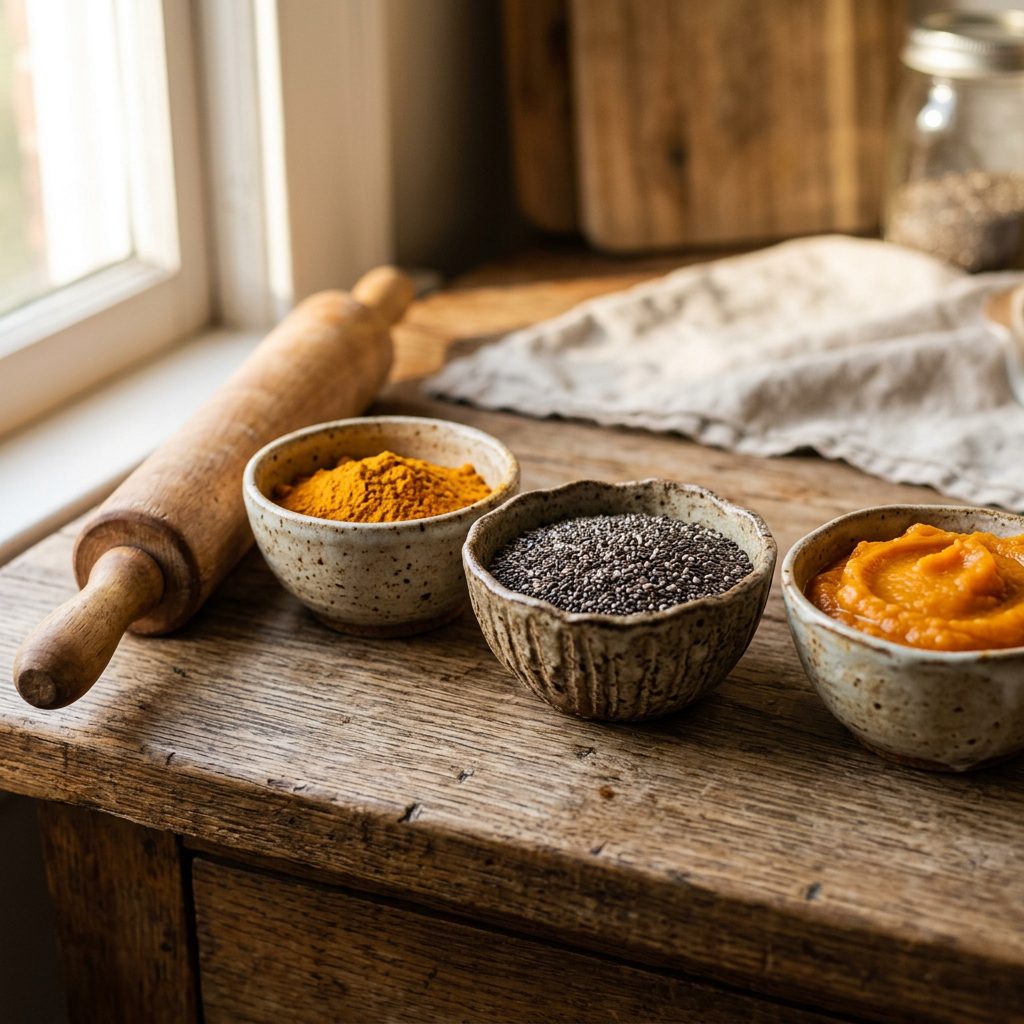
If you have a senior dog or a large breed prone to hip dysplasia, add 1 teaspoon of ground turmeric and a tiny pinch of freshly ground black pepper to the dry ingredients. The black pepper increases the bioavailability of curcumin (the active compound in turmeric) by 2000%, turning the biscuit into a powerful anti-inflammatory joint chew.
The Skin & Coat Enhancer
Struggling with a dull coat or dry, flaky skin? Swap out one tablespoon of the oat flour for one tablespoon of ground chia seeds or flaxseeds. These tiny seeds are bursting with Omega-3 fatty acids, which lubricate the skin from the inside out and reduce systemic inflammation.
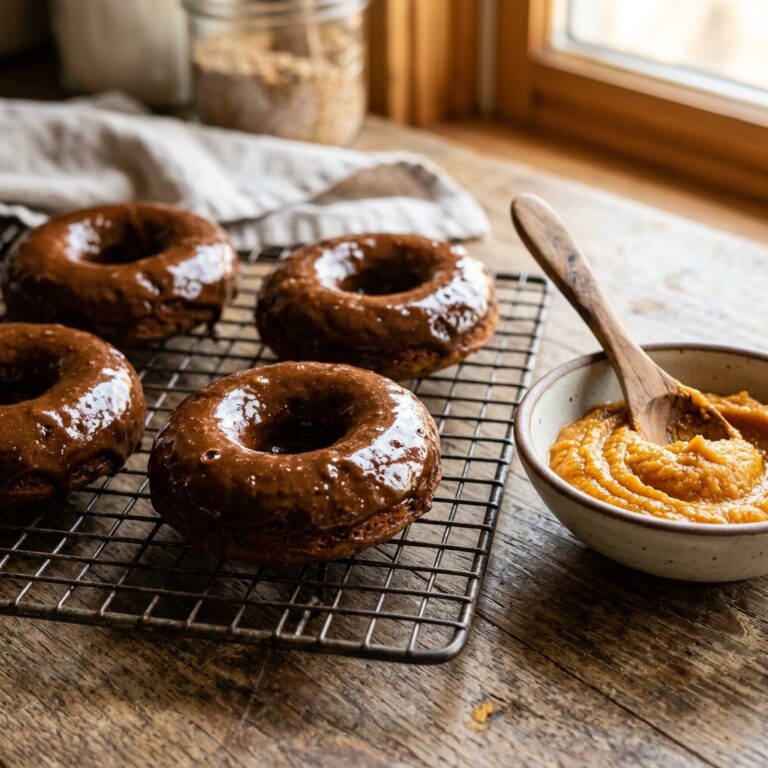
The Tummy Tamer
If your dog has a notoriously sensitive stomach, replace half of the chicken broth with pureed, 100% plain pumpkin (not pie filling!). Pumpkin is rich in soluble fiber, which absorbs excess water in the digestive tract and helps regulate bowel movements, making these treats perfect for dogs recovering from a bout of digestive upset.
The Ultimate Crispy Sourdough Discard Dog Biscuit Recipe
Time to Bake: The Step-by-Step Guide
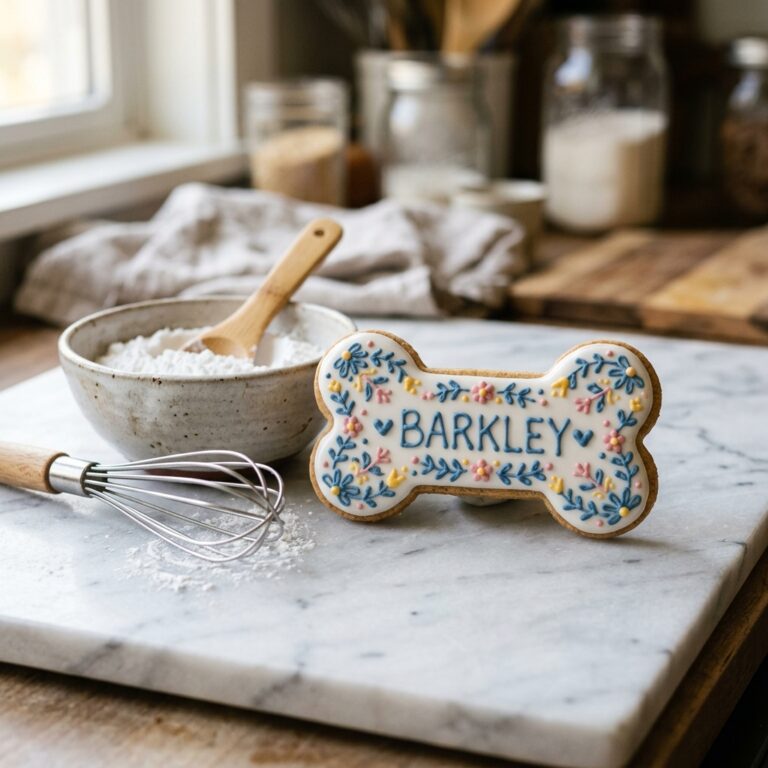
This recipe yields approximately 40-50 small, bone-shaped biscuits, depending on the size of your cookie cutter. The goal here is a rock-hard, crispy texture that cleans plaque off their teeth and has a long shelf life.
Ingredients:
- 1 cup sourdough discard (100% hydration, room temperature)
- 1/2 cup dog-safe chicken broth or bone broth (Absolutely NO onions or garlic)
- 2 to 2.5 cups oat flour (You can easily make this by blending rolled oats in a food processor until fine)
- 1/4 cup melted unrefined coconut oil
- 1 large egg
Instructions:
- Preheat & Prep: Preheat your oven to 350°F (175°C). Line two large baking sheets with parchment paper. Do not use non-stick sprays, as they often contain soy lecithin or propellants that aren’t ideal for dogs.
- Mix the Wet Ingredients: In a large mixing bowl, whisk together the room-temperature sourdough discard, the dog-safe chicken broth, the melted coconut oil, and the egg. Whisk vigorously until the mixture is smooth and fully integrated.
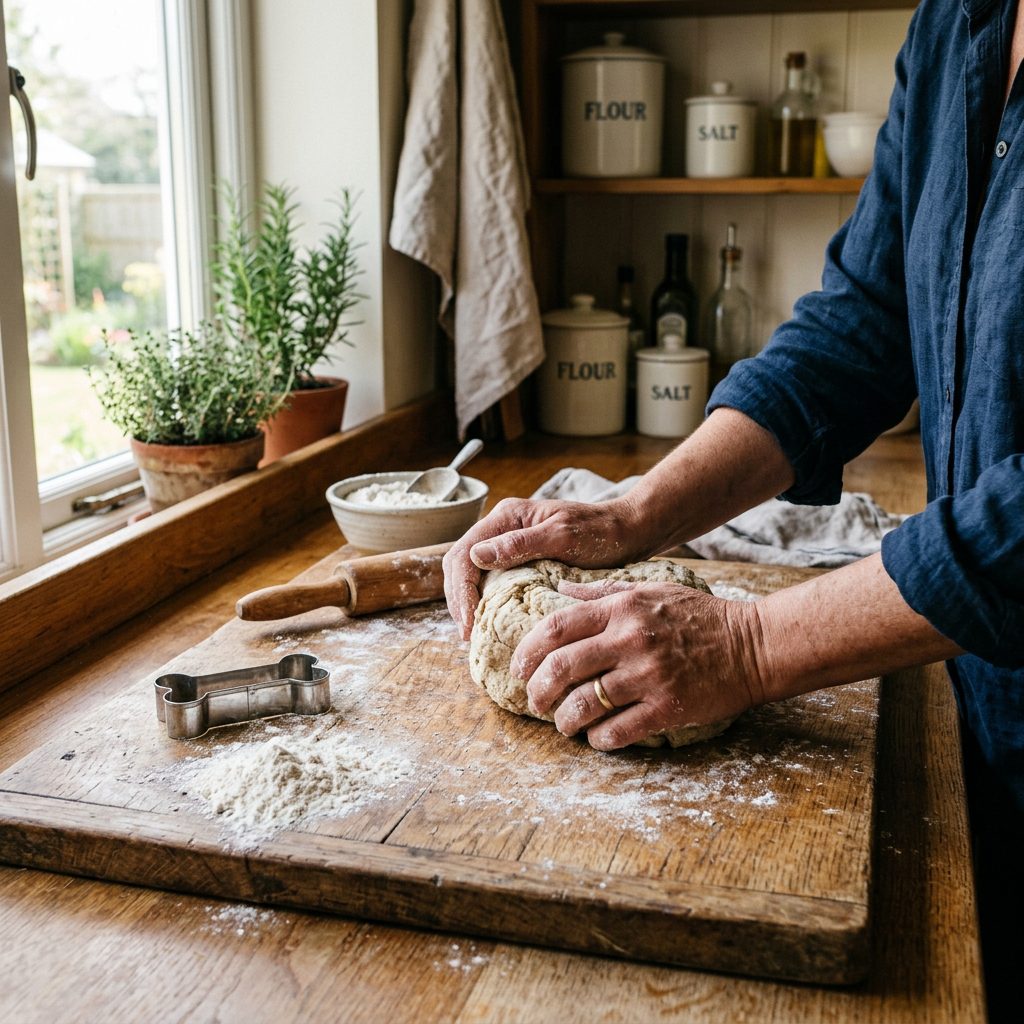
- Incorporate the Dry: Gradually add 2 cups of the oat flour to the wet mixture. Use a sturdy wooden spoon or your hands to mix. You are looking for a stiff, workable dough that pulls away from the sides of the bowl. If the dough is too sticky (which can happen depending on the hydration of your discard), slowly add the remaining 1/2 cup of oat flour until the texture resembles play-dough.
- Roll it Out: Lightly dust a clean surface with a little extra oat flour. Turn the dough out and roll it to a 1/4-inch thickness.
Hacker Tip: The thinner you roll the dough, the crispier the final biscuit will be. Thick biscuits retain moisture and spoil faster!
- Cut & Transfer: Use a dog-bone cookie cutter (or a simple pizza cutter to make squares if you’re in a hurry) to cut out the biscuits. Place them on the prepared baking sheets. Because these treats don’t contain baking powder or baking soda, they won’t expand much, so you can place them fairly close together.
- The Double-Bake Method for Maximum Crunch: Bake in the preheated oven for 20 to 25 minutes, or until the edges turn a deep golden brown. Now, here is the most critical step: Turn the oven off, leave the door slightly ajar, and let the biscuits sit in the cooling oven for 2 hours. This dehydrates the treats completely, removing residual moisture and ensuring a rock-hard crunch that naturally scrapes plaque off your dog’s teeth.
Common Baking Blunders That Could Harm Your Dog
Safety First: Don’t Make These Rookie Mistakes
As a nutrition hacker, my primary goal is safety. When you transition from buying commercial treats to making your own, there are a few dangerous pitfalls you must avoid. Let’s review the most common mistakes so you can bake with total confidence.
Mistake 1: The Deadly Broth Trap
I cannot stress this enough: never use standard grocery store chicken broth without reading the label like a forensic scientist. 99% of commercial broths and bouillons contain onion powder and garlic powder. Onions and garlic contain thiosulfate, a compound that dogs cannot properly digest. It causes oxidative damage to their red blood cells, leading to hemolytic anemia. If you aren’t 100% sure your broth is safe, make your own by boiling chicken breast in plain water, or simply substitute the broth in this recipe with plain water.
Mistake 2: The Soft-Bake Spoilage
Unlike commercial treats that are pumped full of synthetic preservatives like BHA, BHT, or ethoxyquin to sit on a shelf for three years, your homemade treats are made from real, fresh food. If you skip the ‘cooling oven dehydration’ step and leave moisture inside the biscuit, they will grow dangerous mold within 3 to 4 days. Moisture is the enemy of shelf life. Always bake them until they snap cleanly in half.
Mistake 3: The Xylitol Peanut Butter Hazard
If you decide to get creative and swap the coconut oil for peanut butter, you must check the peanut butter label for Xylitol (sometimes labeled as birch sugar). Xylitol is a popular artificial sweetener that is highly toxic to dogs, causing a rapid release of insulin that leads to severe hypoglycemia and liver failure. Always use 100% natural peanut butter where the only ingredient is peanuts.
Batch Cooking, Freezing, and The ‘Lazy Prep’ Storage Hacks
Maximize Your Time and Keep Treats Fresh
You’re a busy dog owner. You don’t have time to bake treats every single week. That’s where strategic batch cooking and proper storage come into play. Here are my top insider secrets for managing your homemade treat supply.
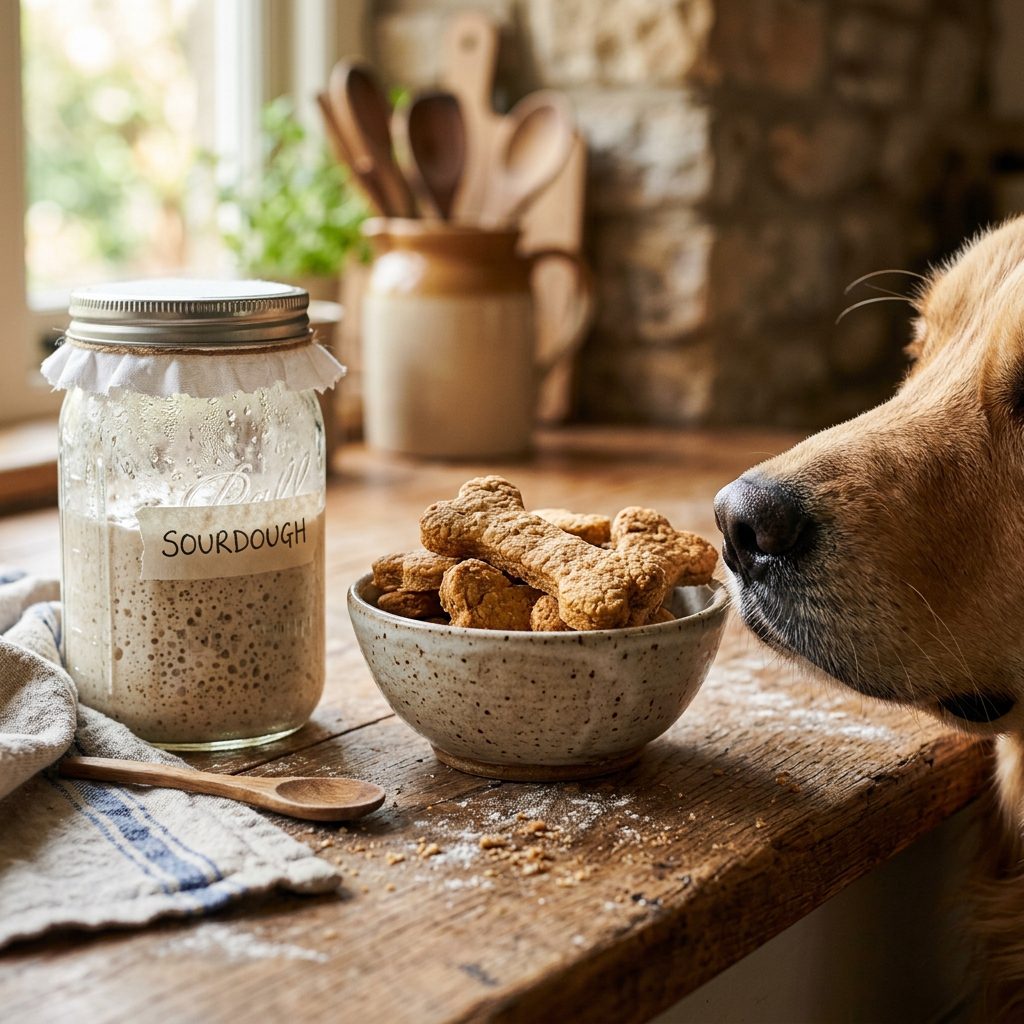
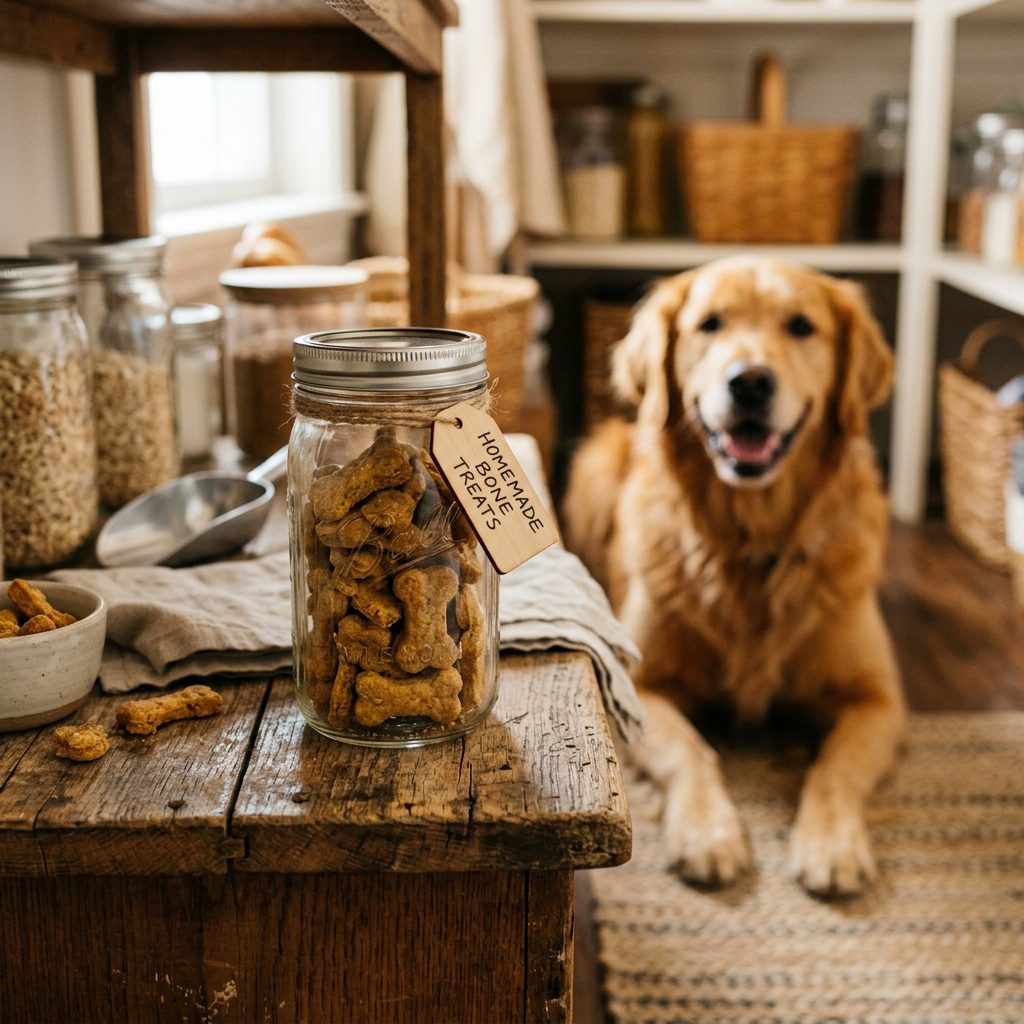
The Mason Jar Method
If you followed my dehydration step and your biscuits are bone-dry, they can be stored in an airtight glass mason jar at room temperature for up to 3 weeks. Glass is far superior to plastic containers, which can leach chemicals and trap microscopic condensation. Keep the jar in a cool, dark pantry away from direct sunlight.
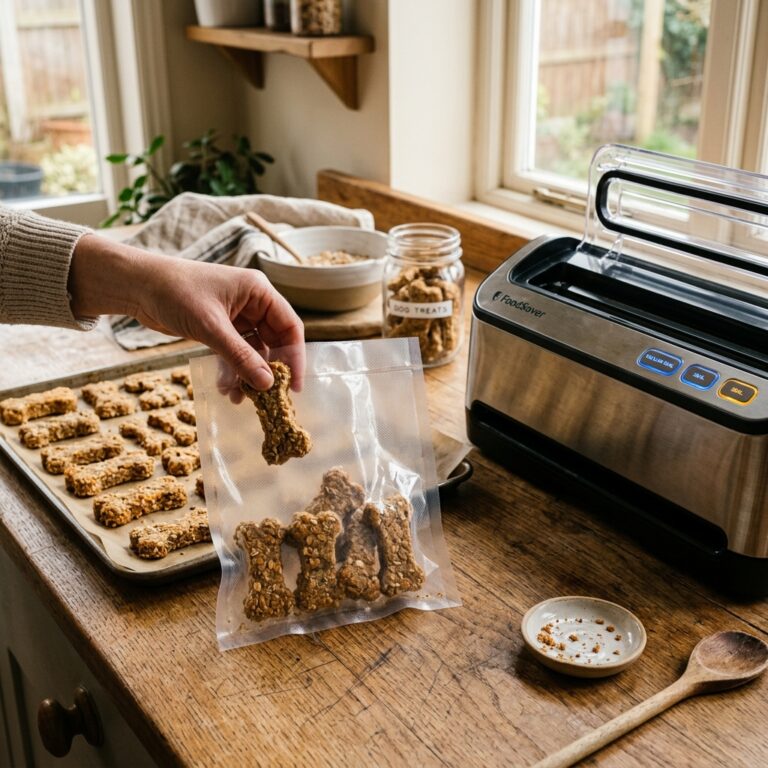
The Freezer Stash
Want to make a massive batch of discard treats? These biscuits freeze beautifully. Once completely cooled, place the baked biscuits in a heavy-duty freezer bag, squeeze out all the air, and freeze for up to 6 months. You don’t even need to thaw them before serving—many dogs actually love the extra crunchy texture of a frozen biscuit, especially teething puppies!
The ‘Lazy Prep’ Dough Hack
If you have sourdough discard that needs to be used today, but you don’t have time to bake, simply make the dough. Wrap the raw dough ball tightly in plastic wrap and store it in the freezer. When you finally have a free Sunday afternoon, pull the dough out, let it thaw in the fridge overnight, and roll it out the next day. You just saved your discard and prepped for future success.
Conclusion
Turn Your Kitchen Waste into Canine Gold
There you have it. You’ve officially graduated from a standard dog owner to a Canine Nutrition Hacker. By refusing to throw away that sourdough discard, you are taking a stand against food waste, boycotting overpriced and under-nutritious commercial treats, and taking direct control of your dog’s health.
These Crispy Sourdough Discard & Chicken Broth Biscuits are more than just a snack; they are a prebiotic, joint-supporting, money-saving powerhouse. Your dog’s tail will be wagging, their gut microbiome will be thriving, and your wallet will definitely thank you.
So, what are you waiting for? Go preheat that oven, grab your discard jar, and bake a batch tonight. When your dog hears that satisfying ‘crunch,’ you’ll know you made the right choice. Don’t forget to share this recipe with your fellow sourdough-baking dog parents, and let me know in the comments what custom add-ins your dog loved the most!