Stop Paying $15/Chew! How to Make Your Own Himalayan Yak Cheese Dog Chews for Pennies
Welcome to the Canine Nutrition Underground
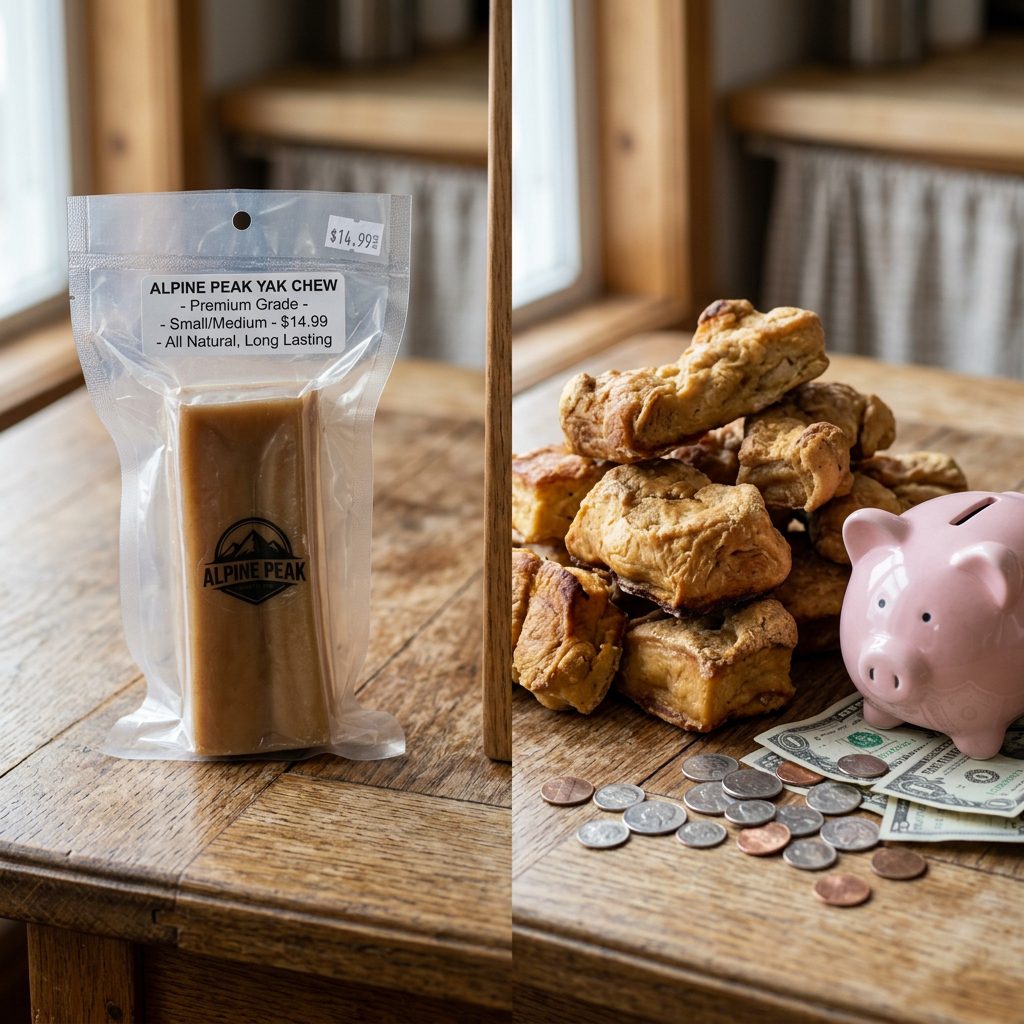
Listen up, savvy dog parents. If you have an aggressive chewer in your house, you already know the pain of walking into a boutique pet store, grabbing a single Himalayan yak cheese chew, and realizing it costs more than your own lunch. You hand over $15, and your dog demolishes it in a matter of days. It is an absolute budget-killer.
But here is the insider secret the pet industry does not want you to know: those rock-hard, golden sticks of joy are just a simple ancient recipe called Chhurpi. It is literally just hardened cheese. And you can make it right in your own kitchen for absolute pennies on the dollar.
The Hacker’s Disclaimer: I am a savvy, street-smart dog owner who analyzes labels like a forensic scientist, not a veterinarian. While this recipe is incredibly safe and lactose-free by design, always monitor your dog when they are chewing to prevent choking hazards, and introduce new treats slowly!
Today, we are taking back our wallets. I am going to show you exactly how to transform cheap grocery store ingredients into premium, long-lasting dental chews. We are going to strip away the marketing fluff, look at the actual science of milk coagulation, and empower you to become your dog’s personal treat chef. Let us get hacking.
The Great Yak Chew Markup: Why We Are Hacking This
Exposing the Retail Illusion
Let us talk numbers, because as canine nutrition hackers, we do not just care about health—we care about value. When you buy a commercial Himalayan chew, you are paying for international shipping, fancy packaging, and a massive retail markup. The truth is, the ingredients themselves are incredibly cheap.
Commercial chews are traditionally made from yak and cow milk, salt, and lime juice. That is it. No magic fairy dust. By swapping exotic yak milk (which is nearly impossible to find fresh in the West anyway) with standard skim cow milk, we can replicate the exact same chemical process that creates that rock-hard texture.
The Real Cost Breakdown
Let us look at the forensic financial breakdown. If you have a 50lb dog, they need a large chew. Here is what you are actually paying for:
| Metric | Premium Store-Bought | The DIY Hacker Chew |
|---|---|---|
| Cost per Large Chew | $12.00 – $18.00 | $1.50 – $2.00 |
| Ingredient Transparency | Unknown sourcing and handling | 100% Transparent (You made it) |
| Lactose Content | Claimed Lactose-Free | Lactose-Free (Whey removed) |
| Preservatives | Sometimes hidden anti-mold agents | Zero hidden chemicals |
By making these yourself, you are saving roughly $10 to $15 per chew. If your dog goes through one a week, that is a savings of over $500 a year. That is money you can put toward high-quality whole food meals or unexpected vet bills.
The Science of Chhurpi: How Milk Turns Into a Rock
The Chemistry of Chewing
Before we start cooking, you need to understand the science of what we are doing. You might be thinking, ‘Wait, I thought dogs were lactose intolerant? Why are we feeding them cheese?’ That is a brilliant question, and it separates the amateurs from the savvy owners.
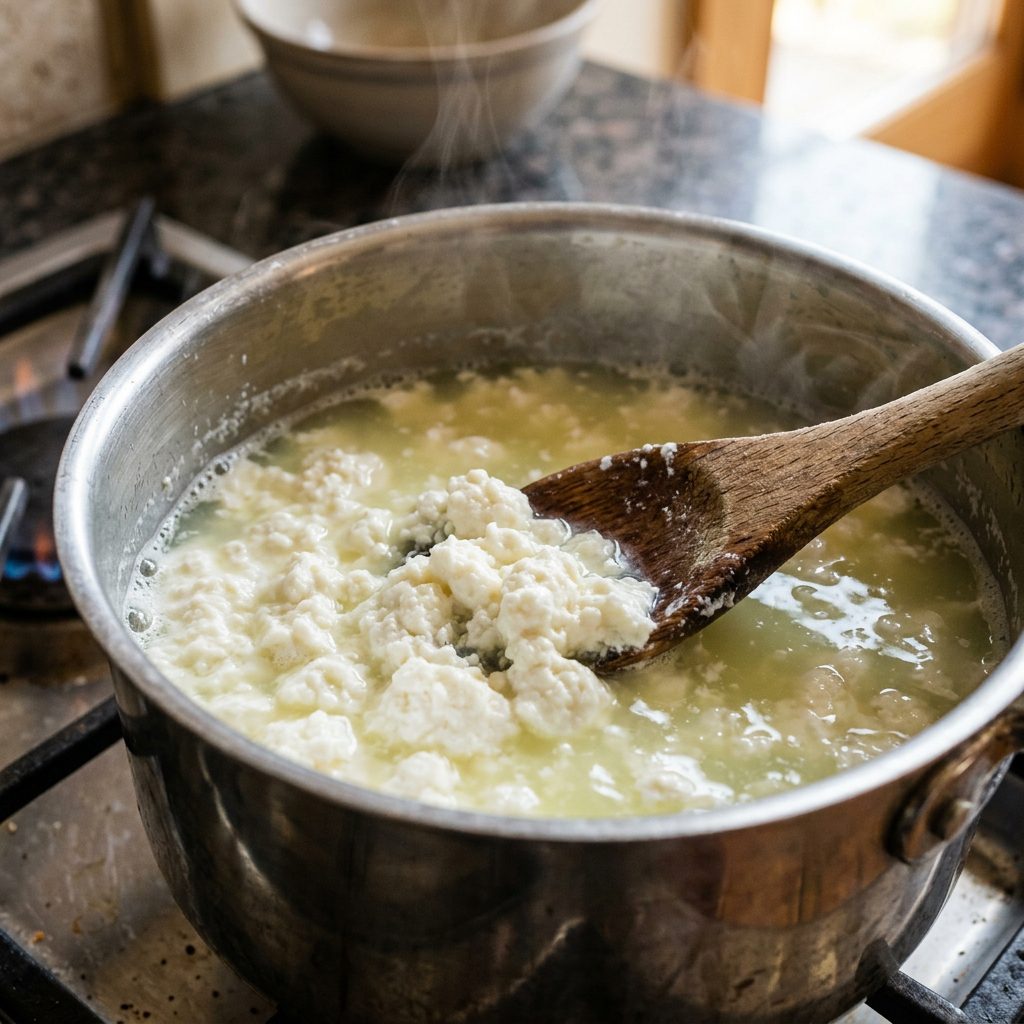
When we make Chhurpi, we are using an acid (like lime juice or apple cider vinegar) and heat to separate the milk into two distinct parts: Curds and Whey.
- The Curds: This is the solid protein and fat. This is what we keep.
- The Whey: This is the liquid. This is where almost all the lactose lives.
By thoroughly straining and pressing the curds, we are physically removing the lactose. What is left is a highly digestible, protein-dense block. When we dry this block, the moisture evaporates, and the protein bonds tighten up, creating a material that is literally as hard as a bone, but completely safe and digestible for your dog’s teeth.
Why Skim Milk is the Ultimate Hack
Insider Secret: Do not use whole milk! Fat makes the cheese soft and crumbly. To get that bone-hard texture that lasts for days, you want the lowest fat content possible. Skim milk is your best friend here.
The Hacker’s Ingredient List & Essential Gear
Gathering Your Arsenal
You do not need a commercial kitchen to pull this off. You probably have most of this gear in your cabinets right now. Here is exactly what you need to start manufacturing your own premium chews.
The Ingredients
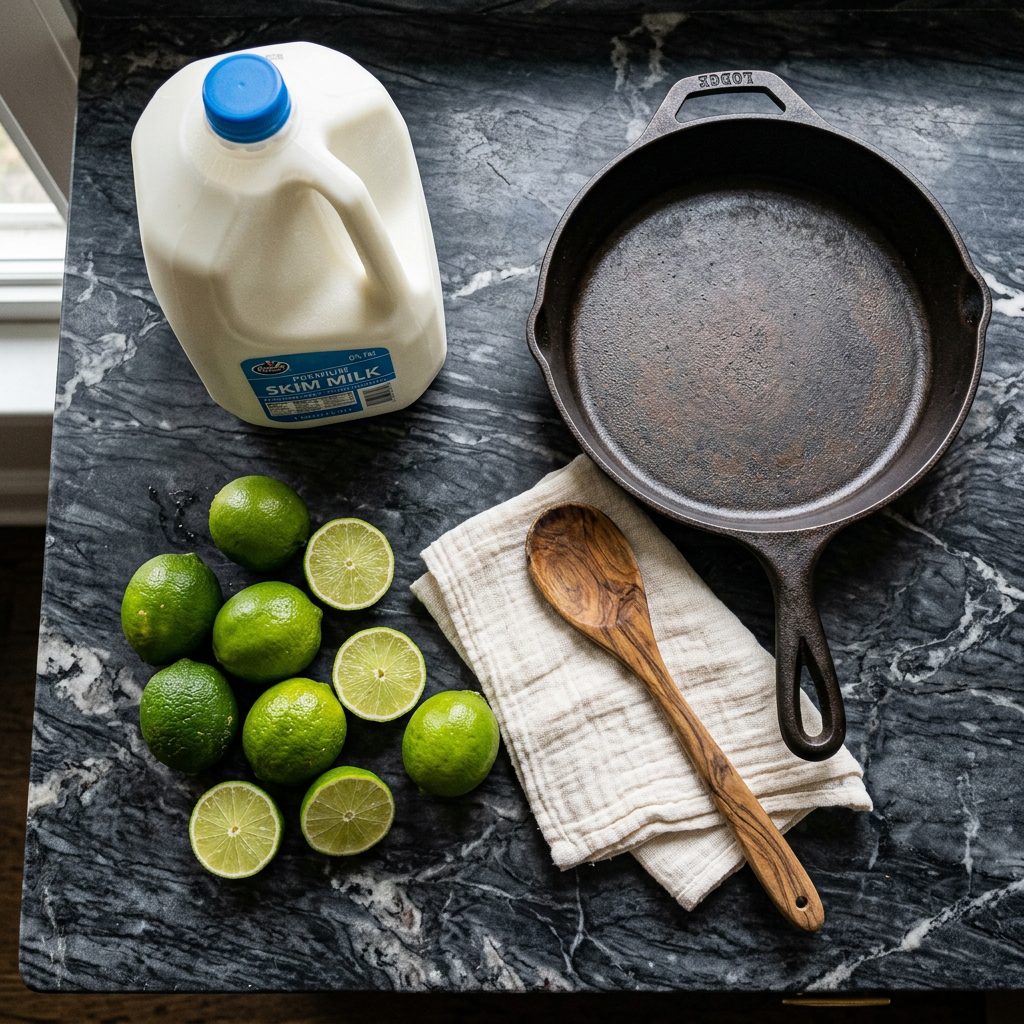
- 1 Gallon of Skim Milk: Remember, zero fat equals maximum hardness.
- 4 to 5 Tablespoons of Fresh Lime Juice: You can also use lemon juice or Apple Cider Vinegar. This is your coagulant.
- 1/4 Teaspoon of Sea Salt: This is optional, but a tiny pinch helps draw out moisture during the pressing phase and acts as a natural preservative. (Do not worry, this microscopic amount is perfectly safe for dogs).
The Hardware
- A Large Heavy-Bottomed Pot: To prevent scorching the milk.
- Cheesecloth or a Clean Muslin Cloth: Essential for straining the curds.
- A Colander: To hold the cheesecloth.
- Heavy Weights: Cast iron skillets, books wrapped in plastic, or a DIY tofu press work perfectly to squeeze the moisture out.
The Safe Chef Guide: Step-by-Step DIY Yak Chew Recipe
Phase 1: The Coagulation
- Heat the Milk: Pour your gallon of skim milk into the heavy pot. Bring it to a gentle boil over medium heat. Do not walk away! Milk boils over in the blink of an eye. Stir frequently to prevent the bottom from scorching.
- Add the Acid: Once the milk is boiling and frothy, turn the heat down to low. Slowly stir in your lime juice or apple cider vinegar.
- Watch the Magic: Keep stirring gently. Within minutes, you will see the milk completely separate into thick white curds and yellowish, watery whey. If it is not separating, add one more tablespoon of your acid. Once fully separated, turn off the heat and let it rest for 10 minutes.
Phase 2: The Purge (Straining & Pressing)
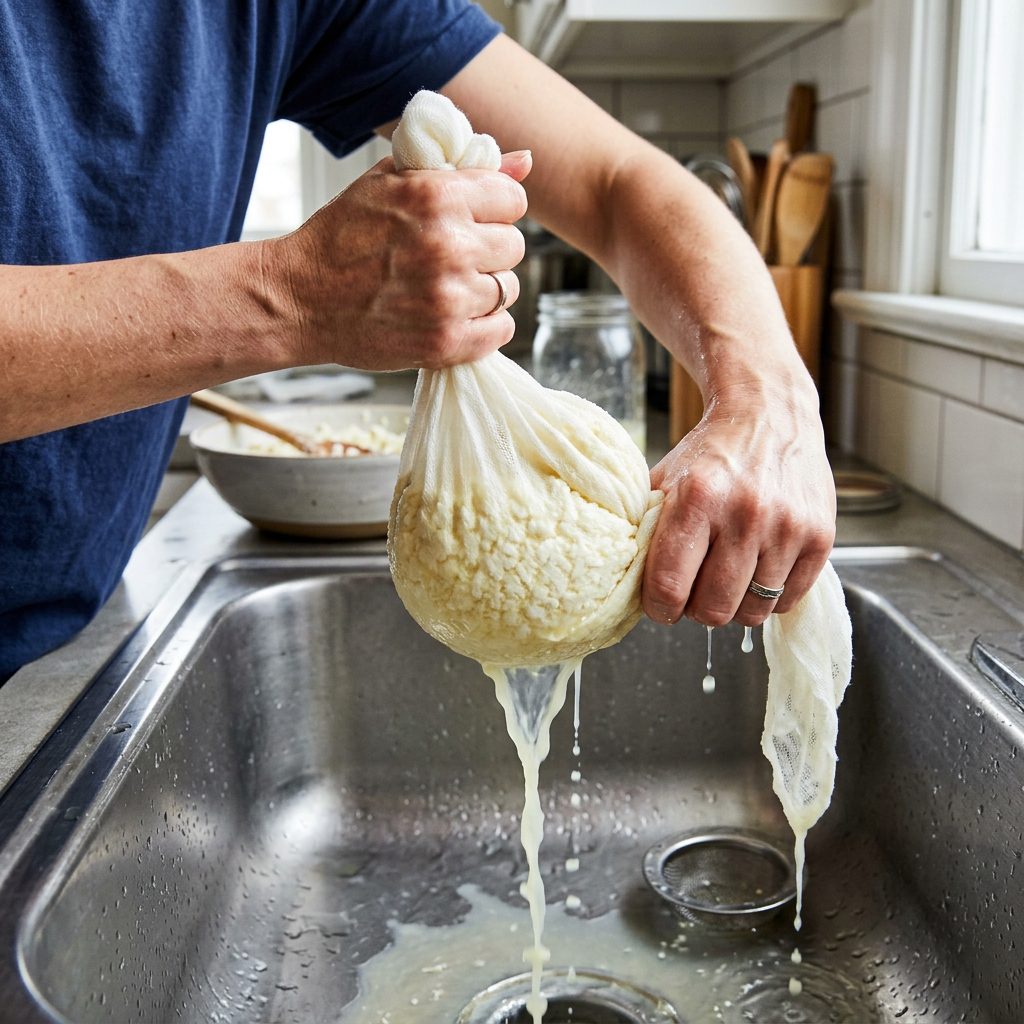
- Strain the Curds: Line your colander with the cheesecloth and place it over the sink. Carefully pour the pot’s contents into the cheesecloth. The whey will drain away. Rinse the curds briefly with cool water to remove any lingering lime/vinegar taste.
- Squeeze for Your Life: Gather the corners of the cheesecloth and twist it tight. Squeeze out as much liquid as humanly possible. The more moisture you remove now, the harder the chew will be.
- The Press: Keep the curds tightly wrapped in the cheesecloth. Shape the bundle into a flat rectangle. Place it on a cutting board, put another board on top, and stack your heavy weights (like cast iron pans) on it. Leave it pressed for 24 hours at room temperature.
Phase 3: Shaping and Curing
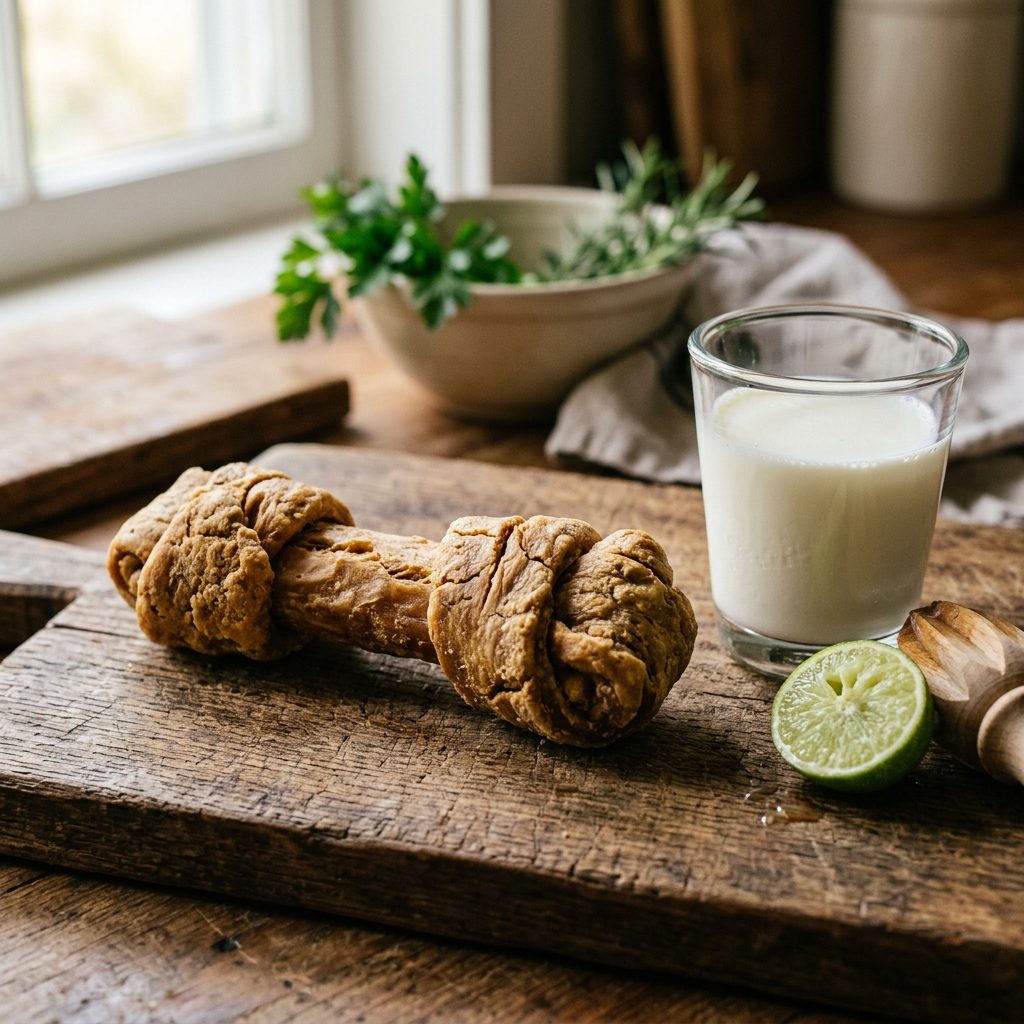
- Slice into Chews: After 24 hours, unwrap your dense block of cheese. Cut it into chew-sized sticks appropriate for your dog’s size.
- The Drying Process: Traditional Chhurpi is air-dried in smokehouses for weeks. We are hacking this. Place the sticks on a wire rack so air can circulate. Let them air dry in a cool, dry place for 3 to 5 days, turning them daily.
- The Oven Bake (Optional but Recommended): To lock in that rock-hard texture and prevent mold, bake the dried sticks in the oven at your lowest setting (around 150F) for 2 to 3 hours. Let them cool completely. They should sound like wood when tapped on the counter!
Batch Cooking, Storage & The Microwave Trick
Maximizing Your Yield
Since this process takes a few days from start to finish, the ultimate nutrition hacker move is batch cooking. I recommend running two or three pots at once on a Sunday. A gallon of milk usually yields about 3 to 4 large chews. By doing three gallons, you secure a month’s supply of premium chews for under $10.
Storage Secrets
Because these are homemade and lack industrial chemical preservatives, moisture is your enemy. Store your finished, fully dried chews in an airtight container or a paper bag in a cool, dark pantry. Do not put them in a plastic bag if they are not 100% dry, as this will trap microscopic moisture and cause mold. If dried correctly, they will last for months.
The Ultimate Insider Secret: The Cheese Puff
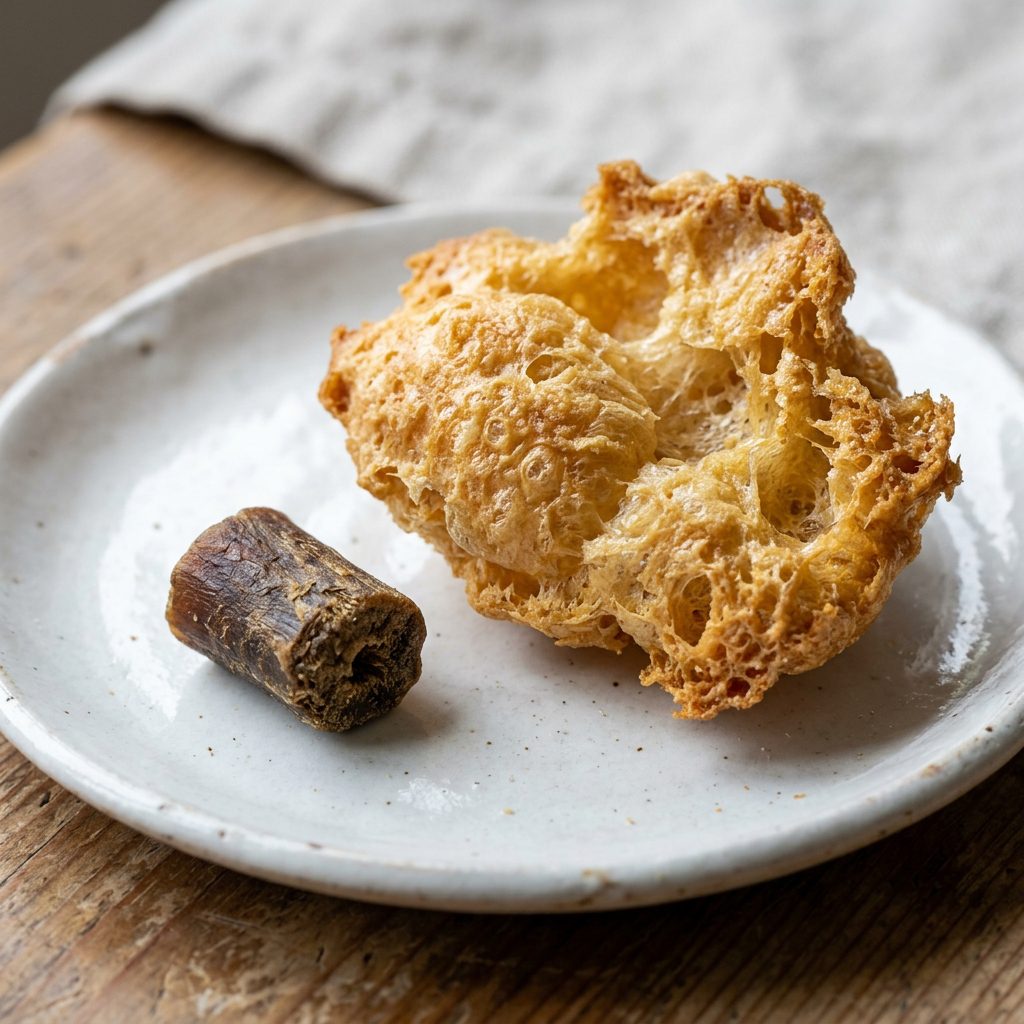
Hacker Tip: Never throw away the small end pieces! When your dog chews the stick down to a small nub, it becomes a choking hazard. Take that little nub, soak it in warm water for 5 minutes, and pop it in the microwave for 45 to 60 seconds.
It will miraculously puff up into a giant, crispy, crunchy cheese puff! Let it cool completely. It turns a dangerous leftover nub into a safe, high-value crunchy treat that your dog will go absolutely crazy for. Zero waste, maximum value.
Conclusion
Take Back Control of Your Dog’s Bowl
There you have it. You have just unlocked one of the most guarded secrets in the boutique pet treat industry. By understanding the simple science of milk coagulation and having a little patience, you can stop paying outrageous retail prices and start crafting premium, single-ingredient dental chews right in your own kitchen.
Making your own Himalayan yak cheese chews is more than just a budget hack; it is about taking absolute control over what goes into your dog’s body. No hidden preservatives, no mysterious sourcing, just pure, digestible protein that cleans their teeth and keeps them occupied for hours.
So, grab a gallon of skim milk, roll up your sleeves, and get hacking. Your wallet—and your dog—will thank you. Do not forget to share your massive cheese puffs with us in the comments below, and keep questioning those pet store price tags!