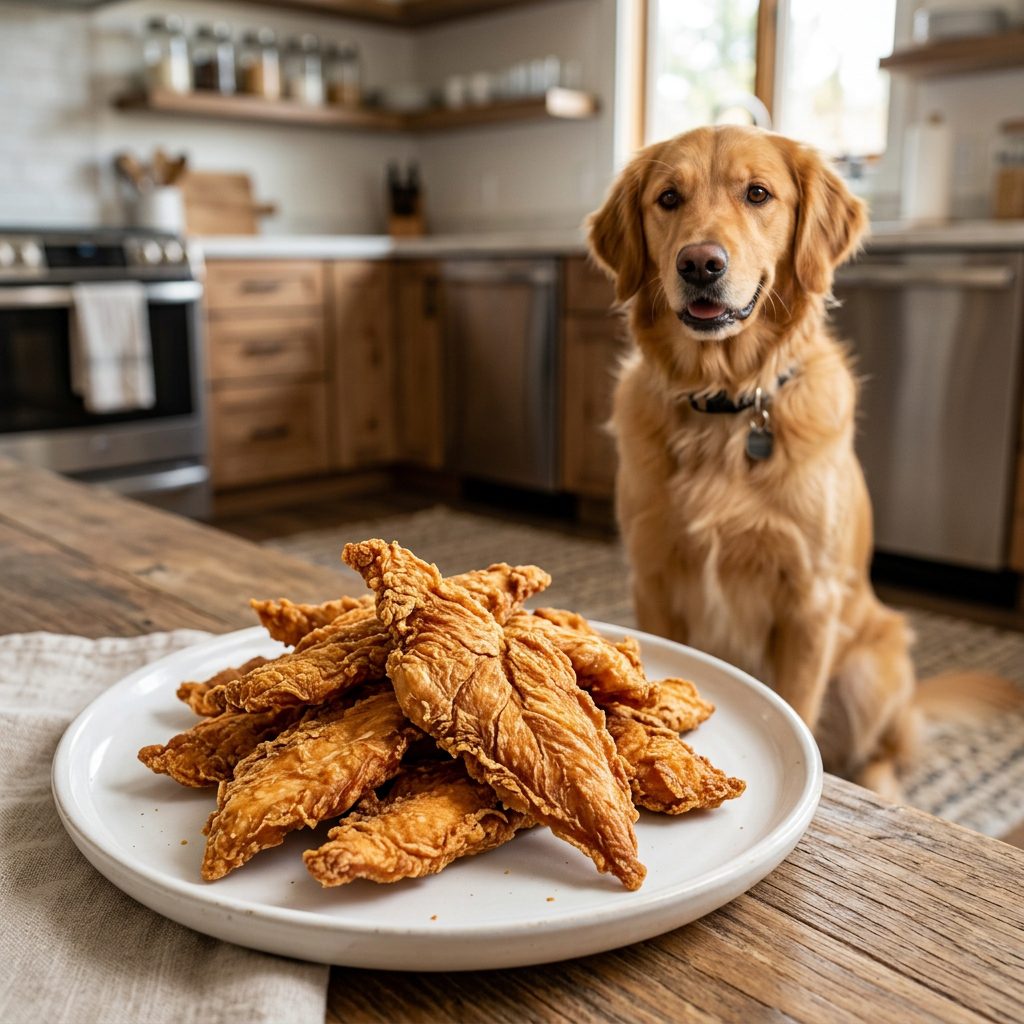
The Genius 3-Minute Microwave Chicken Treats Your Dog Will Sell Their Soul For!
The ‘Treat’ Industrial Complex is Lying to You
Let’s get real for a second. Have you ever flipped over a bag of those ‘premium’ chicken jerky treats and actually read the back? If you’re a savvy dog owner, you probably noticed a list of ingredients that looks more like a chemistry experiment than a snack. We’re talking about glycerin, potassium sorbate, liquid smoke, and ‘natural flavors’ that are anything but natural. You’re paying $20 or more per pound for what is essentially processed meat scraps and preservatives.
As the Canine Nutrition Hacker, I’ve had enough. I’m here to show you how to bypass the middleman, save a small fortune, and give your dog a high-value reward that actually supports their health. We’re talking about single-ingredient, 3-minute microwave chicken treats. They are the ultimate ‘insider secret’ for training, rewarding, or just showing some love without the toxic baggage of big-brand fillers. Your dog will literally sell their soul for these—and you’ll feel like a genius for making them.
The Safe Chef’s Manifesto: Safety and Strategy
Safety First: The Disclaimer
Before we dive into the kitchen, let’s get the legalities out of the way. I am a nutrition hacker and a dedicated dog owner, not a veterinarian. While these treats are made from human-grade chicken, they are intended as supplemental treats only. They do not constitute a balanced meal. Treats should never exceed 10% of your dog’s daily caloric intake. If your dog has specific poultry allergies or underlying health issues like pancreatitis, always consult your vet before introducing new snacks.
Why the Microwave?
Most people think you need an expensive dehydrator to make jerky. Hacker Tip: You don’t. The microwave works by vibrating water molecules, which generates heat and evaporates moisture rapidly. In a matter of minutes, you can transform raw chicken breast into a chewy, shelf-stable-ish treat that mimics the texture of premium jerky without the 12-hour wait time. It’s faster, cheaper, and gives you total control over the moisture content.
Forensic Analysis: The ‘Treat’ Label Lies
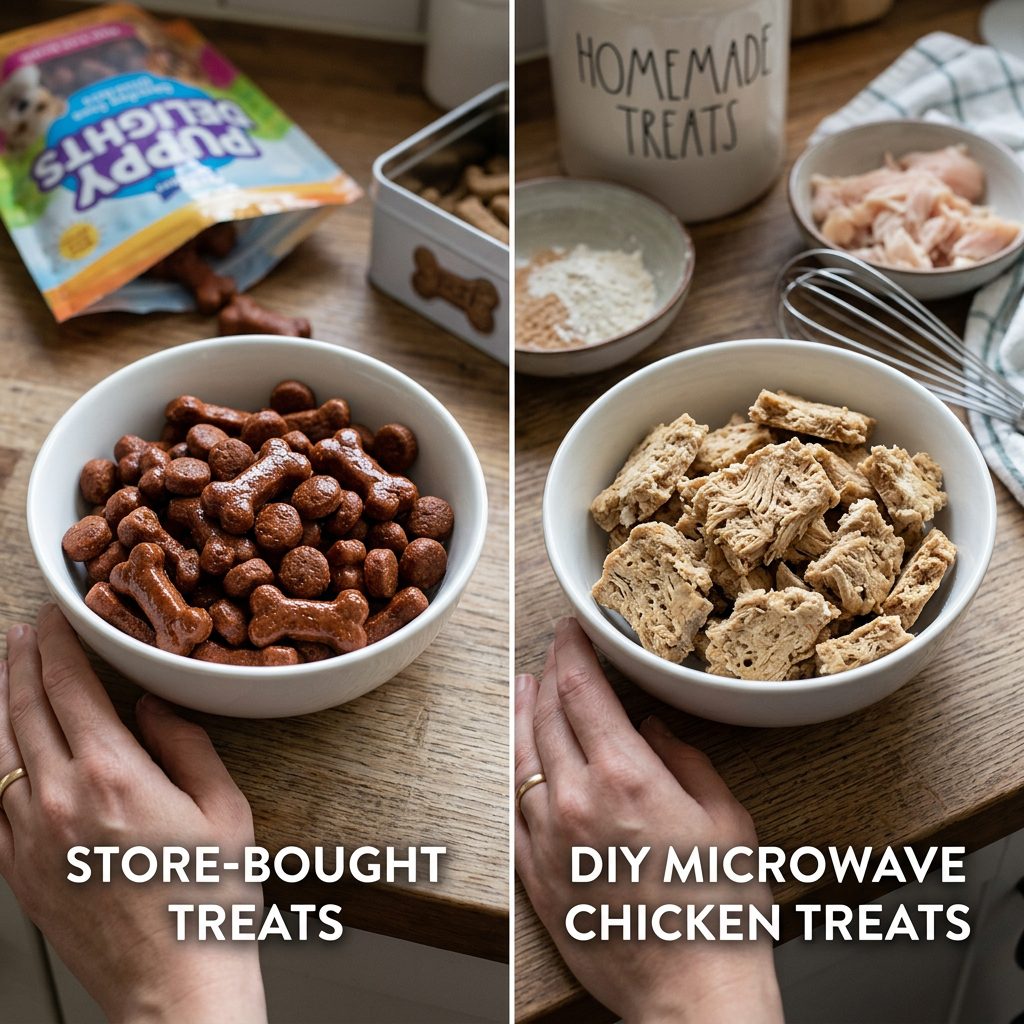
The First 5 Ingredients Truth
Let’s look at a typical ‘Big Brand’ chicken treat vs. our DIY version. Most store-bought treats use chicken meal or ‘meat by-products’ as their base. They then add corn syrup or sugar to make them palatable and propylene glycol to keep them moist.
Insider Secret: If a treat feels ‘squishy’ and stays that way for months on a shelf, it’s loaded with humectants that your dog’s kidneys don’t need to be processing.
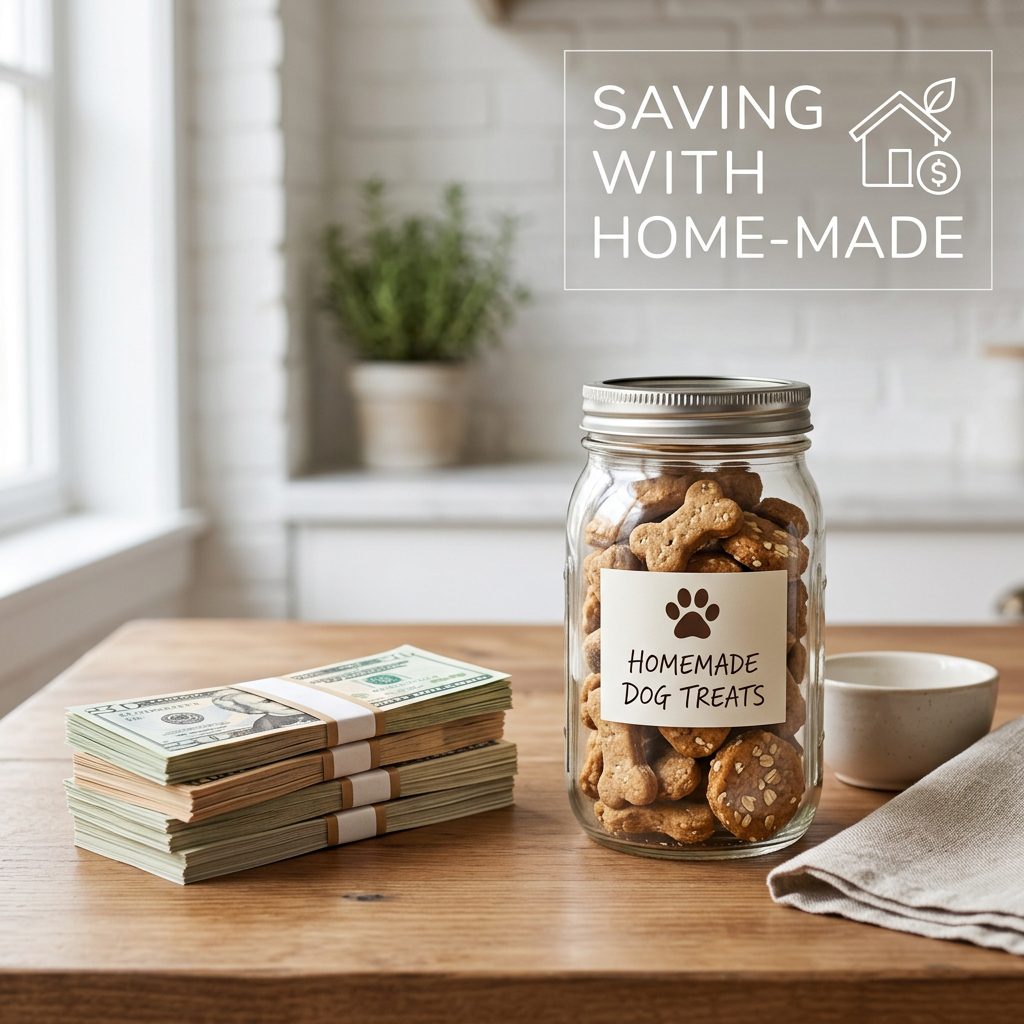
The Real Cost of Convenience
When you buy a 4oz bag of ‘organic’ chicken strips for $12.99, you are paying for the marketing, the plastic bag, and the shelf space at the pet store. By hacking your own treats, you are buying 100% pure protein. You are eliminating the ‘hidden’ costs of potential vet visits down the line caused by poor-quality additives and inflammatory fillers like wheat gluten and soy protein isolate.
The 3-Minute Masterpiece: The Recipe
The Ratios and Prep
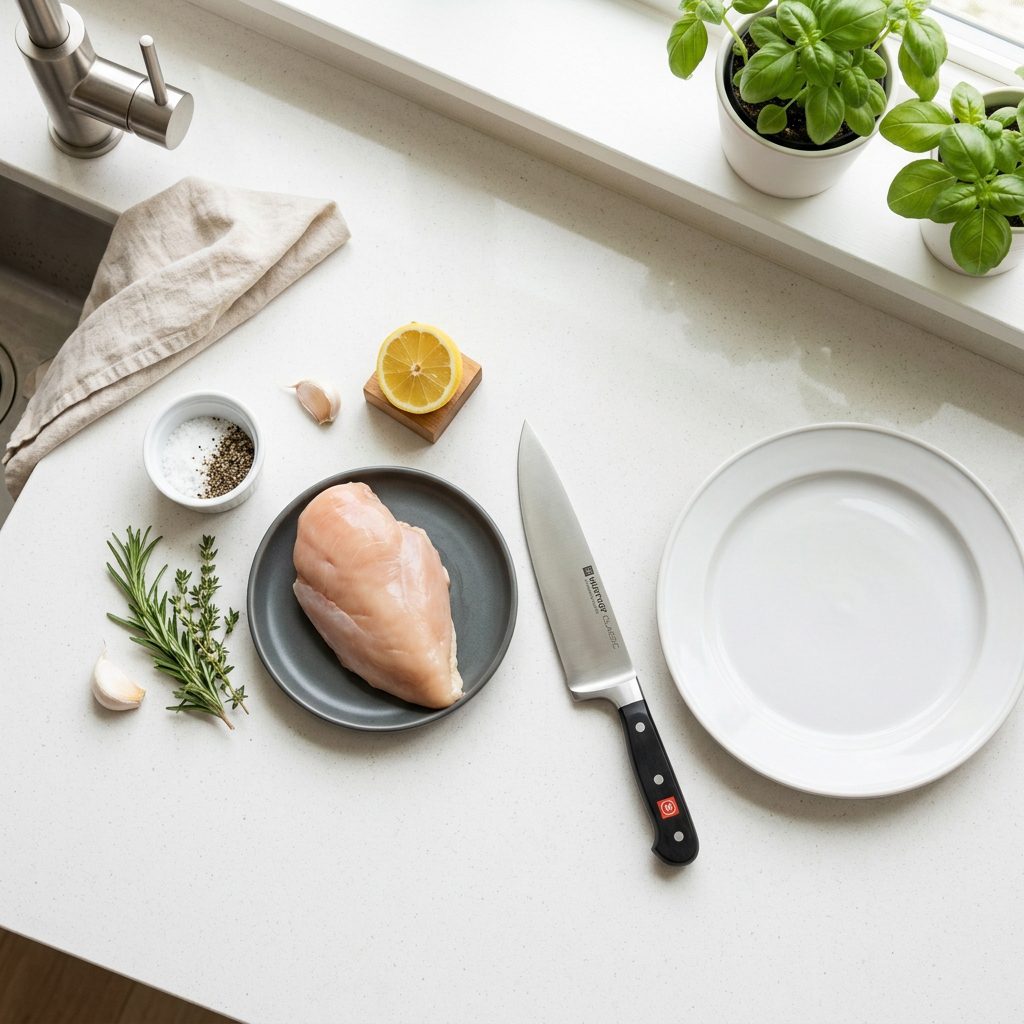
For this ‘soul-seller’ recipe, we are keeping it simple. The ratio is 100% Chicken Breast. No salt, no oil, no seasonings. Dogs don’t need them, and their kidneys certainly don’t want the extra sodium.
Step-by-Step Instructions
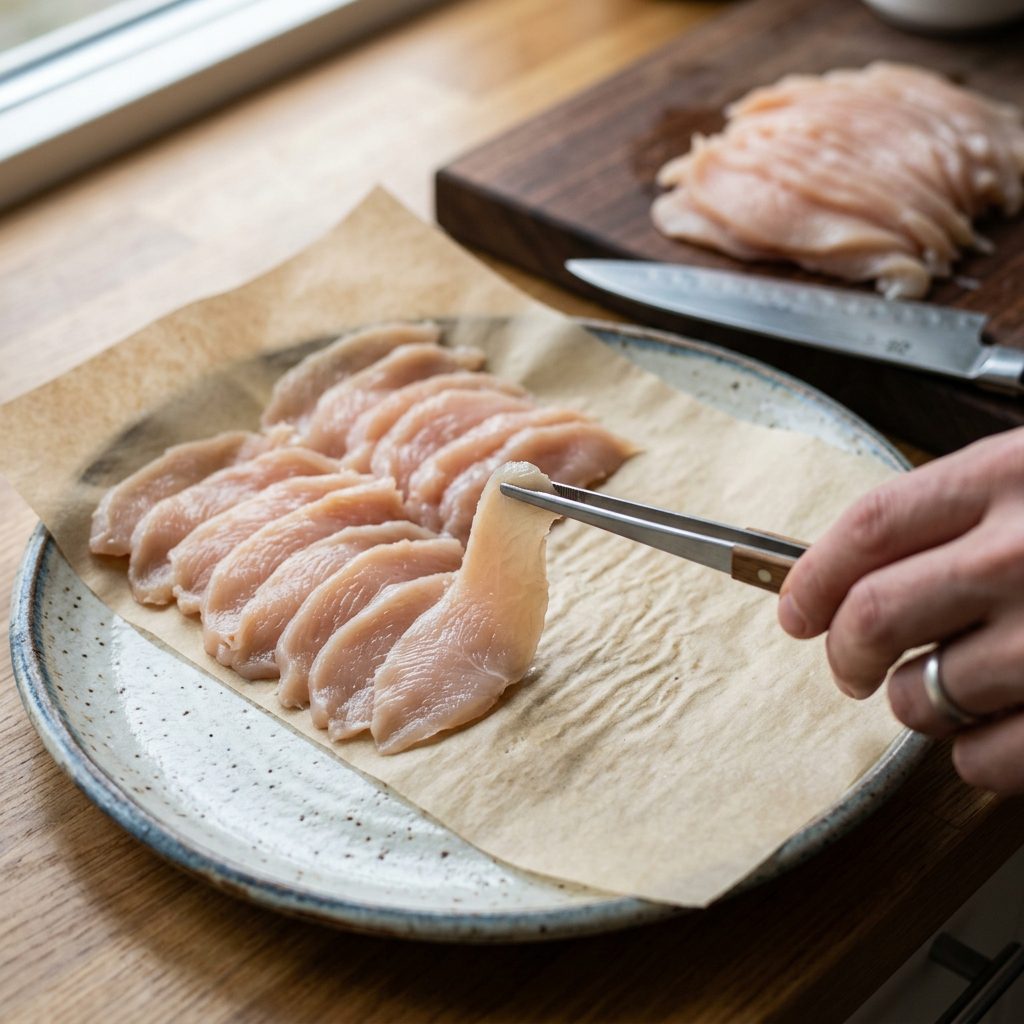
- The Slice: Take a cold (partially frozen is easier) chicken breast and slice it into paper-thin strips. The thinner the slice, the crispier the treat. Aim for about 1/8th of an inch.
- The Layout: Line a microwave-safe plate with parchment paper. Do not use paper towels, as the chicken will stick to them. Arrange the slices in a single layer, ensuring they don’t touch.
- The Nuke: Microwave on high for 2 minutes.
- The Flip: Carefully flip the pieces over. They will be hot!
- The Finish: Microwave for another 1 to 2 minutes in 30-second bursts. You are looking for a firm, slightly leathery texture.
- The Cool Down: Let them sit on the counter for 5 minutes. They will crisp up further as they cool.
Hacker Tip: If you want ‘Training Bits’ instead of strips, simply use kitchen shears to snip the finished jerky into tiny, pea-sized cubes.
The Math of Meat: DIY vs. Big Pet Food
Cost Breakdown Table
Let’s look at the numbers. I tracked the prices at a standard grocery store vs. a premium pet boutique. The savings are staggering.
| Feature | Store-Bought Premium Jerky | DIY Microwave Chicken |
|---|---|---|
| Main Ingredient | Chicken + 5-10 Additives | 100% Chicken Breast |
| Price Per Pound | $35.00 – $55.00 | $3.99 – $5.99 |
| Preservatives | BHA, BHT, Potassium Sorbate | None |
| Prep Time | Drive to store (20 mins) | 3 Minutes |
| Verdict | Overpriced Mystery Meat | The Hacker’s Choice |
By making these yourself, you are saving approximately $30 per pound of treats. If you use one pound of treats a month, that’s $360 a year back in your pocket. That’s enough to cover a year’s worth of high-quality heartworm prevention or a really fancy new orthopedic bed!
The Hacker’s Customization Guide
Level Up the Nutrition
Once you’ve mastered the basic 3-minute chicken, you can start ‘hacking’ the nutrient profile. Before microwaving, you can lightly dust the chicken with hero ingredients that target specific health goals:
- For Joint Health: A tiny pinch of organic Turmeric (mixed with a drop of black pepper to activate the curcumin).
- For Fresh Breath: A dusting of finely chopped Fresh Parsley.
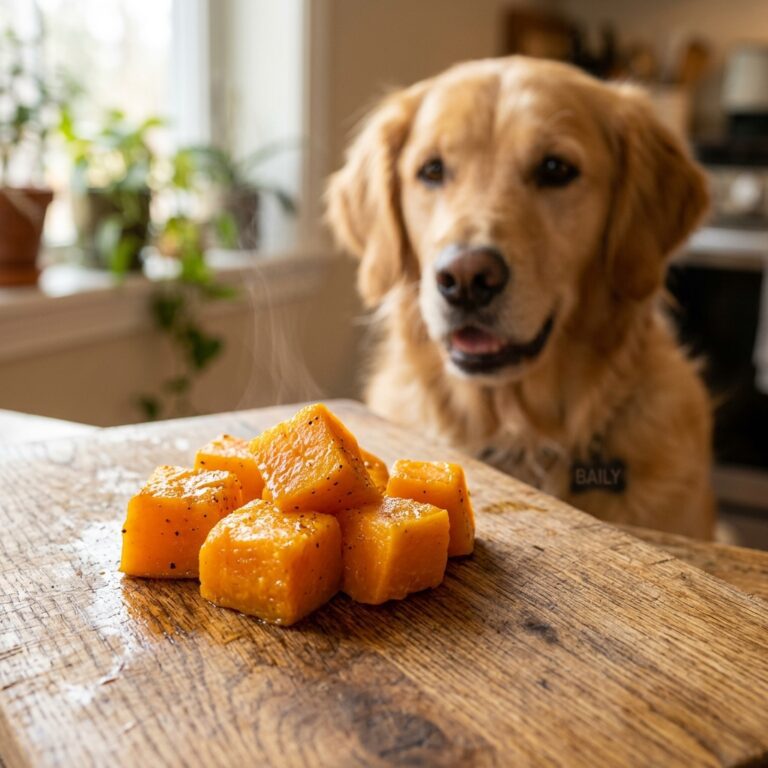
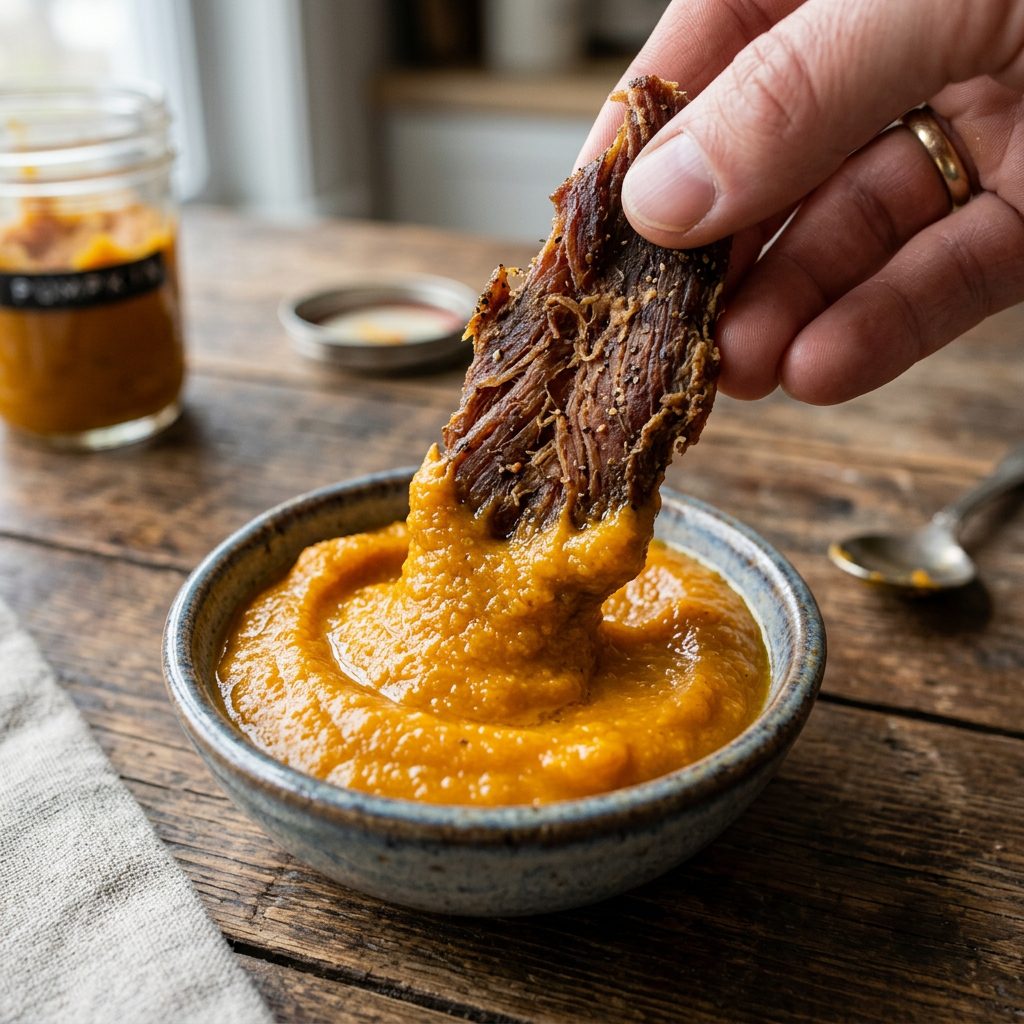
- For Digestion: A smear of plain, unsweetened Pumpkin Puree (though this will require an extra minute in the microwave).
The ‘High-Value’ Secret
If you are working on difficult training (like recall or leash reactivity), you need a ‘Level 10’ treat. To turn these into ‘Super-Treats,’ soak the raw chicken slices in a tiny bit of low-sodium sardine juice for 5 minutes before microwaving. The smell will be… intense… but your dog will follow you into a volcano for one.
Storage Hacks and Batch Prepping
How to Keep Them Fresh
Because these treats don’t have the nasty chemical preservatives found in store-bought bags, they won’t last forever on the counter. Savvy owners know how to store smart.
- Room Temp: 2-3 days in an airtight glass jar (if you got them really crispy).
- Fridge: Up to 7 days.
- Freezer: Up to 3 months.
Batch Cooking Tip
Don’t just make one plate. Buy the ‘Family Pack’ of chicken when it’s on sale. Spend 20 minutes doing back-to-back microwave rounds while you’re prepping your own dinner. Once cooled, portion them into small silicone bags and toss them in the freezer. Grab a bag on your way out for a walk, and they’ll be perfectly thawed by the time you reach the park.
Conclusion
Take Back Control of the Treat Jar
You don’t need a massive budget to provide world-class nutrition for your dog. You just need a little bit of ‘hacker’ spirit and three minutes of your time. By choosing to make these microwave chicken treats, you’re voting with your wallet against the filler-heavy pet food industry and voting for your dog’s longevity.
Remember, the best ingredients aren’t found in a colorful bag with a cartoon dog on it; they’re found in the whole-foods aisle of your grocery store. Now, go grab some chicken, fire up that microwave, and watch your dog’s eyes light up. You’ve just leveled up your dog-parenting game. Happy hacking!