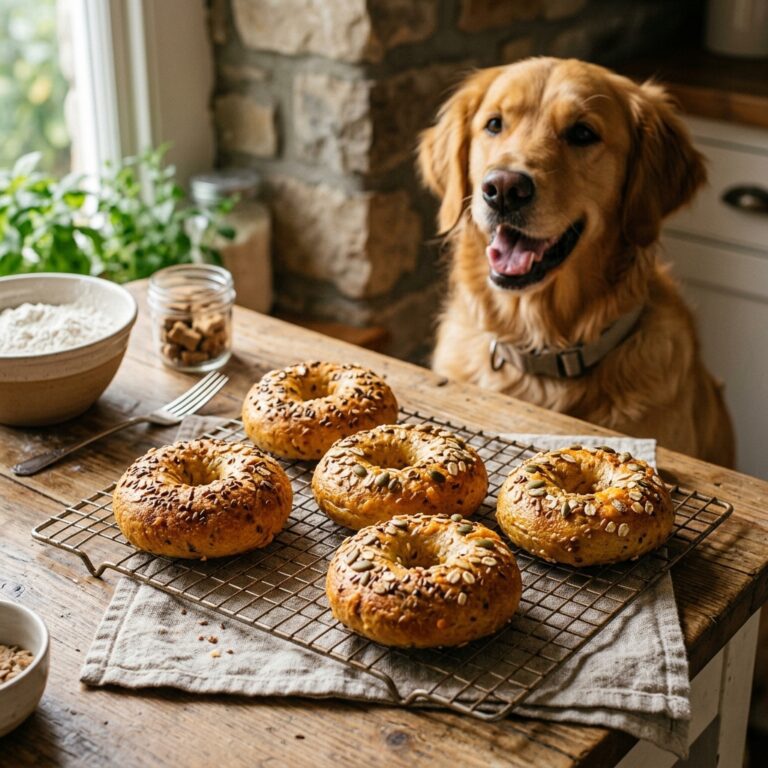
Stop Throwing Away Discard! These Sourdough Peanut Butter Dog Biscuits Are a Game Changer
The ‘Liquid Gold’ Hiding in Your Fridge
If you are a home baker, you know the ‘discard guilt.’ Every time you feed your sourdough starter, a portion of that fermented goodness ends up in the trash or down the drain. As a Canine Nutrition Hacker, I’m here to tell you that you are literally throwing away money and health benefits. That bubbly, tangy discard is a powerhouse of pre-digested grains and beneficial enzymes that can transform your dog’s treat game. We aren’t just making cookies; we are upcycling a fermentation byproduct into a premium, gut-healthy snack that would cost you $15 a bag at a boutique pet store. Why buy ‘artisanal’ when your kitchen is already a fermentation lab? Let’s stop the waste and start the hacking.
The Sourdough Secret: Why Discard is a Nutritional Powerhouse
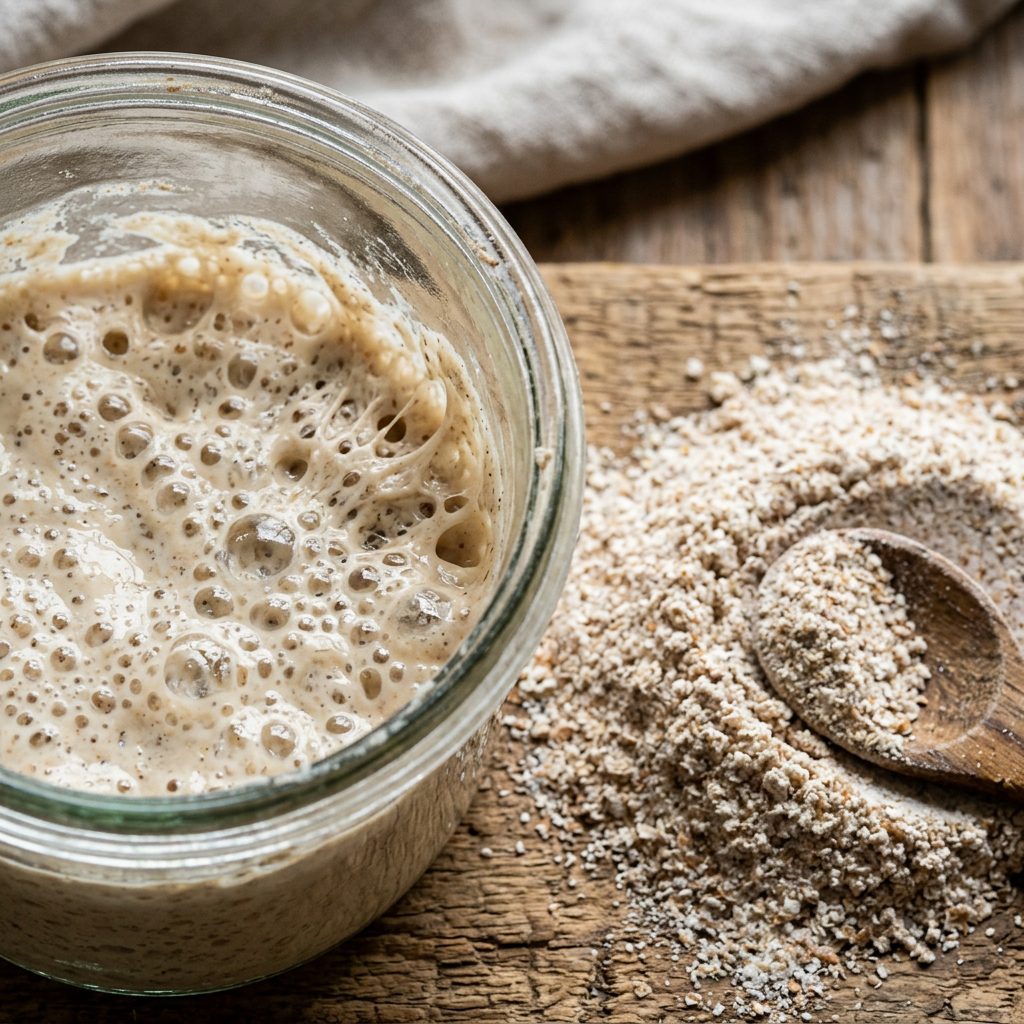
Most commercial dog treats are loaded with ‘wheat middlings’ or ‘cereal byproducts’—the floor sweepings of the grain industry. When we use sourdough discard, we are using flour that has undergone a long fermentation process. This is the ultimate insider secret for dogs with mild grain sensitivities. The wild yeast and lactic acid bacteria in your starter work to break down gluten and neutralize phytic acid, which is an anti-nutrient that can block mineral absorption in dogs.
The Fermentation Advantage
- Improved Digestibility: The fermentation process ‘pre-digests’ the starches, making it easier on your dog’s pancreas.
- Bioavailable Nutrients: By neutralizing phytic acid, your dog can actually absorb the zinc, magnesium, and iron found in the grain.
- Prebiotic Fiber: While the live bacteria die during baking, the fermented fibers remain, acting as a prebiotic to feed your dog’s existing gut flora.
Hacker Tip: If your dog usually gets ‘gas’ from grain-based treats, the long-fermented nature of sourdough discard might be the solution you’ve been looking for. It’s grain, but better.
Safety First: The No-Nonsense Disclaimer
Before we preheat that oven, we need to talk shop. I am a nutrition hacker, not your veterinarian. While I analyze labels and optimize recipes, every dog is an individual. Never feed your dog raw sourdough dough. The live yeast can continue to expand in the warm environment of a dog’s stomach, leading to bloat and even ethanol poisoning. Always bake these biscuits until they are fully dry and crisp.
The Peanut Butter Trap
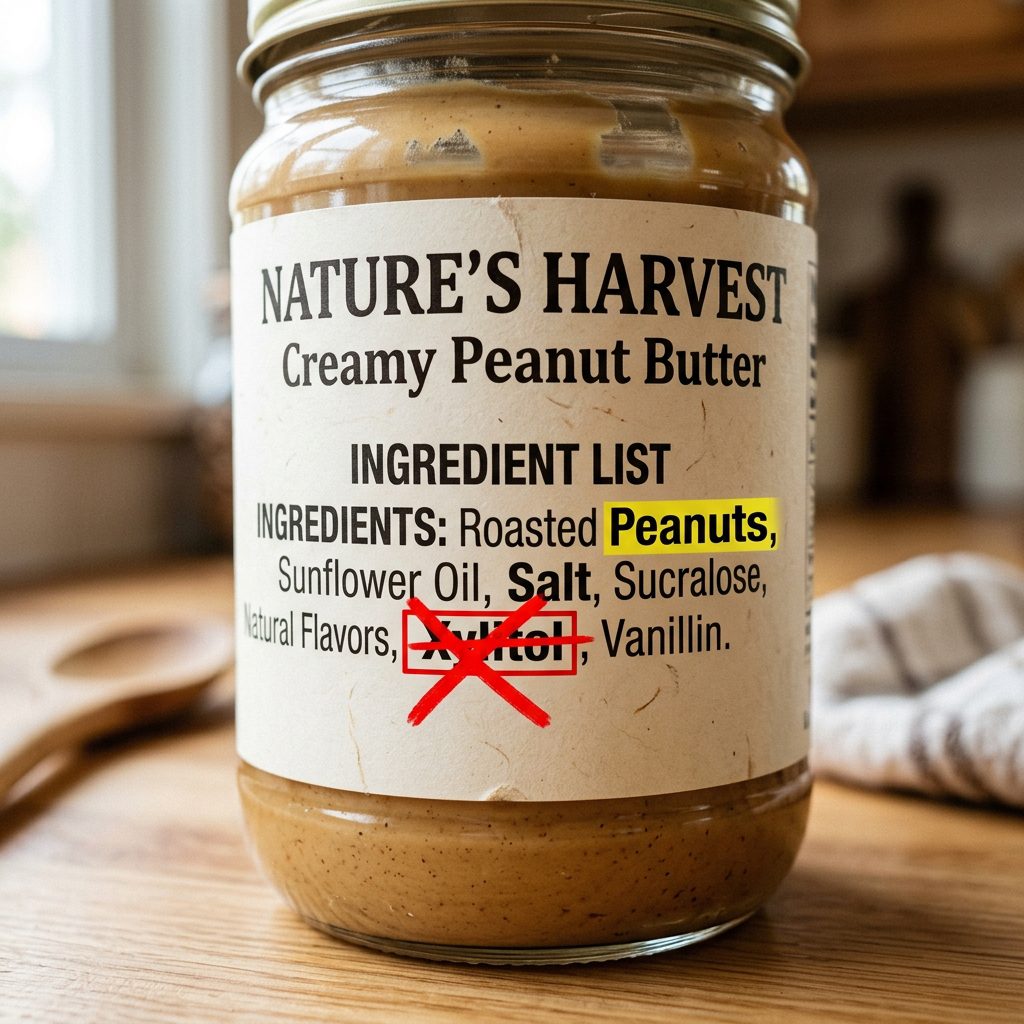
When choosing your peanut butter, you must be a forensic label reader. You are looking for one ingredient: Peanuts.
- WARNING: Check for Xylitol (also listed as Birch Sugar). This is a common sugar substitute in ‘low calorie’ peanut butters and is highly toxic—even fatal—to dogs.
- Avoid Added Salts/Sugars: Dogs don’t need the extra sodium or cane sugar found in ‘Jif’ or ‘Skippy.’
- The Hydrogenated Oil Issue: Cheap brands use palm oil or hydrogenated oils to keep the PB from separating. These are inflammatory triggers you want to avoid.
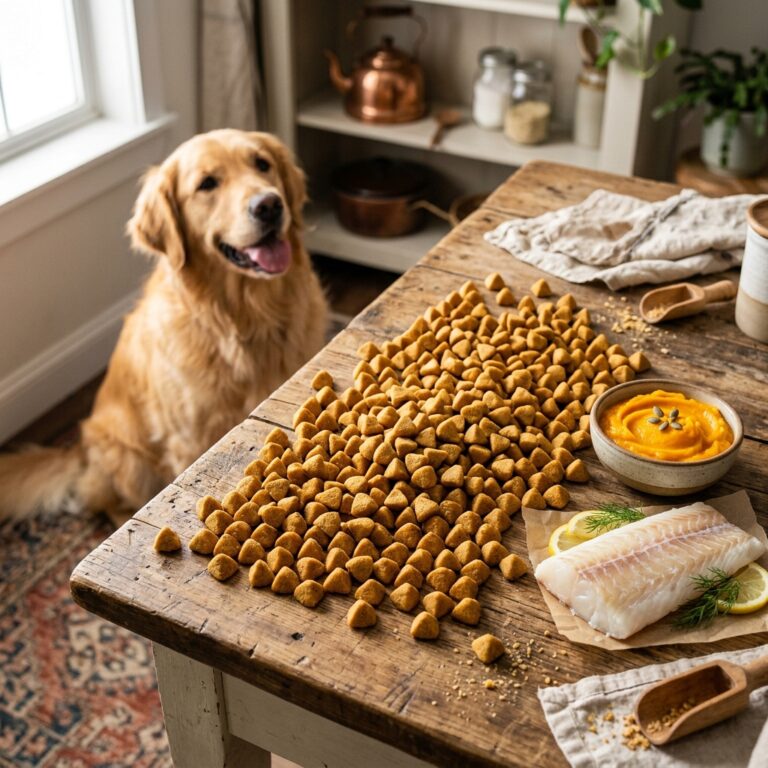
The Economics of the Treat Jar: DIY vs. Premium Brands
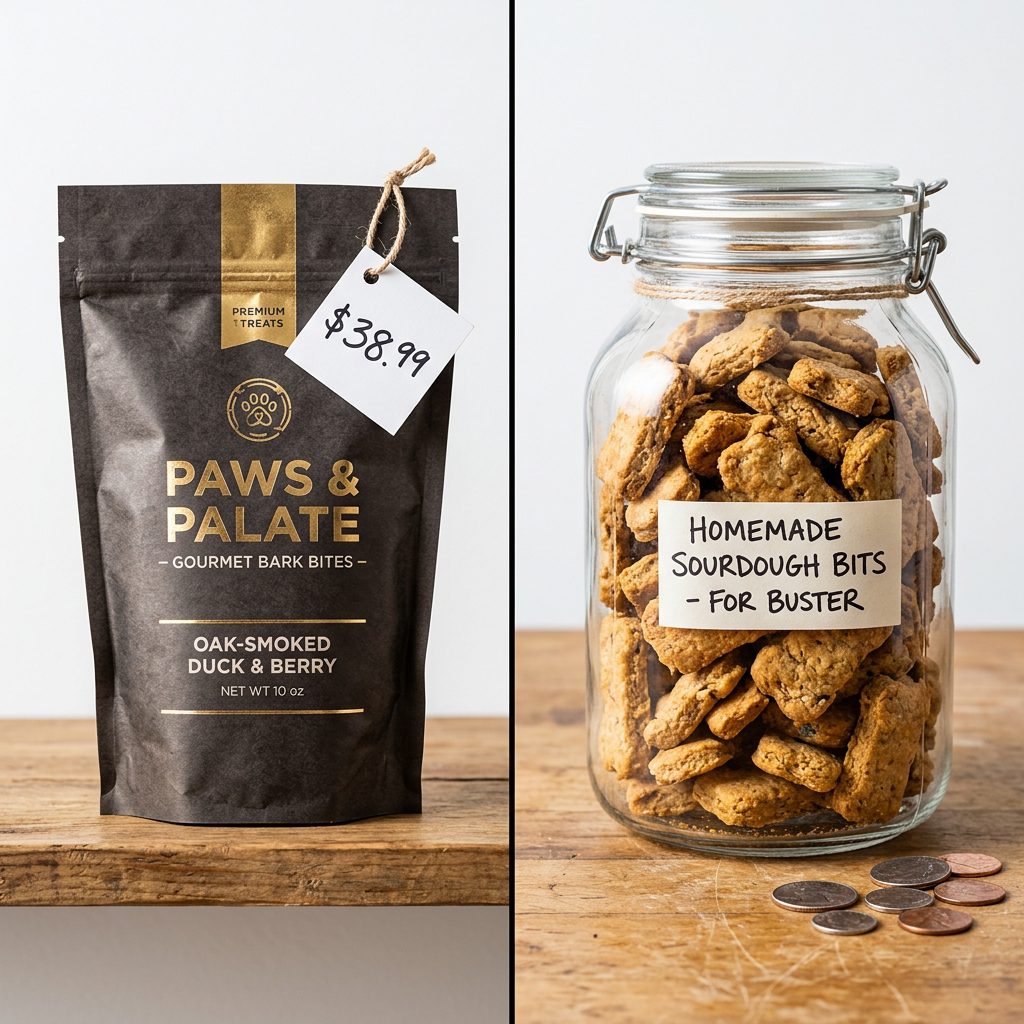
Let’s talk numbers. If you go to a high-end pet boutique, you’ll see ‘Natural Fermented Grain Treats’ for a premium. But since your discard is technically a waste product, your cost is almost zero. By making these at home, you are cutting your treat budget by nearly 90% while increasing the quality of the ingredients.
| Feature | Store-Bought ‘Premium’ | Hacker’s Sourdough DIY |
|---|---|---|
| Main Protein | Peanut Flour/Meal | Fresh, Natural Peanut Butter |
| Grain Quality | Processed Wheat/Corn | Fermented Sourdough Discard |
| Preservatives | Potassium Sorbate/Citric Acid | None (Natural Dehydration) |
| Cost Per 10oz | $12.99 – $16.00 | $1.20 – $1.80 |
| Verdict | Overpriced Filler | Nutritional Goldmine |
By switching to this DIY method, a savvy owner of a 50lb dog can save roughly $250 per year just on high-quality training treats.
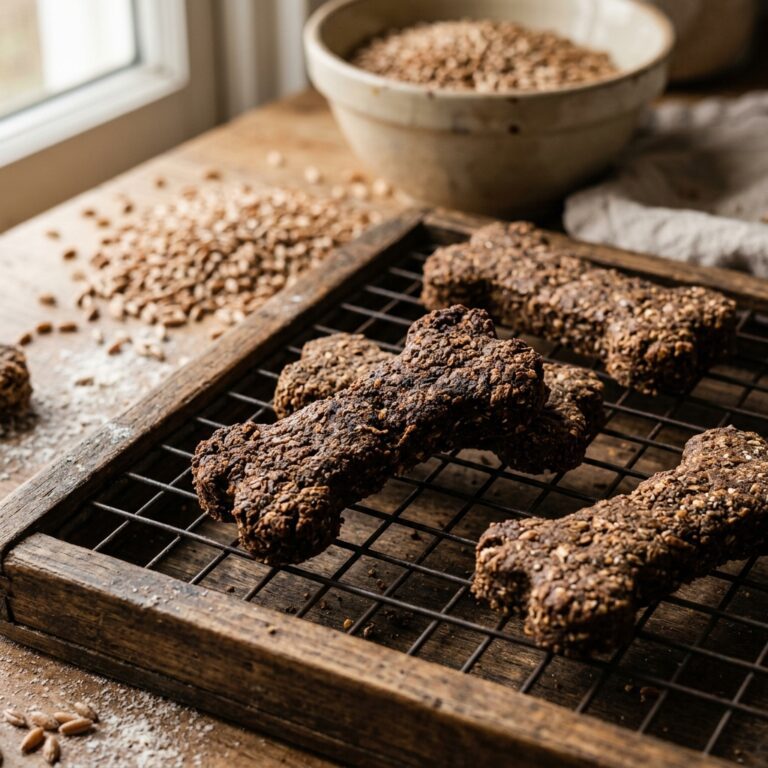
The Ultimate Sourdough Peanut Butter Biscuit Recipe
This is the base recipe. It’s designed to be sturdy enough for a pocket but tasty enough to motivate a stubborn Husky. The ratio is key to ensuring the dough isn’t too sticky to handle.
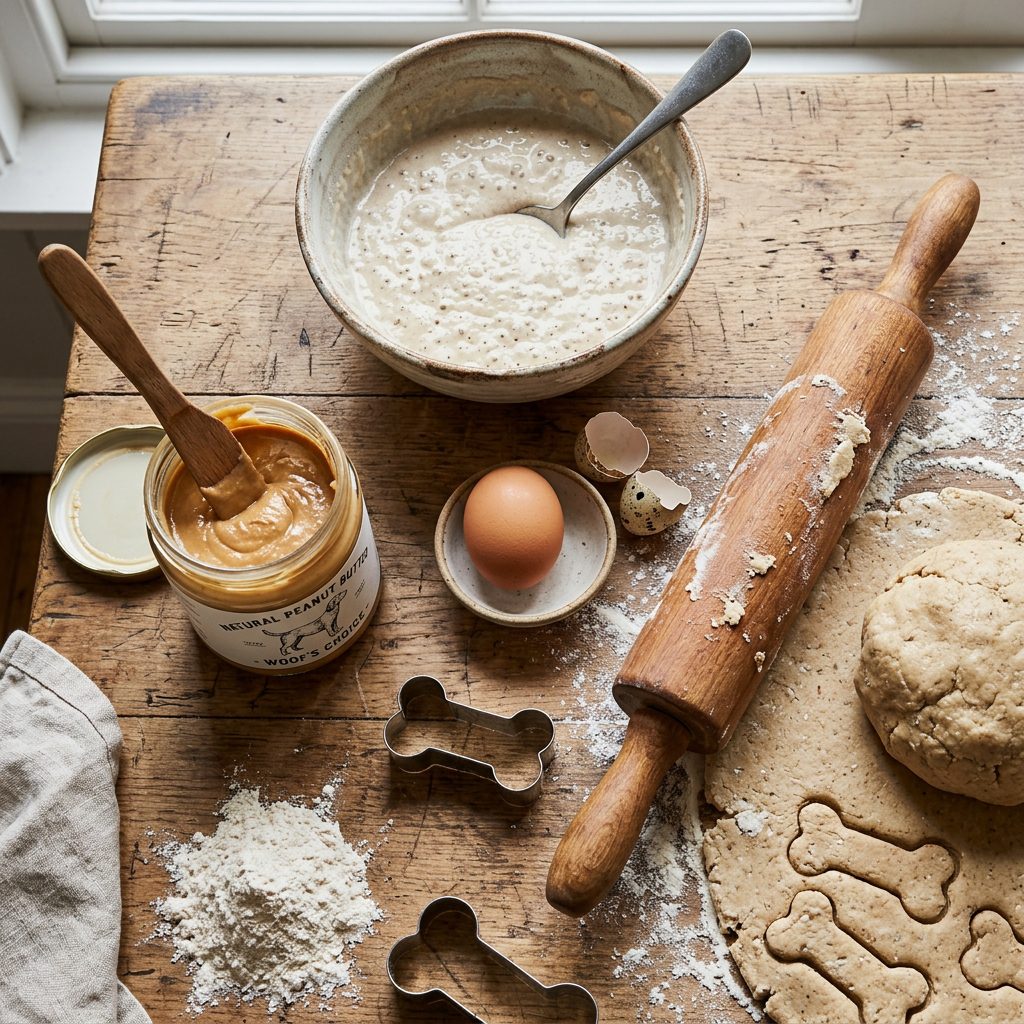
Ingredients:
- 1 cup (approx. 250g) Sourdough Discard: Unfed, straight from the fridge is fine.
- 1/2 cup Natural Peanut Butter: Xylitol-free and creamy for better mixing.
- 1 1/4 cups Whole Wheat Flour: Or oat flour if you want to keep it ‘wheat-free’ (though the discard provides the sourdough element).
- 1 Large Egg: Acts as the binder and adds a boost of choline.
Instructions:
- Preheat your oven to 350°F (175°C).
- In a large bowl, whisk the peanut butter and egg until smooth. Fold in the sourdough discard.
- Gradually add the flour. The dough should be thick and slightly tacky, but not stick to your hands. If it’s too wet, add flour 1 tablespoon at a time.
- Roll the dough out on a floured surface to about 1/4 inch thickness.
- Use a cookie cutter (bones are classic, but small rounds work best for training).
- Bake for 25-30 minutes. For a ‘crunchy’ biscuit that lasts longer, turn the oven off and leave them inside for another hour to dehydrate.
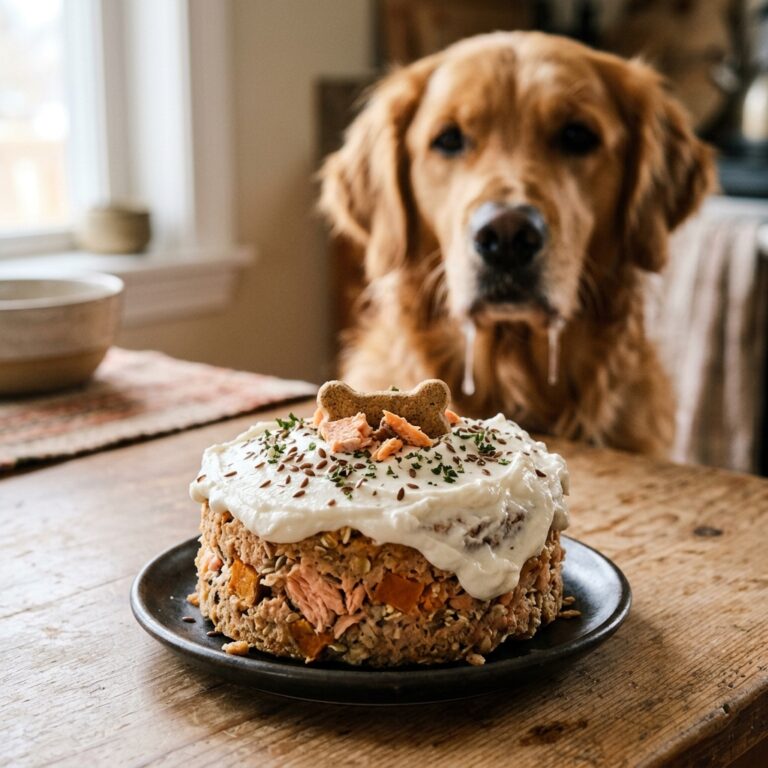
The Hacker’s Pantry: Customizing for Optimal Health
Once you master the base, it’s time to level up. Depending on your dog’s specific needs, you can add ‘booster’ ingredients to the dough. This is where we move from ‘treat’ to ‘functional food.’
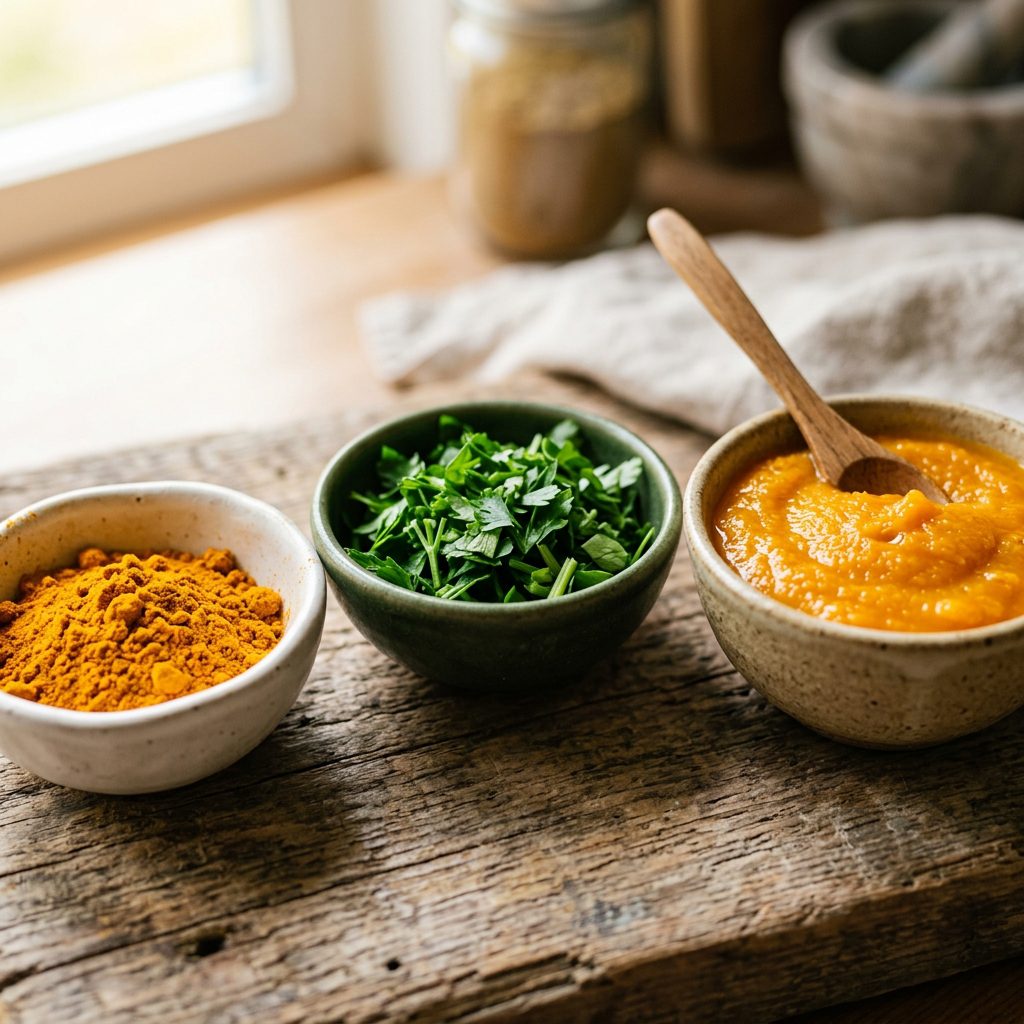
The Performance Add-ins:
- The Anti-Inflammatory: Add 1 tsp of Turmeric and a pinch of black pepper to support joint health in senior dogs.
- The Breath Freshener: Mix in 2 tablespoons of finely chopped fresh Parsley to help neutralize ‘dog breath.’
- The Digestive Aid: Swap 1/4 cup of the flour for 1/4 cup of Pure Pumpkin Puree (not pie filling) to add extra soluble fiber.
Insider Secret: If your dog has a dull coat, add 1 tablespoon of Ground Flaxseed to the mix. The Omega-3 fatty acids are a game changer for skin health.
Batch Cooking and Long-Term Storage Secrets
As a savvy owner, you don’t have time to bake every week. This recipe is designed for bulk production. Because these treats don’t have the chemical preservatives (like calcium propionate) found in commercial bags, you need to store them correctly to prevent mold.
Storage Tiers:
- The Countertop (3-5 Days): Only if they are baked until bone-dry. Any moisture left will cause mold.
- The Fridge (2 Weeks): Keep them in an airtight glass jar. Glass is better than plastic as it doesn’t leach chemicals or odors.
- The Freezer (6 Months): This is the pro move. Flash-freeze the biscuits on a baking sheet for an hour, then toss them into a silicone freezer bag. You can pull out a handful as needed, and most dogs actually love the extra crunch of a frozen treat.
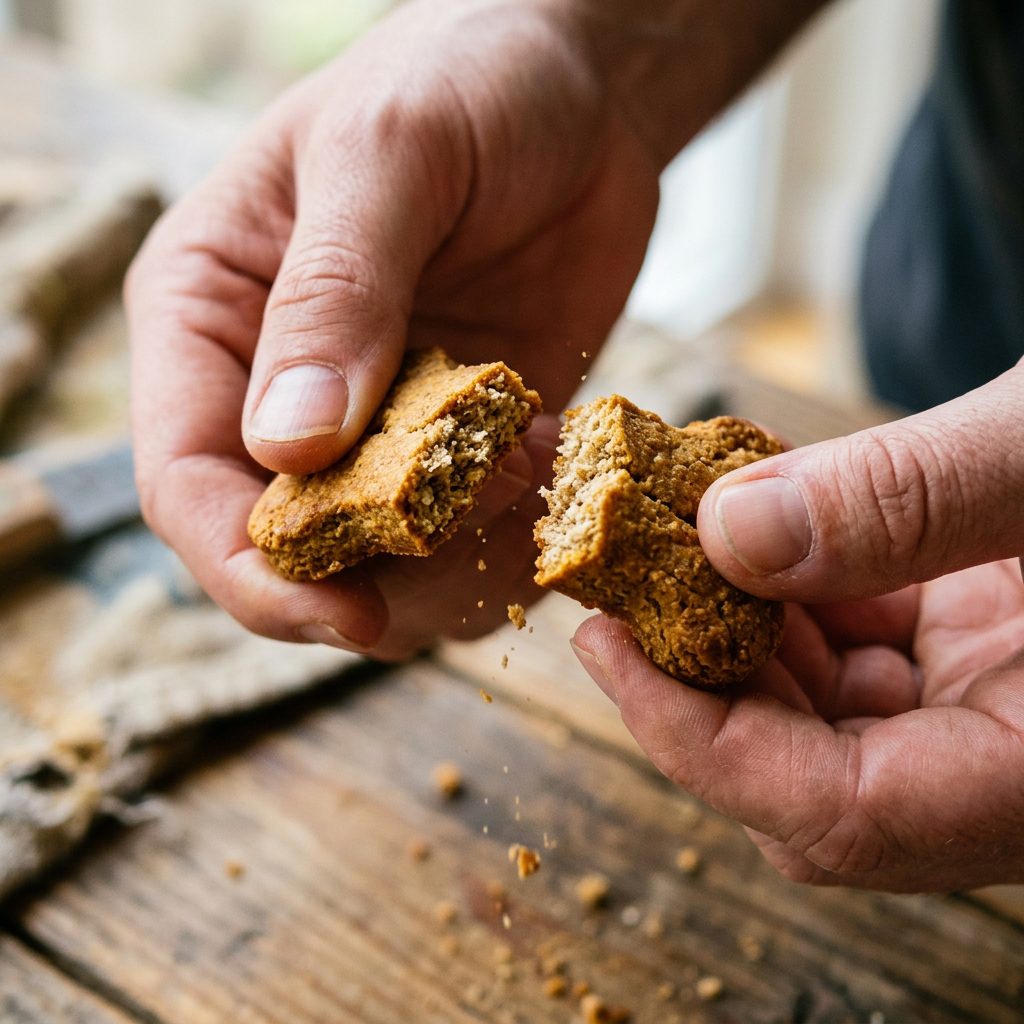
The ‘Snap Test’
To ensure your treats are shelf-stable, perform the Snap Test. Break a cooled biscuit in half. It should ‘snap’ cleanly. If it bends or feels soft in the middle, it still has moisture. Put it back in a 200°F oven for 20 minutes to finish drying out.
Conclusion
Ditch the Bag, Save the Discard
Stop being a victim of the ‘premium pet food’ marketing machine. You have the tools in your kitchen right now to create a snack that is nutritionally superior, economically smarter, and environmentally friendlier than anything you can find on a shelf. These sourdough peanut butter biscuits aren’t just a way to use up waste; they are a testament to what a Savvy Dog Owner can achieve with a little bit of ‘hacker’ logic. Your dog gets the probiotics, your wallet gets a break, and the trash can stays empty. That’s what I call a win-win-win. Now, go feed your starter and get baking!